In this documentation article, learn about the new Xray on-premise connector in Quality Modeller and how you can use it to export test cases to your on-premise Jira server.
To get started, navigate to the Connectors view in Quality Modeller (Profile → Connectors).
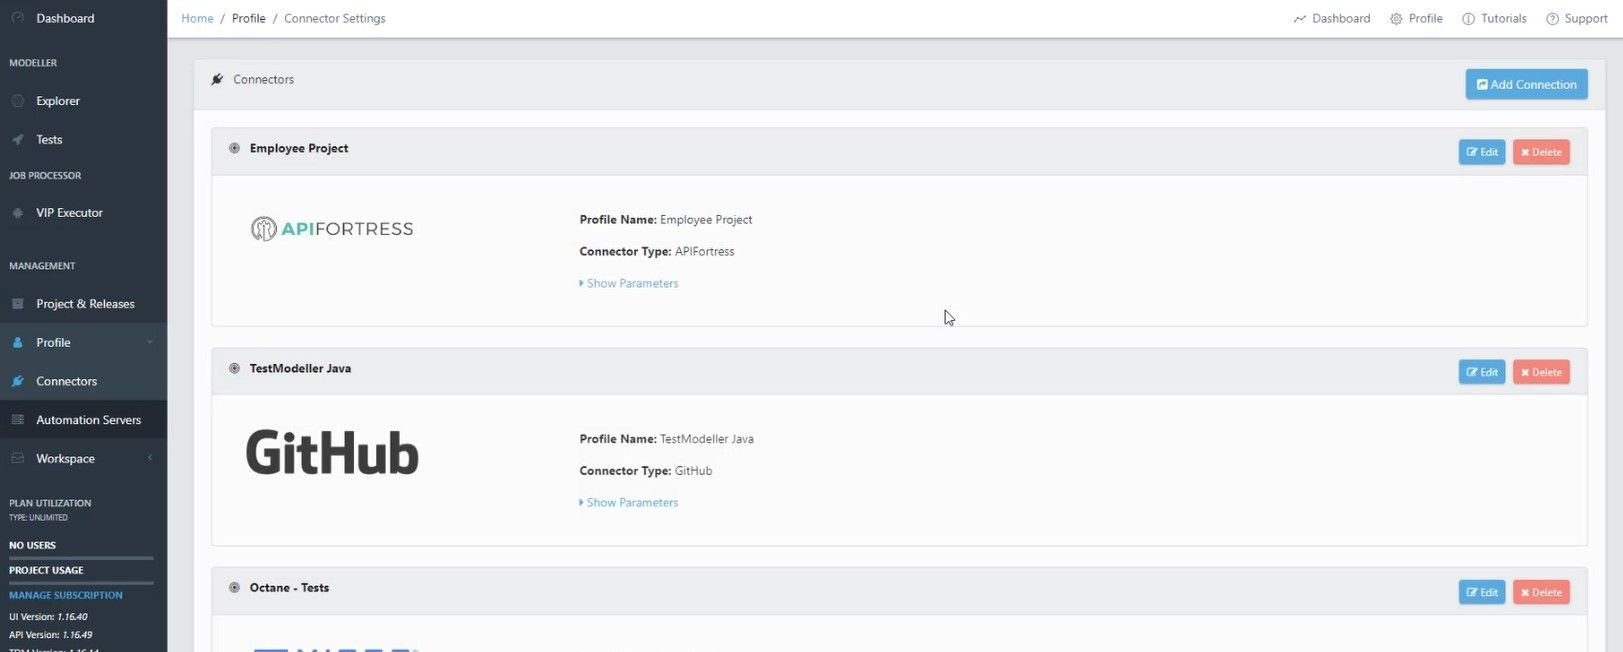
Here, you can view your connectors and set-up new ones. To set up a new connector, hit the blue Add Connection button.
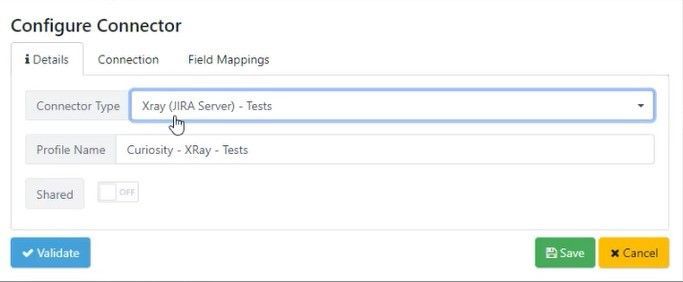
This will open the Add Connector wizard and allow you to set a Connector Type. The Connector Type option will now allow you to select the new On-Premise Xray connector, called Xray (JIRA Server) - Tests.
To learn more about connectors and how they work, please check out this documentation article: Jira On-Premise Connector
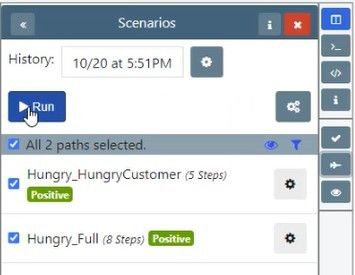
Once your On-Premise Xray connector is ready, you will be able to export Xray test cases to your on-premise Jira Server. To do this, generate tests on an existing model.
Once your tests are generated, hit the Blue Run button, this will open the Export wizard, here select Test Cases as your export method.
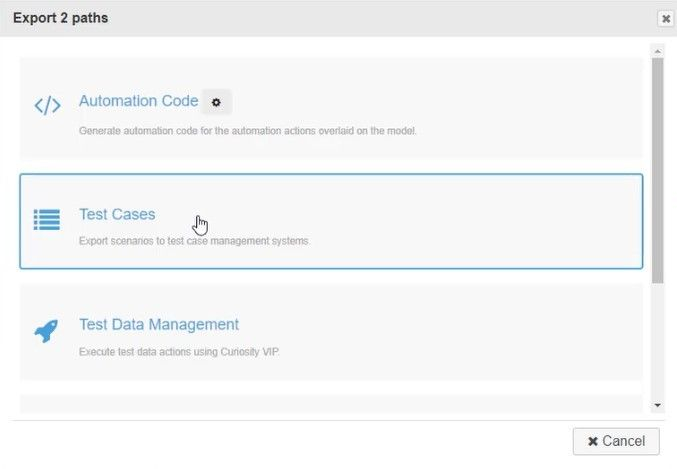
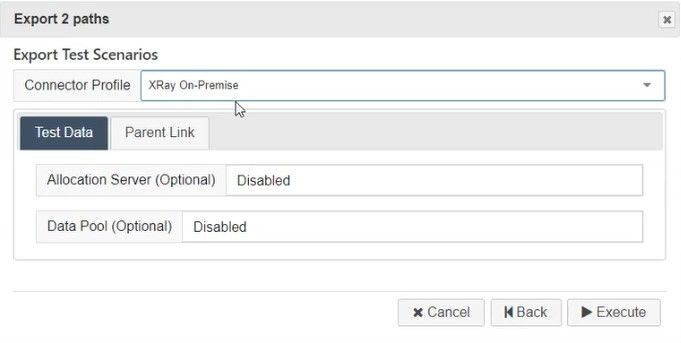
This will now give you the option to configure your Test Case Export. Select your new Xray On-Premise connector as the Connector Profile and hit Execute!
This will now link your test cases in the model to a Jira ticket which has been created by the connector.
