Projects Overview:
In this guide, we'll walk you through creating a project within the platform that automates the process of organizing work, including managing models, test results, test plans, and data activities efficiently.
Create a project:
When logged into the Curiosity Platform the top left panel shows the project you are in. By default, it will select ‘Example’ which we will change in this walkthrough.
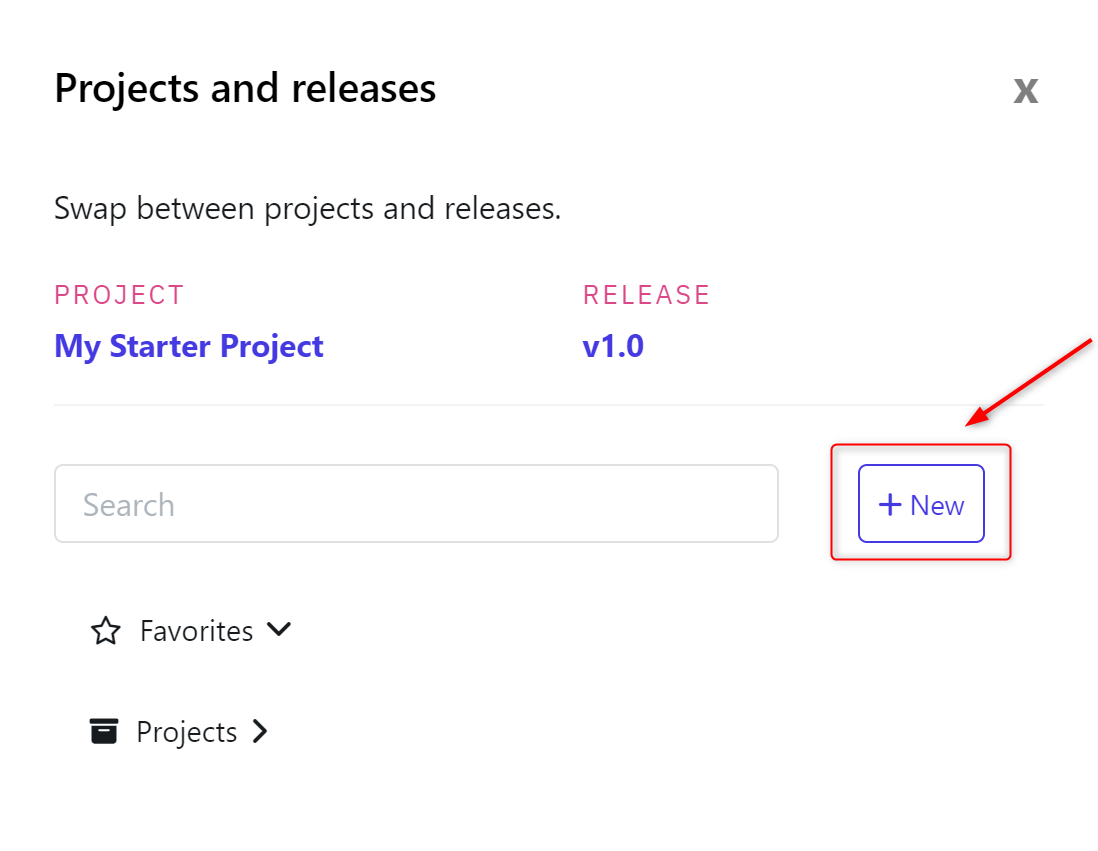
Click the down arrow by the release to create a new project.

On the right of the screen a tab will appear showing all the available projects in the workspace.
Select the +New button to create a new project.
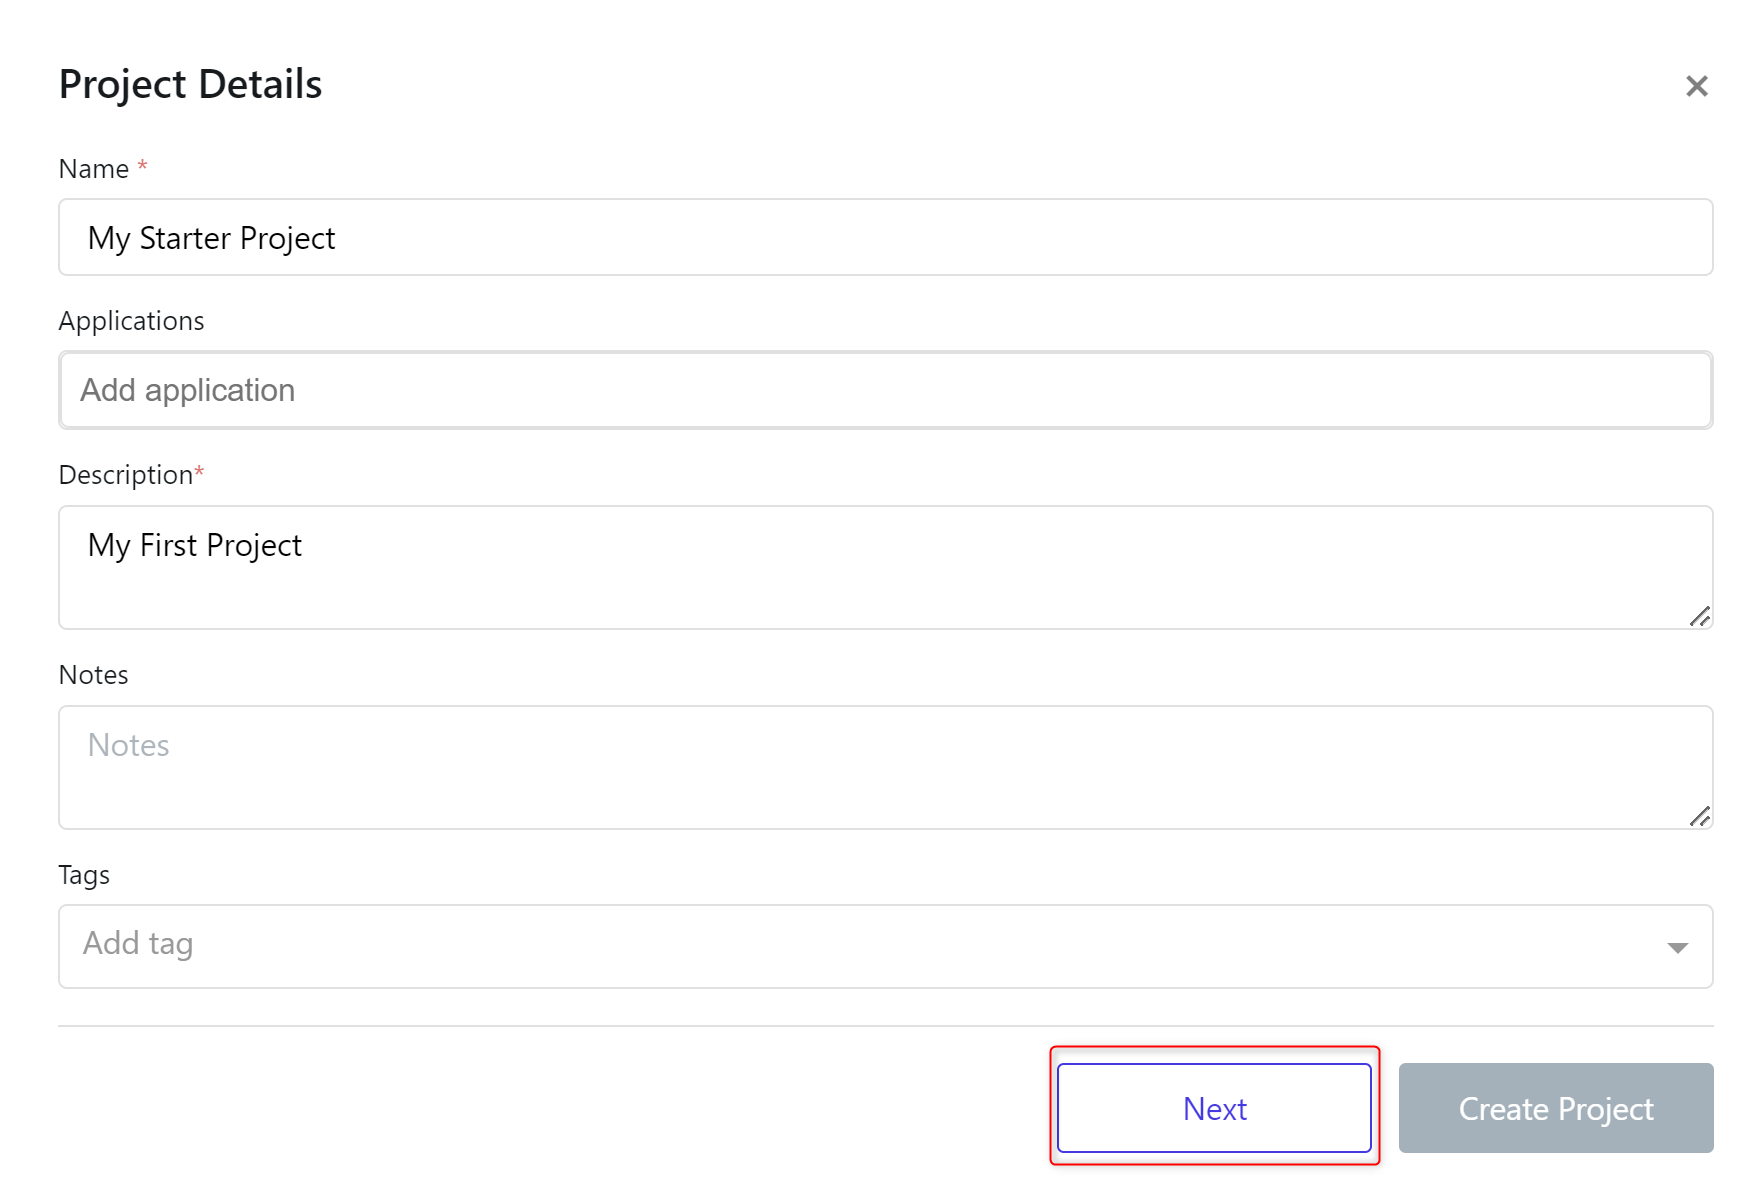
Complete the mandatory Name and Description fields.
When ready click ‘Next’ to proceed.
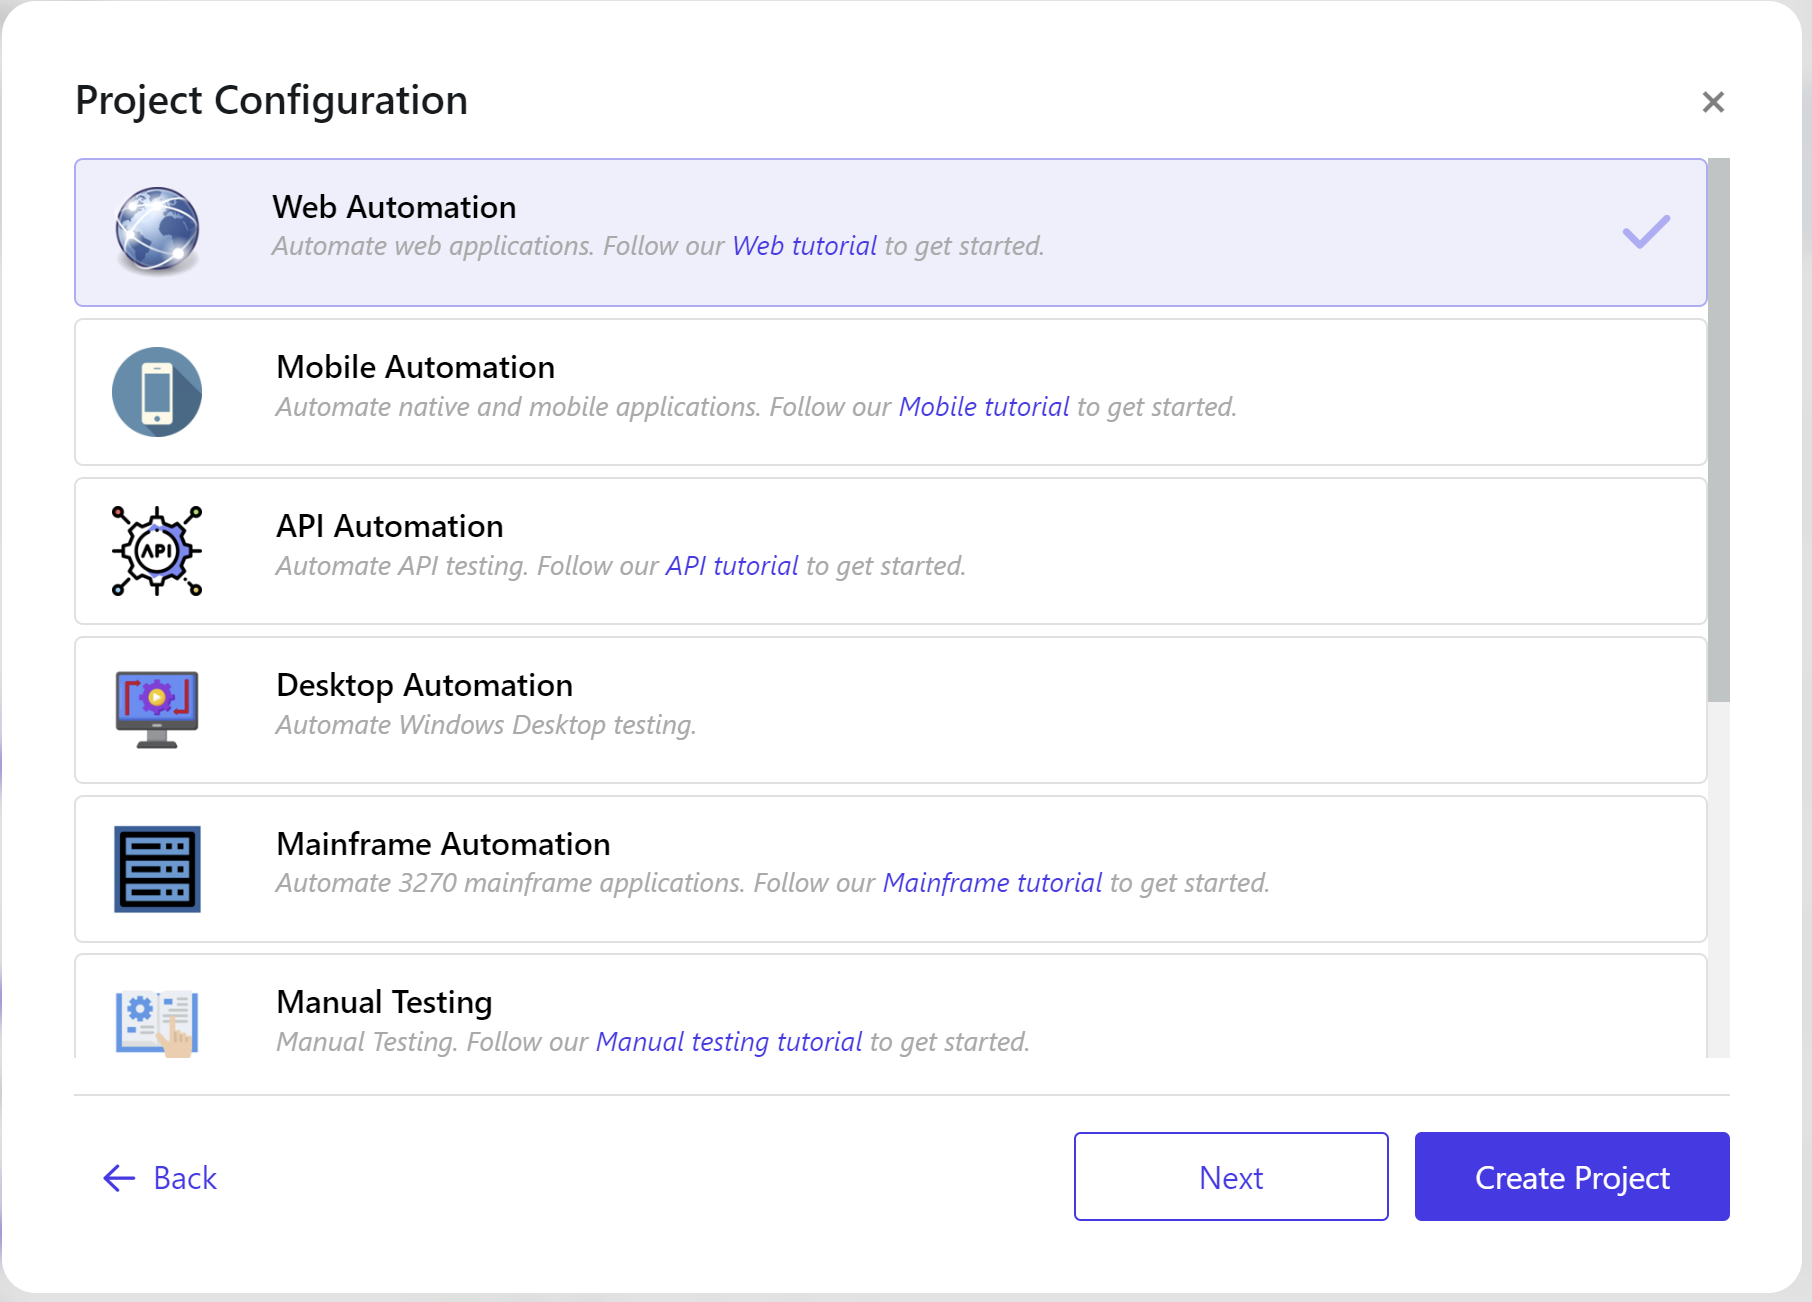
Project Configuration:
Projects ca be created with an associated automation configuration. By choosing a type of automation, the platform will provide that project specific accelerators. The accelerators are type dependant, choose web automation for example and associated automation scripts, assets and models will be created automatically for you.
Choose the appropriate automation framework for your project.
If you are unsure or your project doesnt require specific automation scroll down the list & choose from the Test Data Automation list below and select ‘No Automation’
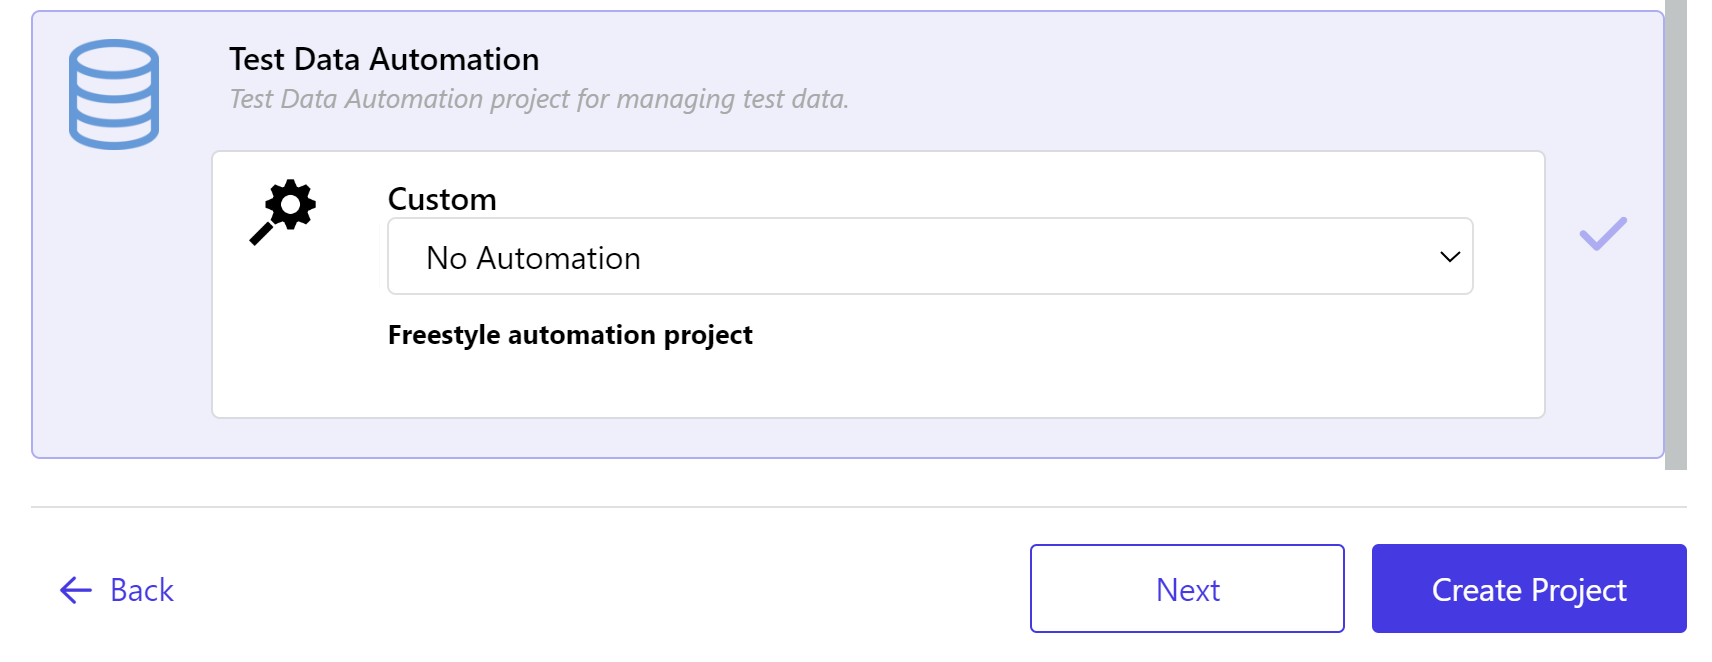
If later, your project requires automation you can edit the project later and add from the Project management screen. See the ‘Management’ article for more details.
Click ‘Next’ when ready.
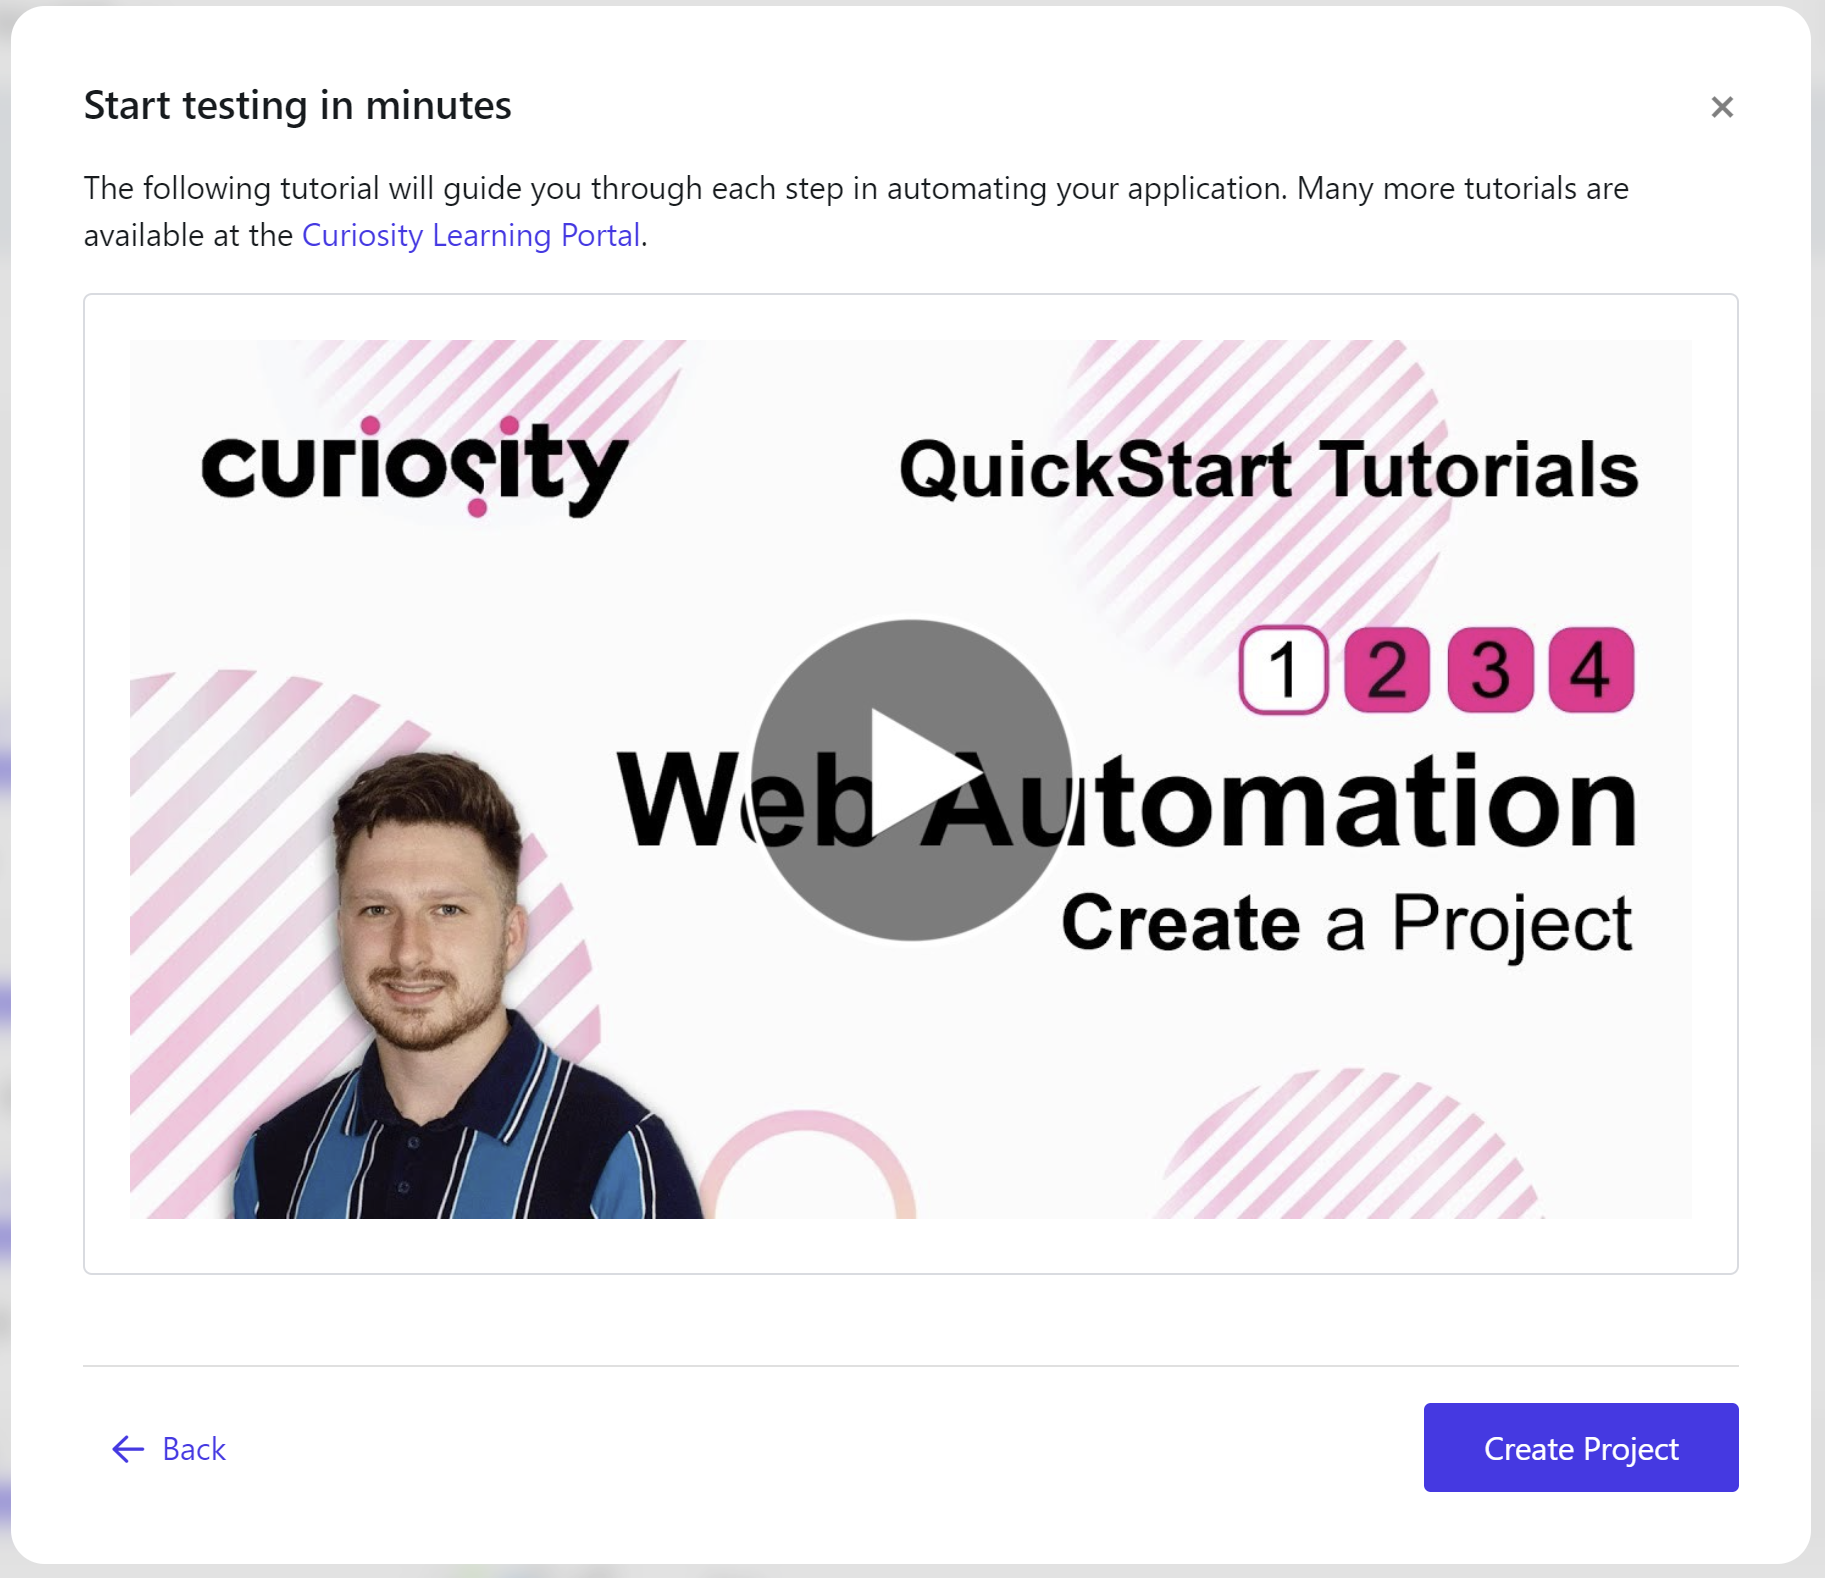
The project is now ready to be created. If you chose a default automation framework to be added to your project, a video guide and link to the Curiosity Learning Portal for walkthroughs & tutorials will be presented.
Click ‘Create Project’ to continue. Your project will now be selected and ready to use.
As a final check & if you chose an automation framework, the explorer screen will hold the templated Components, Data Activities & Scenarios to start working with.
