What are Data Pipelines
Pipelines are a data activity that allow you to create development and production workflows that allow you to carry out and combine a range of different activities to process, combine and move your data around. Their advantages are:
Automation: You can use them to automate your complex processes such as data generation, masking or transformation. For example the ‘find and make' use case, where you look for suitable data from your test data, and it it does not exist, then you include a step to generate the data.
Flexibility: You can define the steps and transformations that suit your data requirements and environment.
They can be built up by connecting different activities and utilities together that include importing, generating, masking and sub-setting data as well as transformations carried out on files and file systems like just moving files around.
Setting up a Pipeline
As they are a data activity, pipelines can be created and listed in the Data Activities section of the Curiosity Interface.
In the “Enterprise Test Data” section, expand “Data Activities” and navigate to the Activity Explorer.
Creating a new pipeline

On this page, click the “Add Activity” drop-down and choose pipeline, this will display the Pipeline dialog box,
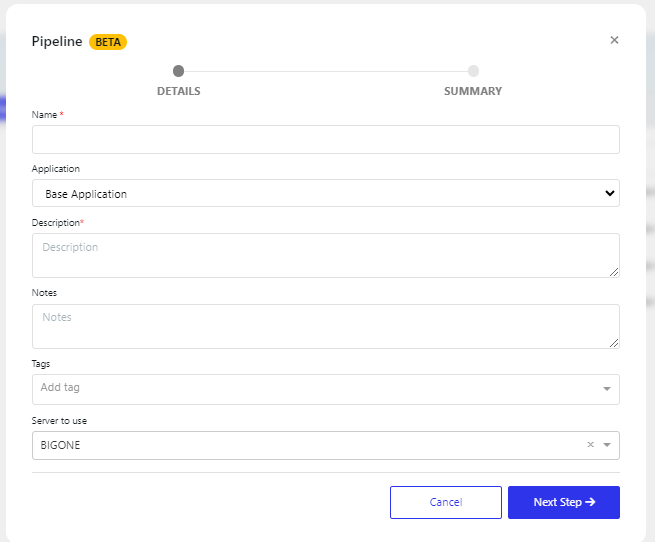
Fill in the dialog box. Note that the “Next Step” lists the activities that will be performed by this dialog box. then you can click save.
The fields are listed below:
Field/button | Description |
|---|---|
Name | Pipeline name |
Application | |
Description | Your description for the pipeline |
Notes | Your notes on the pipeline |
Tags | |
Cancel | Cancel the pipeline creation |
Next Step | display the next steps and the save button |
Then click Go to data activity to configure the pipeline (else you can configure it at another time on the Data Activity page).
Configuring the pipeline

Under activity explorer you can navigate to the folder with the activity then click the pipeline to open it
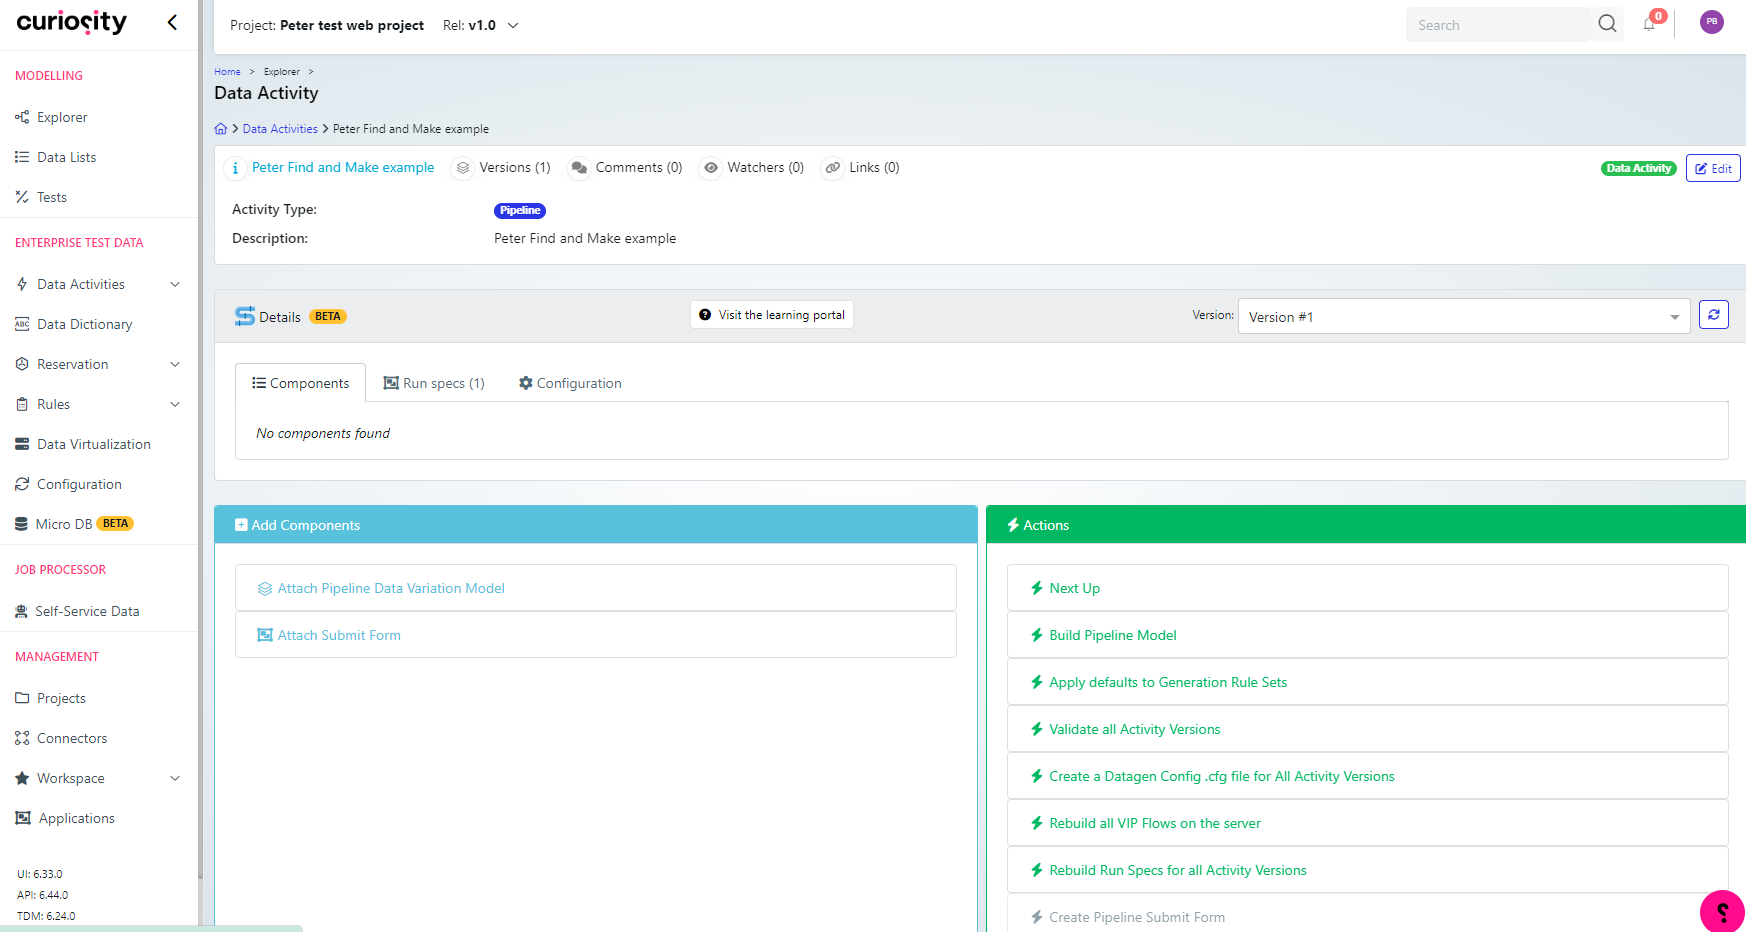
The pipeline has three tabs, listed below.
Components tab
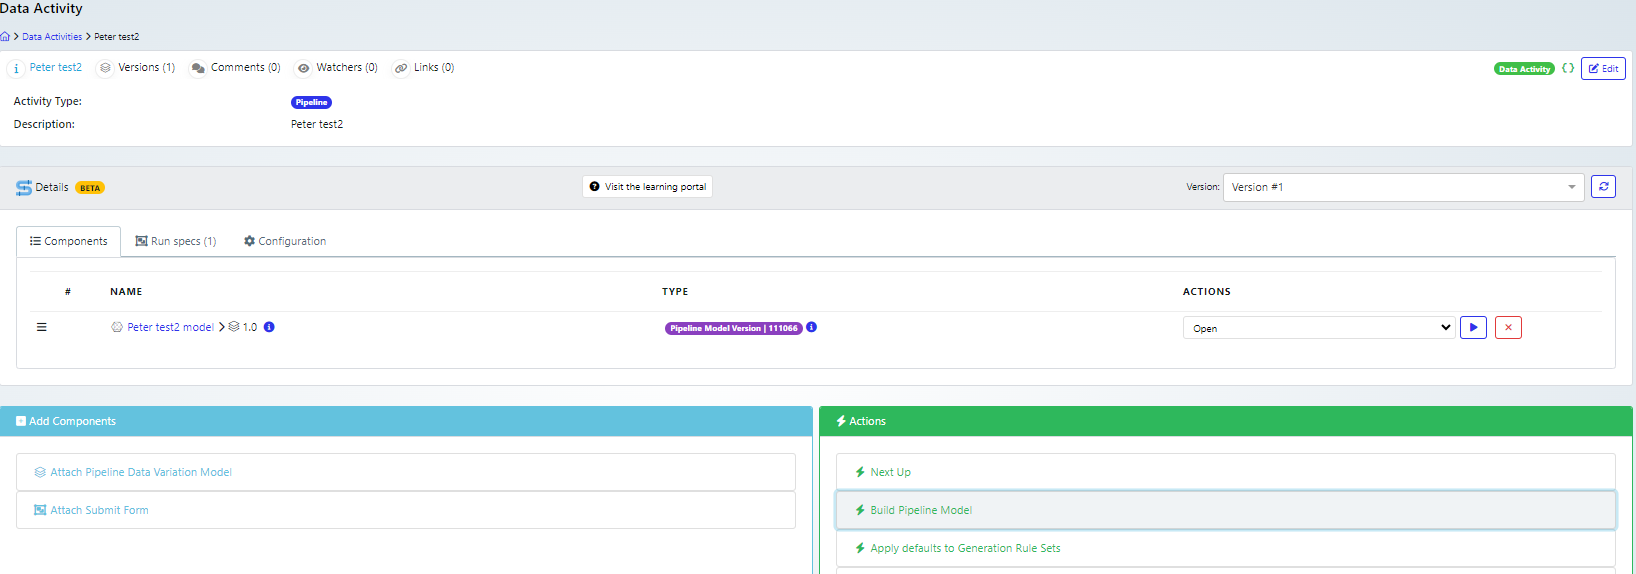
This tab lists the components that have already been added to the pipeline activity. There are a number of components you can add and actions that you can perform.
Run specs tab
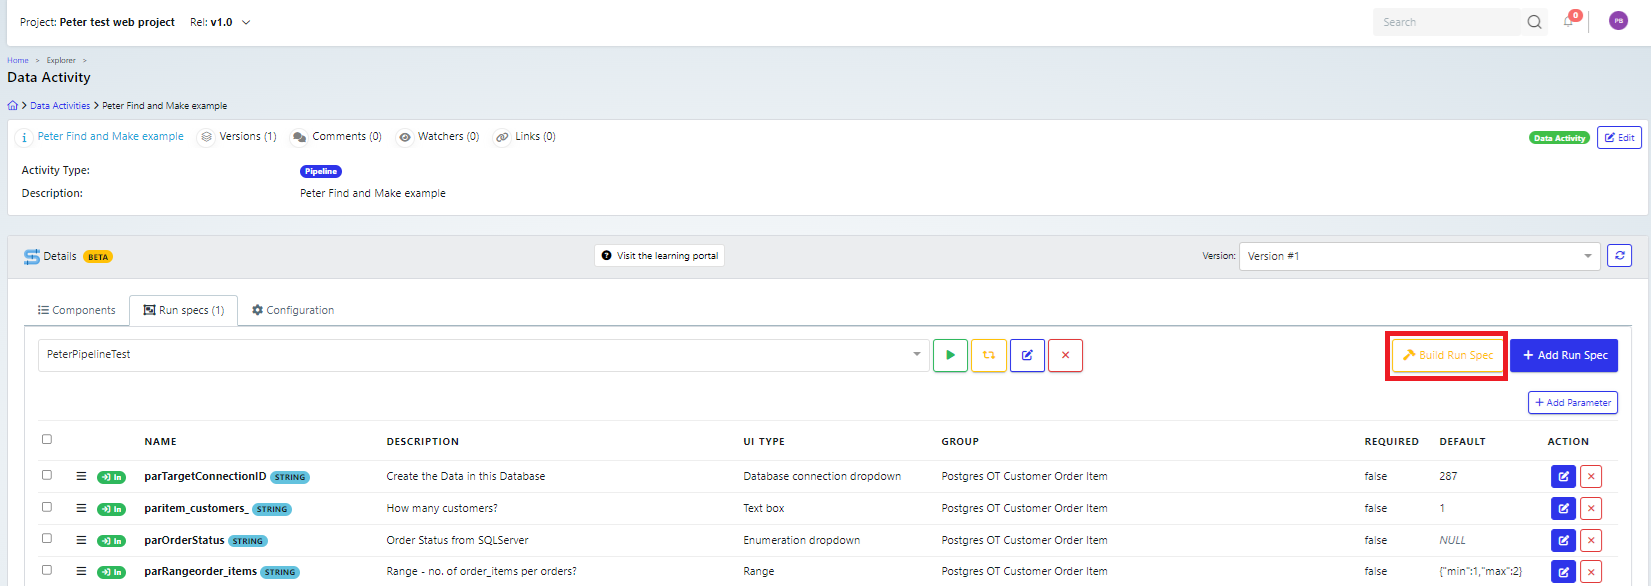
When you create a Submit form, a run spec will automatically be created for the data activity.
You can rebuild it using the Build Run Spec button.
Note that if you use a data activity in the pipeline, it must have its own run specification set up. So it is good practice to first run any data activity (that you will embed in a pipeline) standalone using a server process to ensure it works correctly.
You can have multiple run specs linked to a single data activity, which has multiple server processes linked to it.
Configuration tab
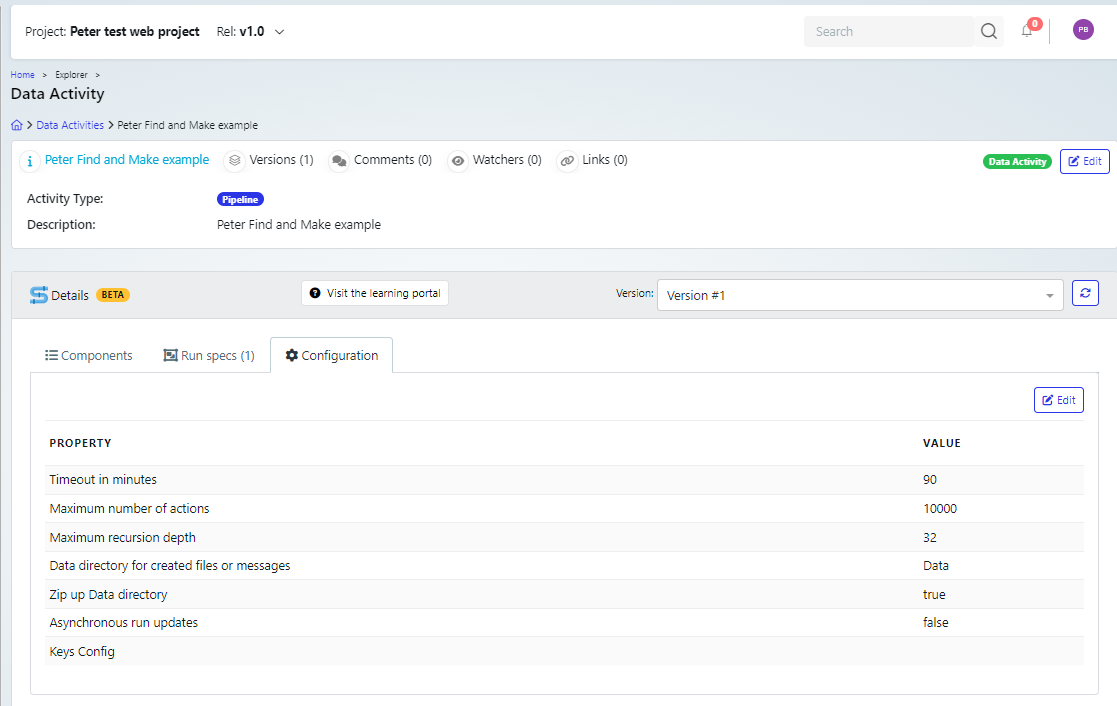
This has important parameters to safeguard the running of the pipeline.
Parameter | Default value | Description |
|---|---|---|
Timeout in minutes | 90 | Maximum length of time that the job will run for |
Maximum number of actions | 10000 | Maximum number of actions that it will carry out. This is a safeguard to prevent the job looping forever if you include a loop with no end. |
Maximum recursion depth | 32 | This is in case you call pipelines within pipelines, it will stop after this number of recursions |
Data directory for created files or messages | Data | This is a folder in the work directory that stores all of the data. It maps to an environment variable: parDataDir [CHECK THIS - COULDN’T FIND IT ] |
Zip up Data directory | true | |
Asynchronous run updates | false | If set to true then the process may be faster, but the status could go out of sync on the user view, and so you would need to refresh the page to get the correct status. |
Developer and User Mode
When developers are testing the pipeline, there are two buttons on menu for the model to allow them to run (green arrow) or debug (yellow bug) the pipelines.

When users use the pipeline, they will access it via a submit form (details on creating this are given later in Create (or update) a Pipeline submit form). Note that once a submit form is created then the run button within the model will use that form for managing the parameters.
Pipeline Model
When you create a pipeline, a model is automatically generated for you, it will appear in the components section. You can click this to open and edit the model.
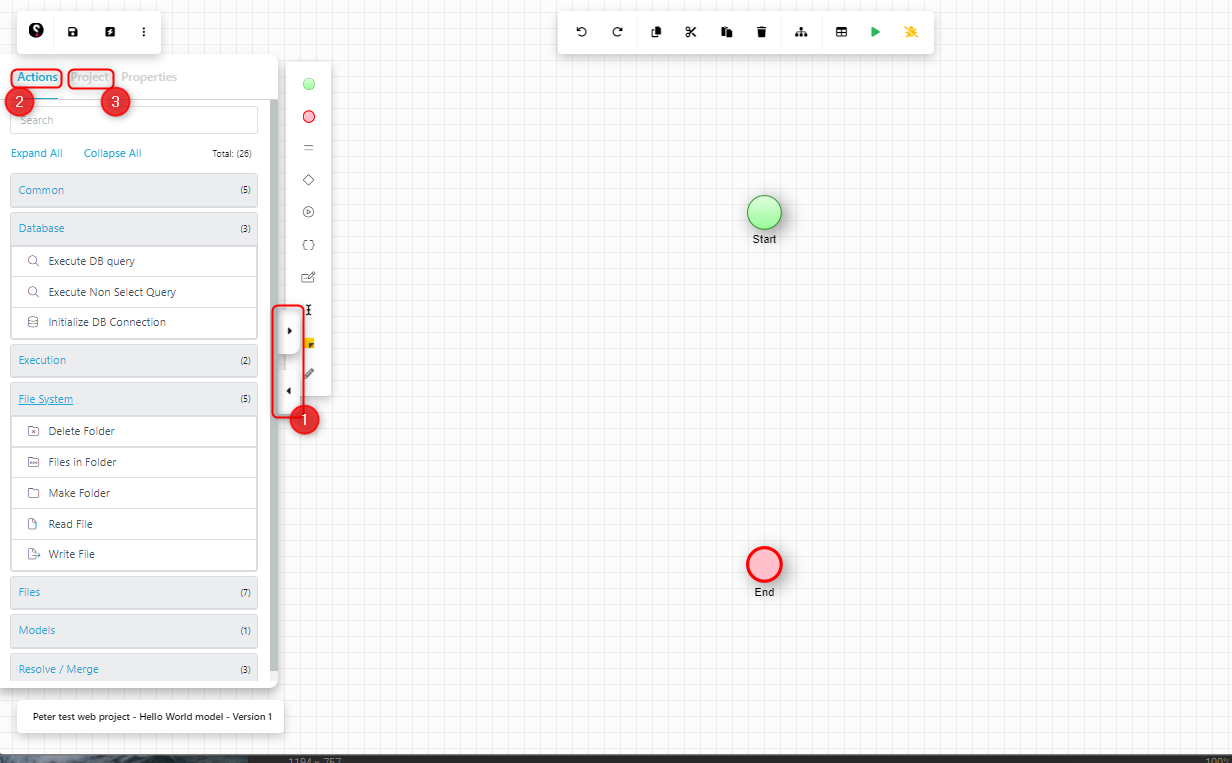
On the model canvas, use the arrows on the left-hand side (1) to open the main activities menu, and select projects, so you can find the components that you need to add to the model. For example the actions (2) tab contains a range of useful utilities. There is also a Project tab (3) that will allow you to drag data activities that you have created onto the canvas, so you can incorporate them into your model.
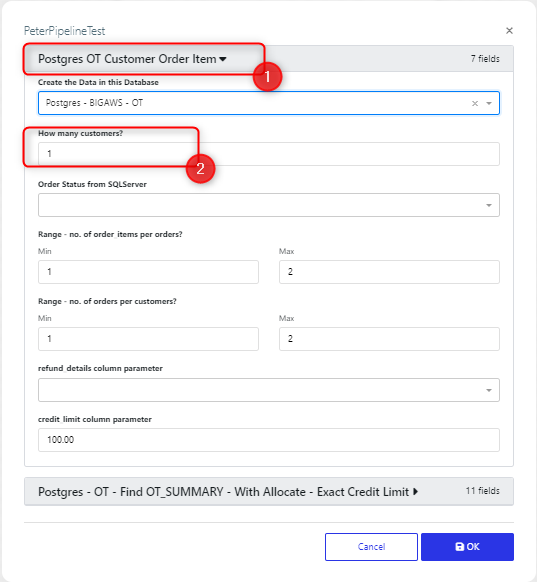
Once you have created your model, there is a run button (green arrow) on the top menu, in order to test the model.Initially you need to choose a server to run the pipeline. Then a submit form will be displayed. Typically the run spec parameters for each data activity will be displayed together in groups, but you can update this, by changing the Form Group name for a variable.
For example, on this run dialog
The parameter ‘How many customers’ (2) appears in the section ‘Postgres OT Customer Order Item’ (1)
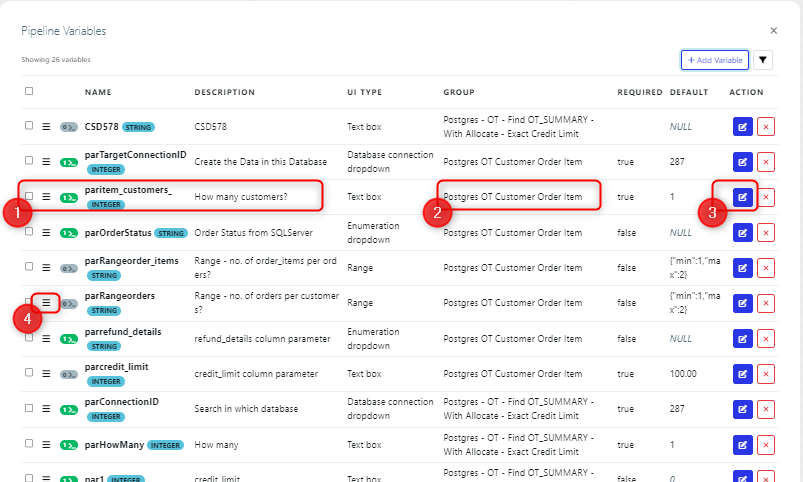
If we open the variables for the model

Then we can see that this is the group name for the variable for the ‘How many Customers’ parameter, and you can change that, if you want to arrange your parameters differently, then you can edit the variable (3) and change the group name. You can also reorder the parameters on the run form, by moving the variables up and down on the variable list (4).
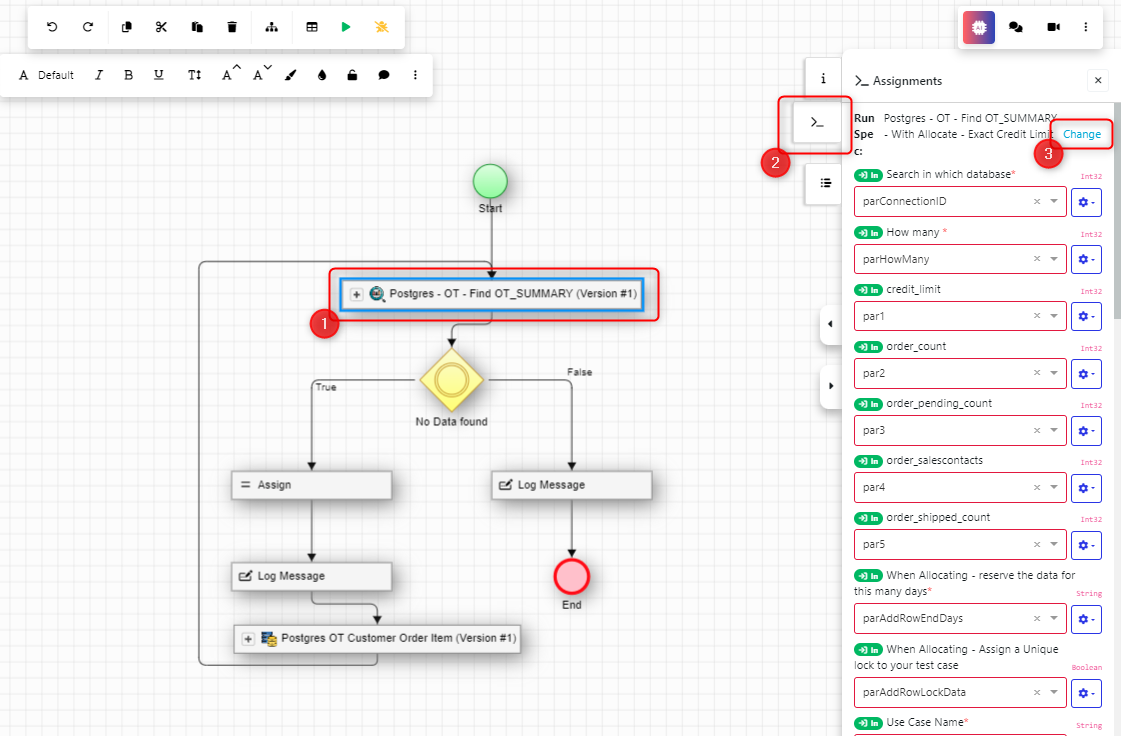
Note that if you make changes to the parameters for a data activity, for example adding a parameter, then you will need up update the pipeline so that it is aware of those changes. To do this, on the pipeline model you can: select the activity (1), open the node variables side tab (2), and click the change link (3). This will open the run spec parameters dialog and the new parameter will be available.
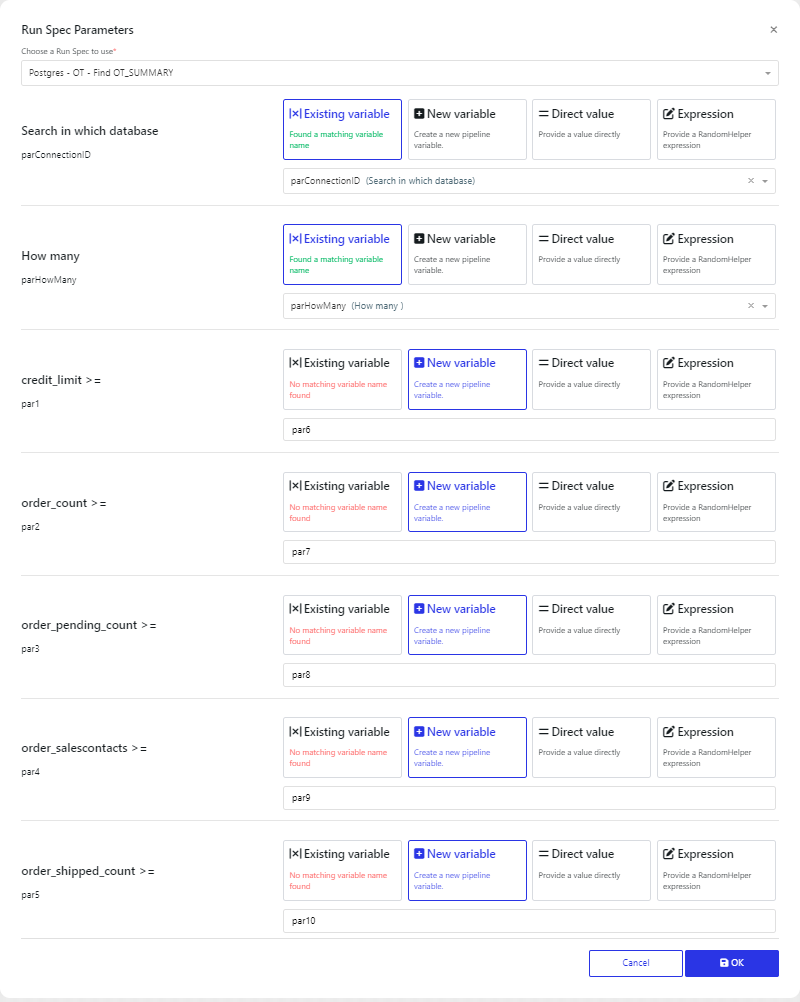
Once you have tested that your model runs as expected, you can go to the next stage and create/update a Pipeline submit form.
Create (or update) a Pipeline submit form
A pipeline submit form allows you to execute the pipeline without needing to open the model. These will be typically used by your users.
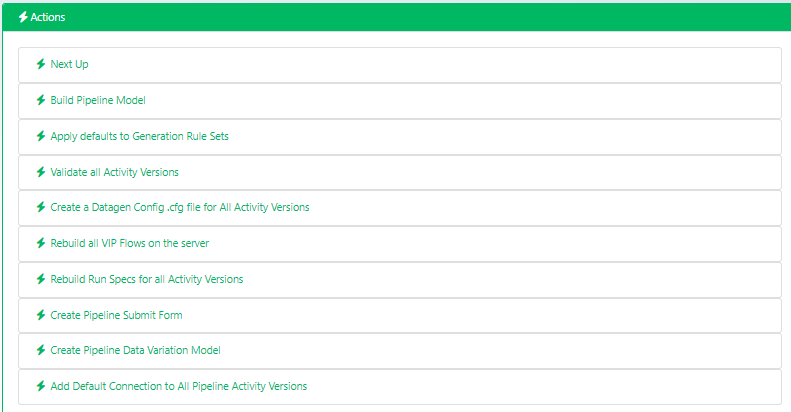
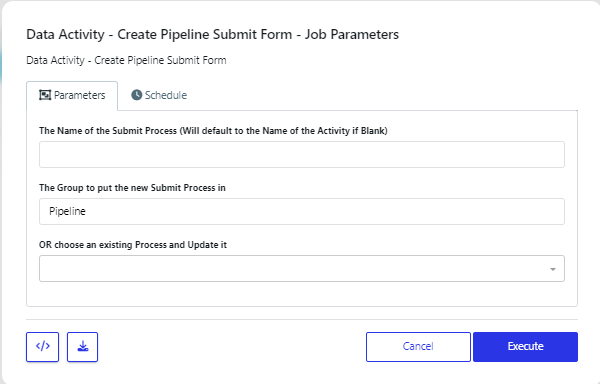
Navigate to the data activity page for the pipeline. On the Actions list, click ‘Create Pipeline Submit Form’ and fill in the resultant dialog:
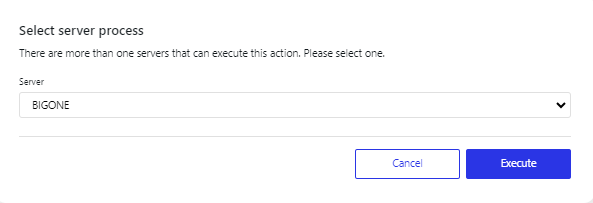
Choose the appropriate server and click execute (to move to the next page).
Give a name for the submit process.
Click execute to create the form.
Note that you can update existing forms by choosing the server process of the existing form from the “Choose an existing process and Update it”.
