In this article, we'll cover exporting tests to JIRA Xray from a model in Quality Modeller.
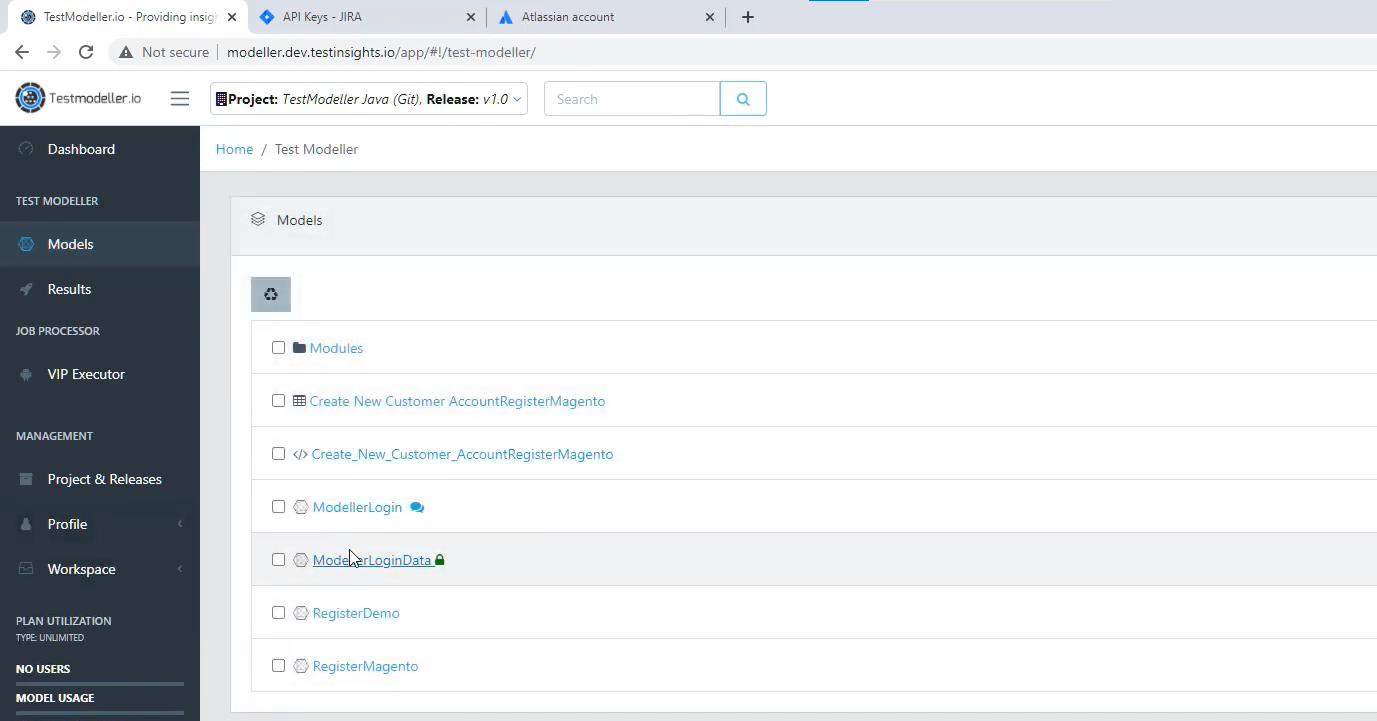
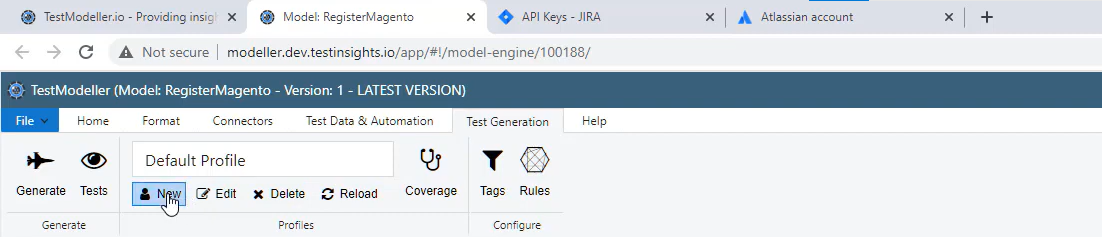
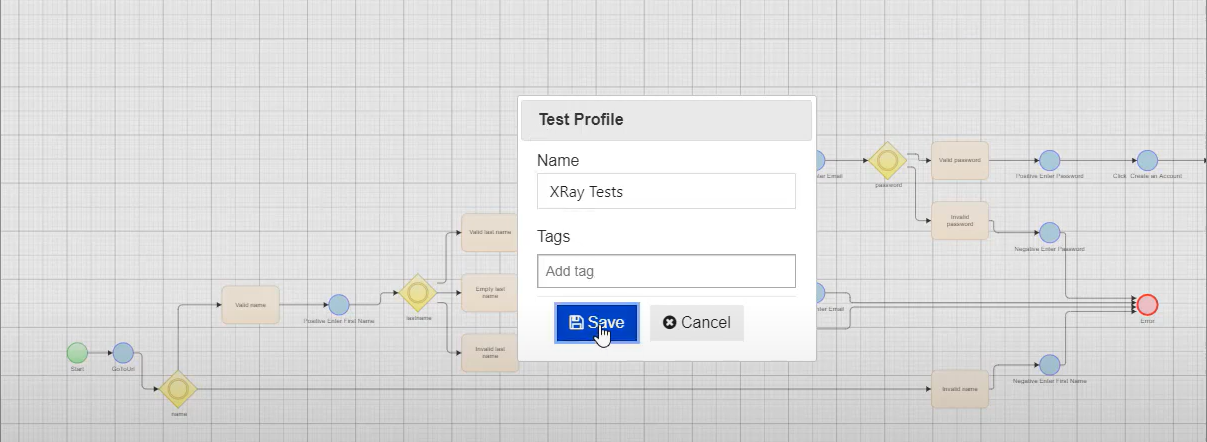
Inside of Quality Modeller, open up a Model. Add a New profile underneath Test Generation → Profile. Name the Profile Xray Tests and click save.
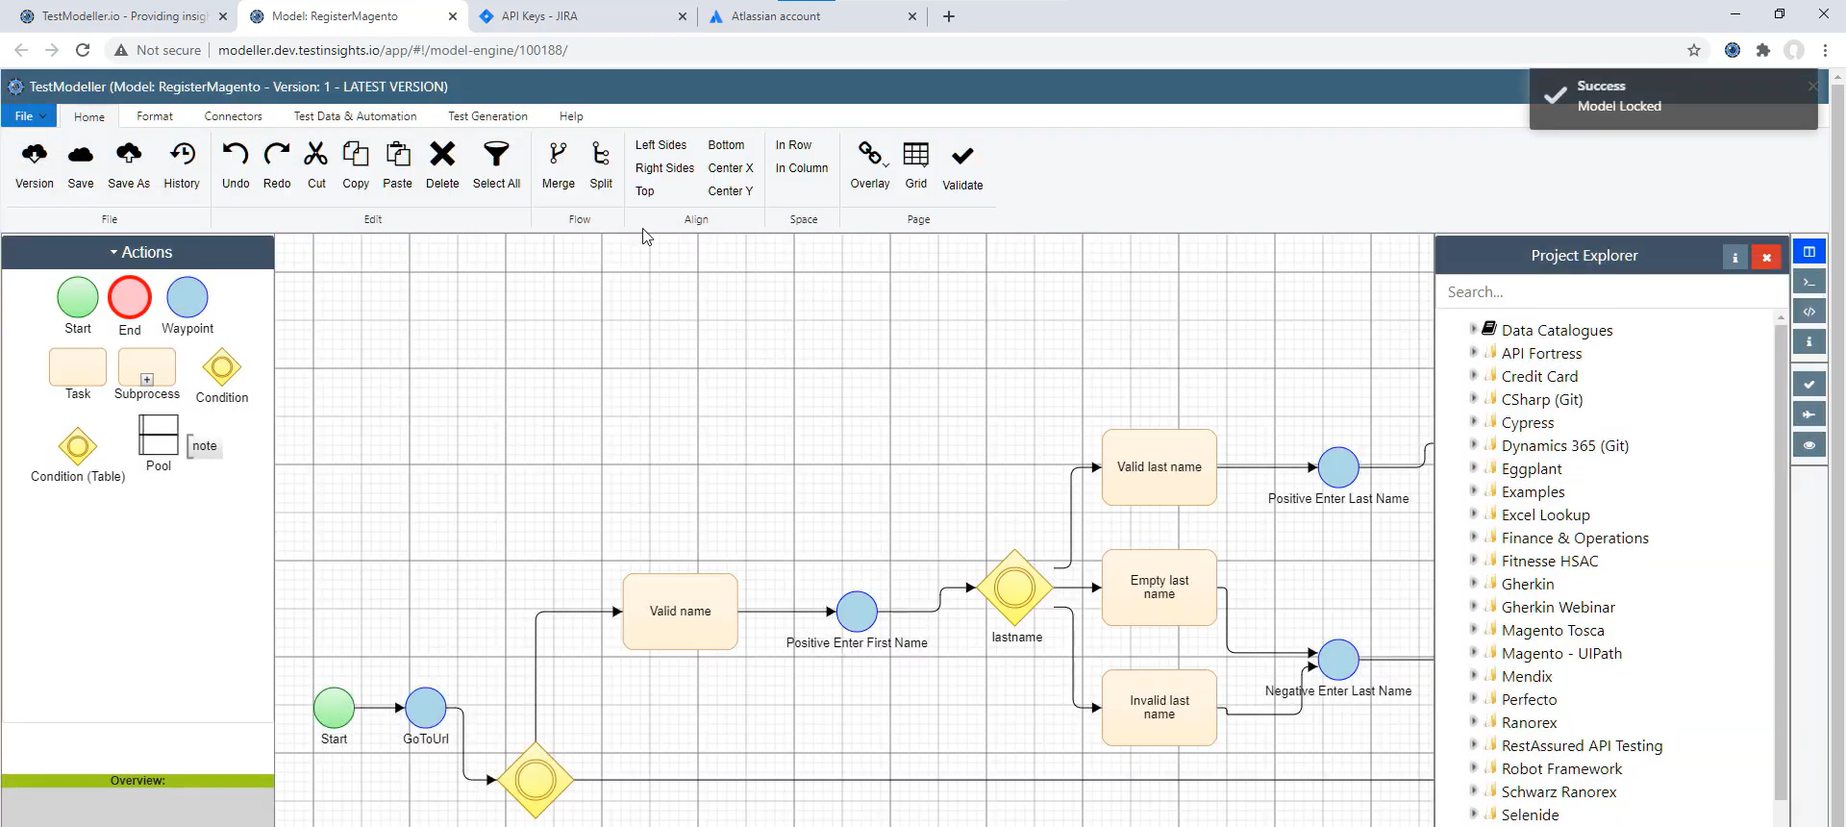
Continuing in Quality Modeller, click the Plane icon to Generate Paths.
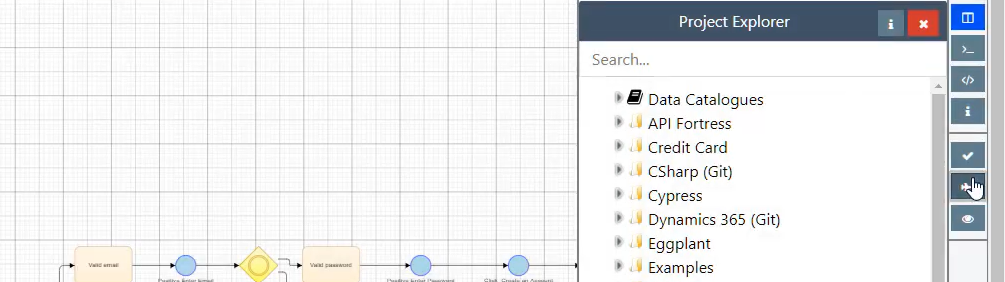
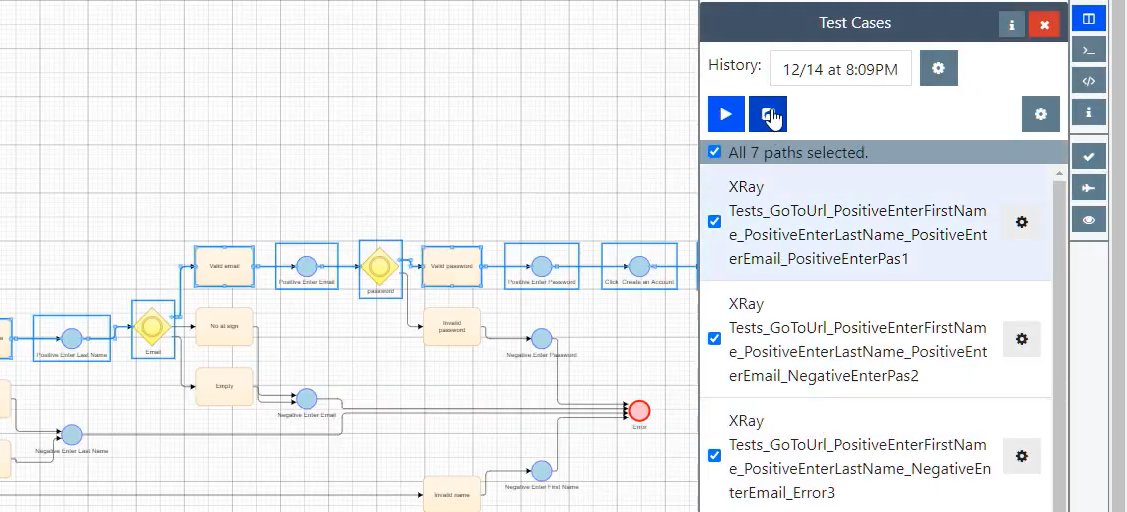
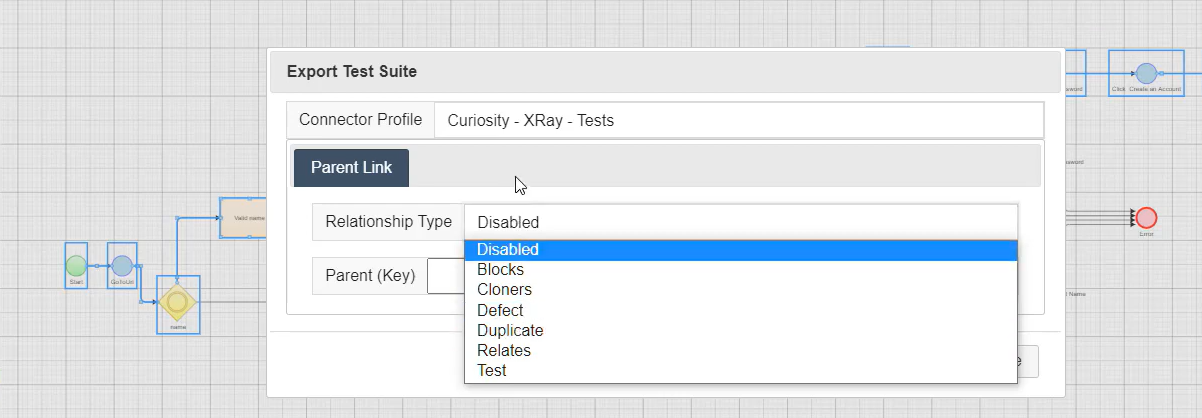
With the Paths generated, click the blue view arrow in the Test Cases pane to preview to pop-up the Export Test Suite settings. In the setting, select the Connector Profile from the dropdown. You can define a Relationship is needed and a Parent (Key) for the ticket. Of the many Relationship Types, you can select Disabled and the hit Export.

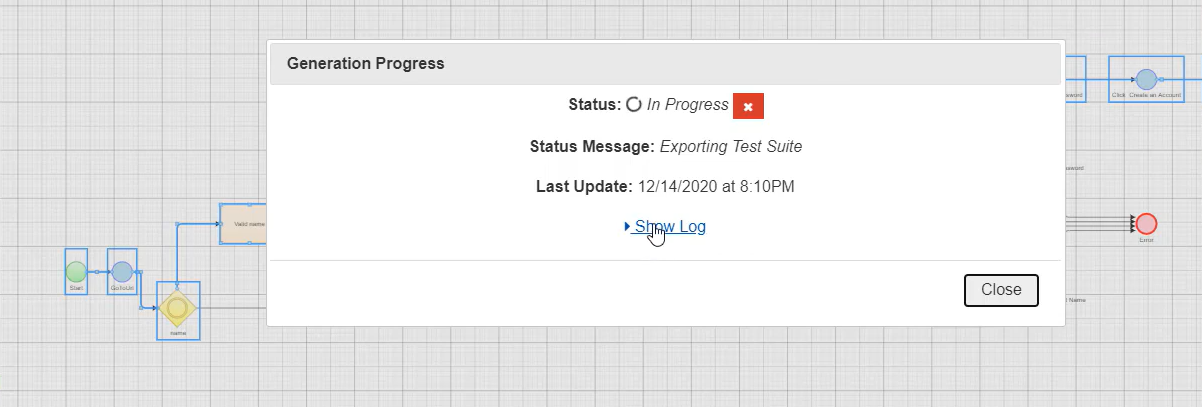
You can Show Log as the job is processing to see information and process as the export is being undertaken, which also can be downloaded. Remember to hit the close button.

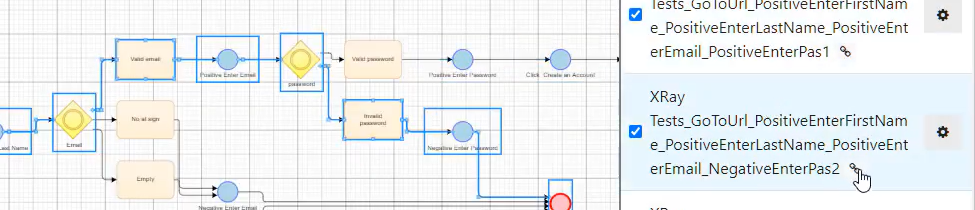
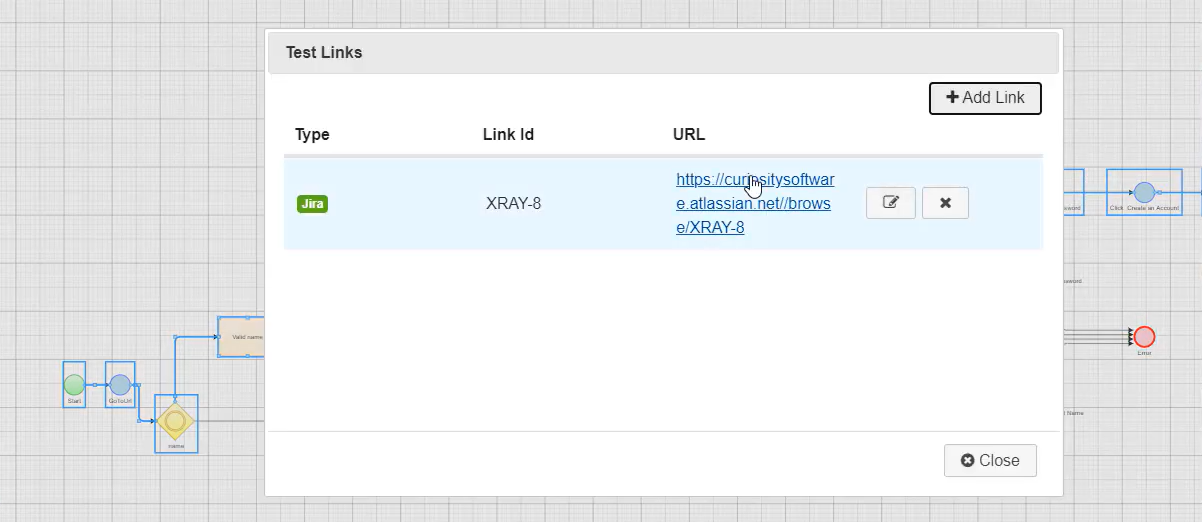
Now, next to each test, a link icon appears. If you can on that link you'll see the path links.
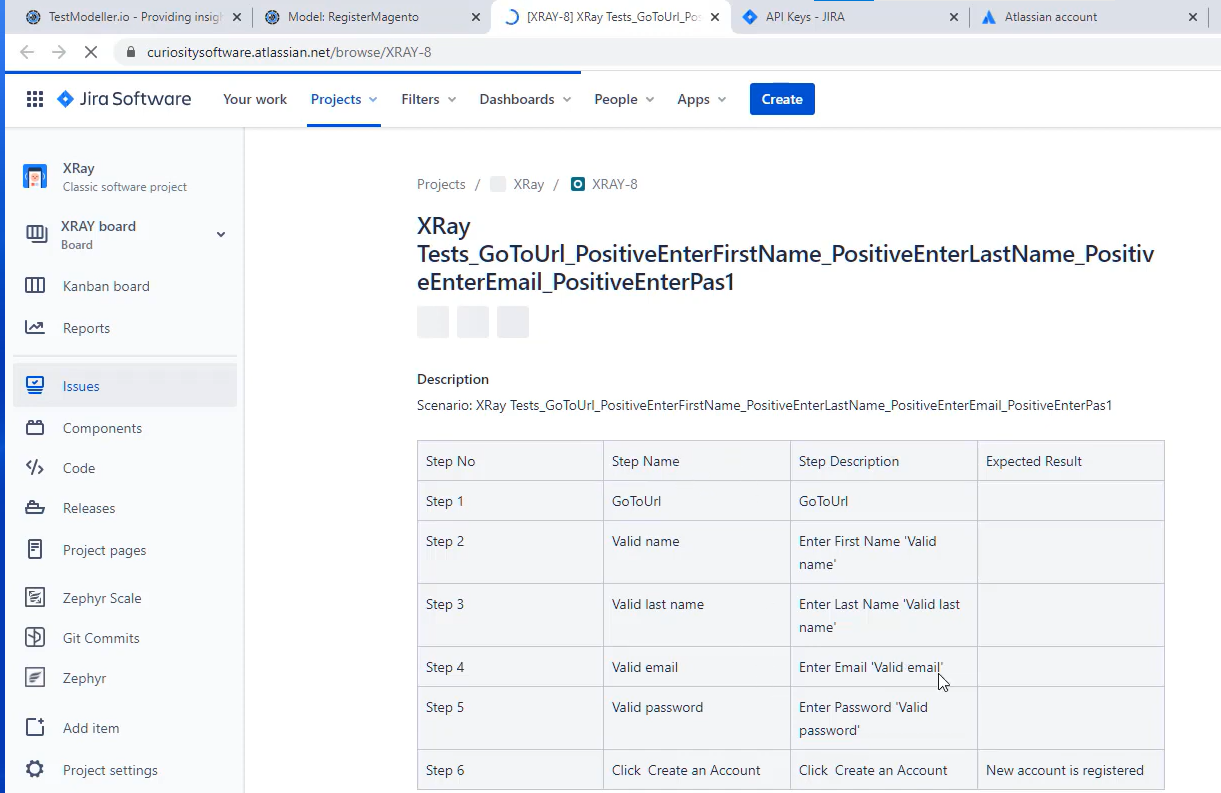
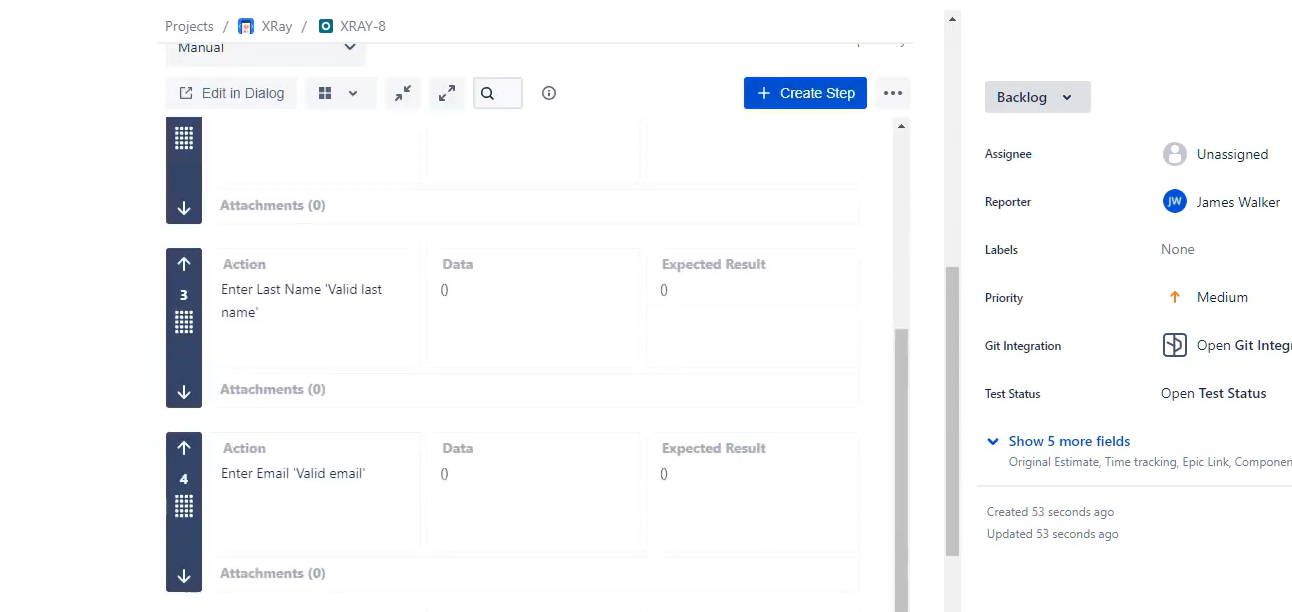
Inside the Xray ticket, we can see the number of steps, the step name, step description and the expected result. The steps are available to view in detail using the Xray plugin.