In this feature video, learn how to export and view test steps exported out of Quality Modeller using XRay into a folder repository in Jira!
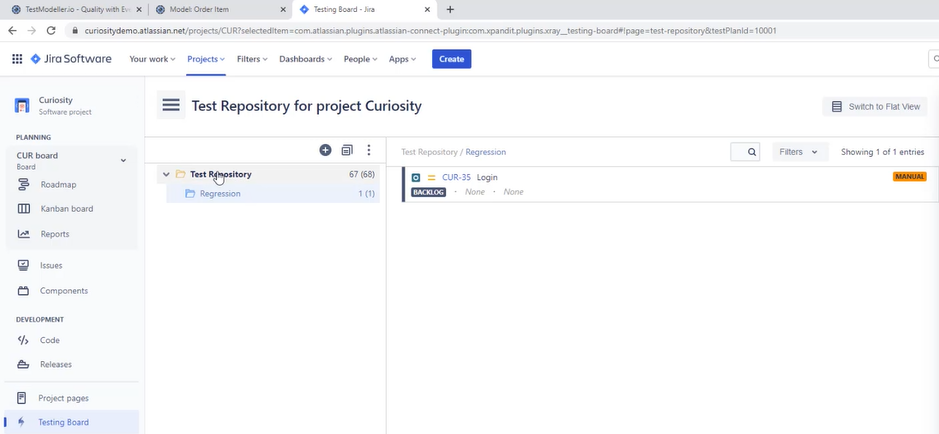
Use XRay installed in Jira to export generated test steps of Test Cases to a Jira project repository. It’s necessary to have your Jira project testing board open but also Quality Modeller.
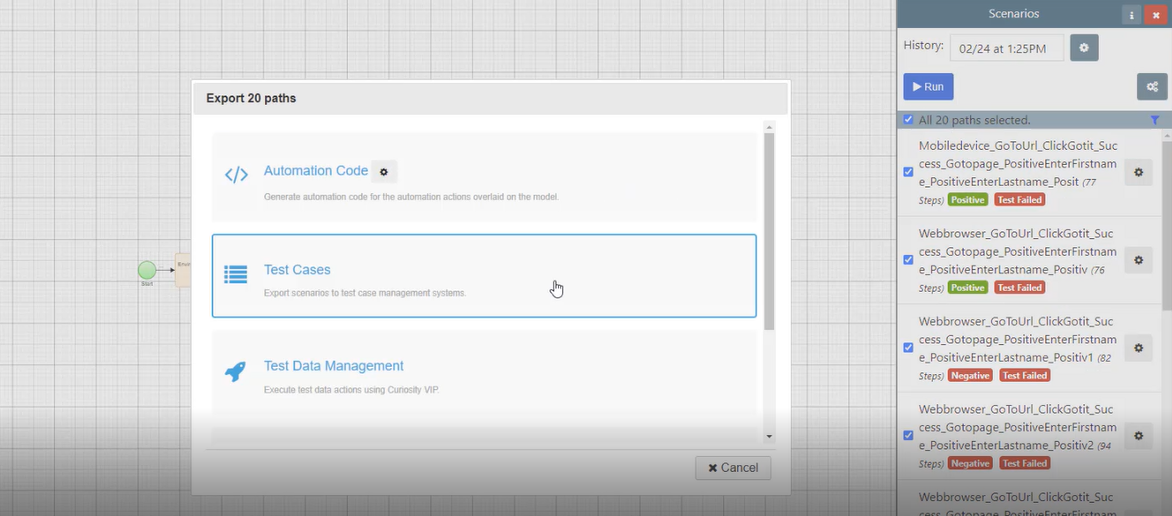
To push the paths generated in your Quality Modeller scenario to a pre-defined Jira project first hit the blue Run button on the right hand side, and select “Test Cases“ in the wizard.
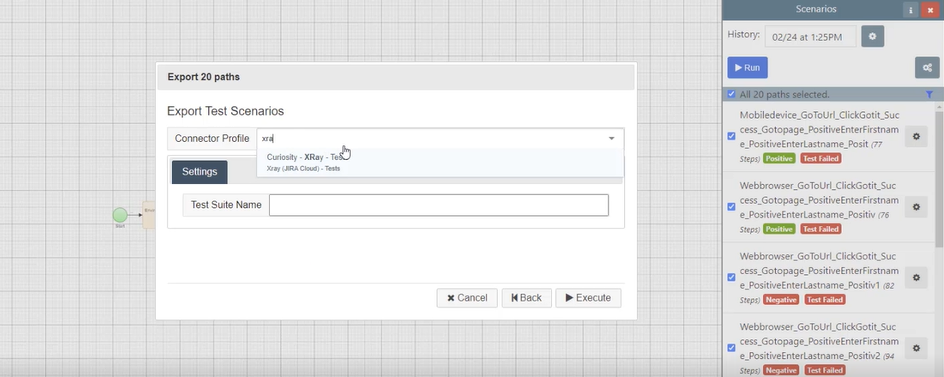
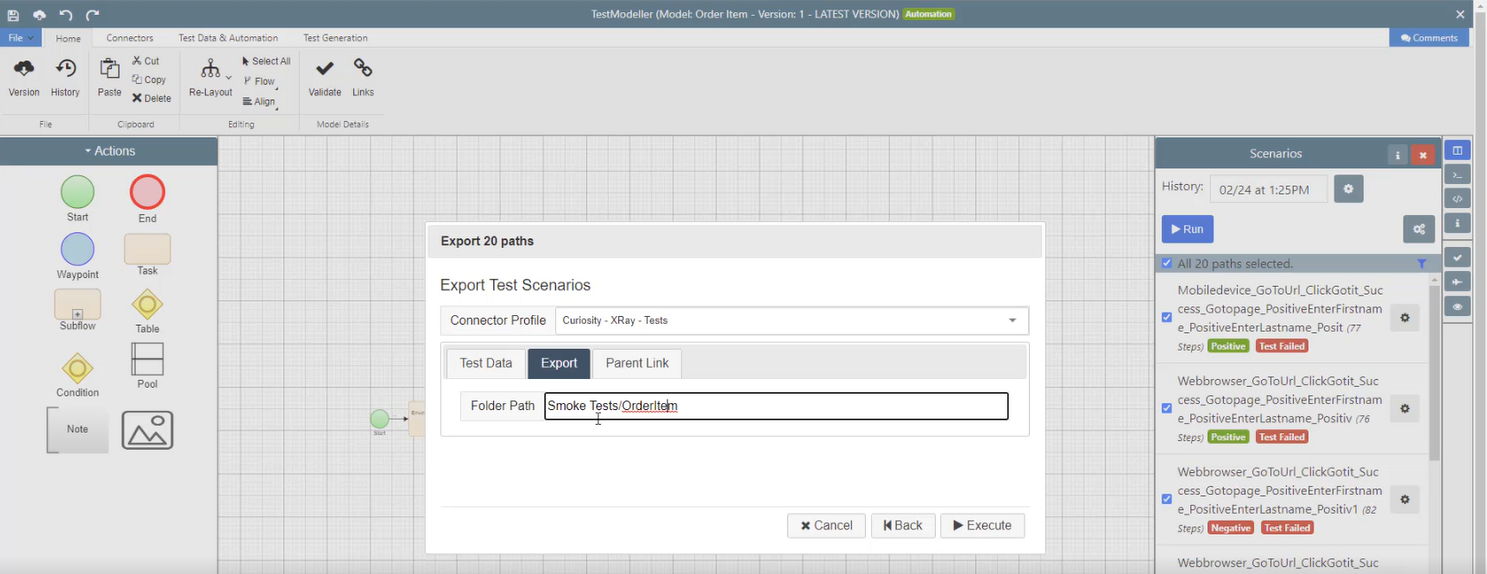
Before specifying an export Folder Path, set the relevent Connector Profile which appears listed in the dropdown in the Export Test Scenarios window. In this example it’s ‘Curiosity - XRay - Tests’.
To export hit the Execute button in the Export Test Scenarios window. Remember first to specifty the Folder Path which creates a sub folder in the Jira project. In this example it’s ‘Smoke Tests/OrderItem’.
To verify that the export has been successful first hit the close button on the Generation Progress window.
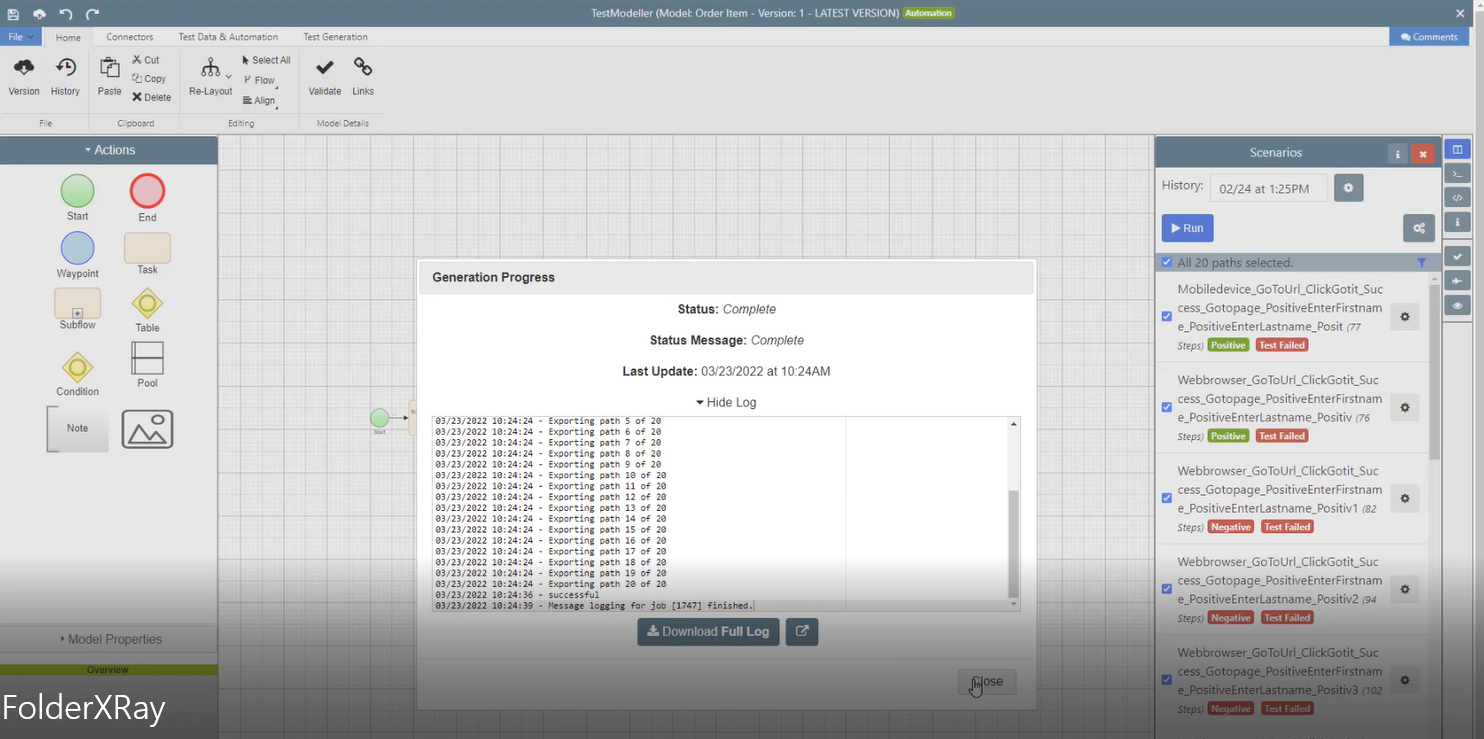
To further verify a successful export look for the green and red ‘Positive’ and ‘Test Failed’ labels on the right hand side and click one of the link-chain icons.

Finally, to see recently pushed Test Cases just produced in Quality Modeller click on the Jira tab in your browser and hit the browser refresh icon.
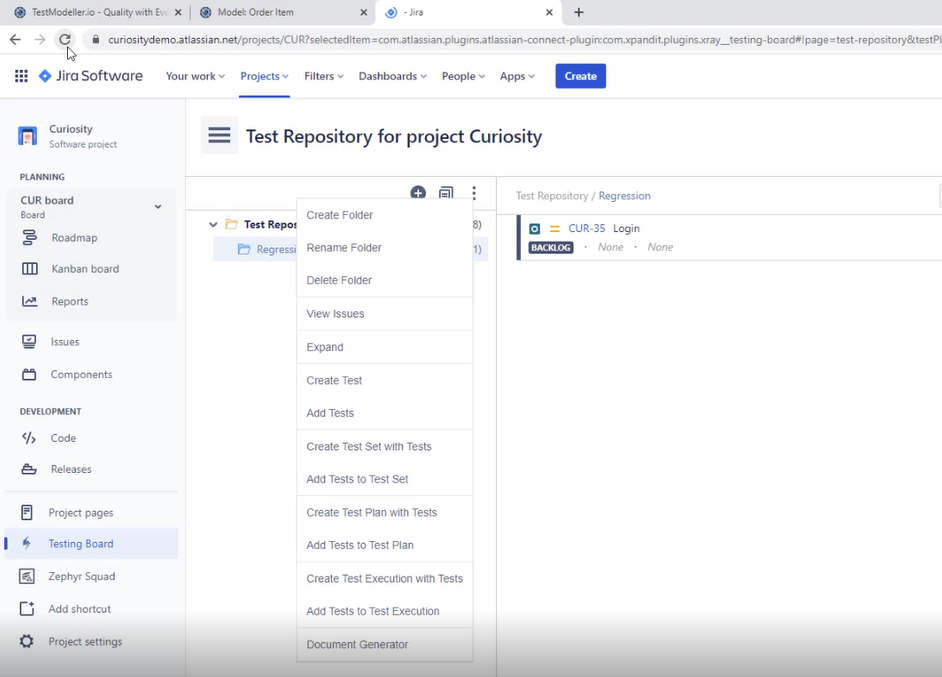
Finally, open the directory, in this example, ‘Smoke Tests' > sub directory (folder) 'OrderItems’ to reveal xRay Test Repository list.
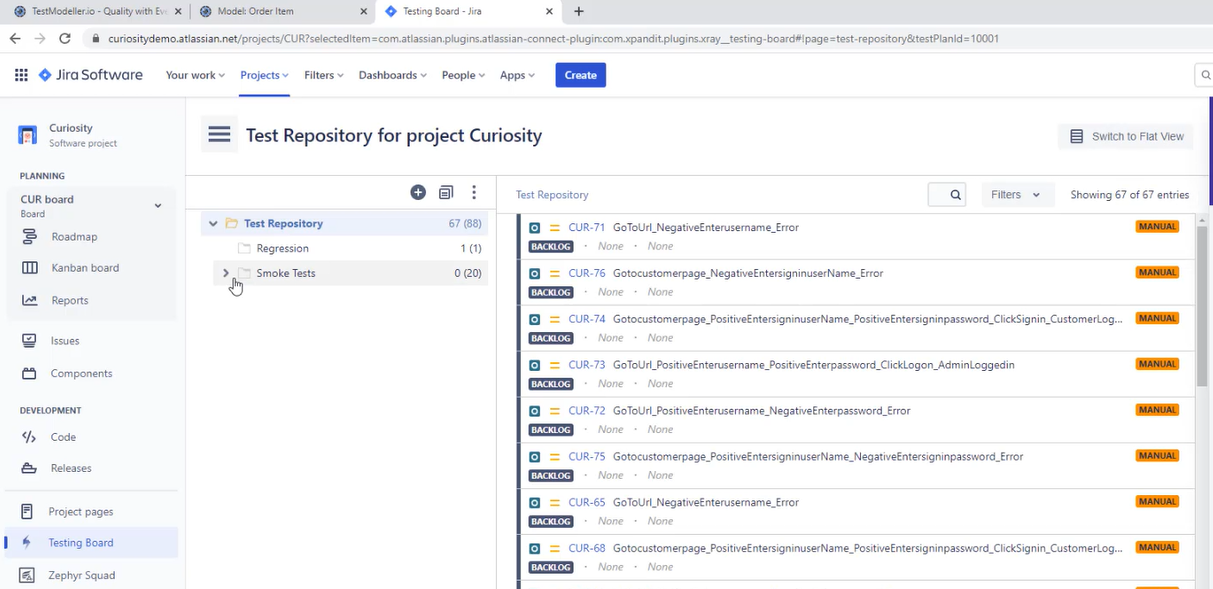
Each of the test cases is shown as a tabulated XRay Export. This example shows the test steps for Test Case CUR-78.
