In this documentation article, learn about Model Properties inside a model and how to add custom fields in the properties.
To find the Model Properties section, open an existing or new model, and then open the Model Properties section under the Actions tab.

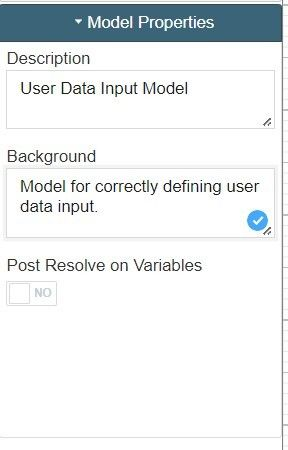
There are two required fields within the Model Properties section:
- Description: Describe the system that the model replicates.
- Background: Include any background details that me be important to the developer or other team members.
Custom fields can be added in here that can populate Jira and Word documents with extra information when exporting test cases.
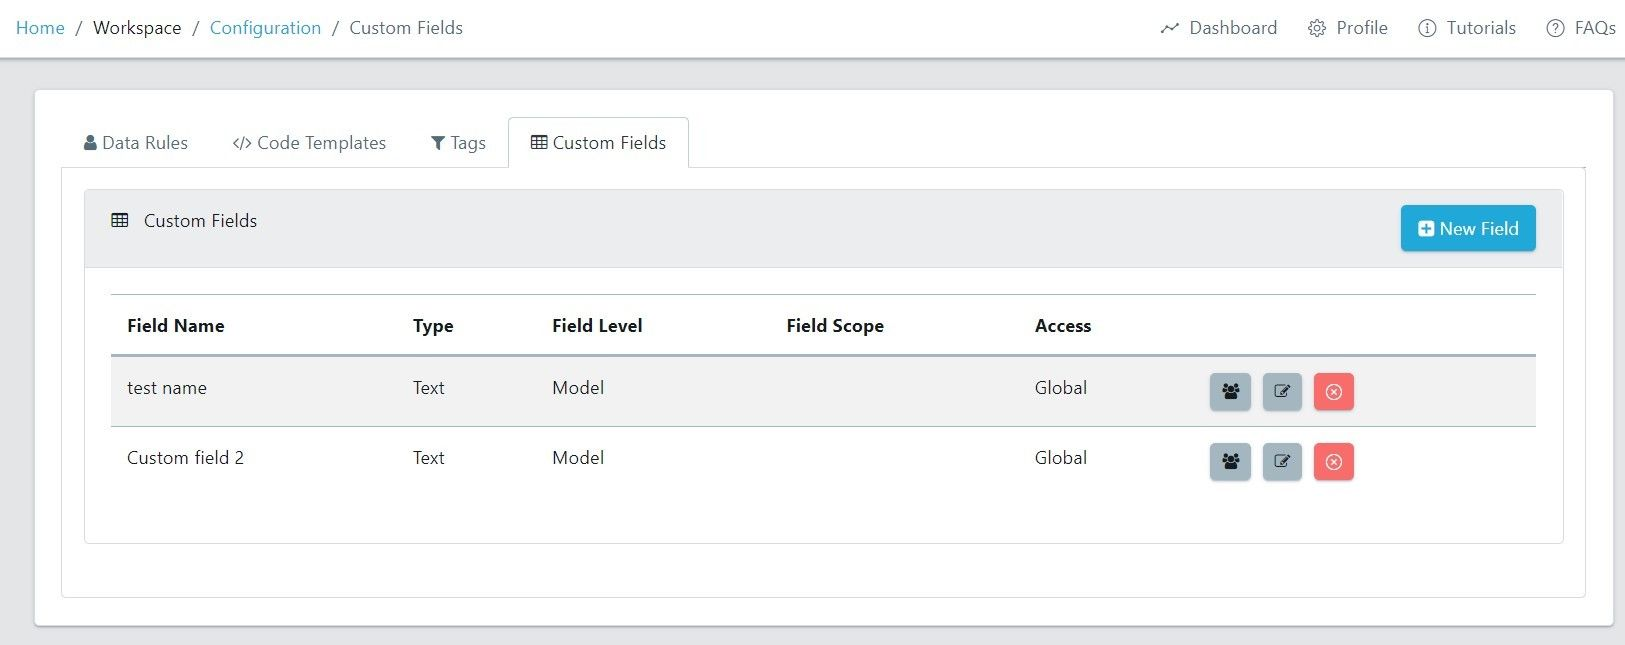
To add custom fields to Model Properties, navigate to Workspace → Configuration → Custom Fields. Here, you can hit the blue New Field button to create a new field and add it to the Model Properties view.
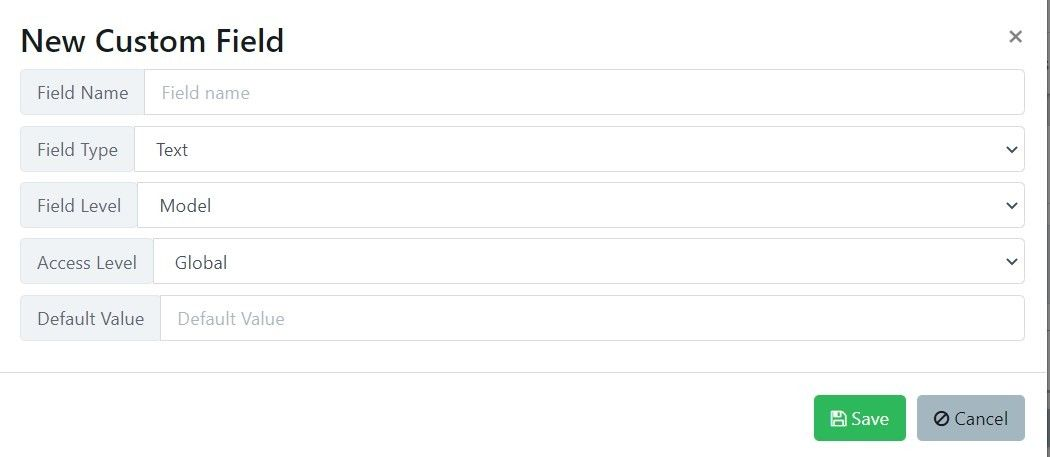
Hitting the New Field button will open the New Custom Field window, here you can configure your new field.
To add a new field to your Model Properties, make sure the Field Level is set to Model.
Setting the Field Level to Node allows you to create new fields for Model Actions in Quality Modeller.
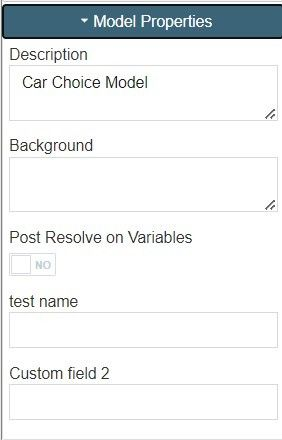
For example, here are 2 custom fields we’ve made as a test, and how they then appear in the Model Properties window: