In this documentation article, learn all about the Model editor user interface in Quality Modeller.
To edit a Model, click on the model name within the folder in which it was created. This opens the Model Editor in a new tab:
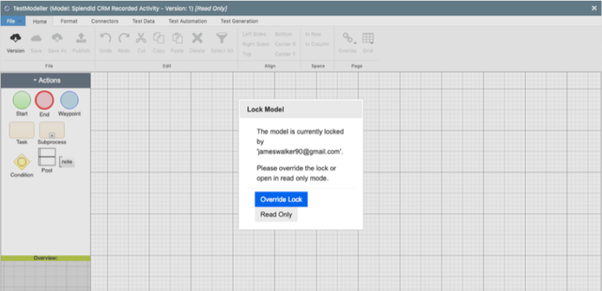
The Model will open along with the "Lock Model" Window. A model cannot be edited in "Read Only" mode. Several users can "Lock" and edit a model at once; however, they will be prompted to override the "Lock" when editing a model that is locked by another user, or to save the model as a new version.
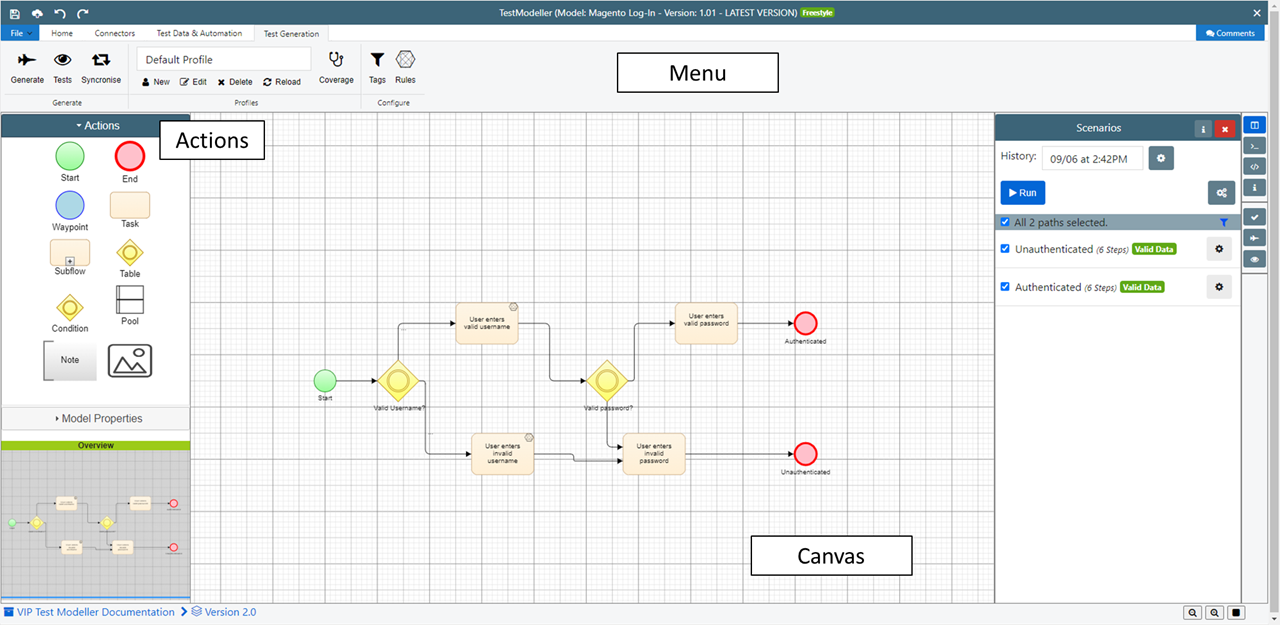
The Model Editor uses Business Process Modelling Notation (BPMN) 2.0 style flowcharts.
It consists of:
- A canvas, where models are constructed;
- A set of "Actions" that form the models;
- A menu for editing and formatting models, managing files, using connectors, and using the test data, test automation, and test generation functionality.
The canvas is navigated using the mouse. Windows users can click and drag, and MacBook users can use two fingers on their touchpad to move around the canvas.
To zoom in or out, Windows users should use the CTRL button and their mouse wheel; MacBook users can pinch two fingers on the touchpad in some browsers. Alternatively, the "Format" tab of the Model Editor menu bar provides options to "Zoom In", "Zoom Out", and "Fit to View".
Additional controls
On the status bar, at the bottom-left of the window, there is a breadcrumb selector. This allows you to navigate easily to the model’s relevant project and to the folder in which the model is saved.

At the bottom-right of the window there are zoom in, zoom out, and fit window buttons:

In the main menu, green bubbles show the number of items associated with each button. For instance, the below model has four Variables assigned:
