Quality Modeller Projects and Releases
Before Modelling a system under test, you must set up a Project.
Projects can be further segmented by release and be added to favourites by pressing on the star, so they appear at the top of any list of projects.

The "Project and Releases" tab acts as a file manager, in which models are created and stored in folders. Models serve as the central point for editing test assets, with test cases, test data, and test automation linked to the models.
Projects provide a way to categorise models and the associated test assets. Releases allow you to associate given models and test activity with specific project iterations, maintaining the assets needed to test a given release.
How to Create a Project
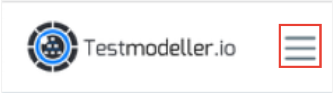
To set up a Project, first make sure Quality Modeller Menu is open by clicking the three lines at the top left of the page:
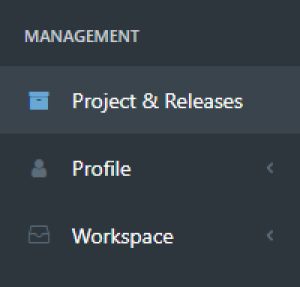
Next, navigate to the "Project & Releases" tab under "Management".
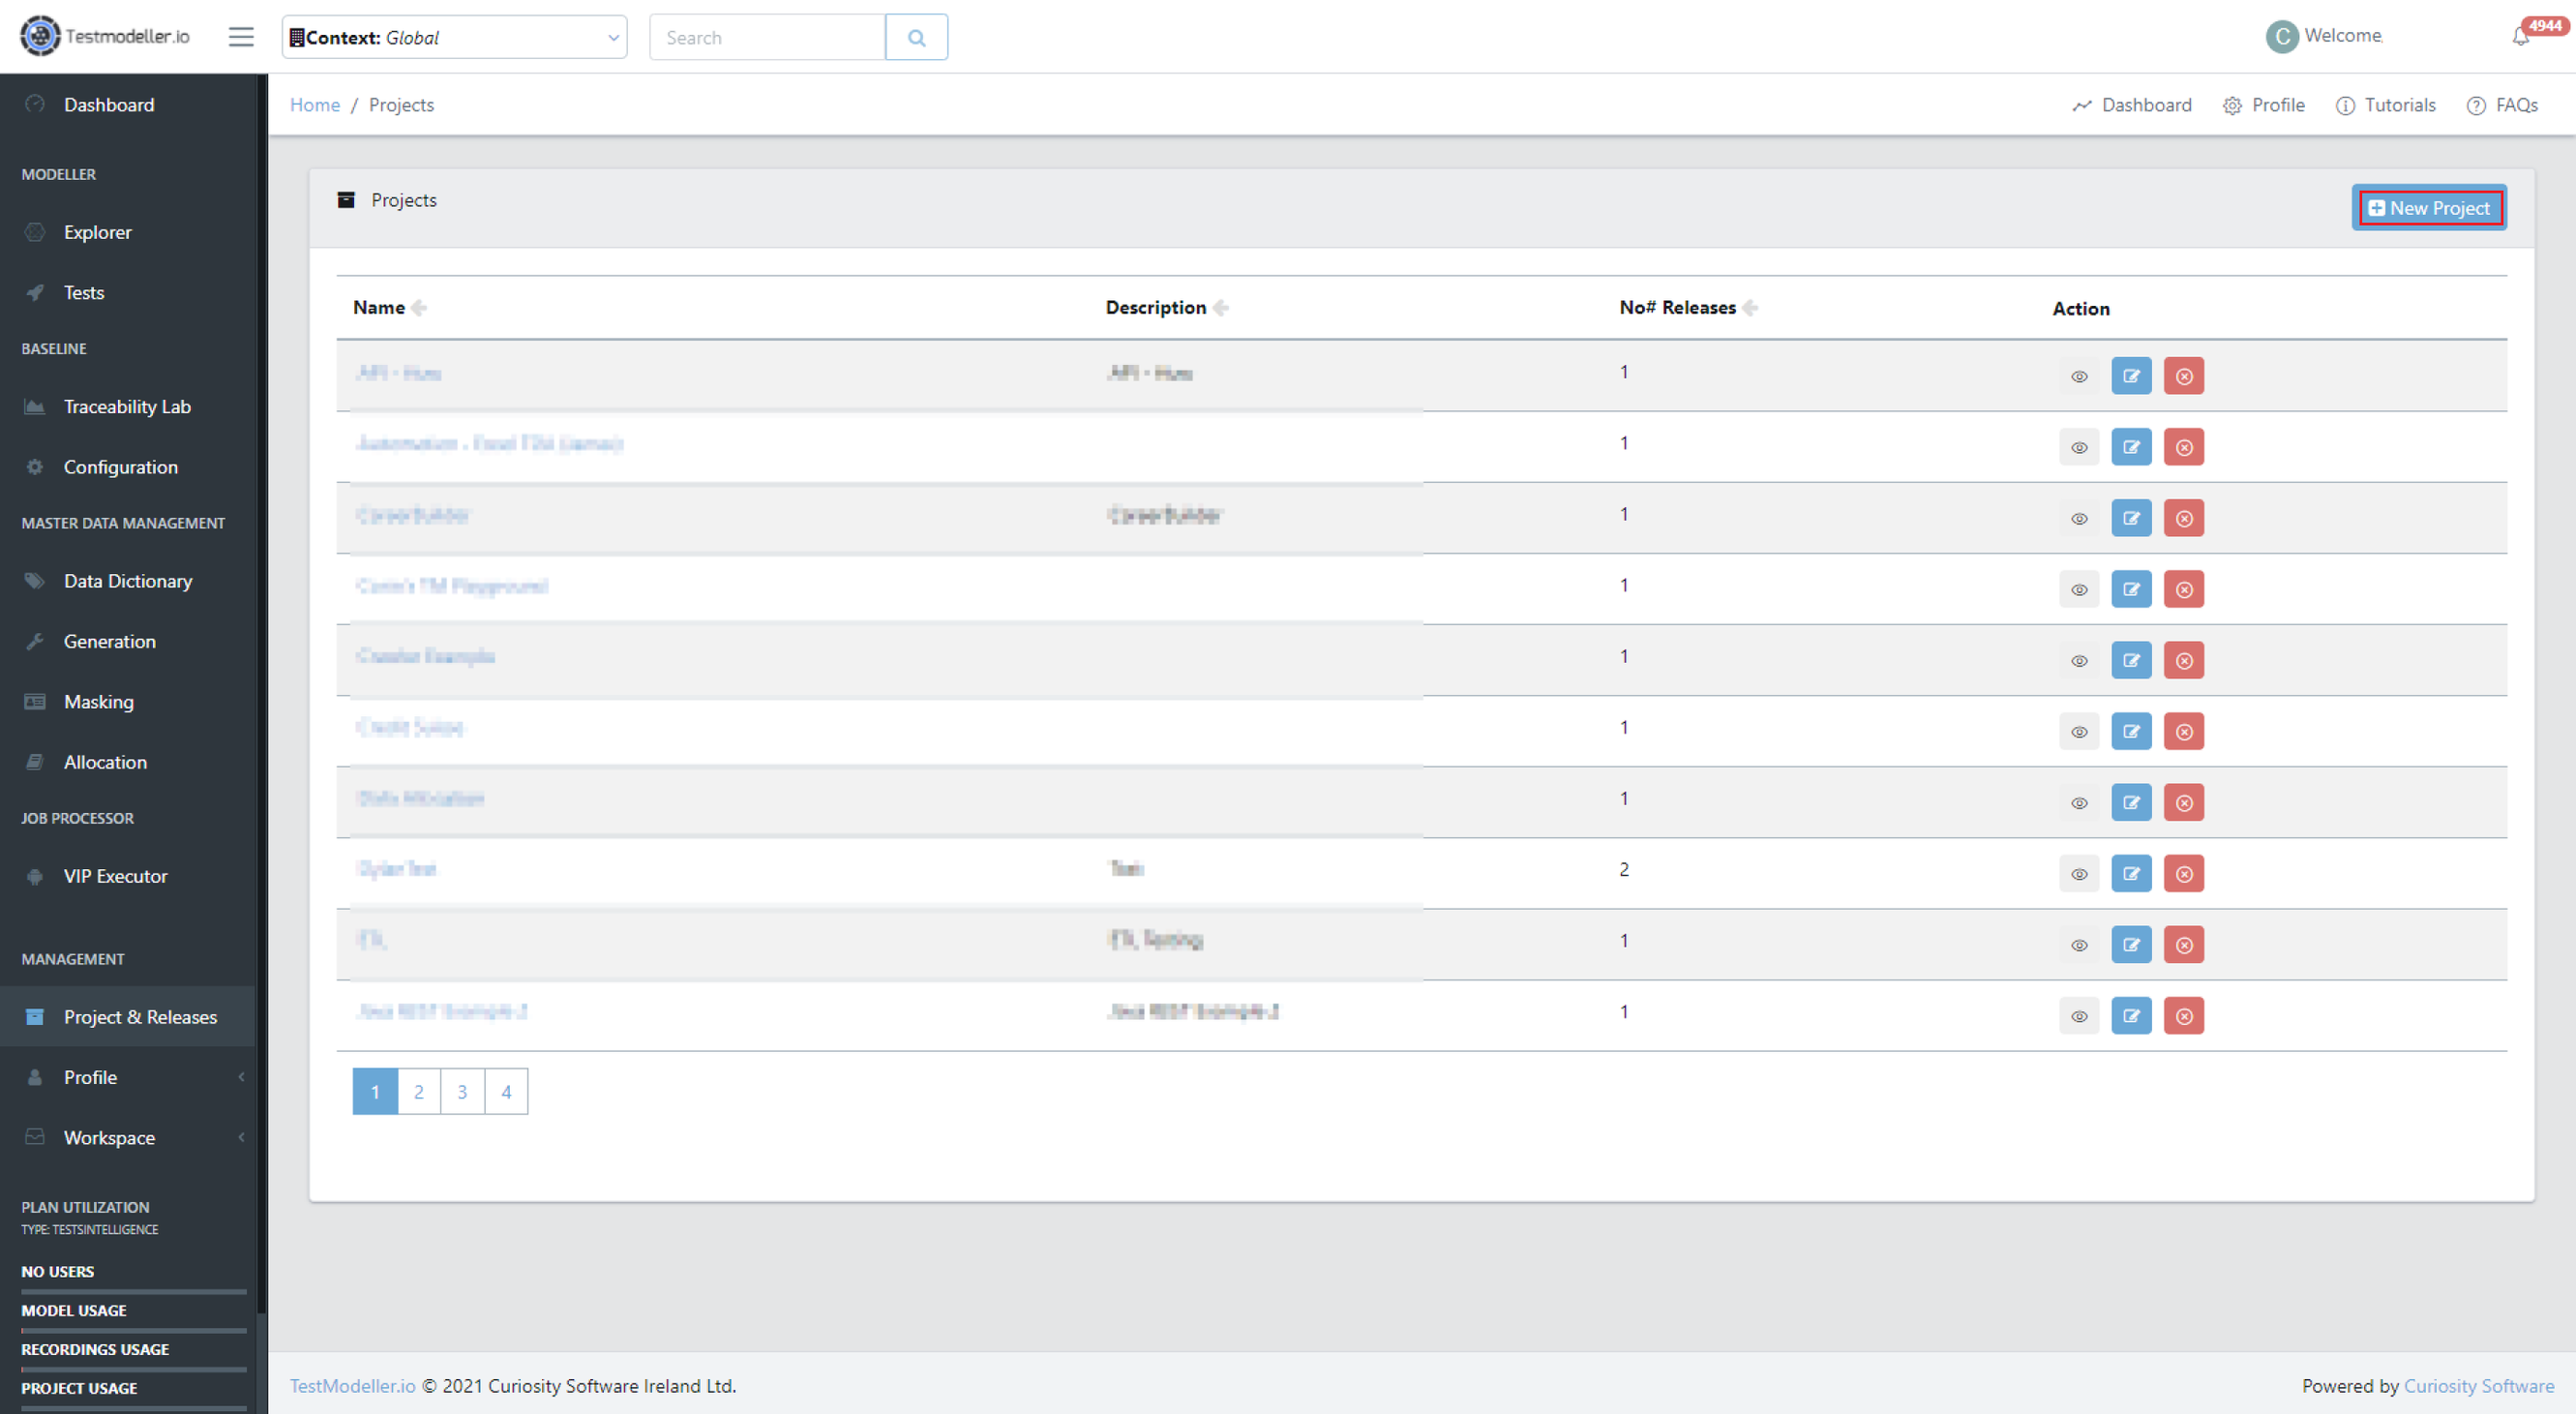
This will open the Projects manager, in which new projects and their associated models are created and stored.
Click on "New Project" to create a project:
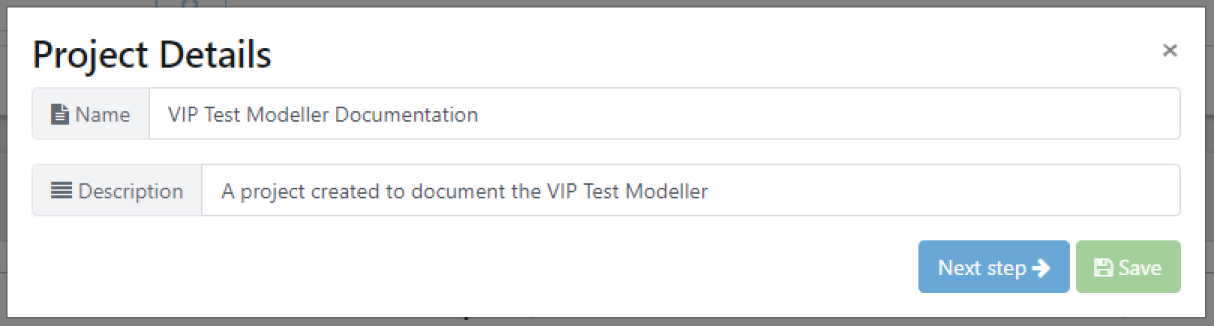
This will open a dialogue in which a project name and description are entered. Enter an appropriate name and click "Next step":
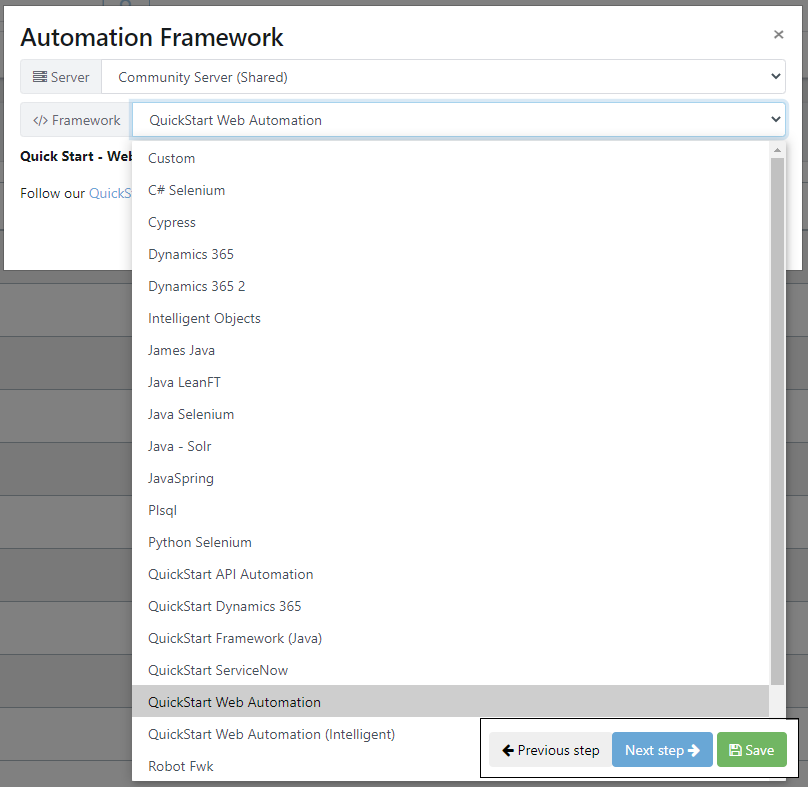
Select a server. This can be your private server, a shared server used within your company, or a community server.
Select a framework. The QuickStart Web Automation framework is selected by default, but there are many others. There is a link below the selection box for tutorials to get you started for most frameworks.
Clicking on Next step will display links to tutorials. If you don’t need these, click on Save.
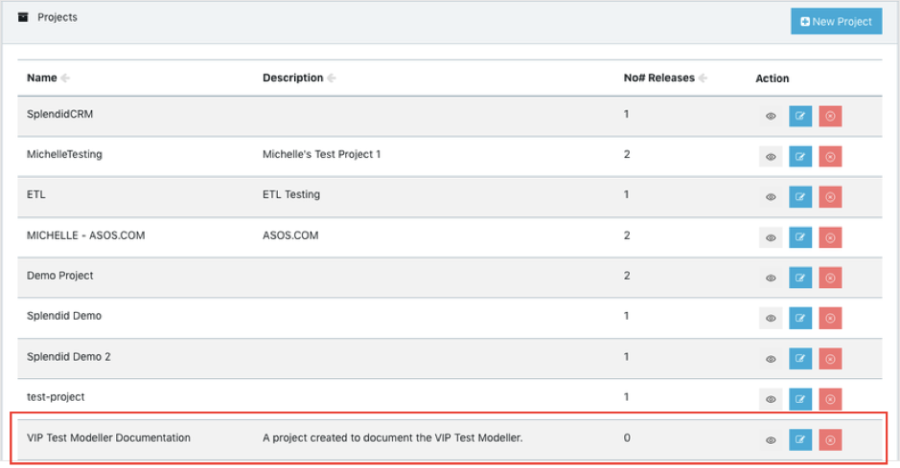
The project will now appear in the Project Manager:
How to Divide Projects into Releases
Projects can be divided into releases, associating given models and test activity with specific project iterations.
To create a new release, click the view button next to a project in the Project Manager.

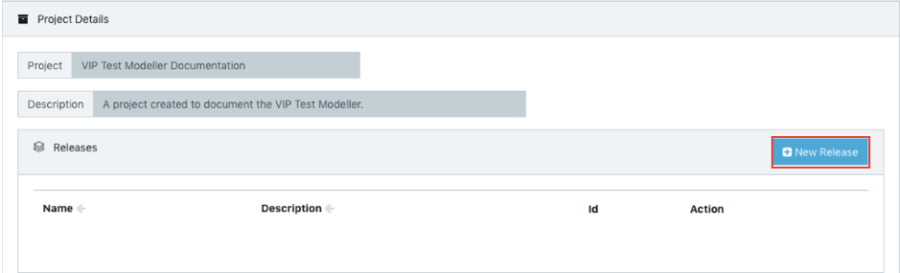
This will open the Project Details panel.
Click "New Release" to associate a release with a given Project:
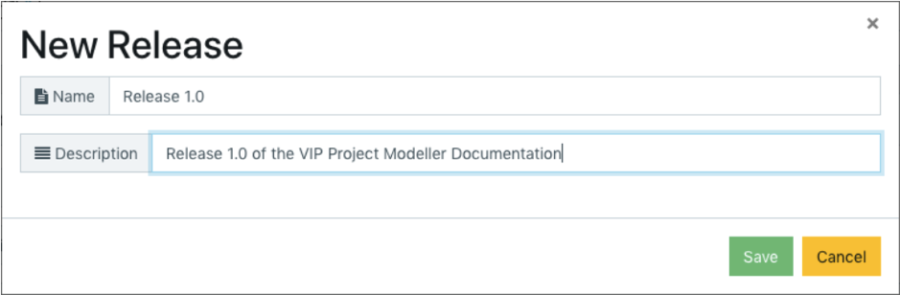
A dialogue will appear. Enter the release name and description and click "Save":
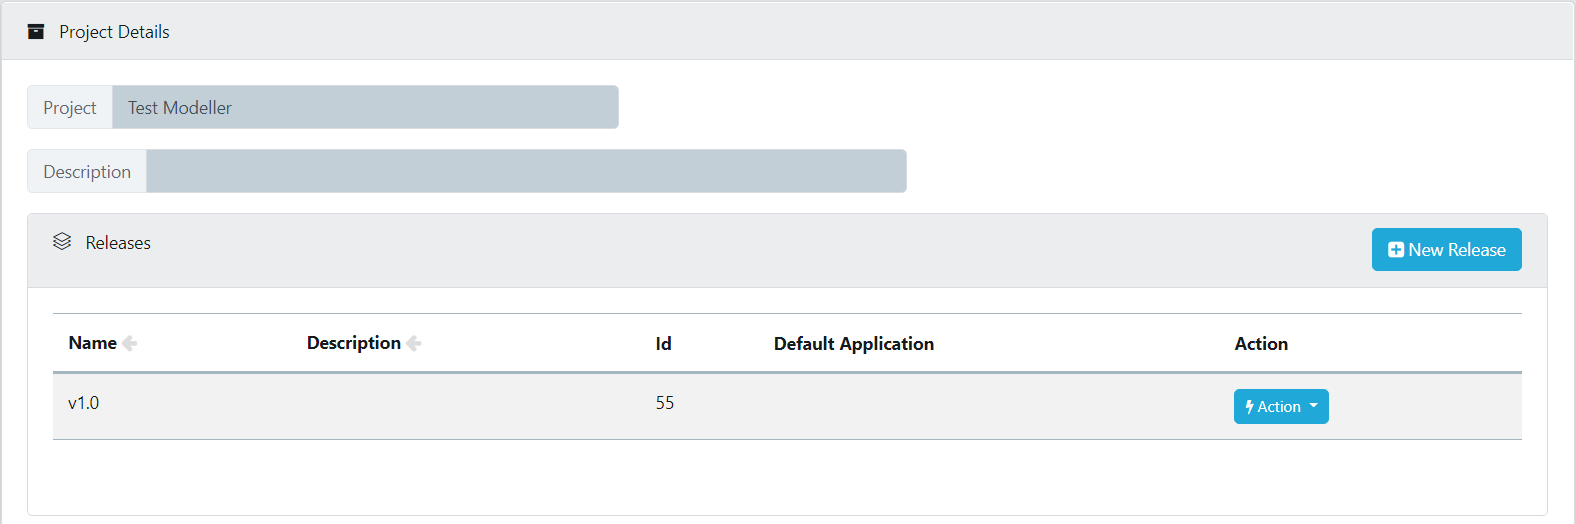
The new release will appear under the associated Project, in the Project Details view:
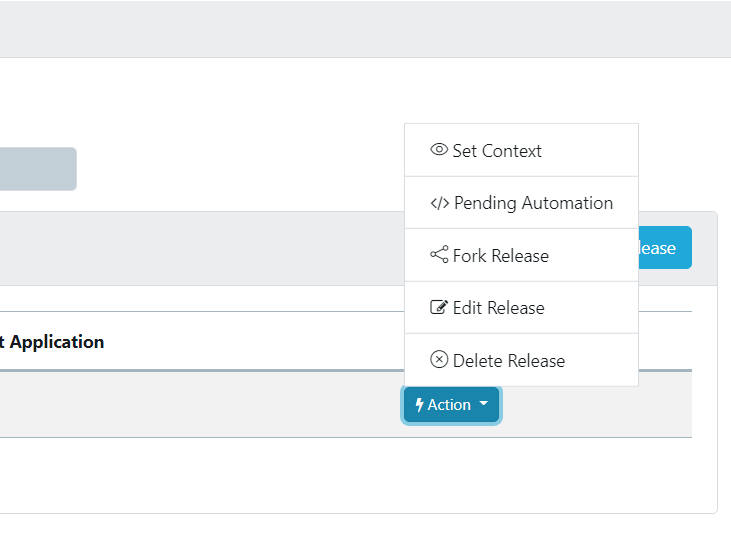
There are further actions that can be applied to a given release:
- Set Context: Enables you to set the context.
- Pending Automation: Shows any modules in the project that are pending automation.
- Fork Release: Enables forking of a release, this fork can be opened as a new project or an existing one.
- Edit Release: Enables editing of the name, description, and application associated to the release.
- Delete Release: Deletes the selected release.
What is a Context in Quality Modeller Projects
A project without any associated releases, or a release associated with a given project, are equivalent to a "context".
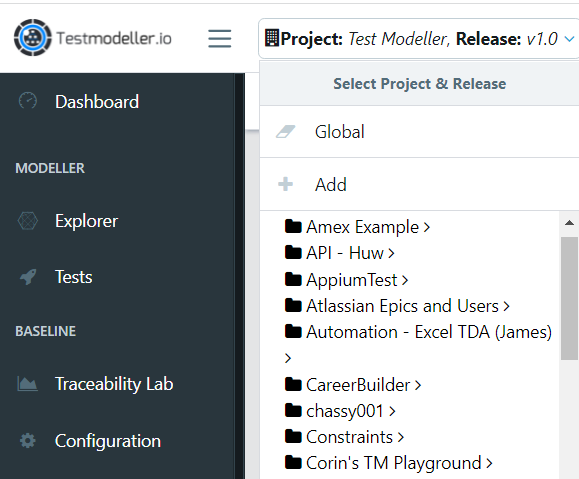
A context determines the models and data being worked with, allowing you to easily switch between the projects and releases you are editing in Quality Modeller.
All projects and releases appear in the "Project and Releases" tab; however, only the files for a given project or release will appear in the "Tests" and "Explorer" tabs when a given context is selected. All files appear when "Global" is selected, this is not recommended in large workspaces.
A drop-down menu next to the Quality Modeller logo navigates between contexts: