The Transform Data Activity is a new utility in the Curiosity Platform that moves data from one database/schema into another, with the option to mask, drop, or add columns as the data passes through. It can be combined with pipelines and SQL to transform data across various targets (e.g. SQL Server, Oracle, Postgres, Snowflake, a Micro DB).
Prerequisites
Source and target database connections already set up in the platform.
Recommended: an existing subset definition with a driving query, using the
${...}curly-brace variable nomenclature (see here for a step-by-step process Building a Driving/Subset Query). Reusing this SQL massively accelerates setting up the Transform's sources and targets, see step 4 below.
Step-by-step setup
1. Create a new Transform Data Activity
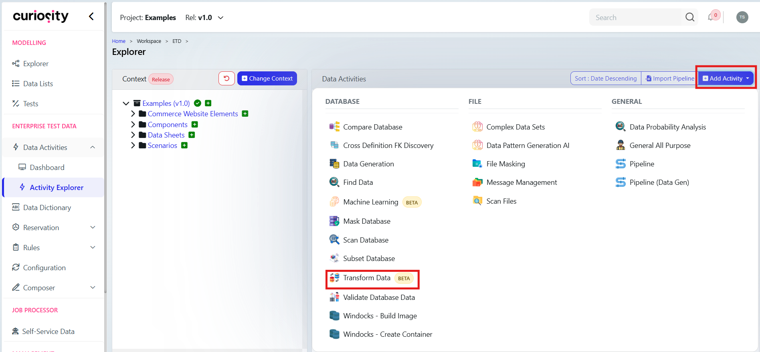
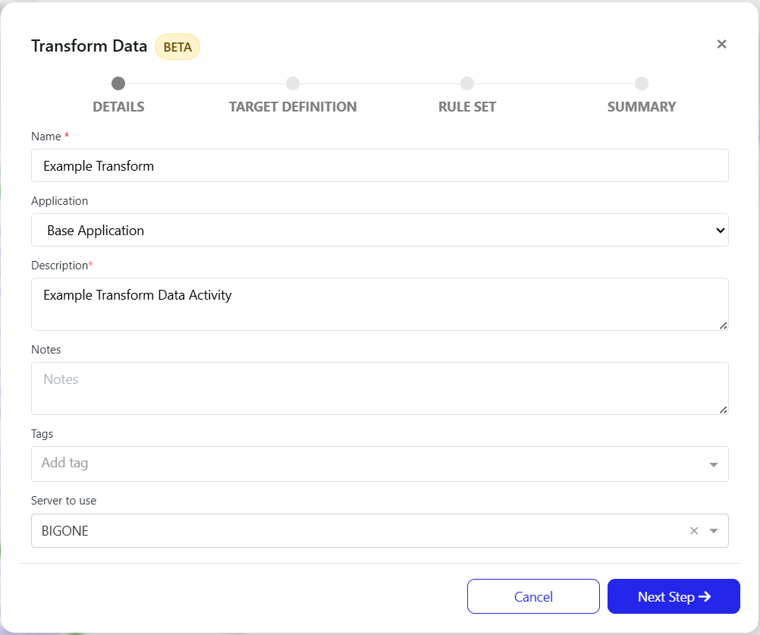
Open the Transform utility and create a new transform, giving it a meaningful name.
2. Choose the definition and create a rule set
3. Set the source and target
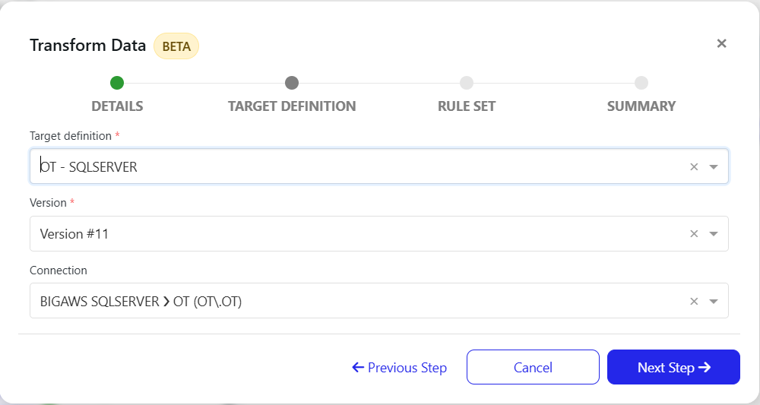
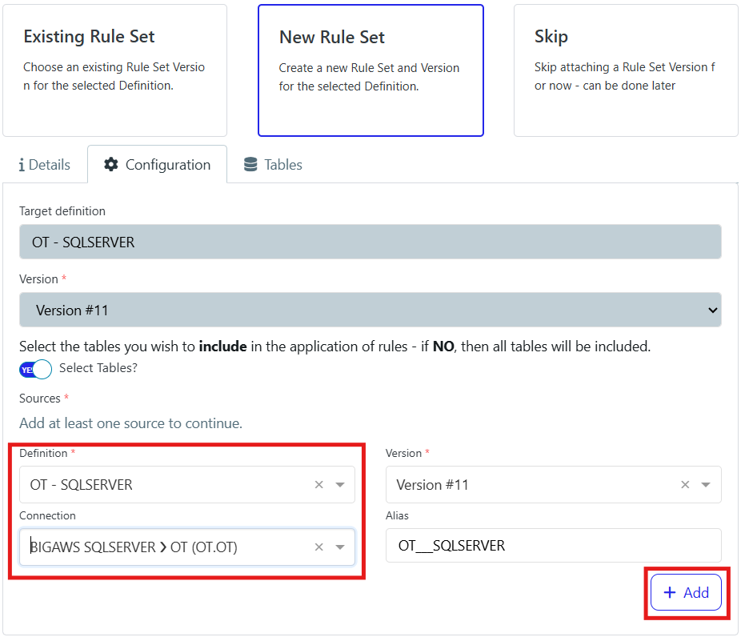
Set the source database/schema you're moving data from, and the target database/schema you're moving it into. The two don't need identical table structures, e.g. you might go from a production or QA schema into a dev schema that has extra columns.
Field | Example |
|---|---|
Source | SQL Server — OT |
Target | OT subset |
4. Add the tables to move (or accelerate from an existing subset query)
You can add each source table manually: -
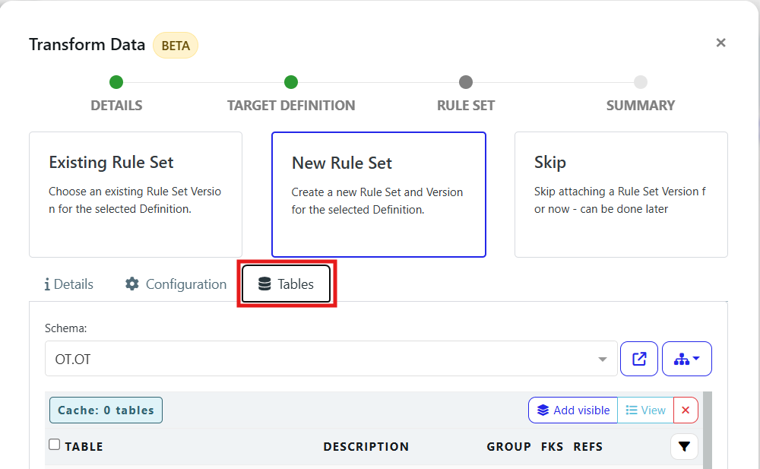
Or if you already have a working piece of subset SQL (see Prerequisites) use the transform rule accelerator instead (Once you have created the Data Activity):
Point the accelerator at your existing subset SQL/driving query.
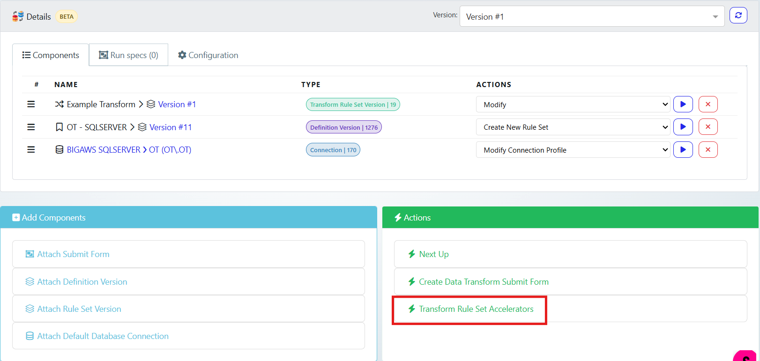
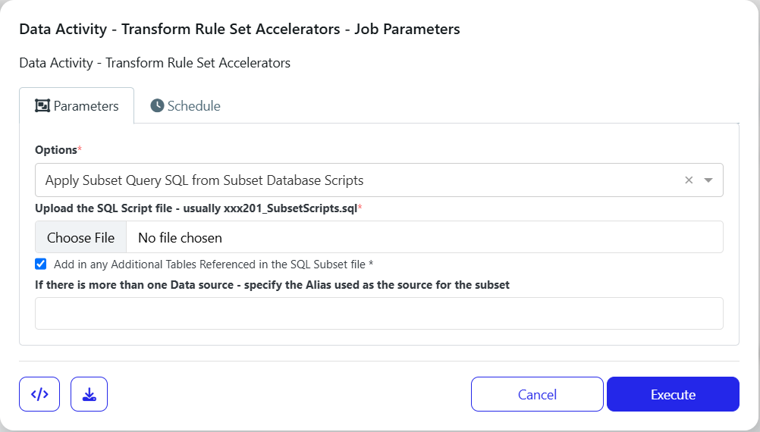
Run it. It detects every table referenced by that SQL and auto-creates both the Sources and Targets for you, with the join SQL already populated into the source queries.
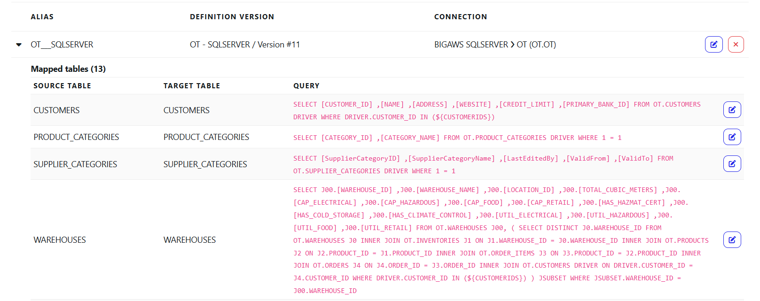
This turns a subset you're already happy with into a transform without having to add each table, add each query, and hand-write the joins yourself.
5. Edit the transform
If you open the ruleset, with no masking or column rules configured, the transform simply moves the source rows into the target as-is using the syntax below.
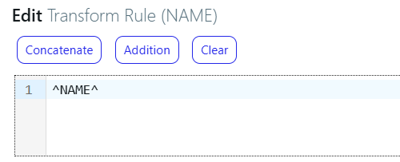
Applying masking and other transformations
Open the rule set for a given table to see its column-level rules. By default each column just maps straight from source to target; replace a column's rule to mask, concatenate, cast, or otherwise transform it as it moves.
For example, replacing the Name column's rule with a masking function means the name is masked as the row moves from source into target, rather than being copied across as-is.
Under Functions (top of the rule editor) you'll find masking functions, concatenation, casts, and other self-SQL type functions - enough to cover most transformation needs without writing custom functions.
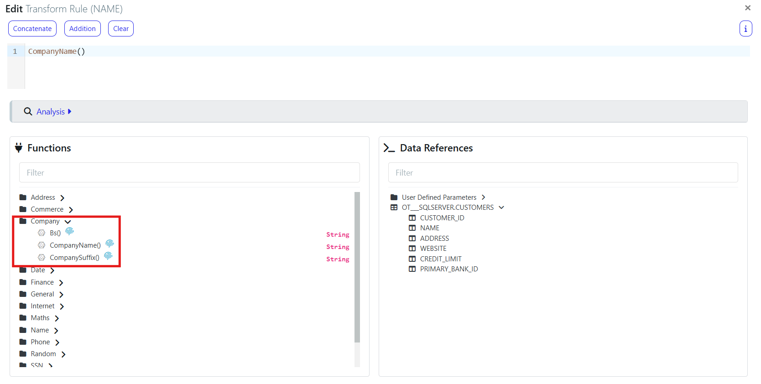
Once you are happy with the rules that have been set, create and run the Transform Submit Form.
6. Generate the scripts and run the form
Run the Create Data Transform Submit Form and select ‘Script and Form’. This builds the SeaTunnel scripts that carry the source and target information for the run. As well as this it will build the Server Process to execute.
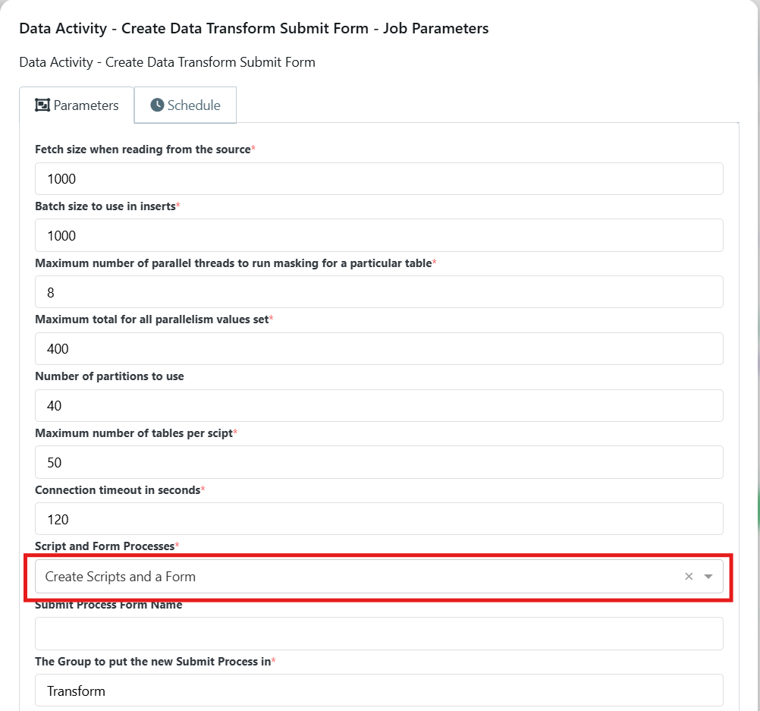
Executing this form will move the data from source to target, either as-is or transforming the data.
Notes
Building the driving/subset SQL first (using the
${...}variable nomenclature) and then running it through the transform rule accelerator is far faster than manually adding tables, queries, and joins to a transform.
Source and target table structures don't need to match, useful when moving from a production/QA schema into a dev schema with extra columns.
Transform can also be used more generally as a cross-database ETL/transform tool (e.g. Oracle → Postgres, or into a Micro DB) - it isn't limited to same-schema subsetting.