In this documentation article, learn all about pools and lanes in Quality Modeller.
The Pool action provides a way to visually separate a model. This does not impact test generation, but dividing a model into lanes can aid in creating and interpreting models.
For instance, in the following example, the Lanes divide a model into authentication and the process for invalid users: To create a Pool and Lanes, drag and drop the Pool action to the canvas. This creates a pool with two lanes by default:
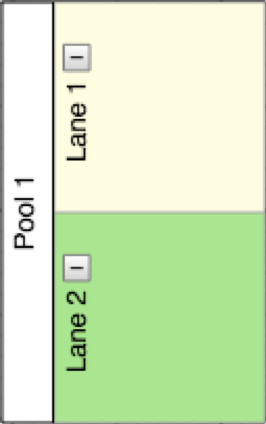 To resize a pool to encompass relevant sections of a model, first click the lane. Next, click the light blue horizontal and vertical squares and drag to resize the lane.
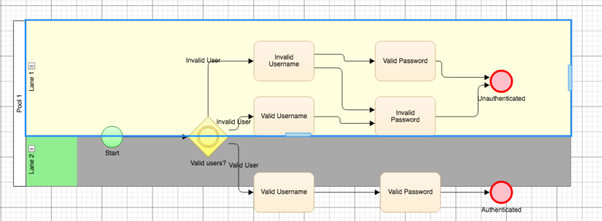 Pools and Lanes can be renamed by double-clicking their label and typing the new lane.
To add a new Lane, right-click a Lane and click "Add Lane". This will create a new lane below the lane right-clicked in. To delete lanes, select the relevant Lane and click either the "Delete" option in the home tab of the menu, or the "delete" button on your keyboard.
Lanes can be collapsed and expanded vertically by clicking the "minus" symbol next to the label of an expanded Lane, and the plus symbol for a collapsed Lane.