In this documentation article, learn all about subprocesses in Quality Modeller.
Subprocesses enable quick re-use of Models, by dragging and dropping them to the canvas and incorporating them in a new Model. This is particularly useful for common and recurring functionality, which can be modelled once and then re-used wherever it occurs in a system.
To embed a Model as a subprocess in another model, drag the Subprocess action to the canvas, dropping it where the subprocess will be placed. Next, select the Model to be imported. Models are displayed within their relevant project and release, and are sorted by version:
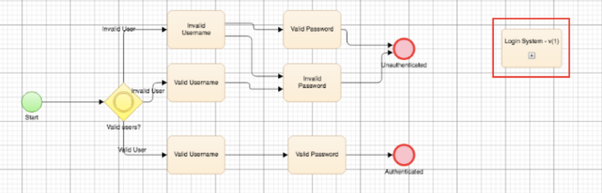
The model will be added to the canvas as a collapsed block:
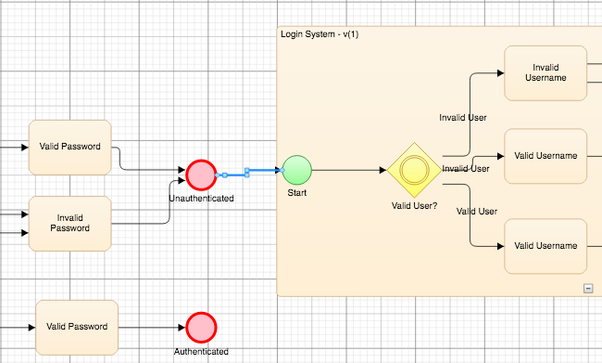
Click the "plus" button to expand the subprocess box. Next, use Arrows to connect the Start and End points of the subprocess into the existing Model.
Actions from the Master Model can be connected to the Start and End points of the subprocess. The Start and End points of the Subprocess can equally connect to any action in the existing model.
When you connect into a start endpoint to a subprocess, you can expand the subflow and choose a start or endpoint. Alternatively, simply drag from a collapsed subprocess or from any empty space in an expanded subprocess. You must then select the relevant start point in the subprocess to which the edge (arrow) will connect. Likewise, you will need to select the relevant endpoint when connecting the subprocess to a subsequent block:
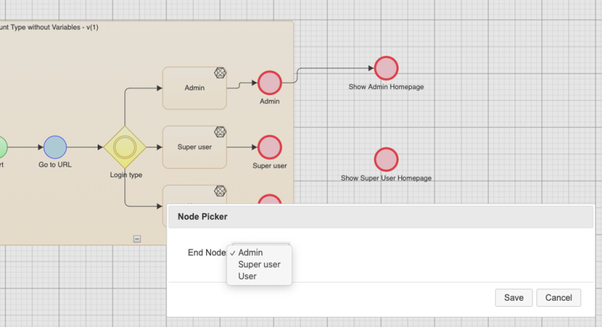
If there is only one start point or endpoint in the subflow, this will be selected automatically.
The Start and End points of the subflow are the inputs and outputs of the subprocess, incorporating its logic into the master model. Looping is possible, meaning that an End point of a Subprocess can be connected to the block in the master model from which that same subprocess is connected, see a more detailed explanation on looping in the next section.
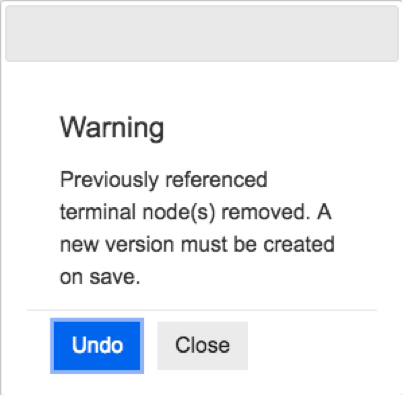
If a model is being used as a subprocess in another model, and its start and end points are removed, this will create a break in the logic of the master flow. The following warning is therefore displayed when a start or end point in a model used as a subprocess elsewhere is removed:
All Subprocesses in a given model can be expanded and collapsed simultaneously, using the "Expand" and "Collapse" option in the Format tab of the Model Editor.
Subflow Properties
There are a number of more advanced subflow properties, these can be viewed by selecting the target subflow, right-clicking and opening the Subflow Properties menu.
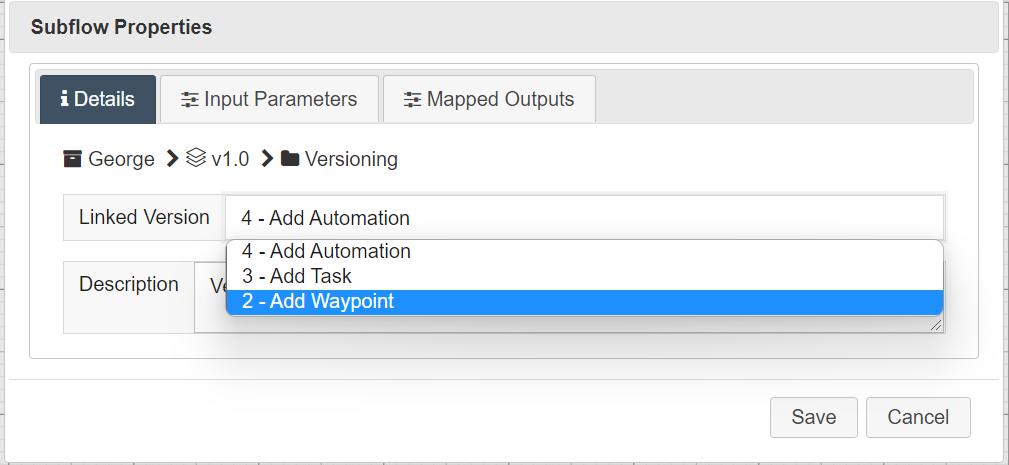
Under the details tab, the Linked Version can be selected, this allows you to roll back to previous versions of that subflow. Here, a description can also be attached to the subflow to provide more clarity.
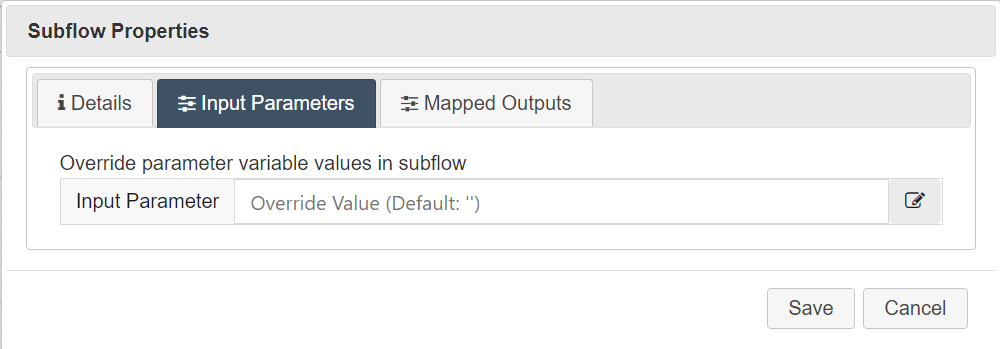
Under the Input Parameters tab are any parameters that are exposed as an in parameter within the subflow. The values assigned to these parameters can be overridden in this menu, or from within the model itself.
To do this, a new variable must be created in the master model and the variable must be assigned a value. Next, inside the Input Parameters tab, that new variable should be referenced using this notation = [Variable_Name]. This will override that parameter value in the subflow, this is particularly useful for advanced rule-based generation involving Subflow.
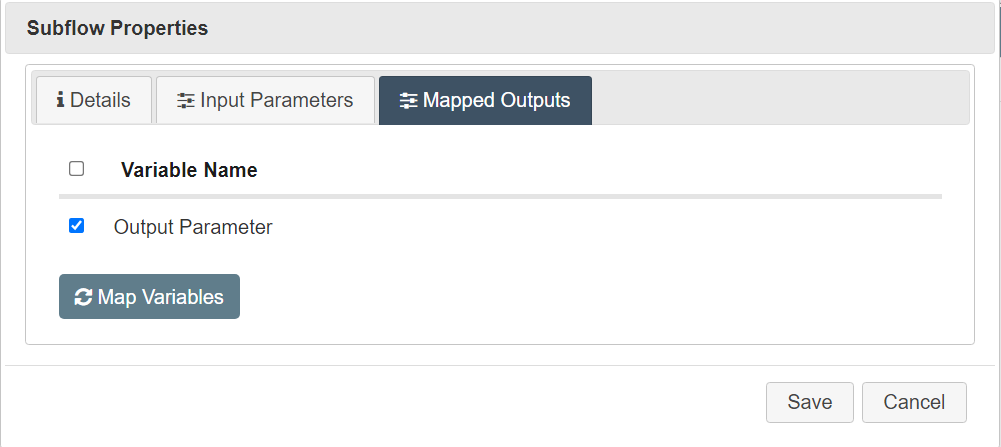
Under the Mapped Output tab are any parameters that are exposed as an out parameter within the subflow. These parameters can be auto-mapped directly to a variable in the master model by pressing the ‘Map Variables’ button.