The Native job engine is utilised for connecting to local resources within an organisation’s infrastructure. This can be used from a Cloud or an On-Premise deployment.
This article covers installing the job engine to a Windows environment. The Curiosity Platform features a pre-packaged Windows installer to help guide users through an installation. If you are updating an existing installation, see section 6 below – the job engine is now self-contained and no longer requires .NET to be installed on the machine.
1. Prerequisites
- A 64-bit (x64) installation of Windows 10 (1607 or later), Windows 11, or Windows Server 2016 or later.
- Download the Job server installer (request download link from Curiosity)
(Optional) prerequisites if executing automation
- Chrome web browser
- Install matching Chromedriver version
- Install JDK - 21
- Download the appropriate installer, for example from Adoptium Eclipse Temurin
- Add it to the PATH system environment variable.
- Add it to the JAVA_HOME system environment variable.
- Install Maven
- Download the appropriate binary package.
- Unzip it to the C:\ drive.
- Add it to the PATH system environment variable
- Install a dotnet SDK – only required if the job engine will build or execute .NET-based test automation (the Dotnet location setting in step 5 below). The engine itself does not need it.
2. Installation
Firstly, let’s install the job engine and configure connectivity to your instance.
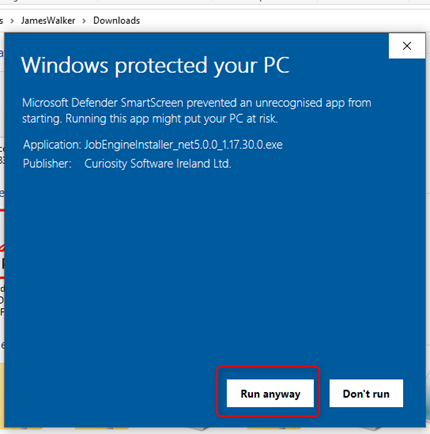
1 – The installer should be downloaded. Once available, double click on the executable to open the installation package.
Note – you may face a security warning where you will need to click the ‘Run anyway’ button.
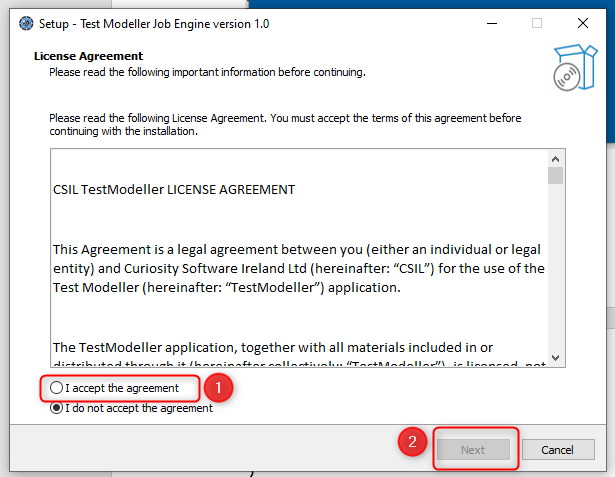
2 – Review the license agreement, and you’ll be able to continue if you accept.
3 – Select to make a desktop shortcut.
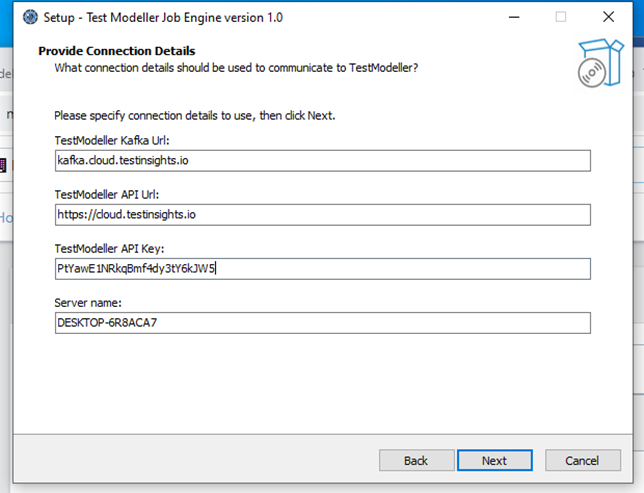
4 – Specify the endpoints to connect into. By default, it is populated with the cloud connectivity details. If you are using an on-premise instance you will need to provide your own connectivity details. The API key is used for authenticating the server to your workspace.
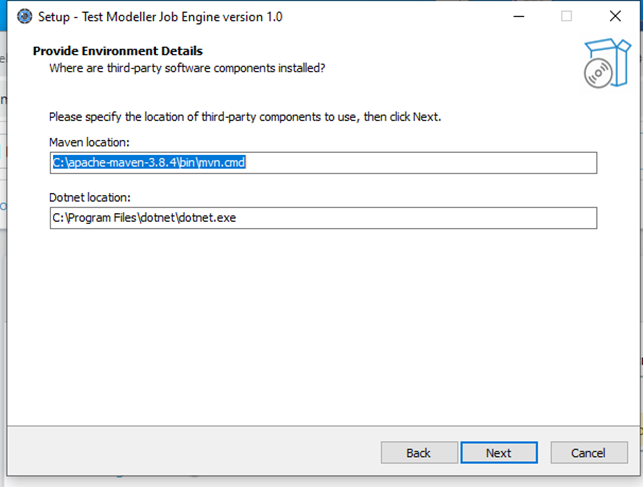
5 – If you are using the job engine for automation, you will need to specify the Maven, and Dotnet installation location. These are only used for executing automation – the job engine itself does not require a .NET installation.
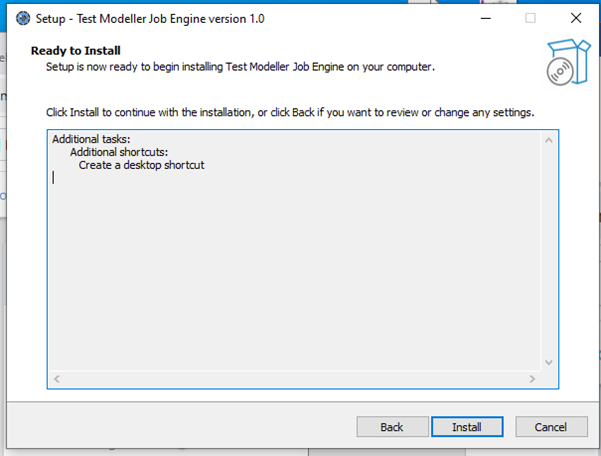
6 – You will be displayed with a confirmation of the install.
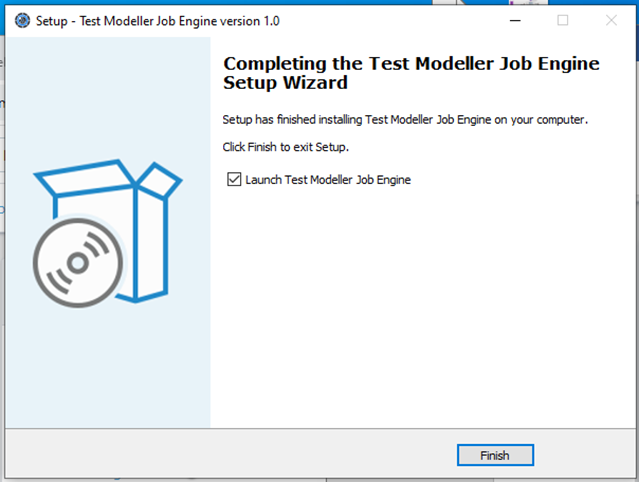
7 – Finally, the installation is complete and you can select to Launch the job engine.
8 – On initial execution if all has been successful a command window will be displayed which shows the KafkaJobEngine running. If there are any errors, they will be displayed in the console window. Below shows a successful series of messages.
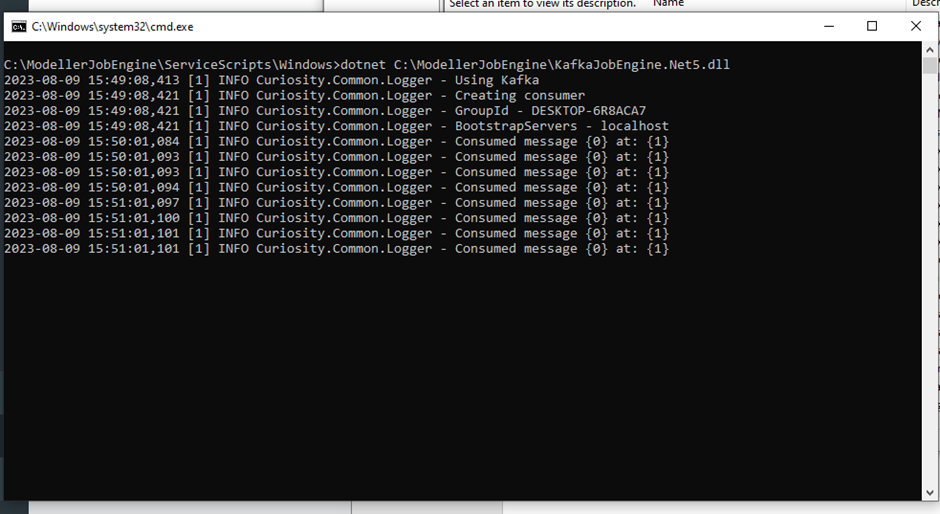
Note – the engine can also be started directly by running KafkaJobEngine.exe from the installation folder (by default C:\ModellerJobEngine). For file-copy deployments without the installer, a zip package is also available on request, named modeller_job_engine_net10.0_win-x64_<version>.zip – extract it, edit KafkaJobEngine.Net5.dll.config with your connectivity details, and run KafkaJobEngine.exe from that folder.
3. Verify Connectivity
Next, we will verify the job engine has connectivity to the modeller instance. Navigate to Profile, and then select Automation Servers from the menu.
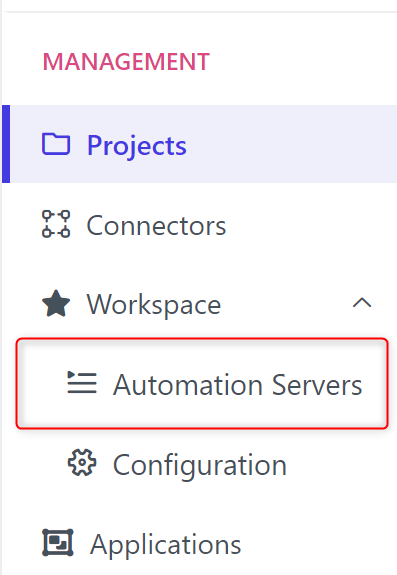
The job engine should be displayed under the Workspace Servers page, along with the engine version it is running.
4. Install as Service
The job engine is now up and running whenever you run the executable. Next, we will install the job engine as a service. This will mean that you do not need to open the executable directly,
1. Close the current executable if it is running.
2. Navigate to the installation folder. By default, this is located at the following directory (C:\ModellerJobEngine\ServiceScripts\Windows). Within this folder, you should see a batch file called InstallService.bat.
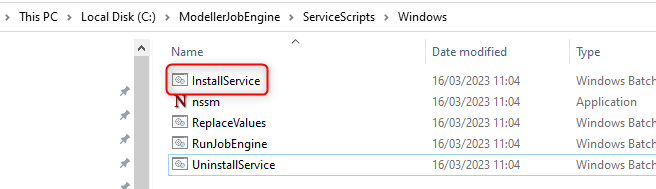
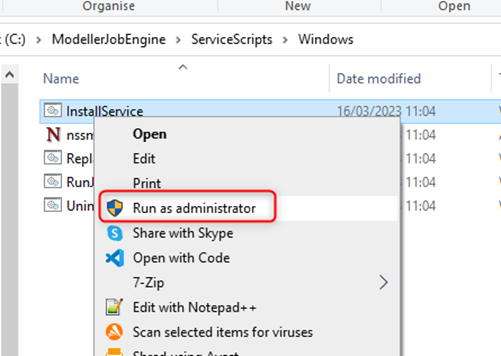
3. Right click this file, and select to ‘Run as administrator’.
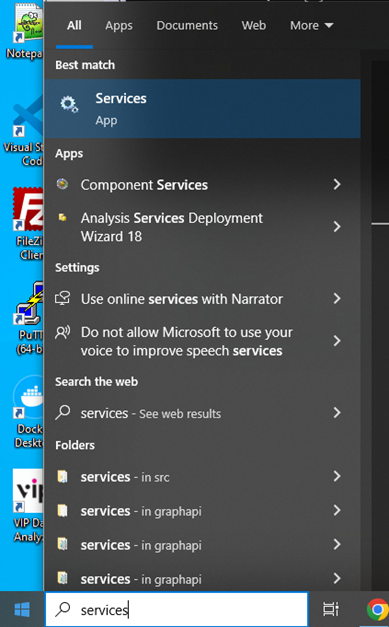
4. To verify the service has been installed correctly. Open the services utility.
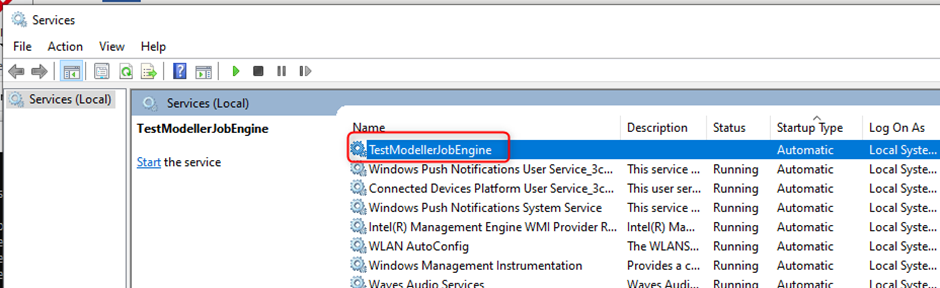
5. If all has successfully installed you will see the TestModellerJobEngine service listed. The startup type is set to Automatic. To run the service, Right Click and select Start.
5. Uninstall Service
To uninstall the service, there is a batch file called UninstallService.bat in the Windows directory.

Right click this file and select ‘Run as administrator’ to remove the service.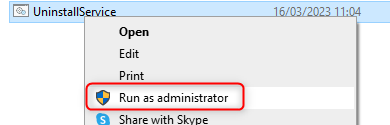
6. Update Job Engine
To update the job engine, firstly download the latest installer from Curiosity.
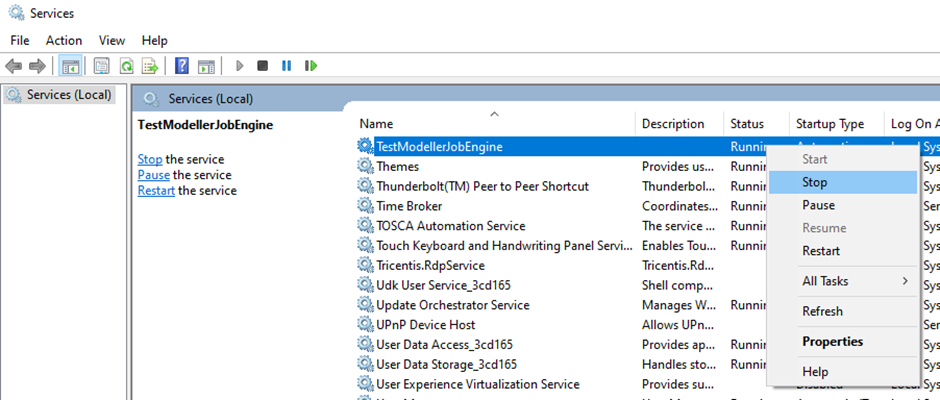
1 – You will need to stop the service before continuing with the installation. To do this, navigate to the services panel. Select the TestModellerJobEngine service, and select Stop.
2 – Next, run the installation package. Follow the previous installation steps. The configuration values entered will be remembered and auto-populated during installation.
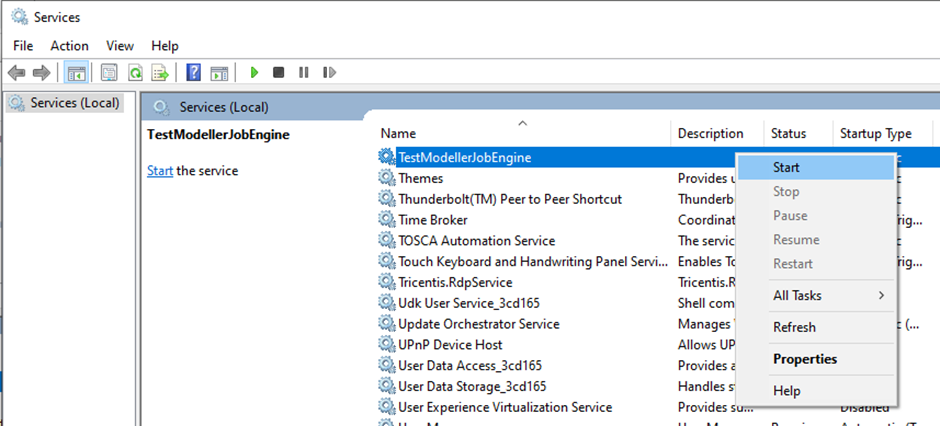
3 –Start the service. Find the service in the Services panel. Then right click, and select the Start button.
Notes when updating from an older (.NET 8) job engine:
- You do not need to install .NET 10, and you do not need to remove an existing .NET installation – the engine now carries its own runtime. A dotnet SDK is only needed if the engine executes .NET-based test automation.
- A service installed by an older release keeps working after the update. To have the service supervise the engine executable directly (recommended), run UninstallService.bat followed by InstallService.bat once, as administrator – see sections 4 and 5.