This article covers how to run the QuickStart automation generated by Quality Modeller on your local machine. This is useful for debugging where you can see the browser open and navigate through your test scenario, and also if you need to run automation which connects to local resources (e.g. the SUT is behind a firewall).
1. Prerequisites
A few prerequisites which need to be installed before continuing.
- Chrome web browser
- IDE (Eclipse or IntelliJ)
- Install JDK - 1.8
- Download the appropriate installer
- Add it to the PATH system environment variable.
- Add it to the JAVA_HOME system environment variable.
- Install Maven
- Download the appropriate binary package.
- Unzip it to the C:\ drive.
- Add it to the PATH system environment variable
2. Generating Automation
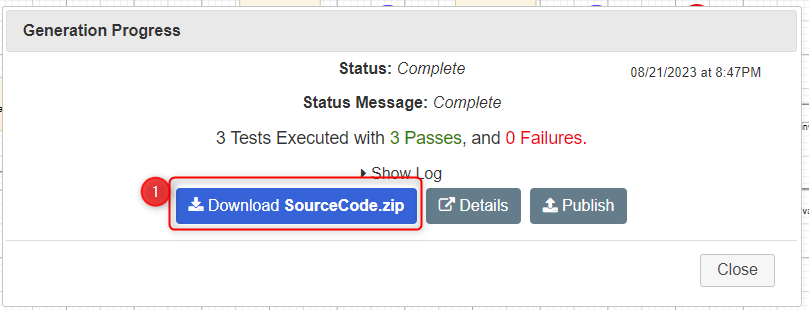
To generate the automation framework execute your selected Framework within Quality Modeller. After execution you will be presented with a job status page of Complete. Within the dialog you will see a Download SourceCode.zip option. This is where you can download the framework which has been generated to run locally.
In the downloaded zip achieve you will see a 'QuickStart Web Automation' folder which contains the generated test case, along with a 'Framework.zip' file which contains the automation framework project. Unzip the Framework.zip to a location on your machine.
Within the unzipped Framework folder is the Java automation project.
- The pom.xml file contains the project dependancies.
- The src\main\pages package contains the page object code.
- The src\test\java\tests package contains the test definitions.

3. Running Framework
Running the framework can be achieved in two ways. Firstly we can trigger the tests through the command line using Maven. The second option is to trigger the tests through an IDE. We will show an example of tests being executed through InteliJ.
3.1 Command Line Execution (Maven)
To execute the tests in the command line, open a new command window and navigate to the Framework folder.

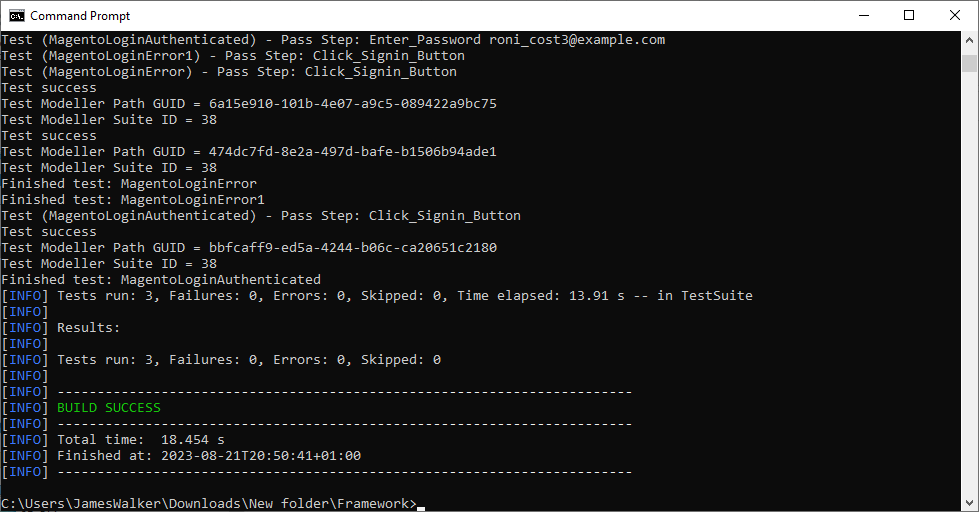
In the specified directory, execute the command 'mvn test'. This initiates the framework's execution. After completion, you'll receive a test report detailing the count of successful tests, failures, errors, and tests that were skipped.
3.2 IDE Execution (InteliJ)
Another method to run the Framework is via an Integrated Development Environment (IDE), which provides a more user-friendly setting for code modification and debugging. In this tutorial, we'll utilize IntelliJ. We've already loaded the project into IntelliJ, navigated to the 'tests' directory, and accessed our test case.
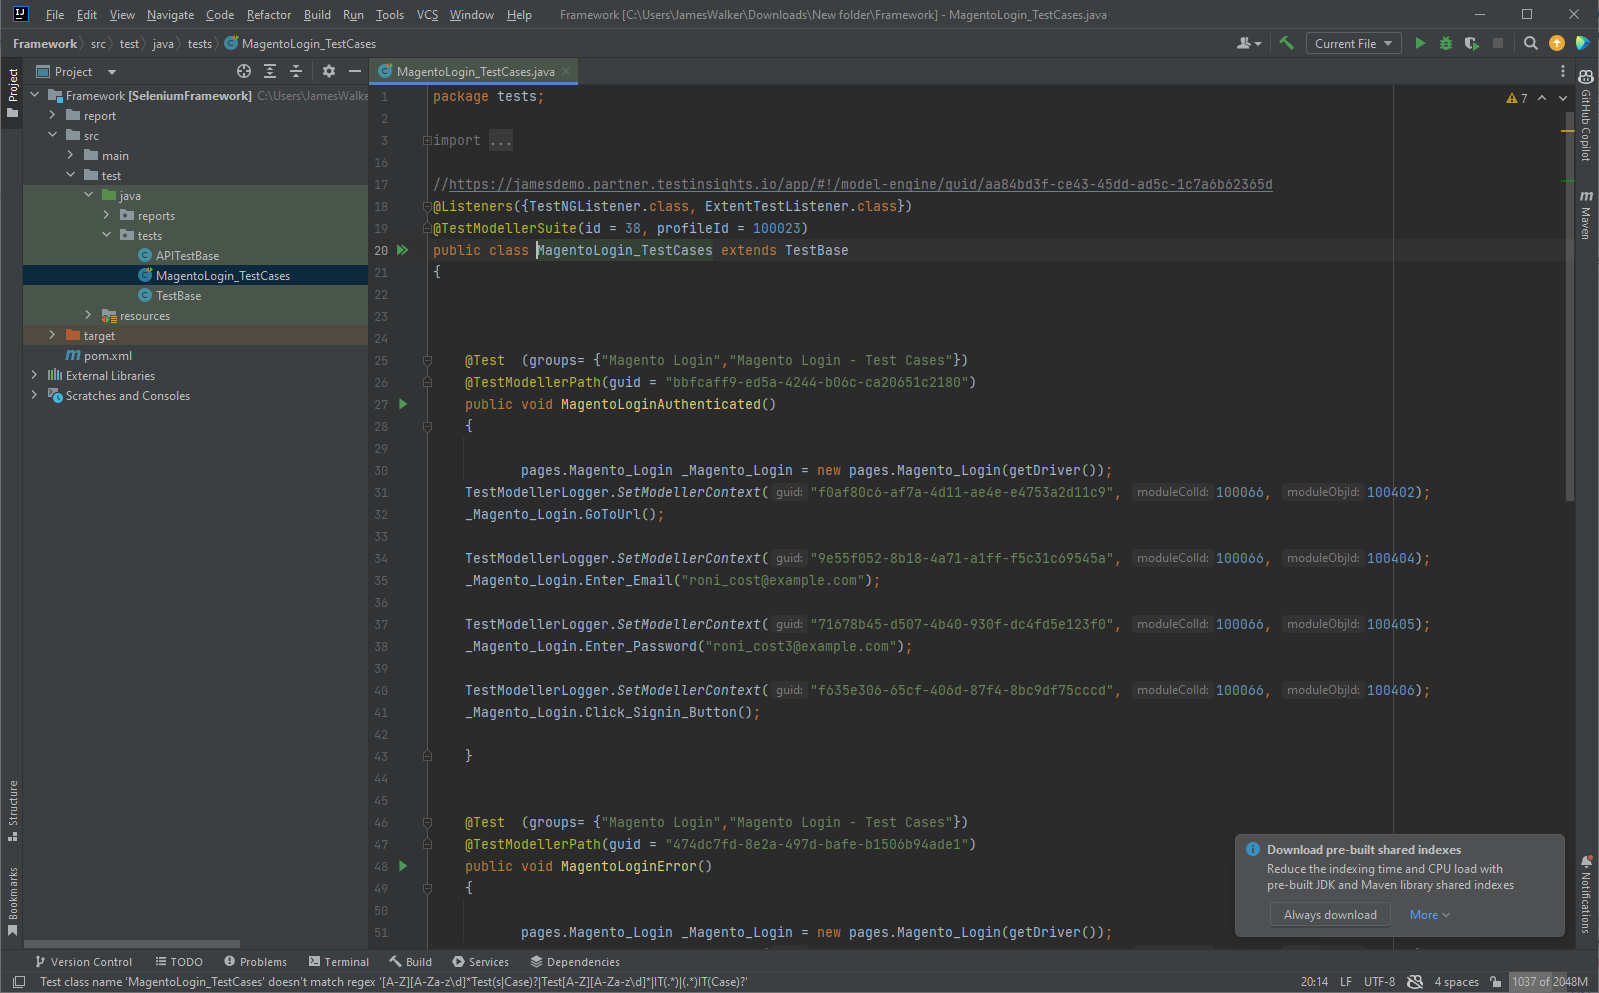
Inside our test case, you have the option to right-click either on the entire test class or a specific test you want to execute. From the context menu, choose 'Run' to initiate the selected test case.
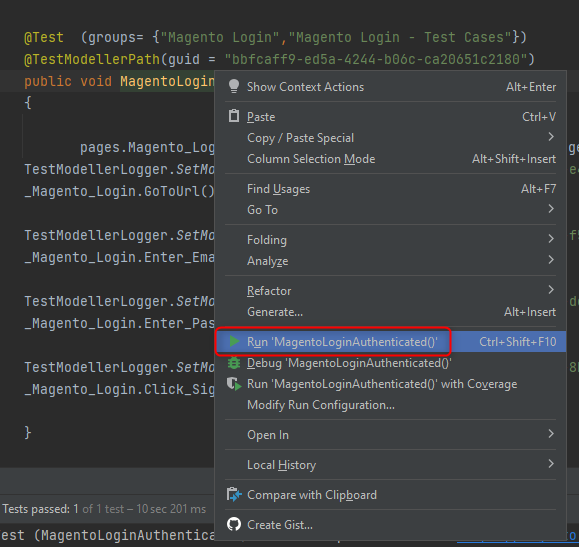
Once the execution finishes, the IDE will display the test results.

4. Editing Configuration
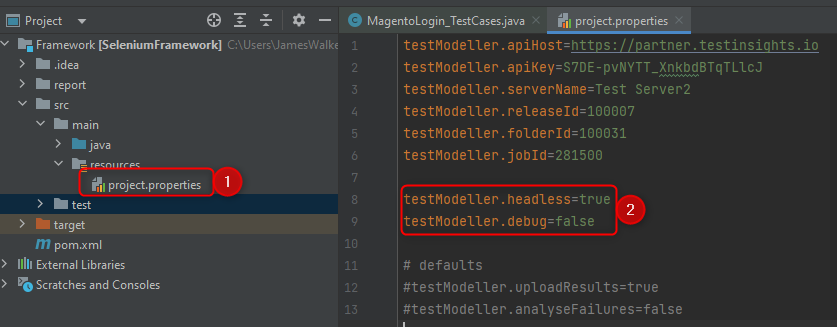
The automation framework comes equipped with configurable properties to aid in debugging and tailoring the execution process. By default, the framework operates in headless mode, and the browser closes post-execution. However, you can modify these behaviours using the following properties.
- testModeller.headless: Determines whether the automation runs in headless mode.
- testModeller.debug: Dictates if the browser remains open after execution.
