In this documentation article, learn how to create a Model in Quality Modeller.
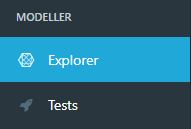
To create a model, firstly navigate to the "Explorer" tab, under "Modeller":
This will open the Quality Modeller panel, where new models and folders can be created under Project and Releases:
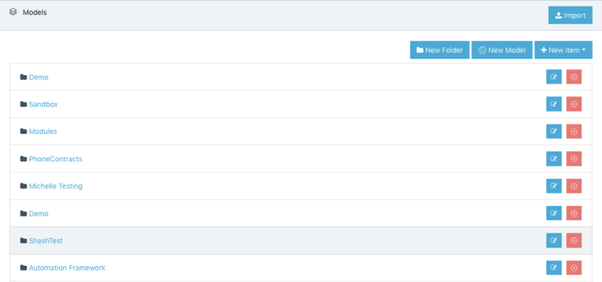
You cannot create folders and models while the Context is set to "Global". Either select a Context first, or you will be prompted to when creating folders and models.
Folders store models and other file types. They are used to manage models associated with a given Project or Release. Click "New Folder" and provide a folder name to create a new folder.
To create a new model, click "New Model". Enter a Name and Description. Names are limited by number of characters, so a description allows you to provide additional information. Providing Tags and specifying the Application is Optional:
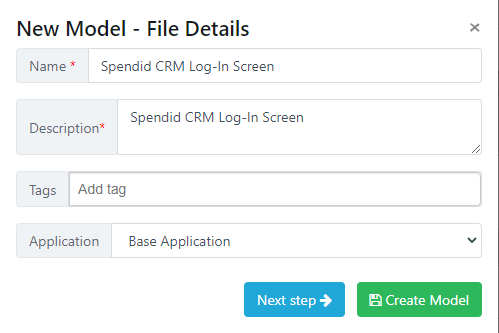
A model name, tags, and description will appear as follows in the Quality Modeller file Explorer:

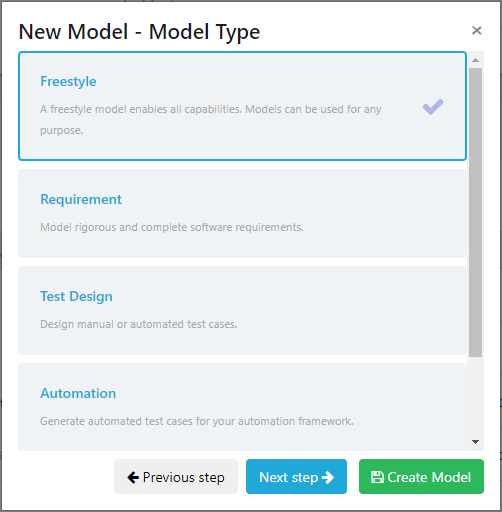
Clicking “Create Model” at this point will create the Model in the relevant folder. Clicking “Next Step” lets you select from the pre-defined Model Types:
Clicking “Create Model” will create the Model in the relevant folder. Clicking “Next Step” lets you define tracking for the model:
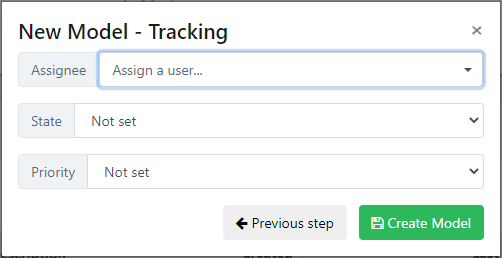
This allows you to set an assignee, an Agile/Kanban state, and a priority. Clicking “Create Model” will create the Model in the relevant folder.
For some model types, there will also be a “Next Step” option in the Tracking dialogue. This will offer additional options for model creation. For an overview of model types and their creation, please see this article.