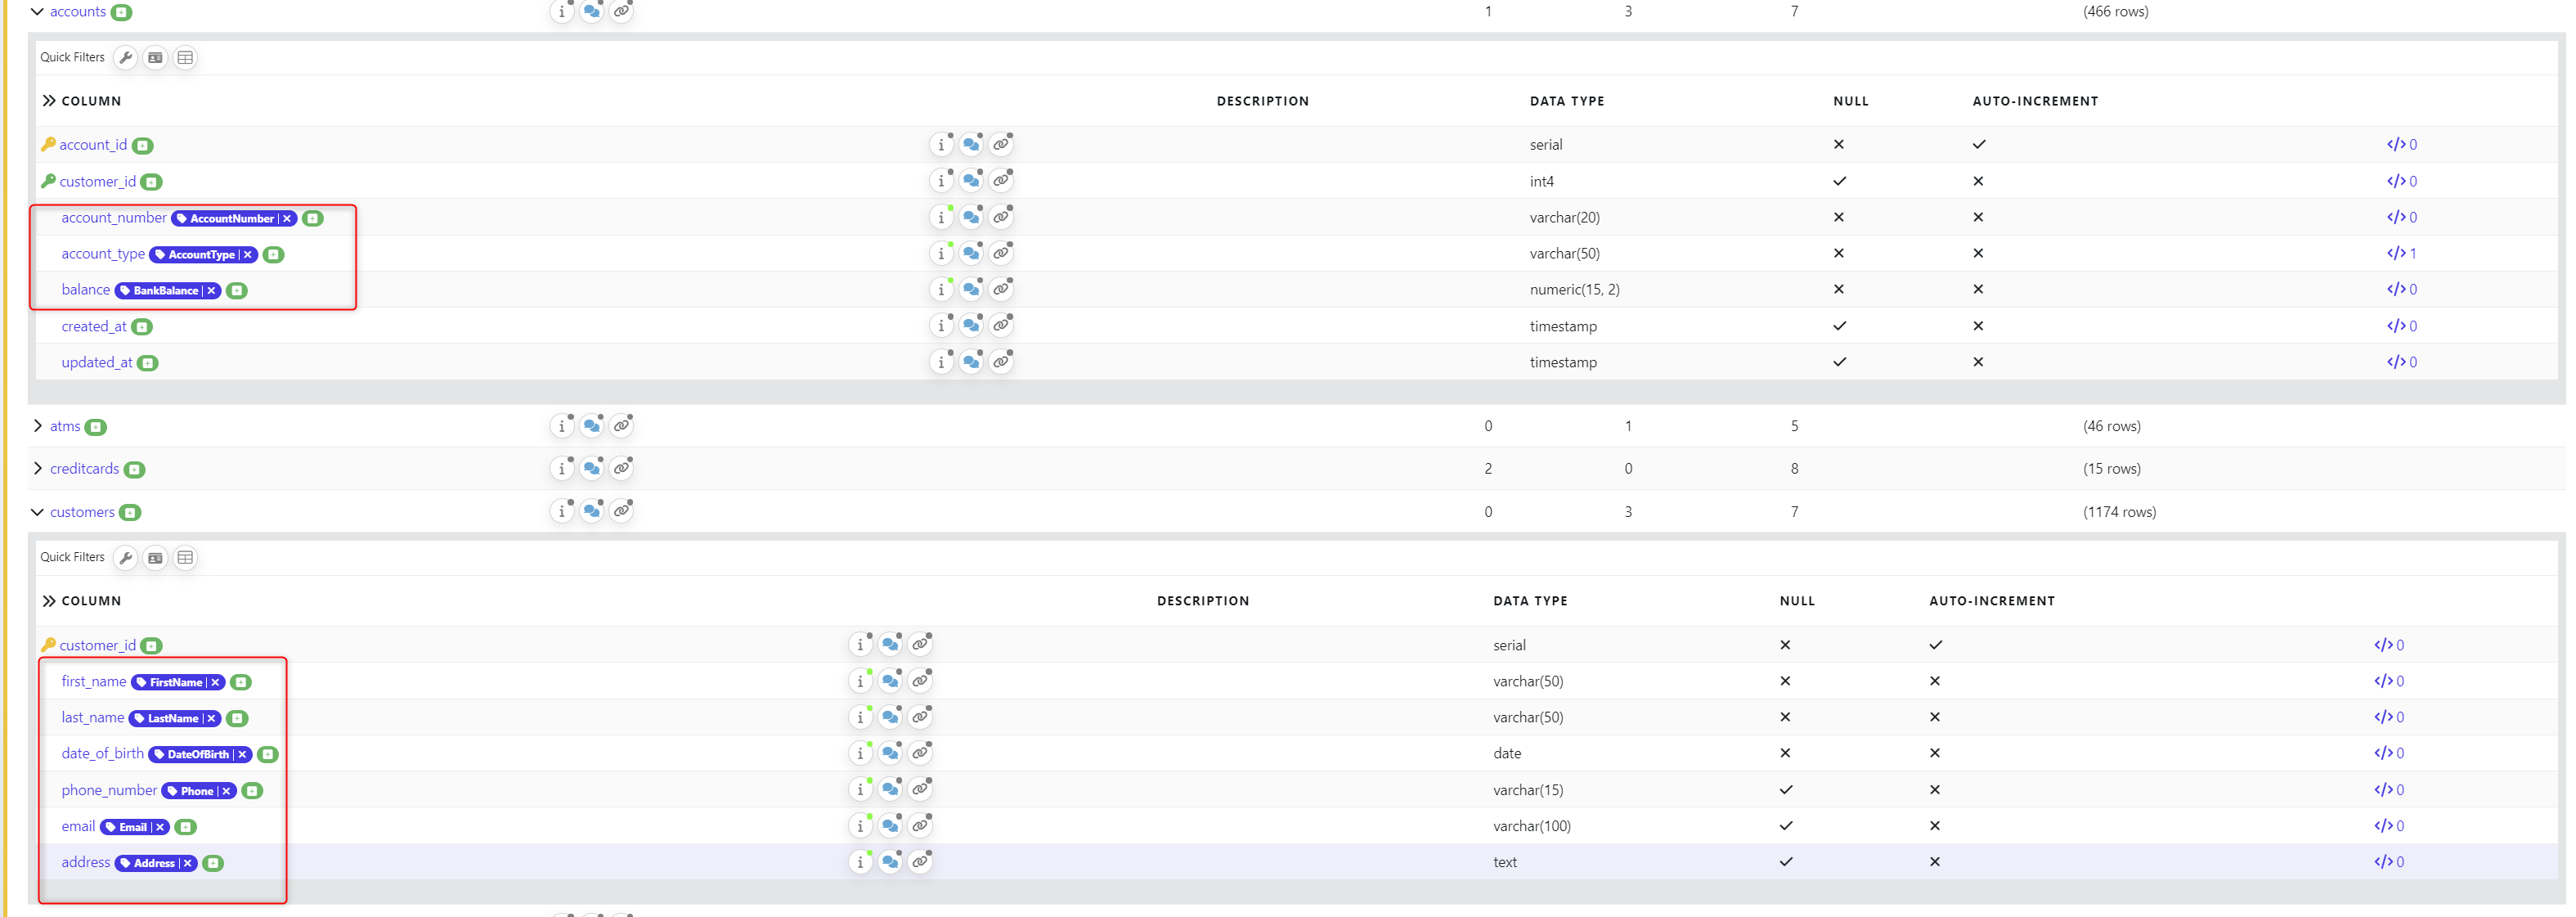
Automatically locate, catalogue and audit sensitive information in your data, flagging it for removal before provisioning to less-secure test environments.
Detect and classify sensitive data such as Personally Identifiable Information and Protected Health Information.
Understand where your most critical data is stored and how it’s being used to ensure compliance with regulations.
To complete Data Profiling make sure you have completed the Data Catalogue walk through.
From the side ribbon navigate to the Data Activities → Activity Explorer and choose a Explorer folder. This will set the context to save the Data Profiling Activity within.

Click +Add Activity and choose Scan Database.
We will build this data activity and configure it to find sensitive data.
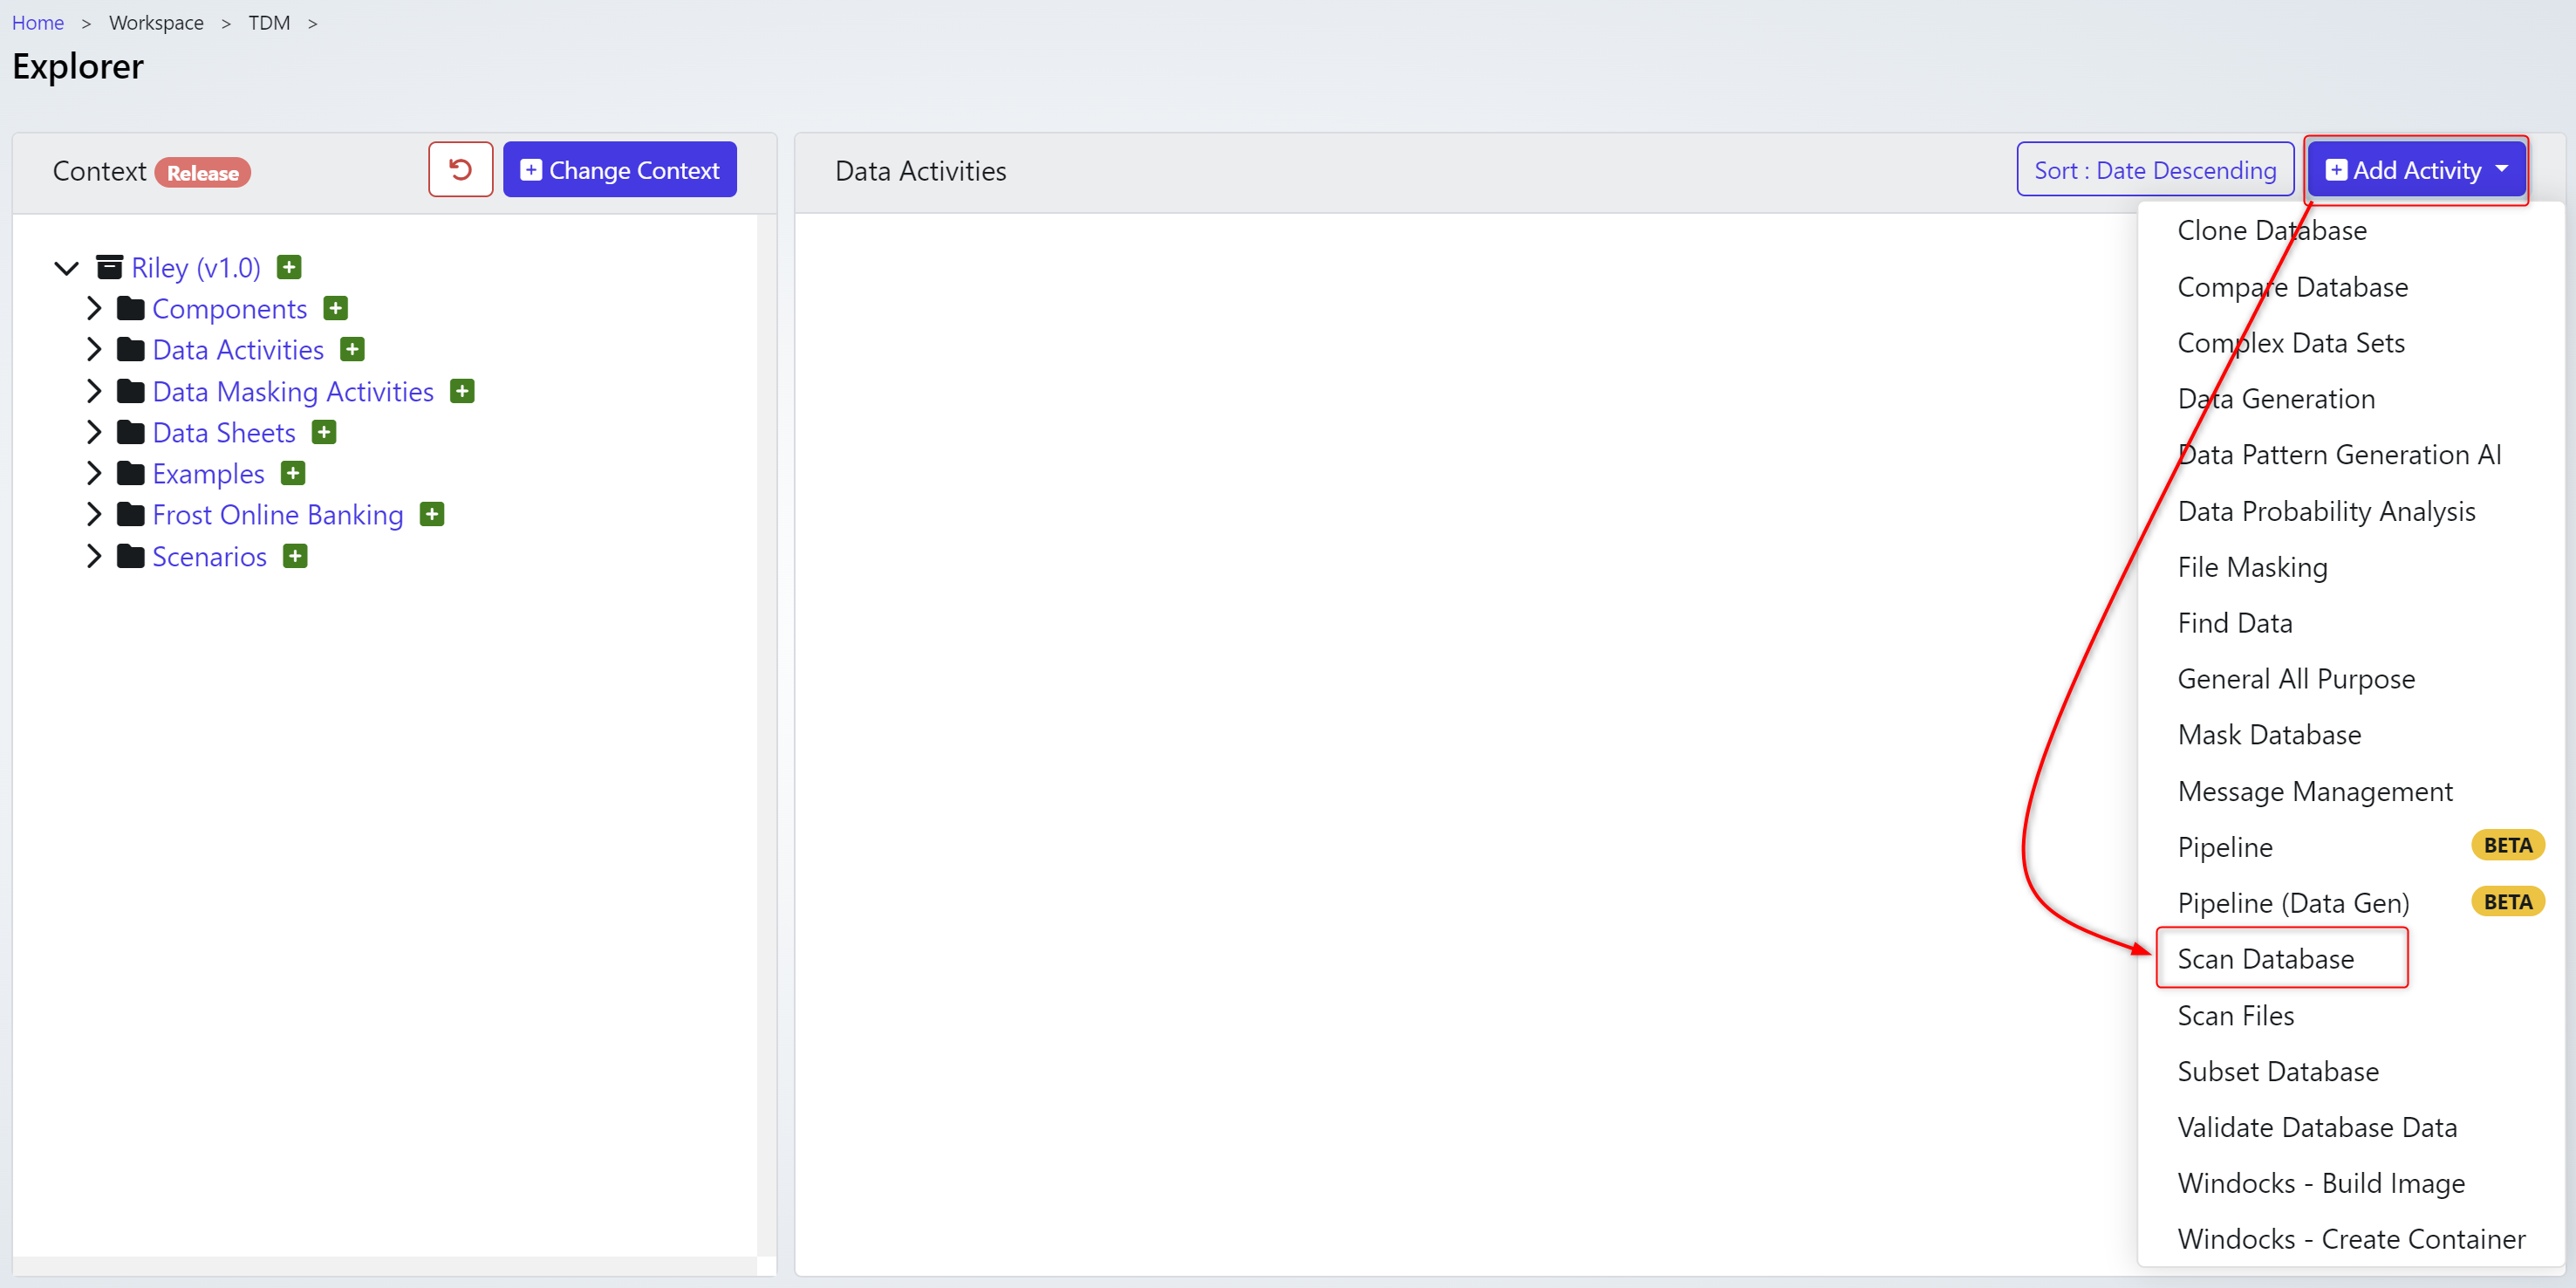
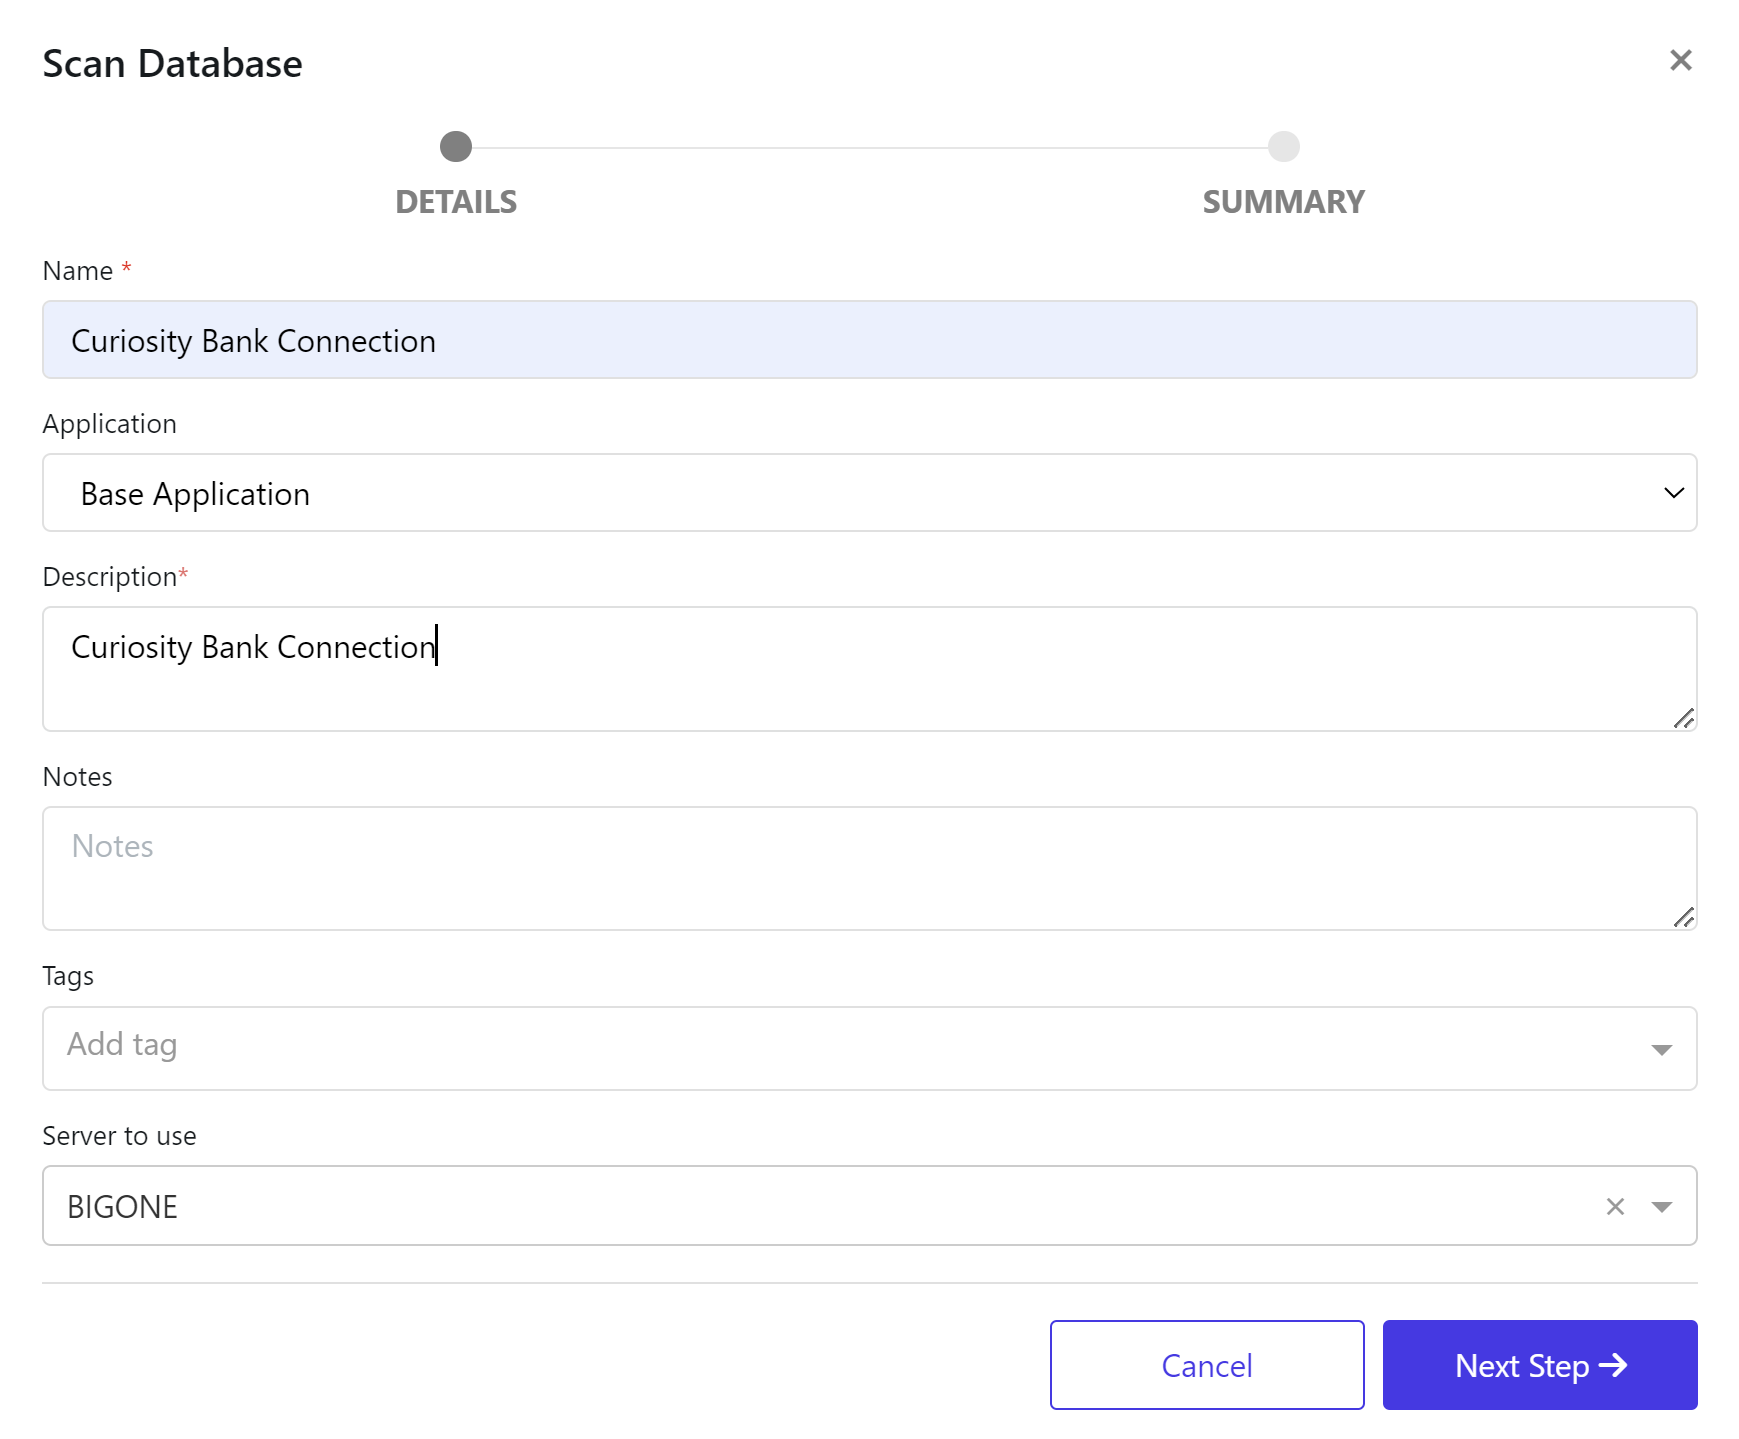
Enter a Name, Description & Server. Click Next Step when ready.
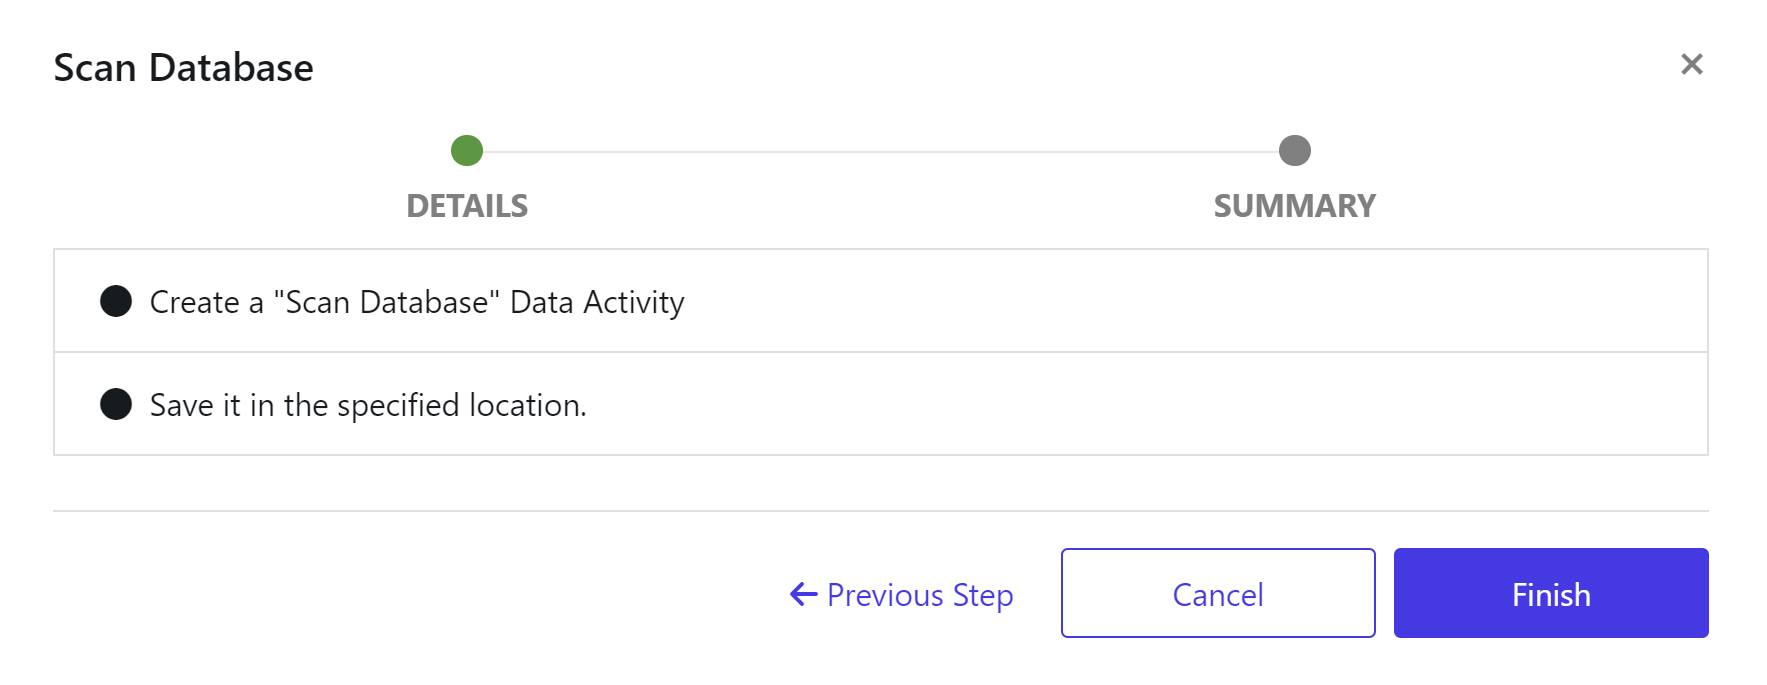
When ready click Finish → Go to Data Activity.
First, attach a Default Database Connection to the activity. Choose the previously defined connection from the previous Data Catalogue tutorial.
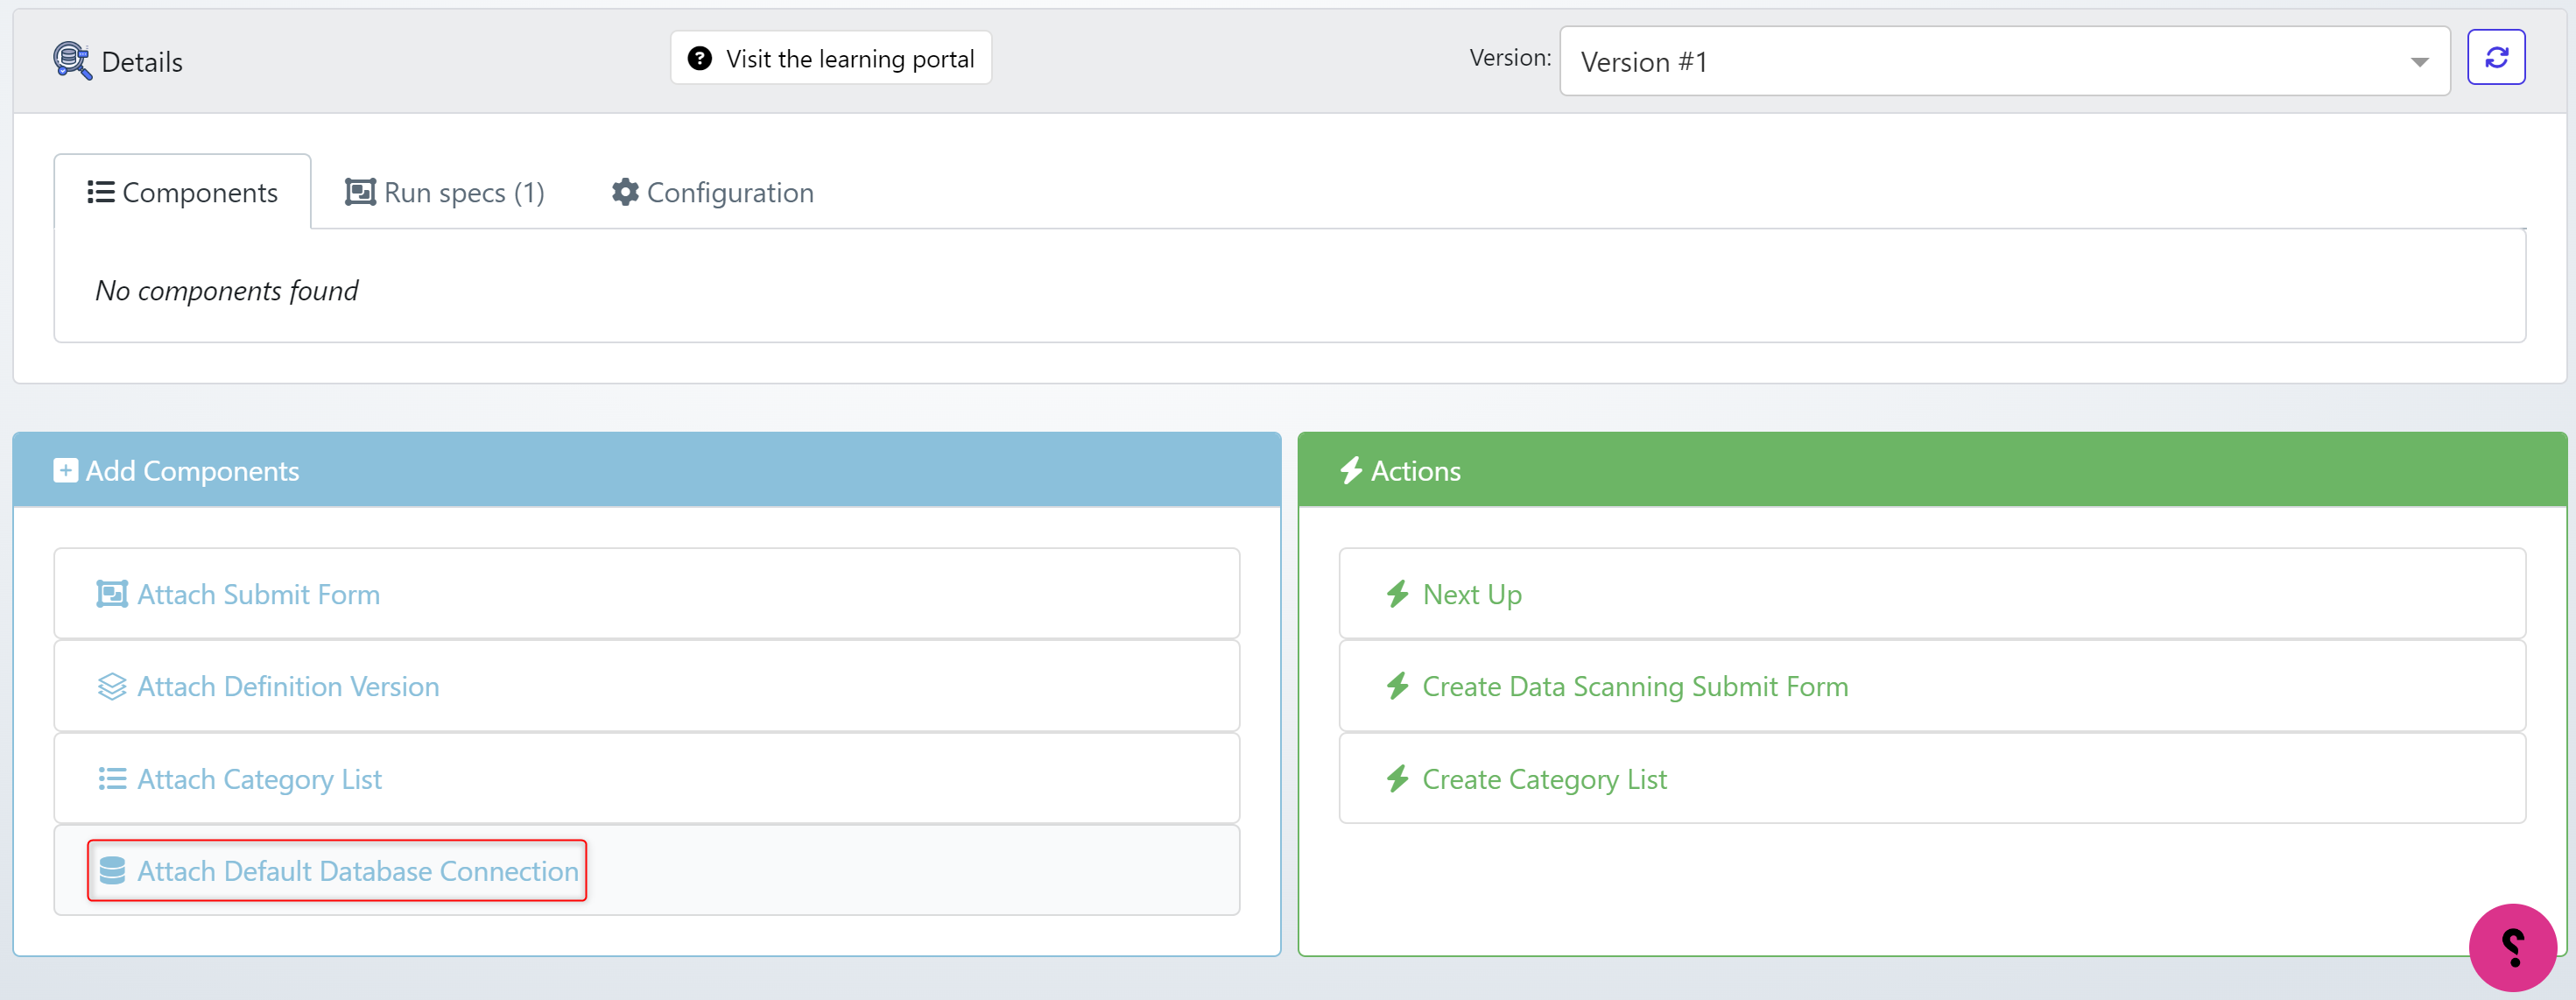
Click OK when when you have select a profile.

A connection will display on against the data activity.

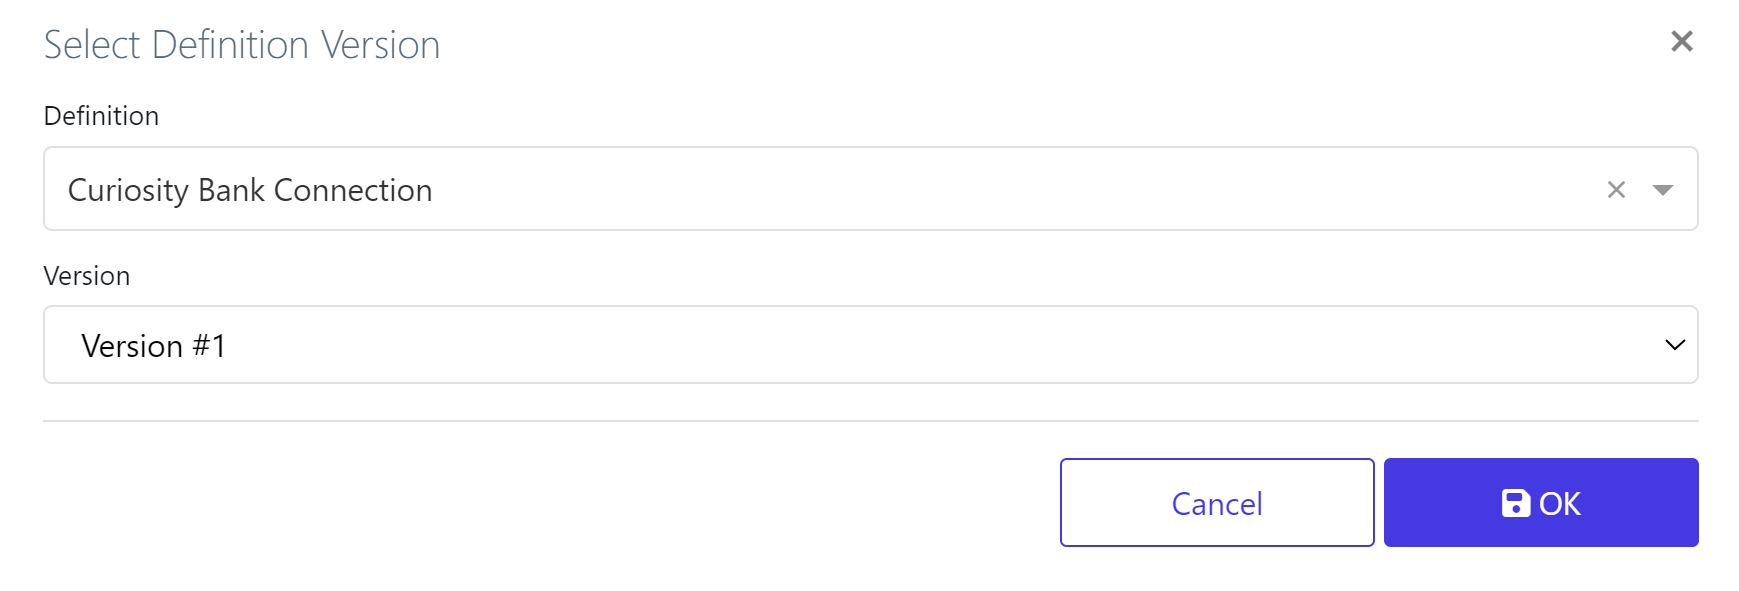
Next we need to attach a Definition Version

Select a definition version to scan. Click OK when ready.
We now need to build the type of profiling this job will execute. Click on Create Category List.

Provide the:
List Name
The type of list
The description
The application
As below we’ve chosen the StarterList
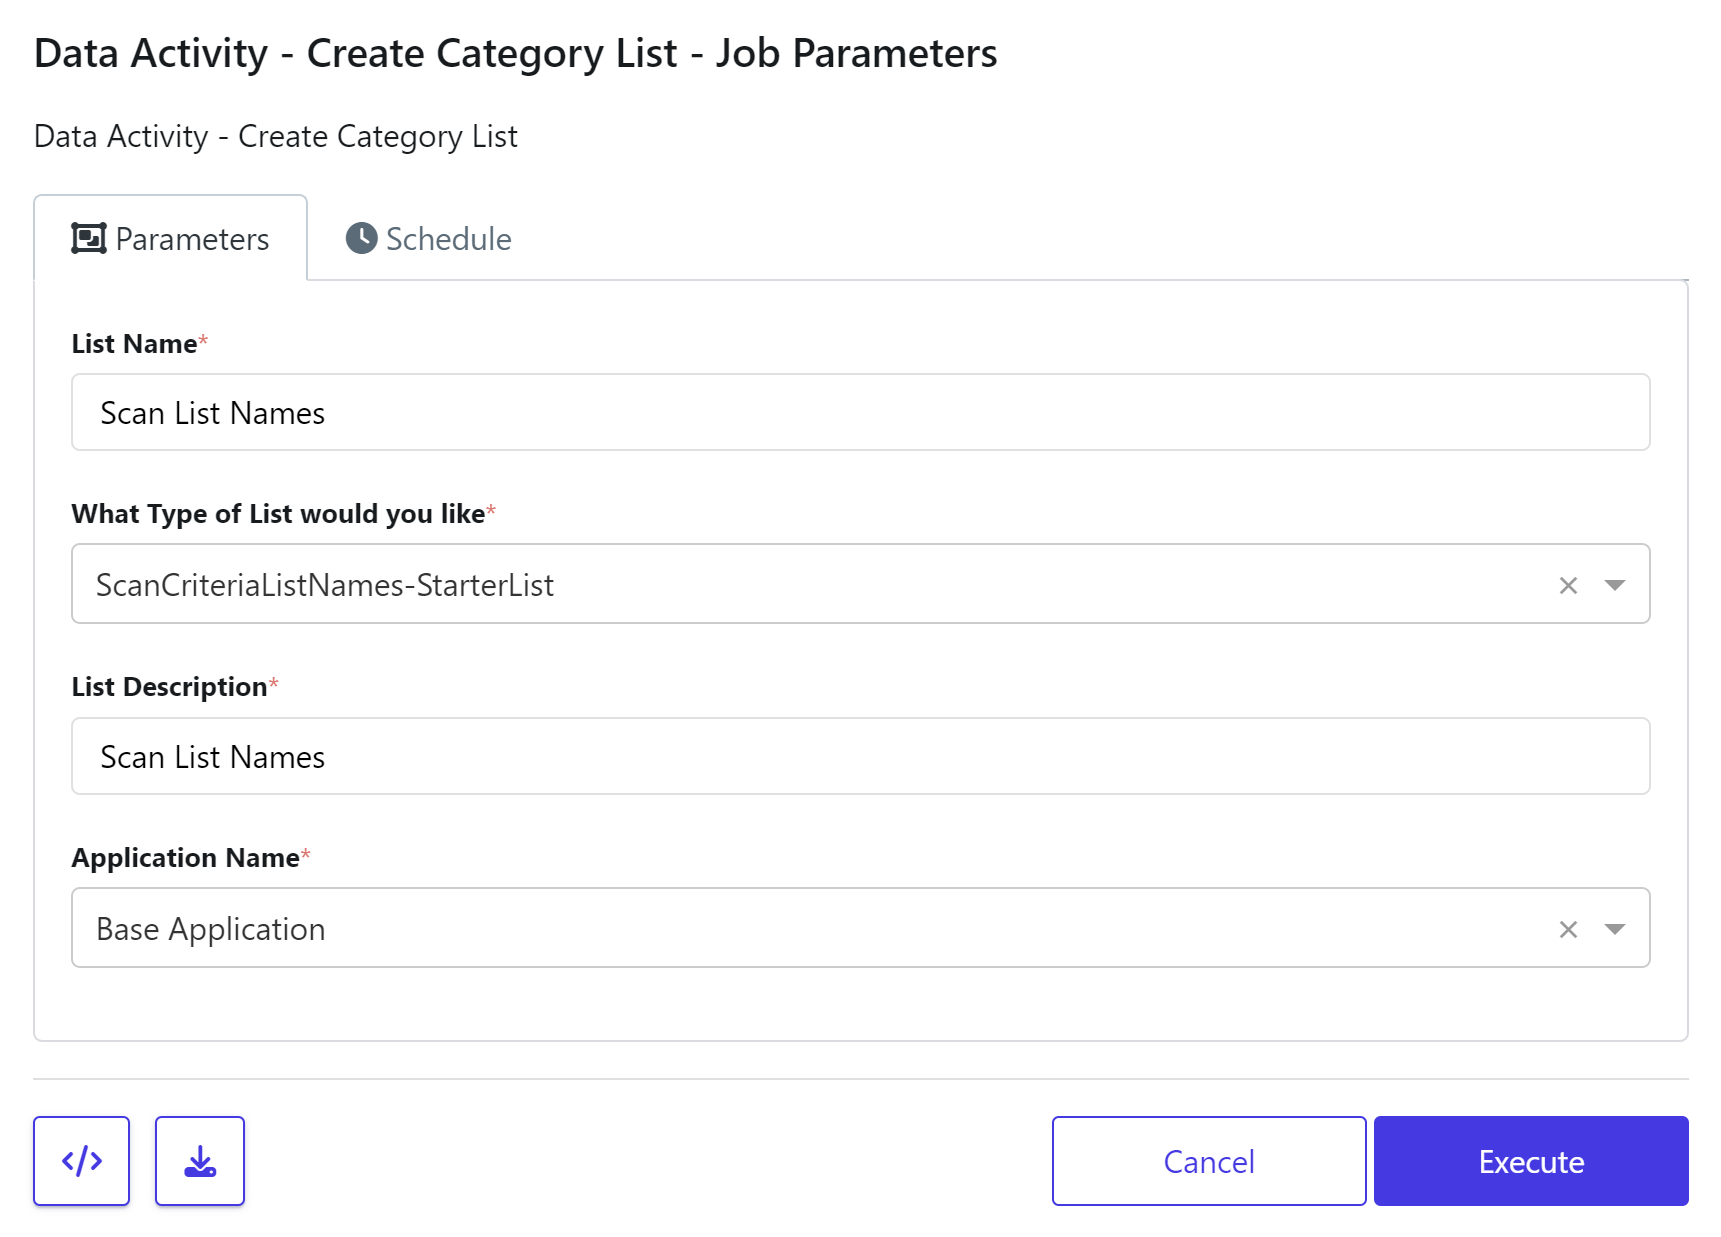
When ready choose Execute. This will run a job to create the list to use during profiling.

The Data List will be created against the activity. If you click on the list you can view the catergories of data we will scan for.

The List Details holds the type of information we will look for.
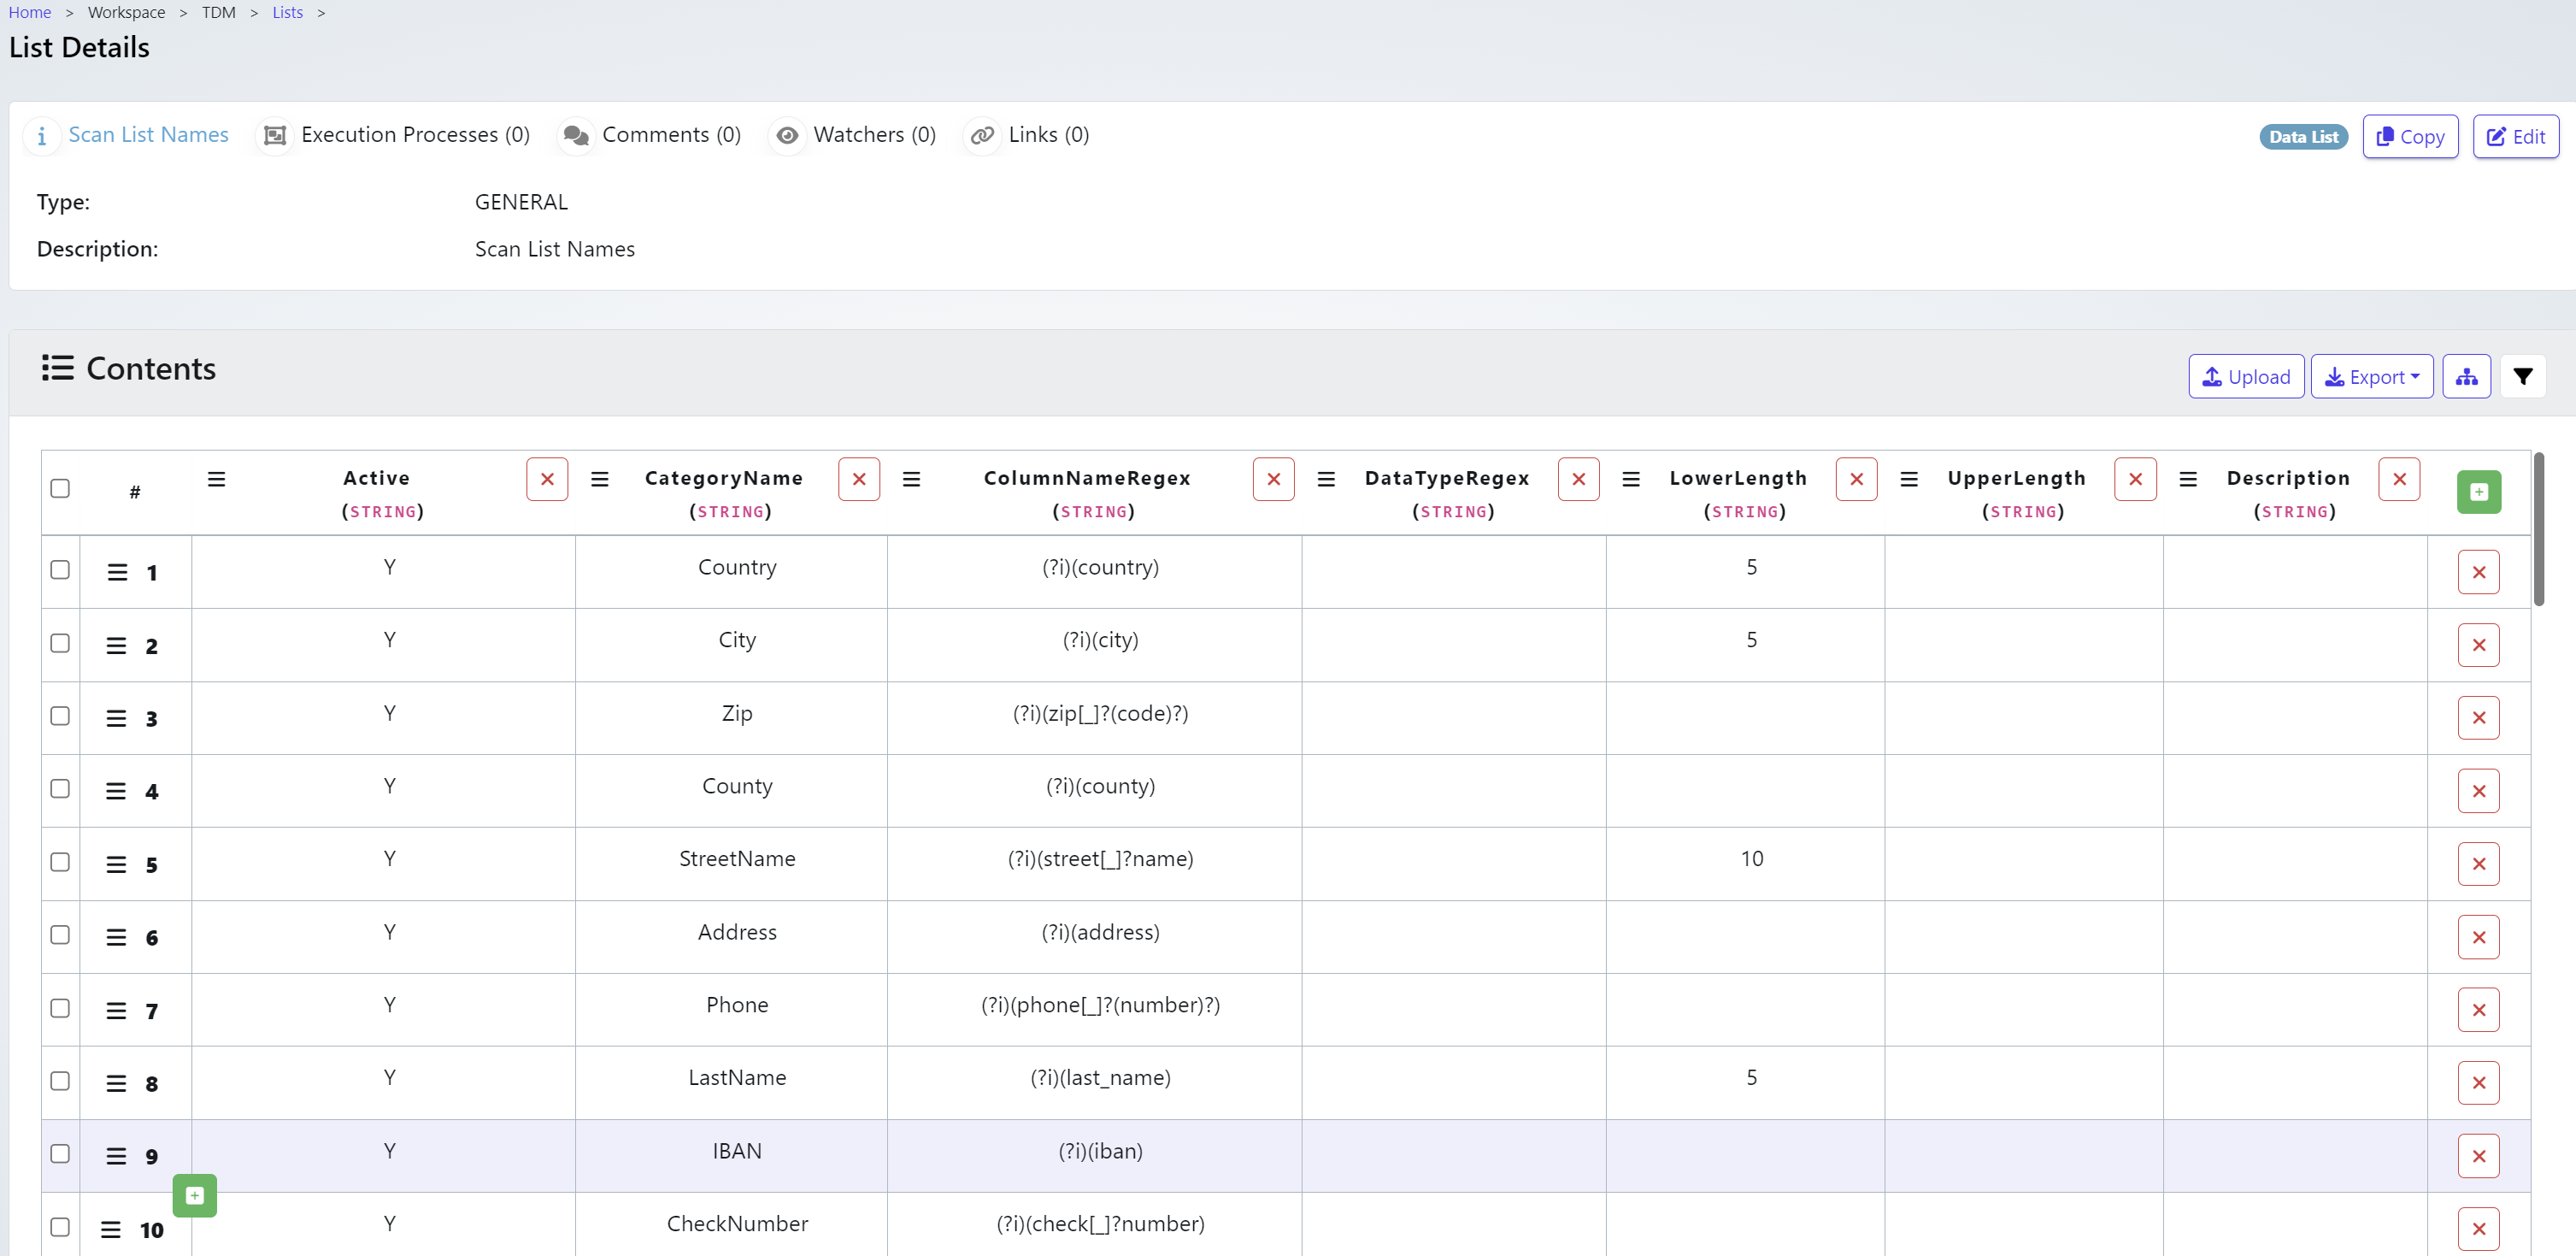
We will add further lists to include as part of the Scan.
From the Data Activity under Actions click ‘Create Category List’

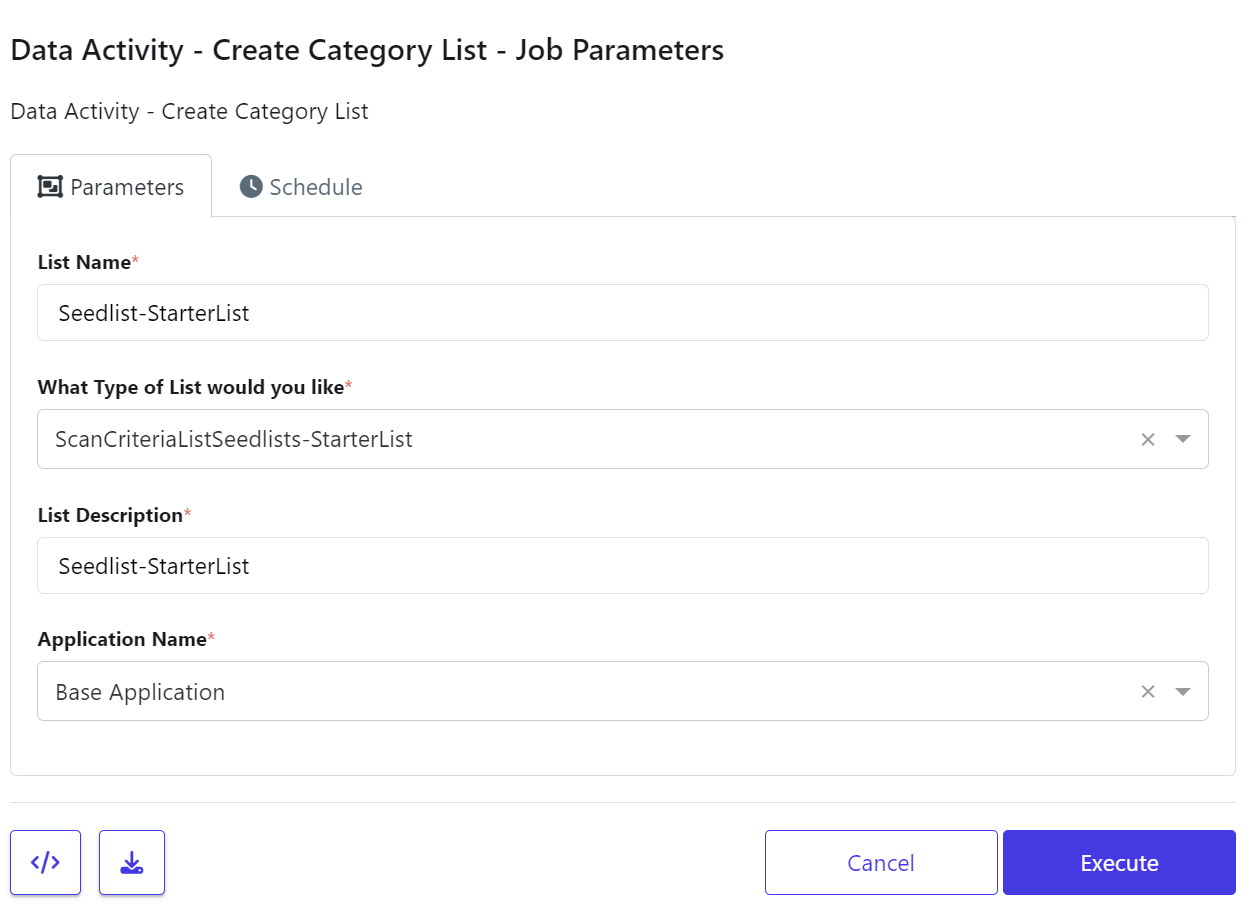
Choose the Seedlist-StarterList and provide a name for the list. It will also require a description and an application from the drop down.
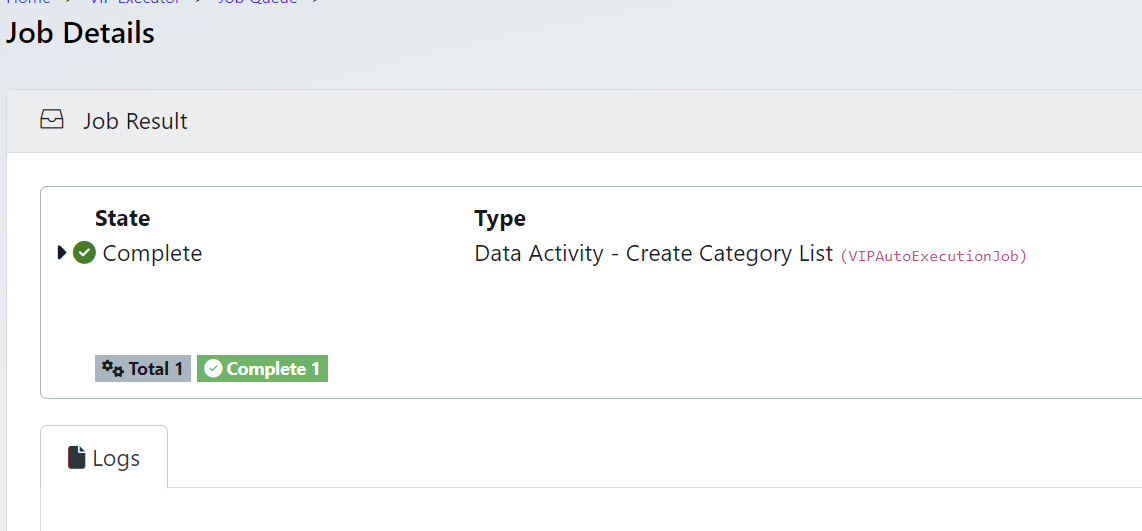
A job will trigger, make sure to check it completes.
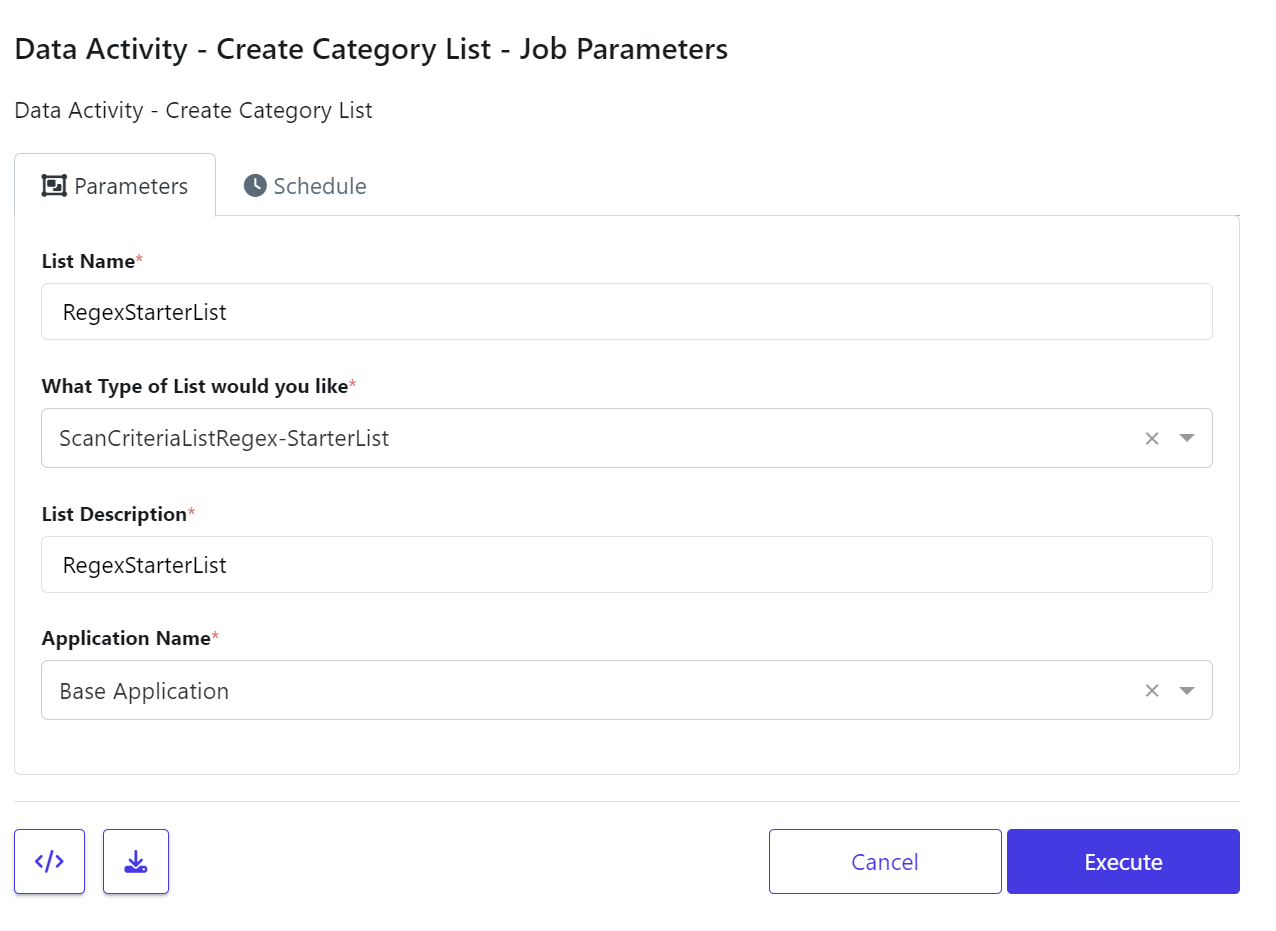
Complete this action for RegExStarterList too.
Each list will provide a different type of search type. From RegEx patterns analysis to specific data.
Data Lists are searchable and editable from the Data Lists

If you click on one of the lists, you can see and alter the types of records that are being searched. Below you can see the regular expression being used.

Navigate back to the Data Activity. You should have 3 lists configured. You can edit these lists from the Configuration tab.

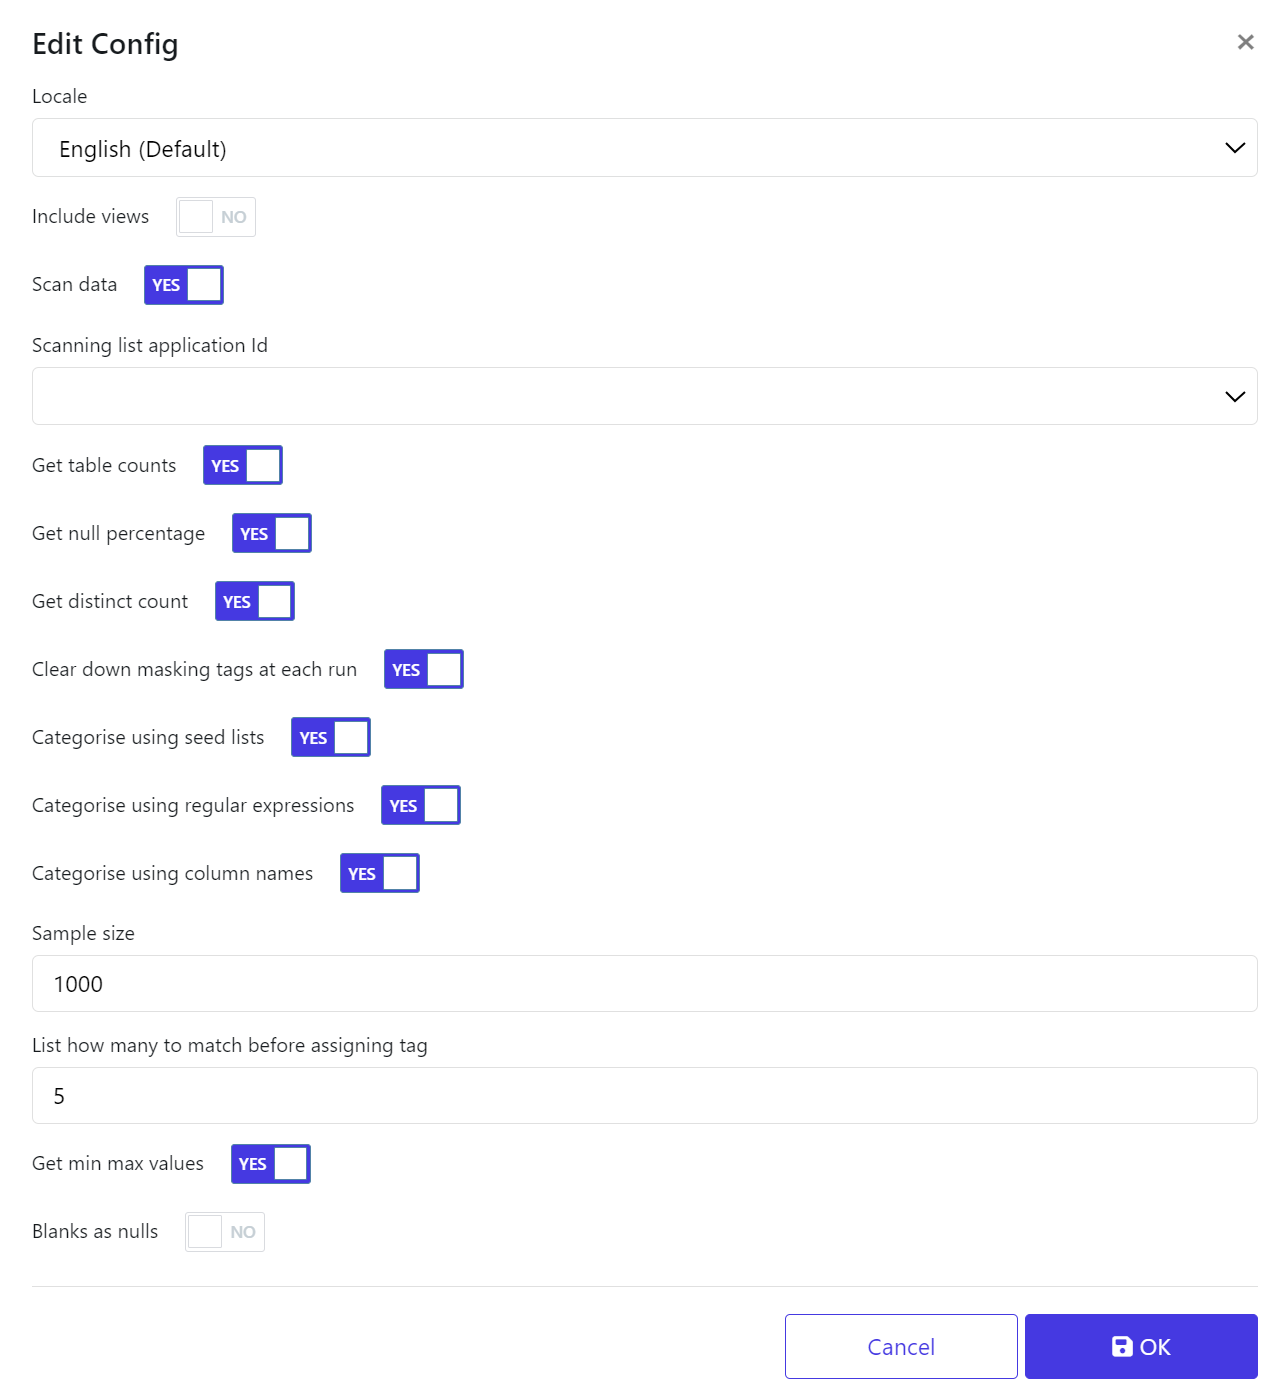
The PROPERTY will show some of the customization you can alter. For example, including views to be scanned, counting rows in tables, finding distinct values. The default parameters are optimally configured but alter them as you requirements need.
Click Edit
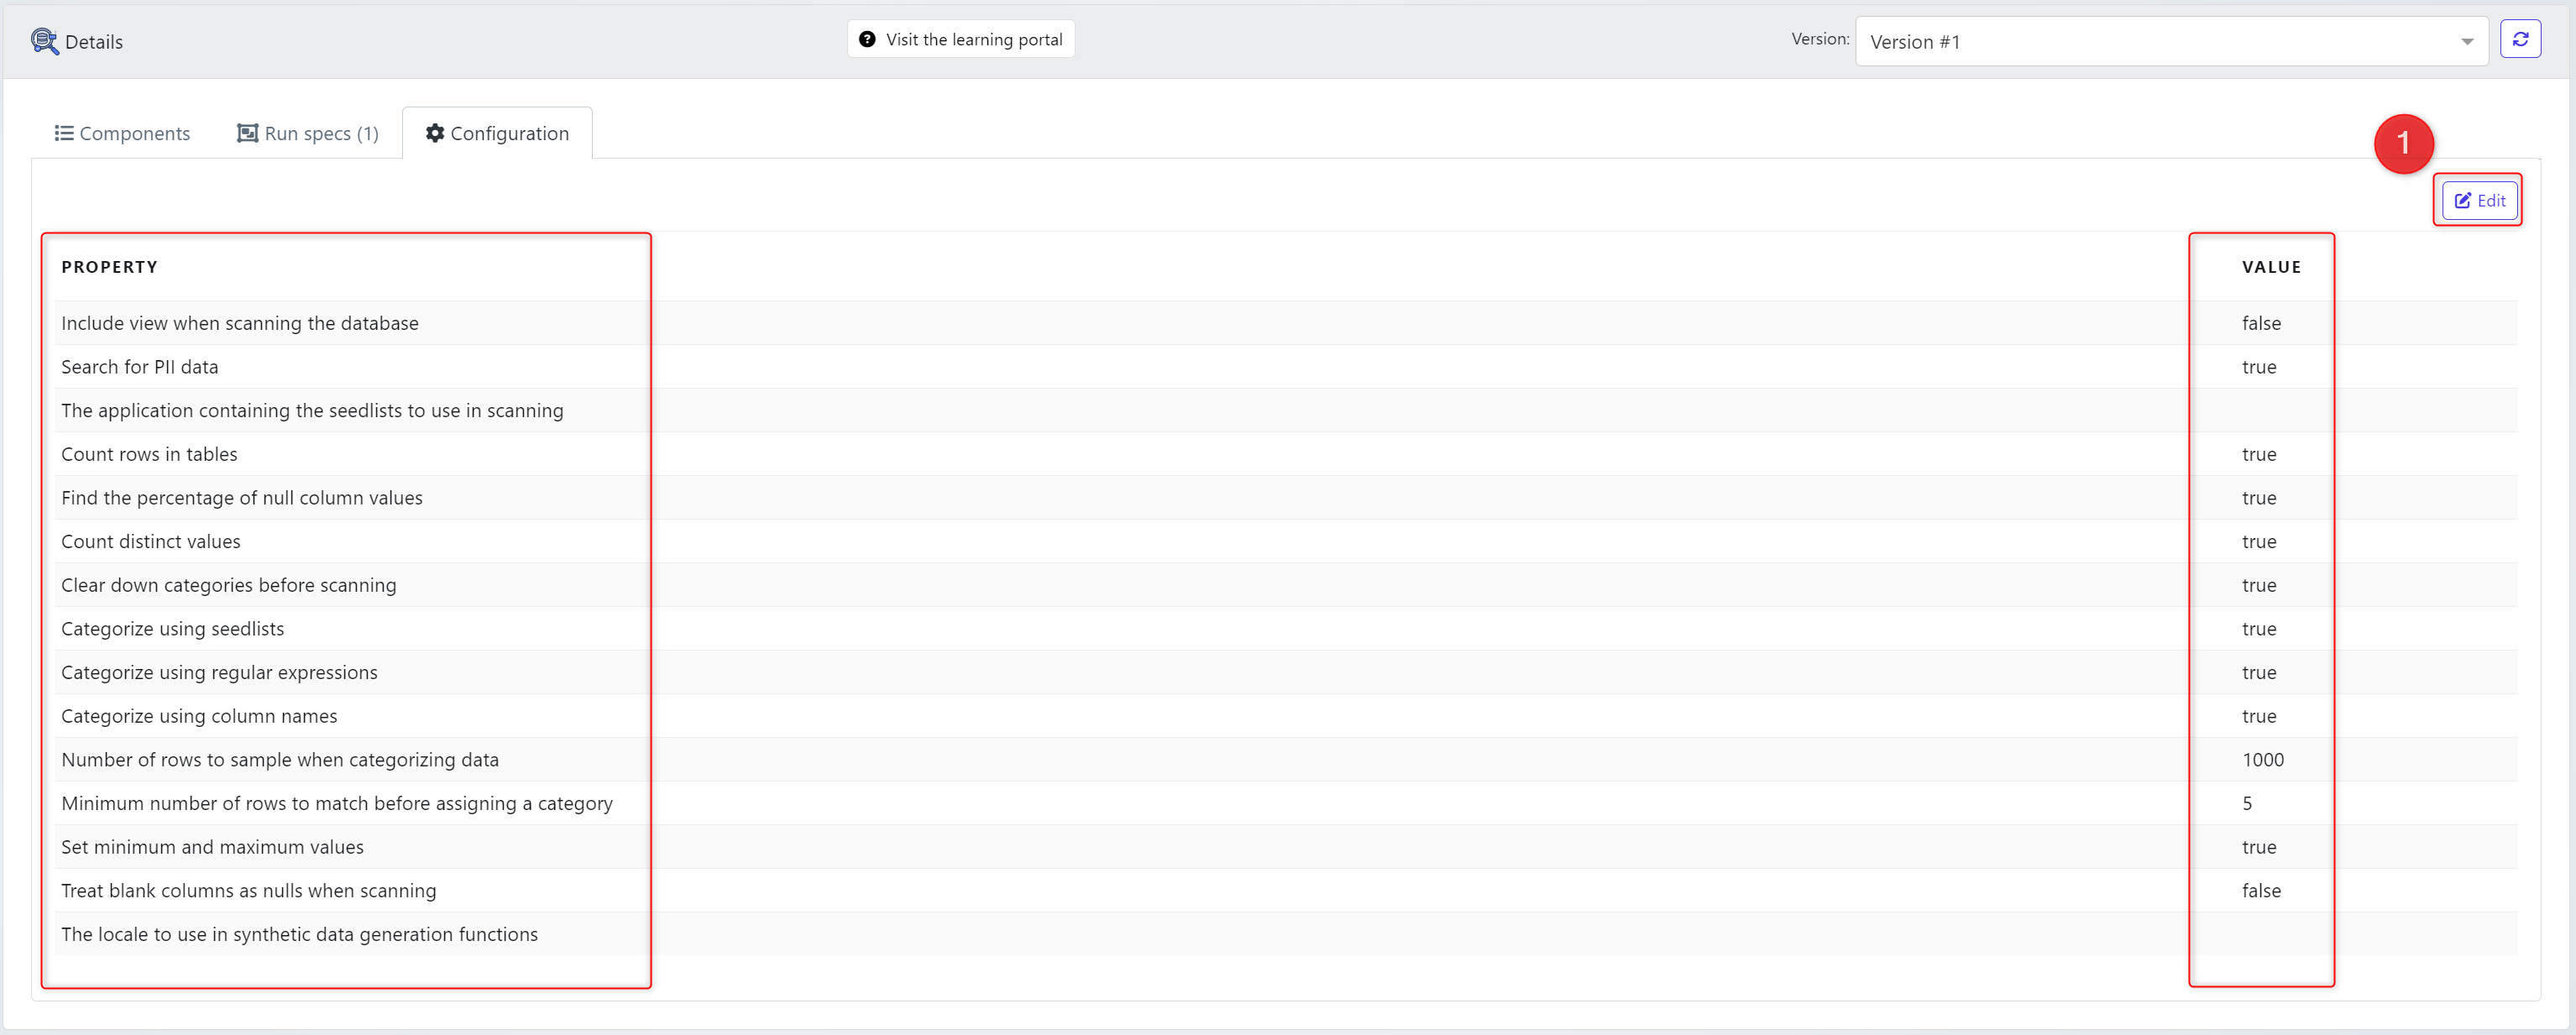
You can toggle on and off values. Click OK. When finished.
From the Data Activity we will now create a Data Scanning Submit Form. Which will let us run the job.

Click on the Data Scanning Submit Form action
The form requires a Name & Group
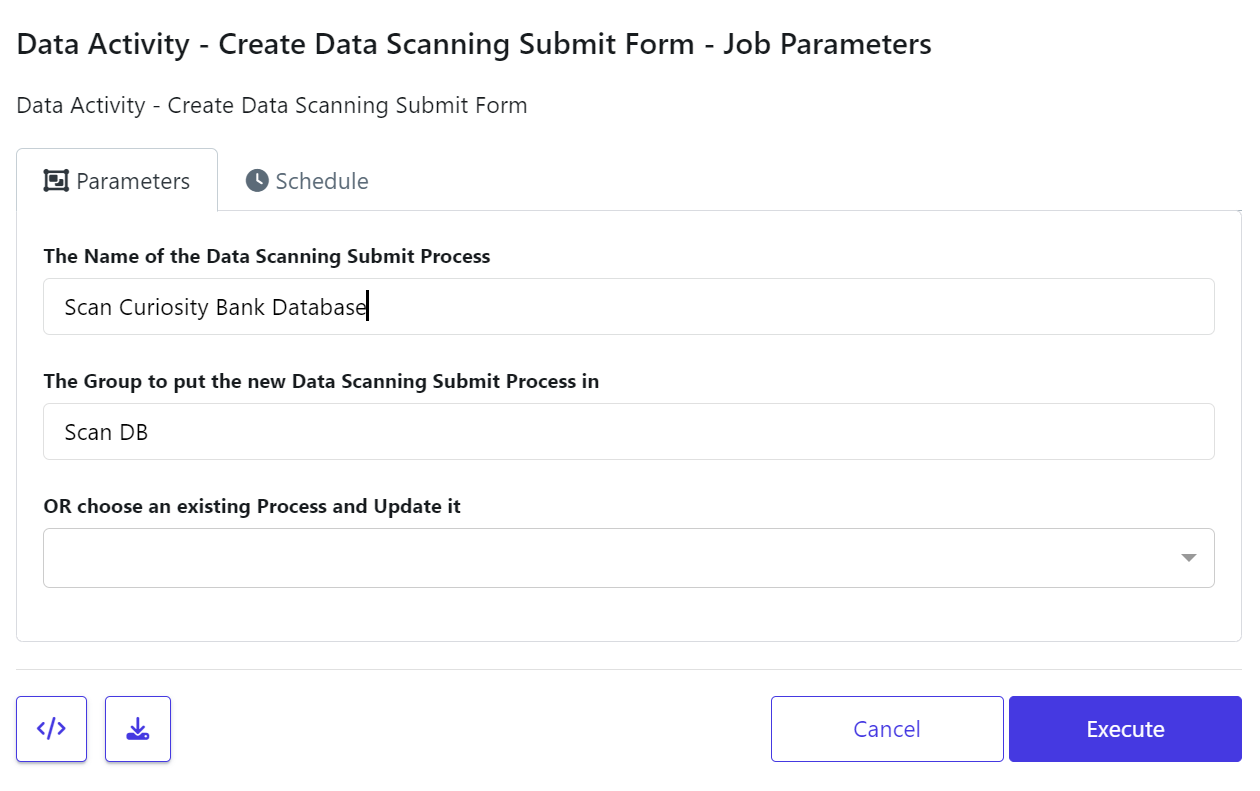
The group can be an existing group from the Self-Service Data page or a new group.
If you are updating a existing process, pick it from the bottom drop down list
Click Execute when ready.
Run the data profiling activity
We are now configured to run the job. This can be manually called, schedule as part of a routine or via an API.
Click the Play icon to run the routine.

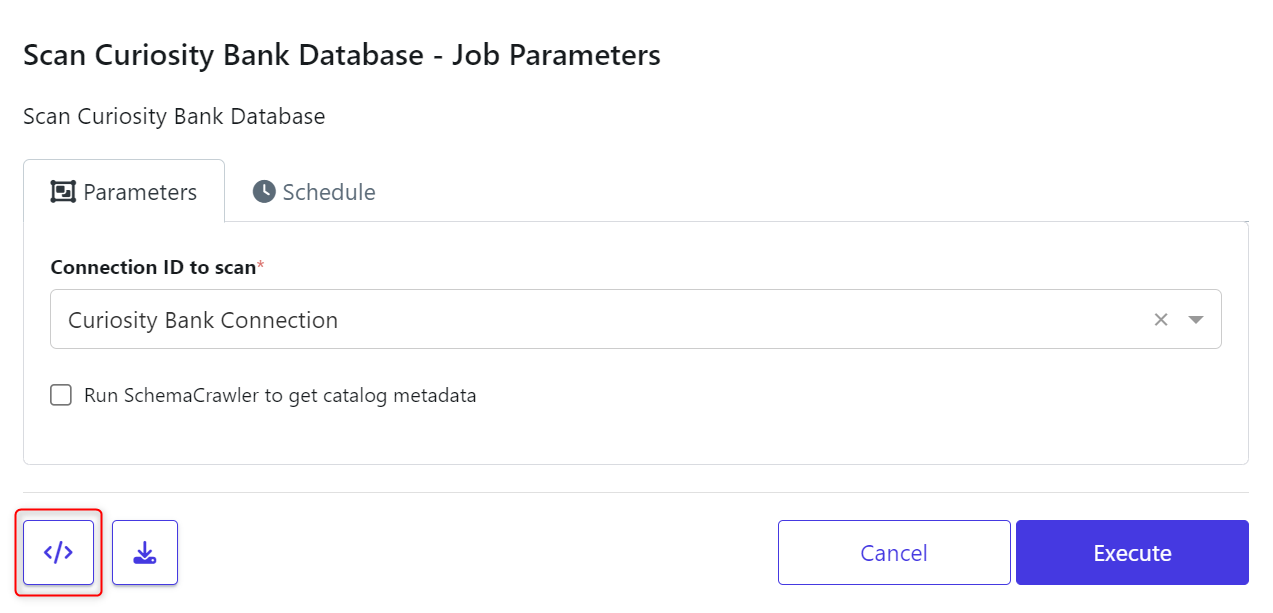
You can run the scan in several ways. Clicking Execute will run this job directly. But clicking the code icon in the bottom right, will present some other options.
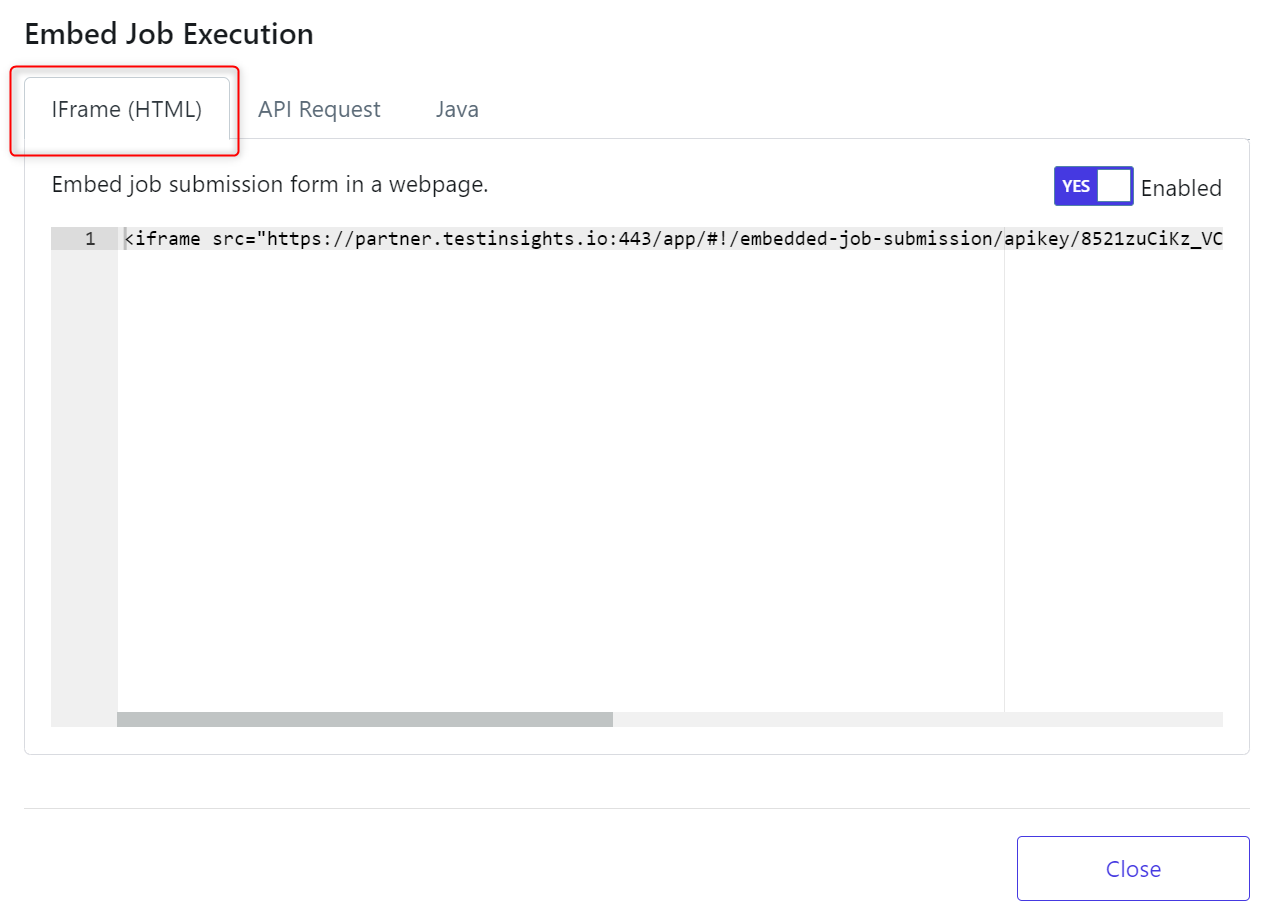
Embed as iFrame. You can embed this job as an iFrame using the HTML provide. Users can then run this job from different locations and browsers.
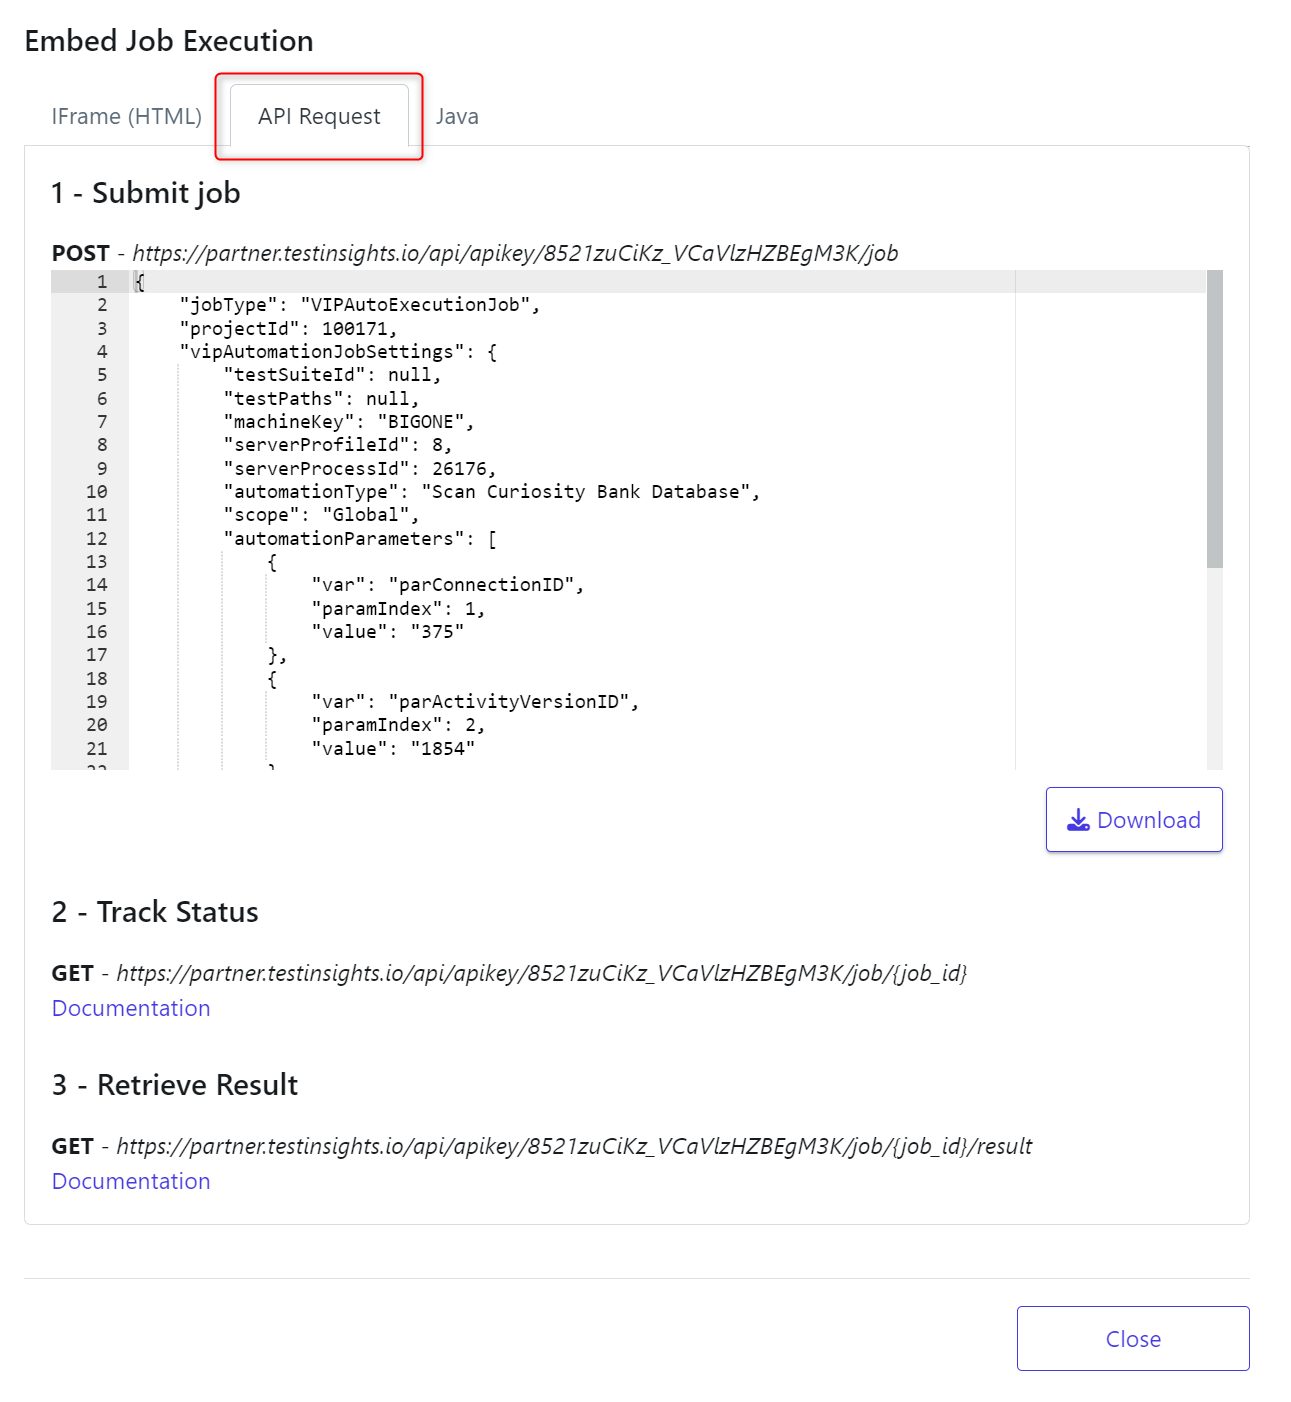
You can embed the job as an API request. You can Submit the job using the POST request and subsequently track its progress and results using the GET options. You can also Download this code.
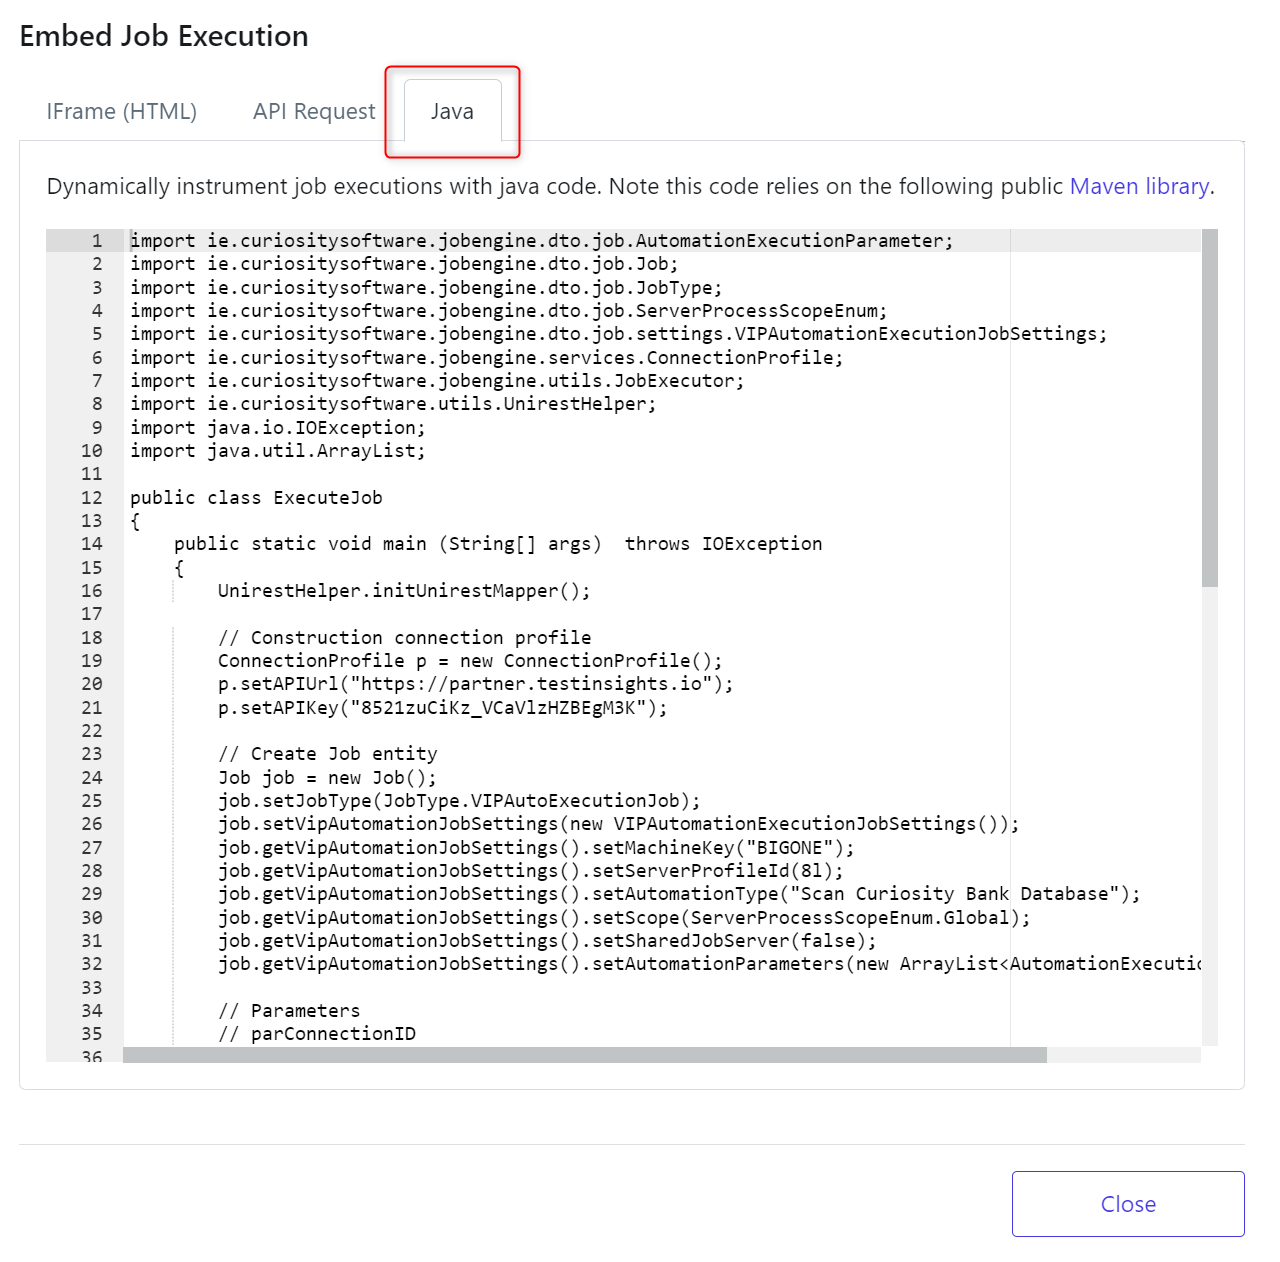
You can also call and dynamically instrument this job with constructed Java code.
When ready, you can run this job.
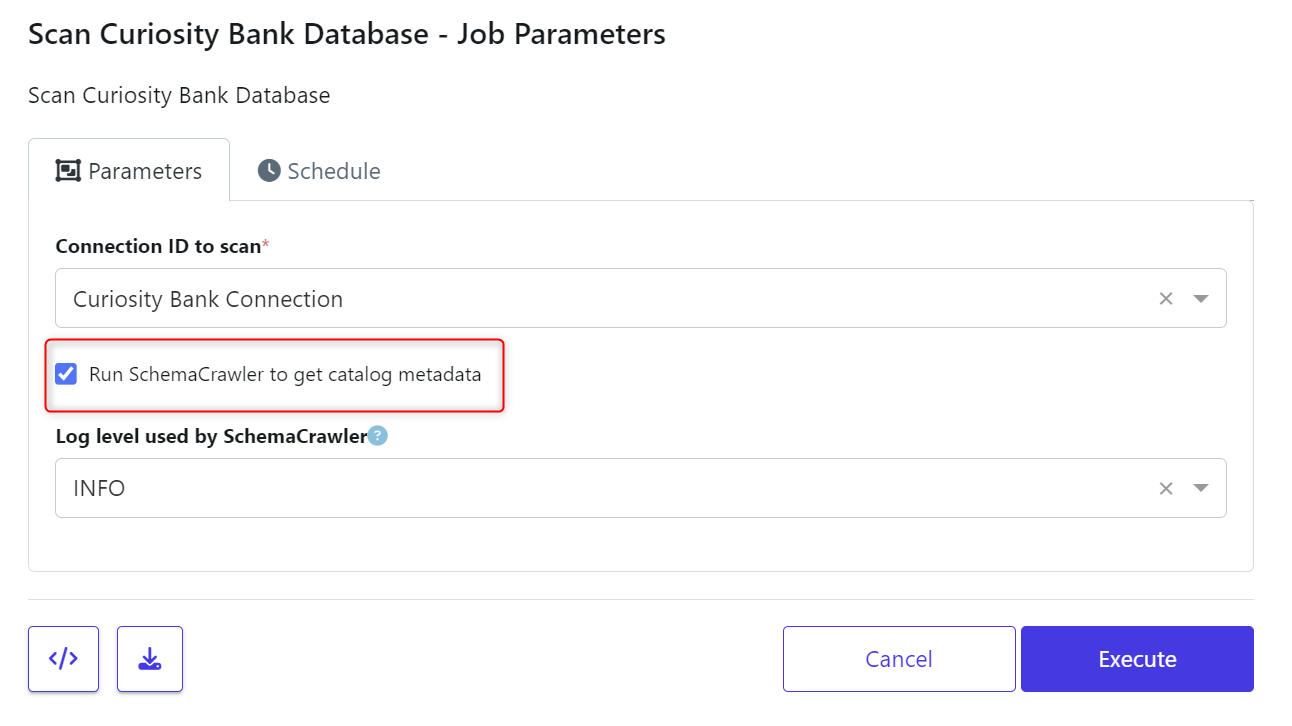
We’ve selected to Run the schema crawler to gather further metadata.
Click Execute if your happy the Connection ID to scan is correct.
Follow the Job to check it finished and the Results have been collected.

Review the results
When the job completes a new scan will be available against the Data Definition. Navigate to the
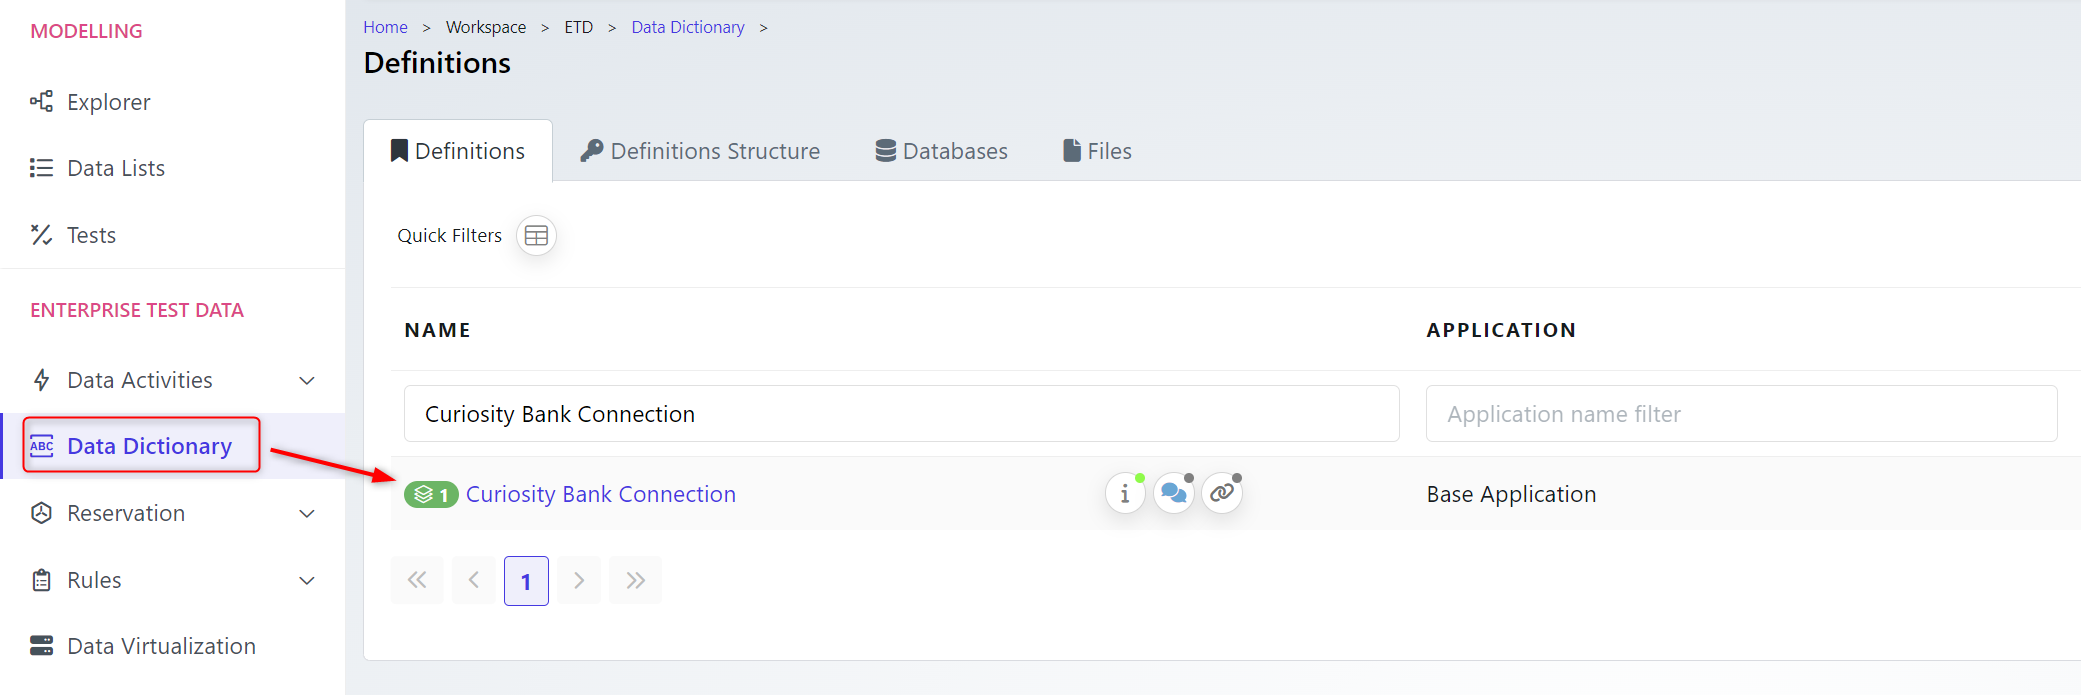
The Scan #2 version will now hold the scanned PII formation. Click on Scan #2.
The scan will hold the information for PII we are looking for. The Version #2 will hold the schema details.

The scanned tables and columns will now have the Tags assigned to them based on the information we picked up during the scan.
