Apply flexible and targeted data masking rules to protect sensitive information before it’s shared in less-secure environments. Ensure regulatory compliance and reduce the risk of data breaches by masking specific data based on custom conditions. This guide will walk you through the key features of conditional data masking and how to configure it for your needs.
Apply Conditional Rules: Mask data based on specific conditions in your database.
Targeted Masking Functions: Execute masking with custom WHERE clauses for more precision.
Flexible and Precise: Adapt data masking to meet your specific data protection requirements.
To complete this section, you need to have completed ‘Database Masking’
Navigate to the Rules tab in the side ribbon and click Rule Set Explorer.
Choose the Masking Rules tab.
Note:
Often users don’t realise they are on the wrong tab when searching for Rules make sure you are on the right tab

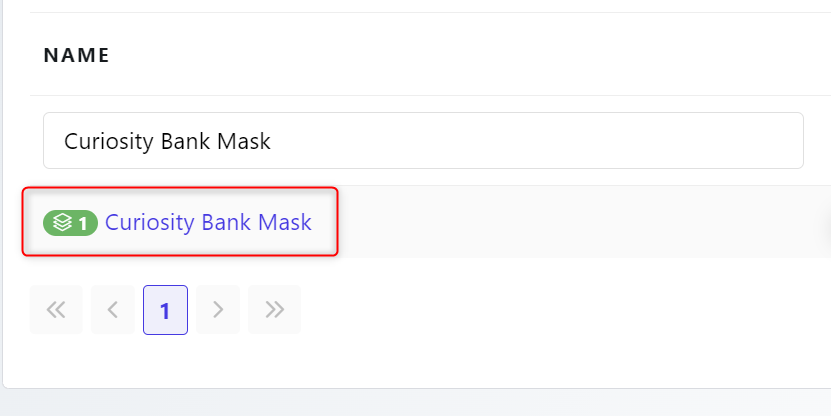
Choose the ruleset you need. In this case Curiosity Bank Mask.
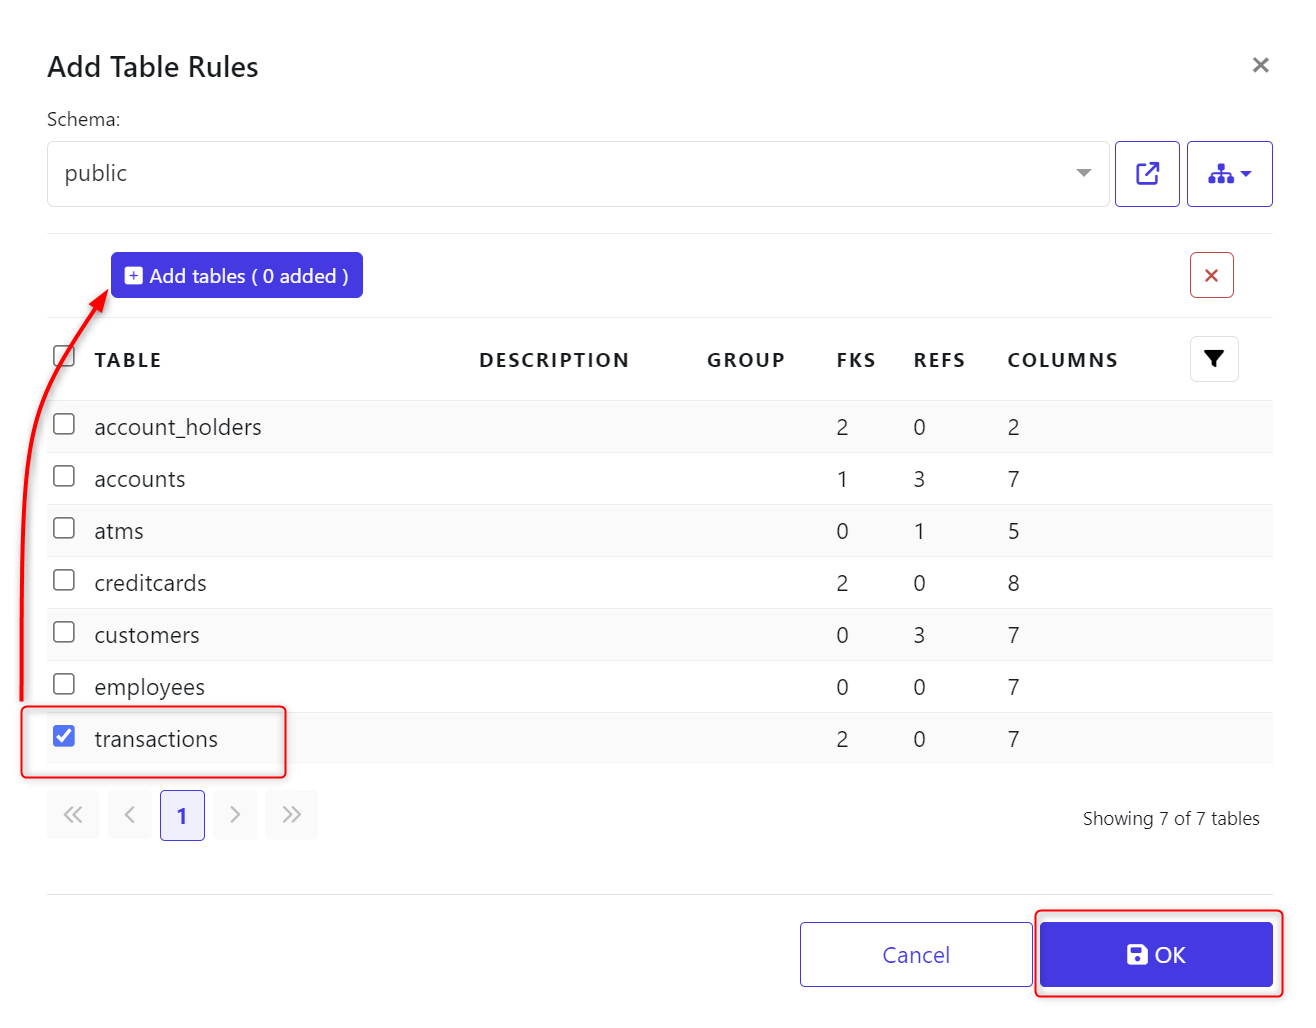
When you are in the Masking Rule Set choose to either expand the existing table ‘Customers’ in the below example or ‘Add Table’ on the right of the screen.

Select a table and click Add tables. When you’ve added all tables you need, click OK
The tables will now appear in the Masking Rule Set
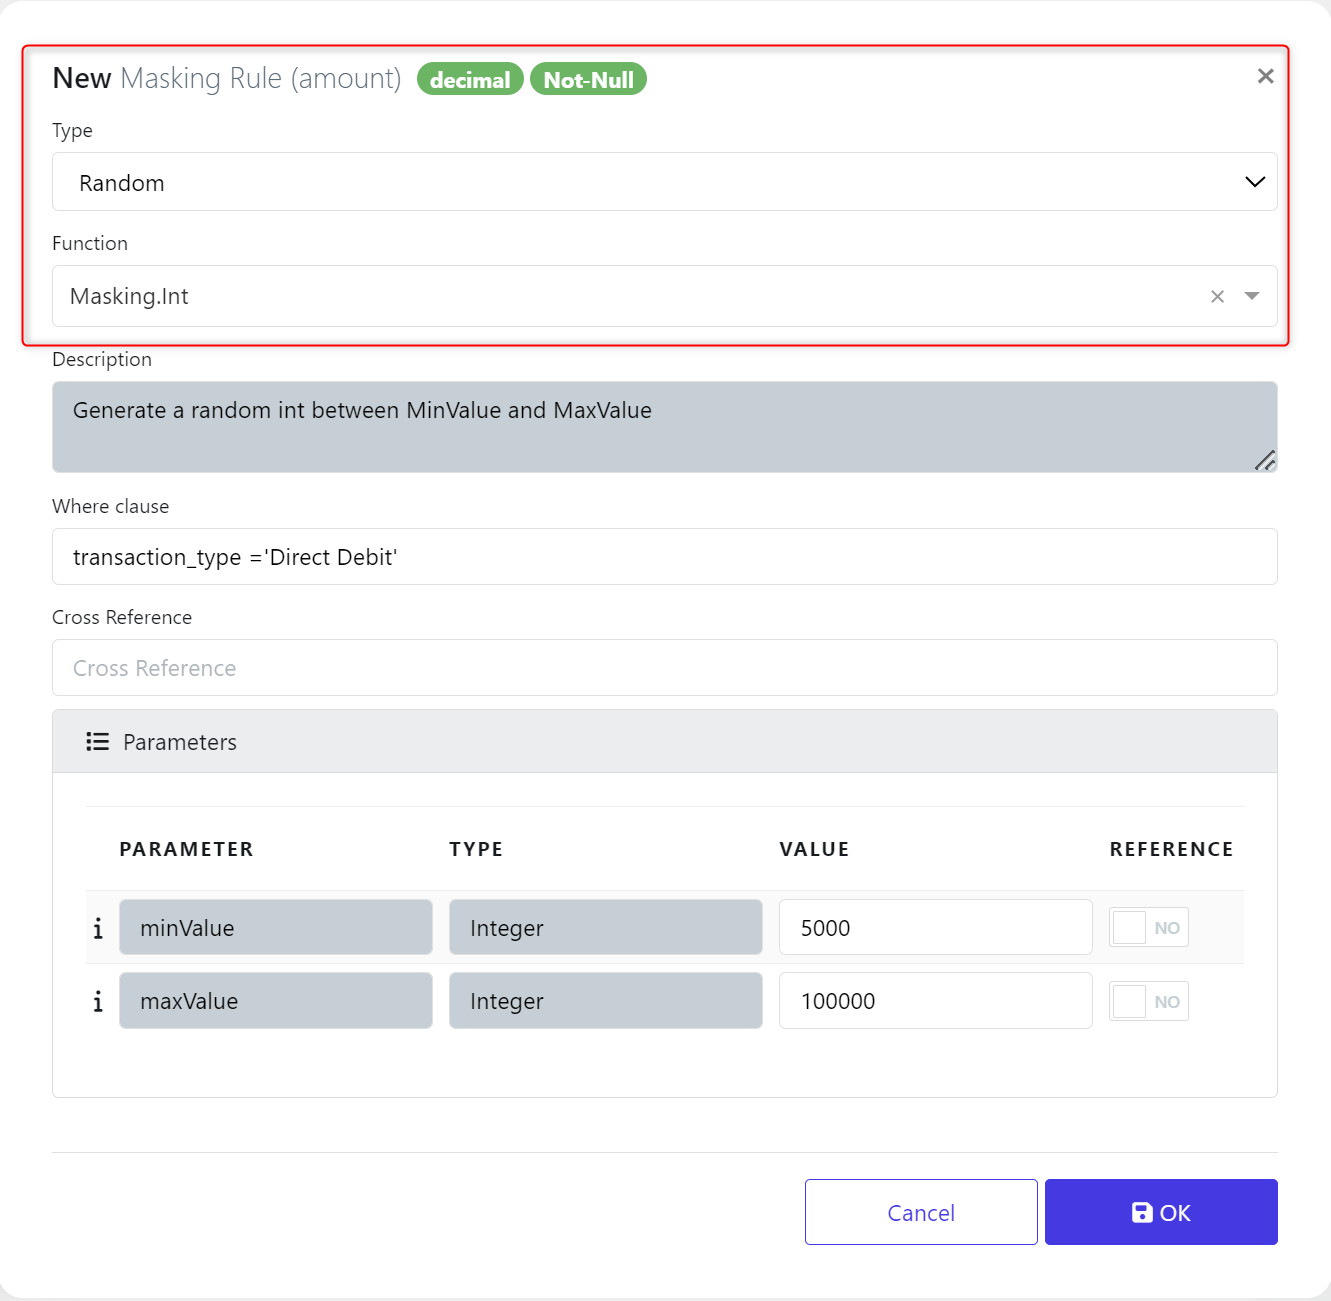
Choose the table and column you wish to mask. This this case amount will be the column we mask conditionally.

We will now apply the type of mask and it’s rules. In this case a type of Random with a Function of Masking.int
The type should be the type of masking function you want to use, Random, Dates or Lists for example.
The function should be chosen to match the column details (int, date, string)
We then need to apply the conditional logic in the where field. This is SQL logic and based on another column name from the table.
transaction_type = 'Direct Debit'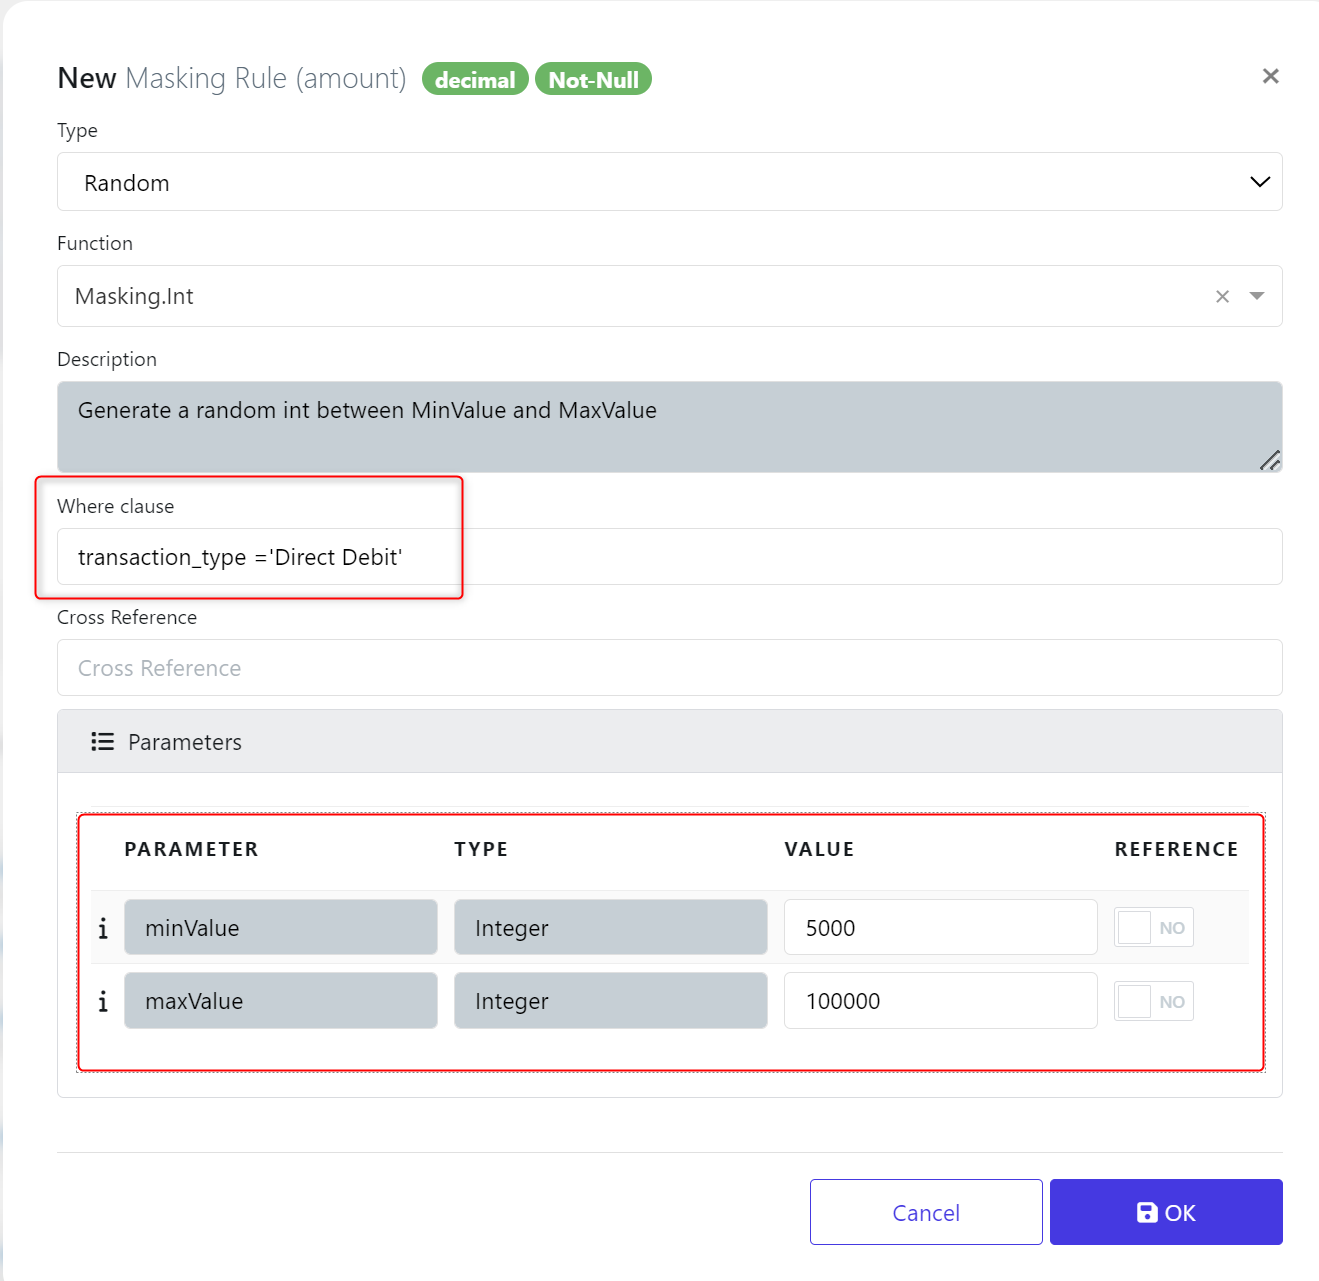
We also chose the parameters for the masking function. A min & max value of 5000 & 100000. When complete, click OK.
With conditional masking, you can add multiple conditions to the same table. We will now add another. Repeat the above steps but adjust the SQL.
As before, we choose a type of Random and a function of masking.int with a Where clause applied & smaller parameter values.
transaction_type = 'ATM' AND transaction_Type != 'Direct Debit'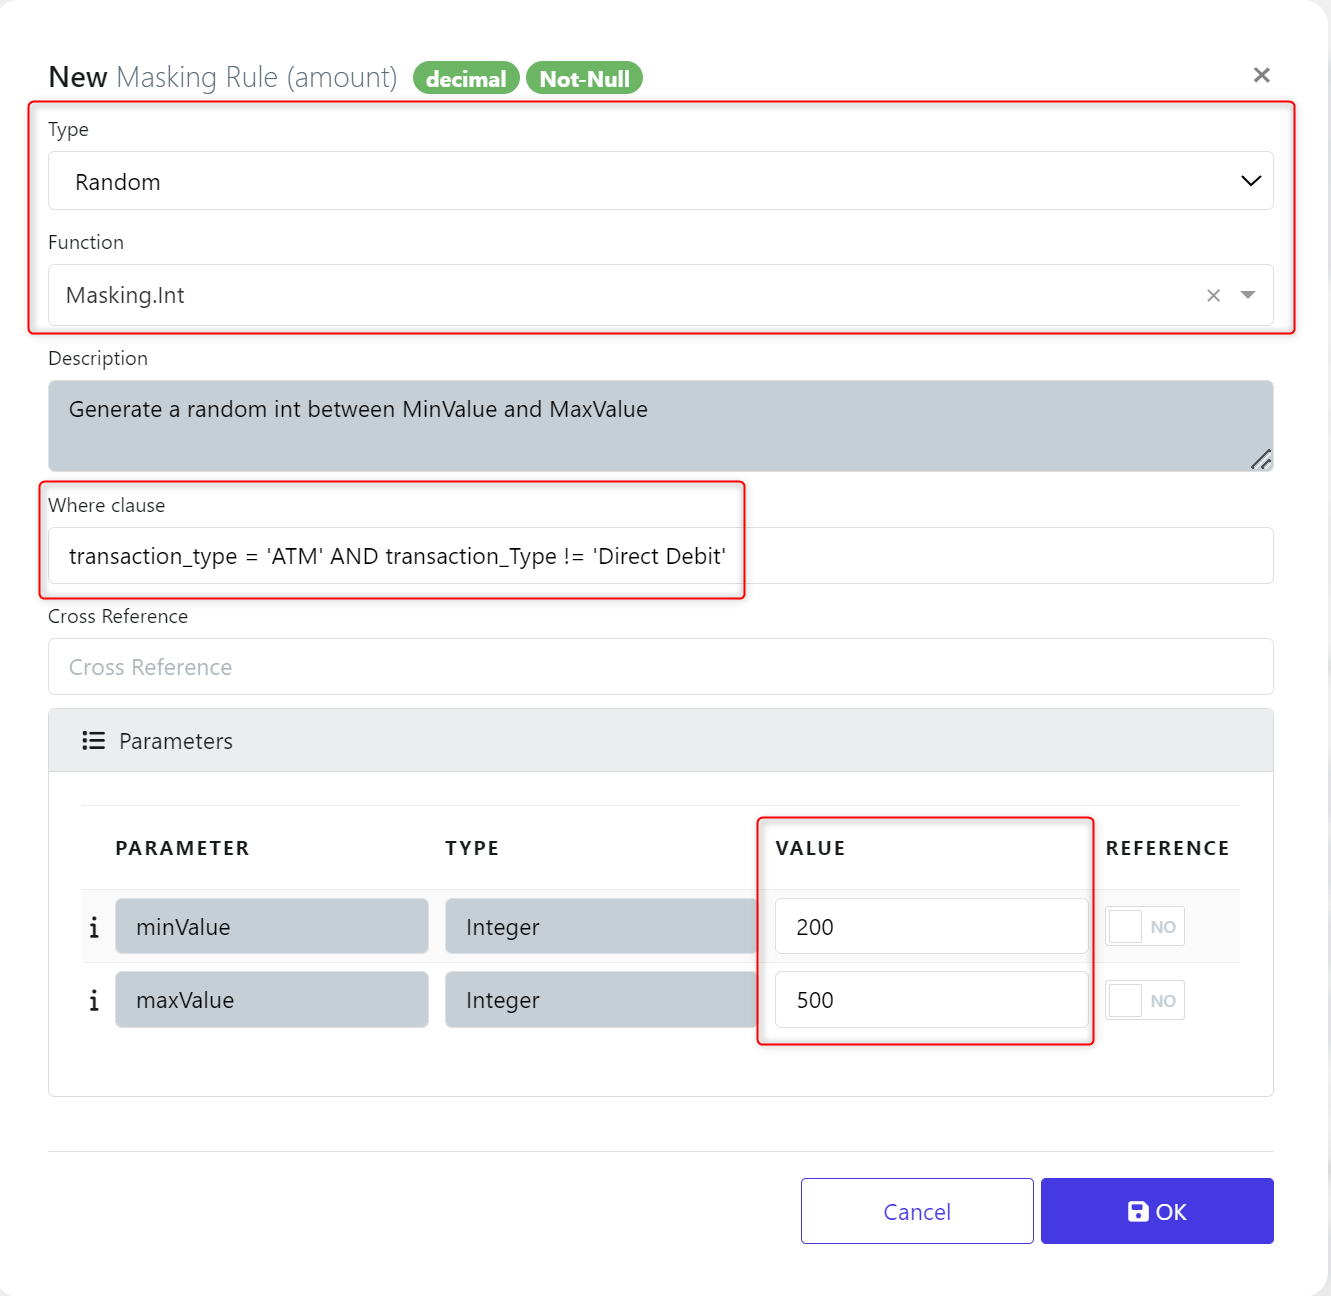
Click OK when ready.
This condition will now apply different masking routines to the same column based on the conditional logic and data stored within the table. You can continue this process until you have added as much logic as you require.
This scenario we now have 2 different types of masking outcomes applied to the column.

This routine is now ready to run. Click Run Mask and choose a server to execute the job on.
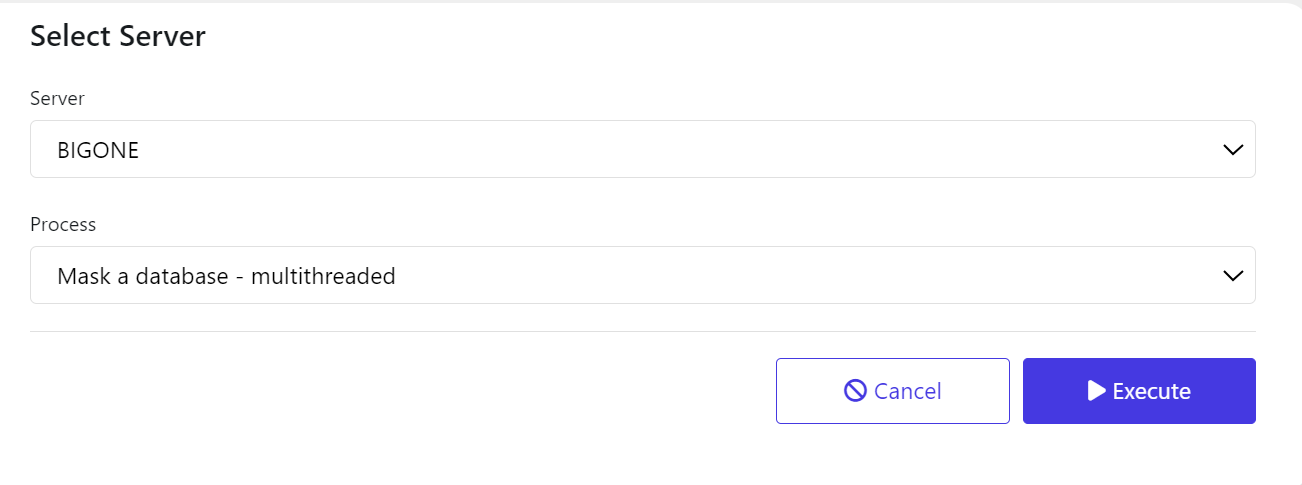
Executing the job starts the masking routine and you can track this directly from the job view.

You can navigate to the Job Queue to via Self-Service Data → View Jobs
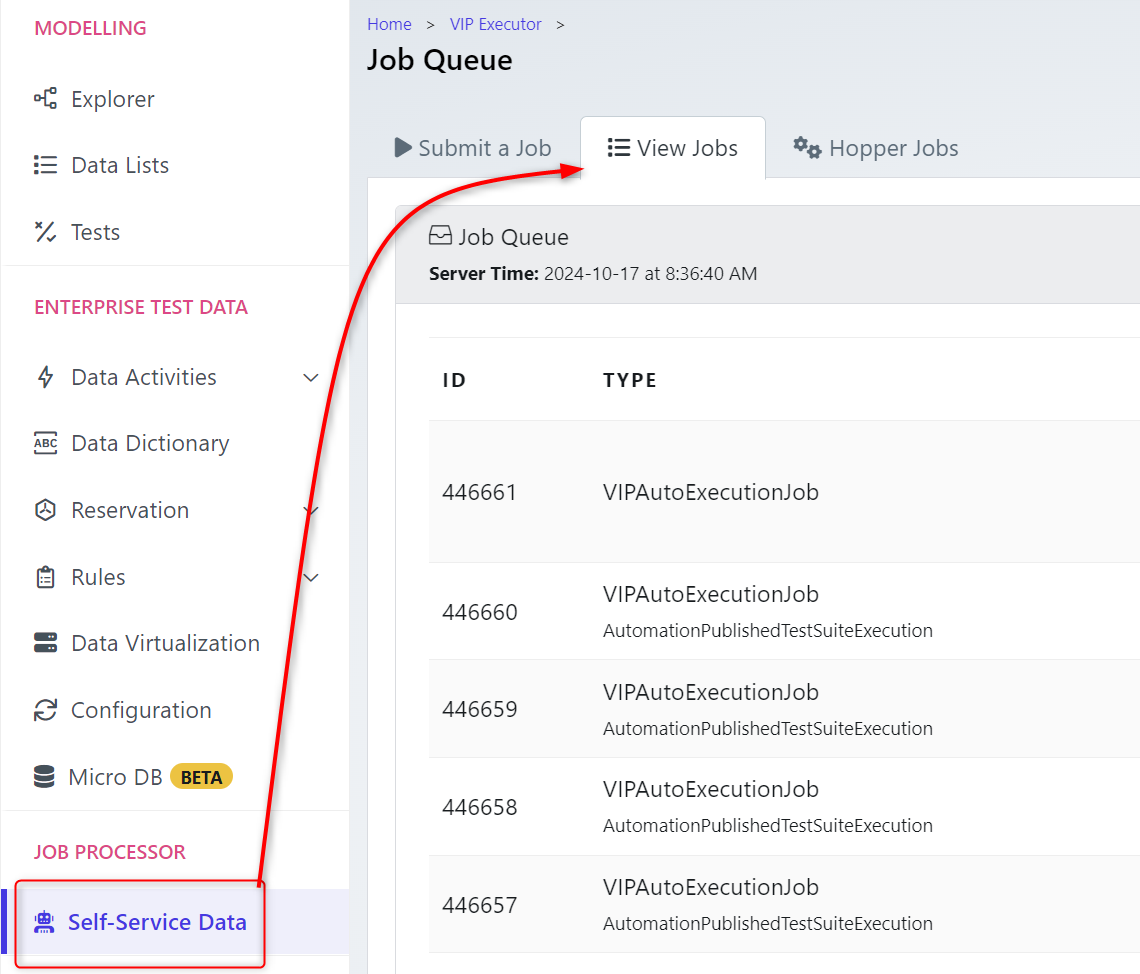
Once completed, a Run Results view will show you some metrics of what’s been masked.
