Cross-referencing allows you to use a reference database to apply consistent data masking across multiple datasets or environments. This ensures that sensitive information such as names or addresses is masked uniformly, maintaining consistency and accuracy throughout your databases. By using this method, you can ensure that data remains protected in a standardized way across different tables and systems.
Cross Reference: Utilize a reference database to store data for consistent masking across multiple databases/environments.
The cross-reference database comprises a table featuring columns for a cross-reference identifier, a pre-masked value (hashed), and a post-masked value.
To complete this task you need the xrefhash schema
This schema should be held in the database that you are looking to mask
CREATE SCHEMA xrefhash;

CREATE TABLE xrefhash.changes (
    name VARCHAR,
    oldvaluehash VARCHAR,
    newvalue VARCHAR
);
Data Dictionary
Navigate to the Data Dictionary and copy/create a connection profile.

Provide a Name & Description
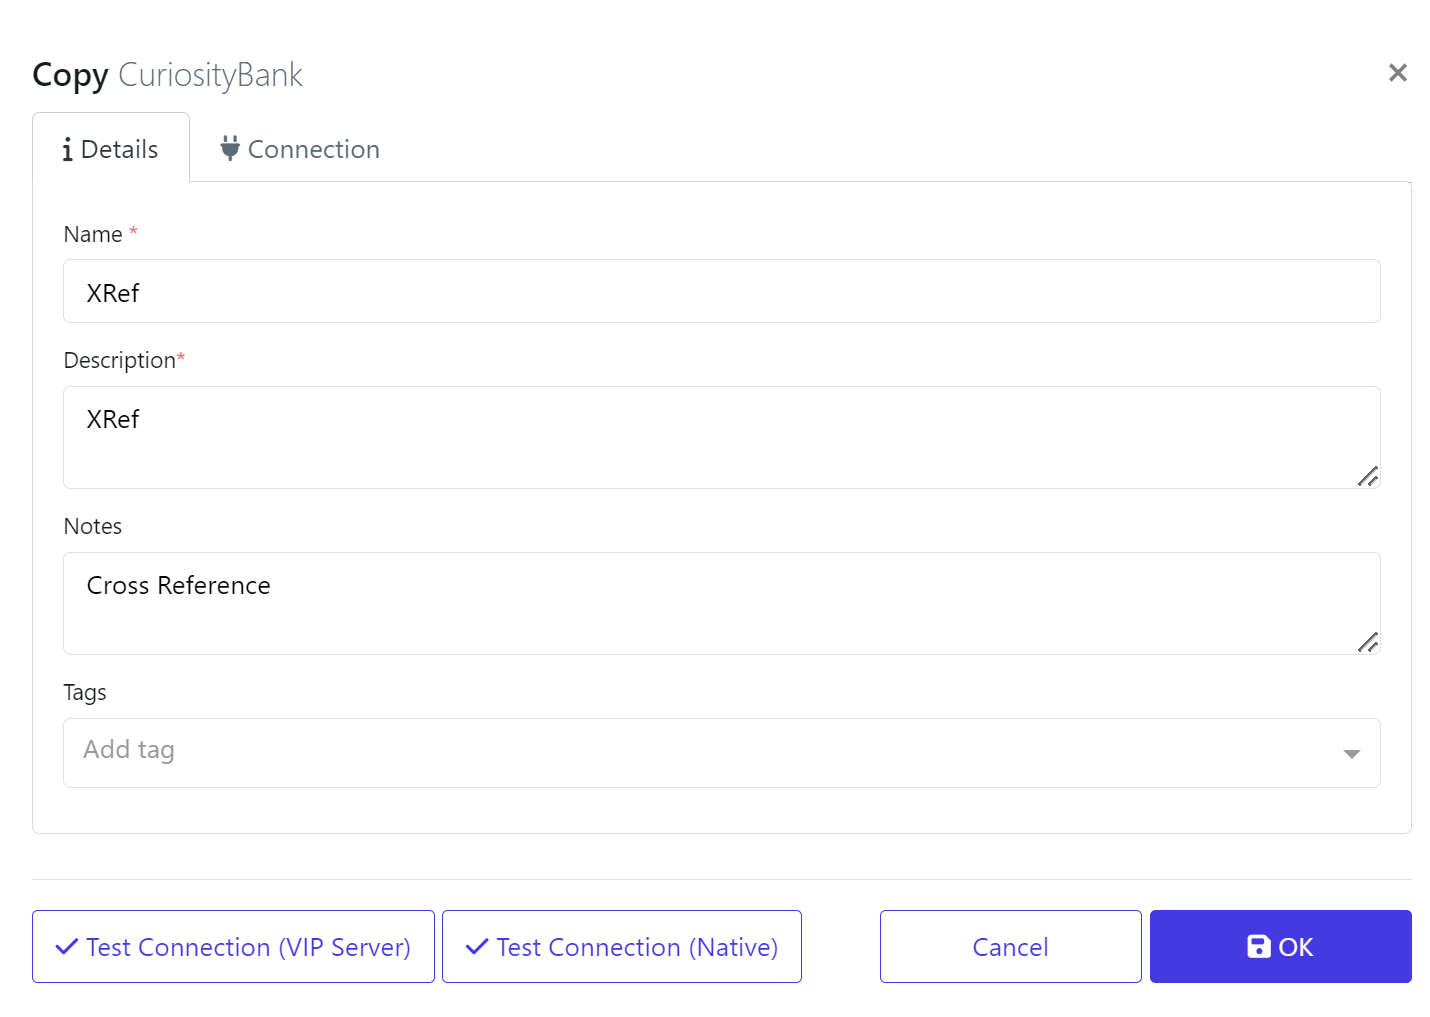
As part of the connection, we will use regular expression to include the schemas & tables we want to work with. In this case the xrefhash schema and changes tables.
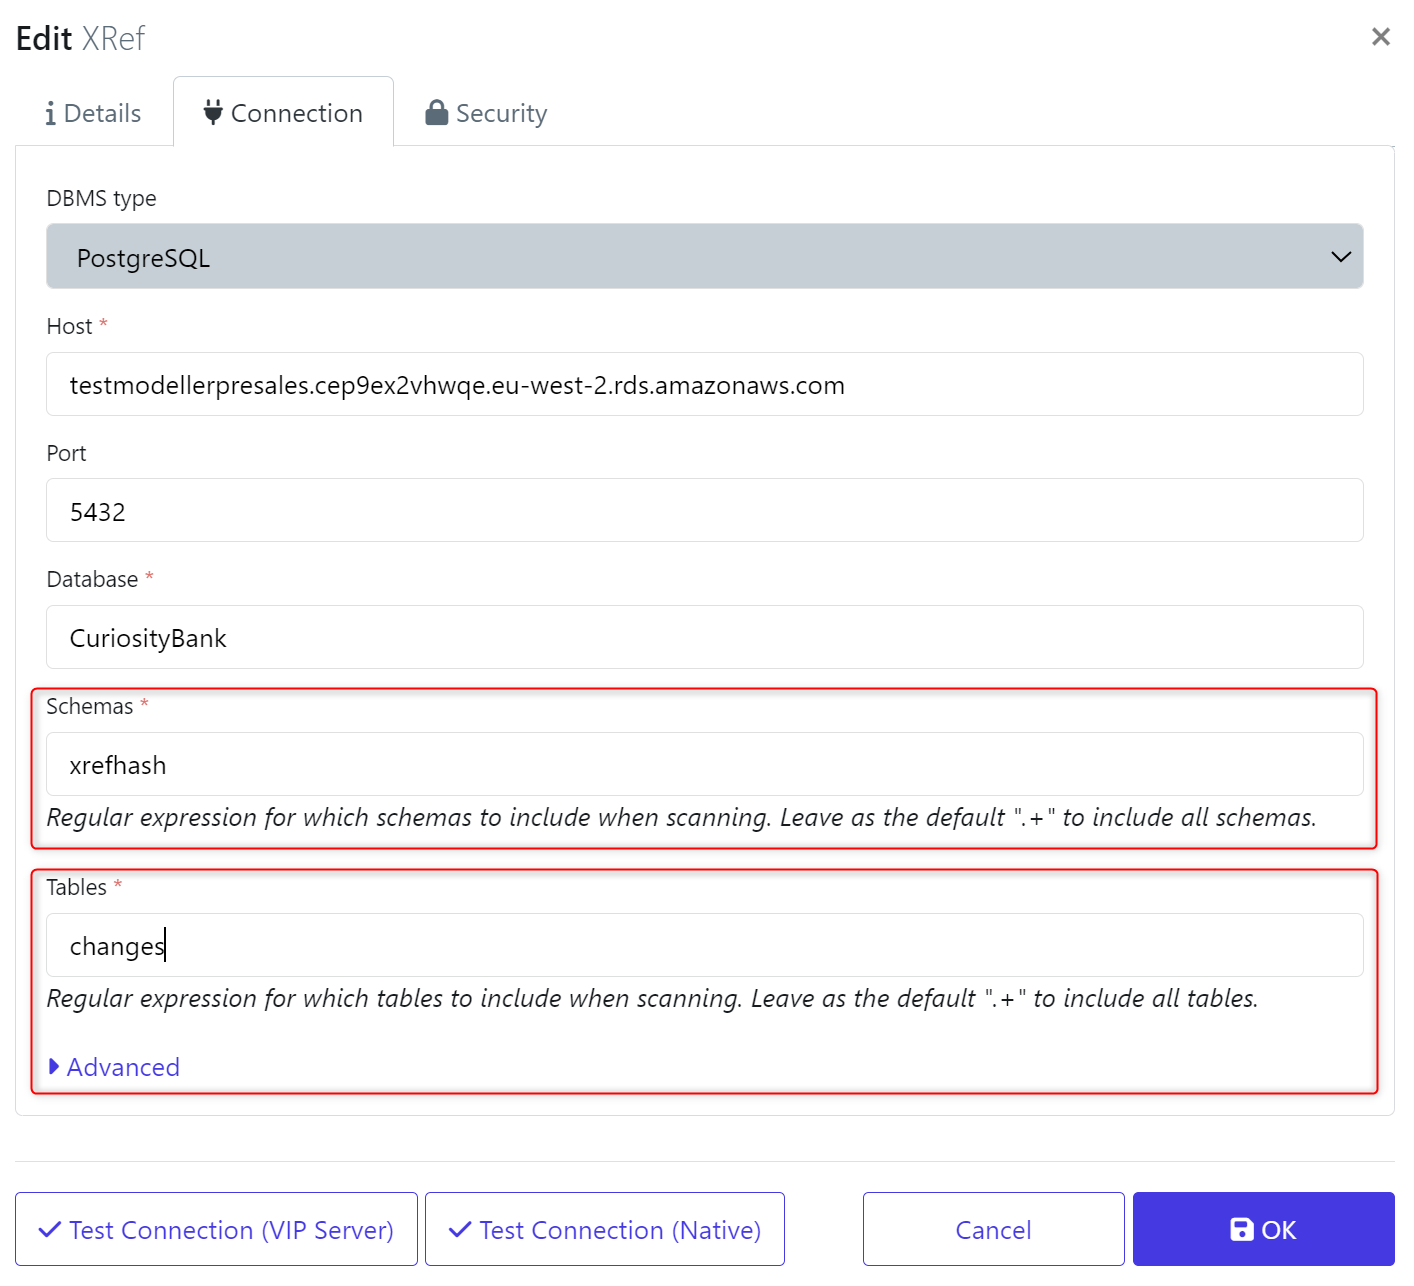
One you test the connection works - Click OK.
Navigate to the new Data Definition and open the newly created XRef.

We will run a Native Scan.
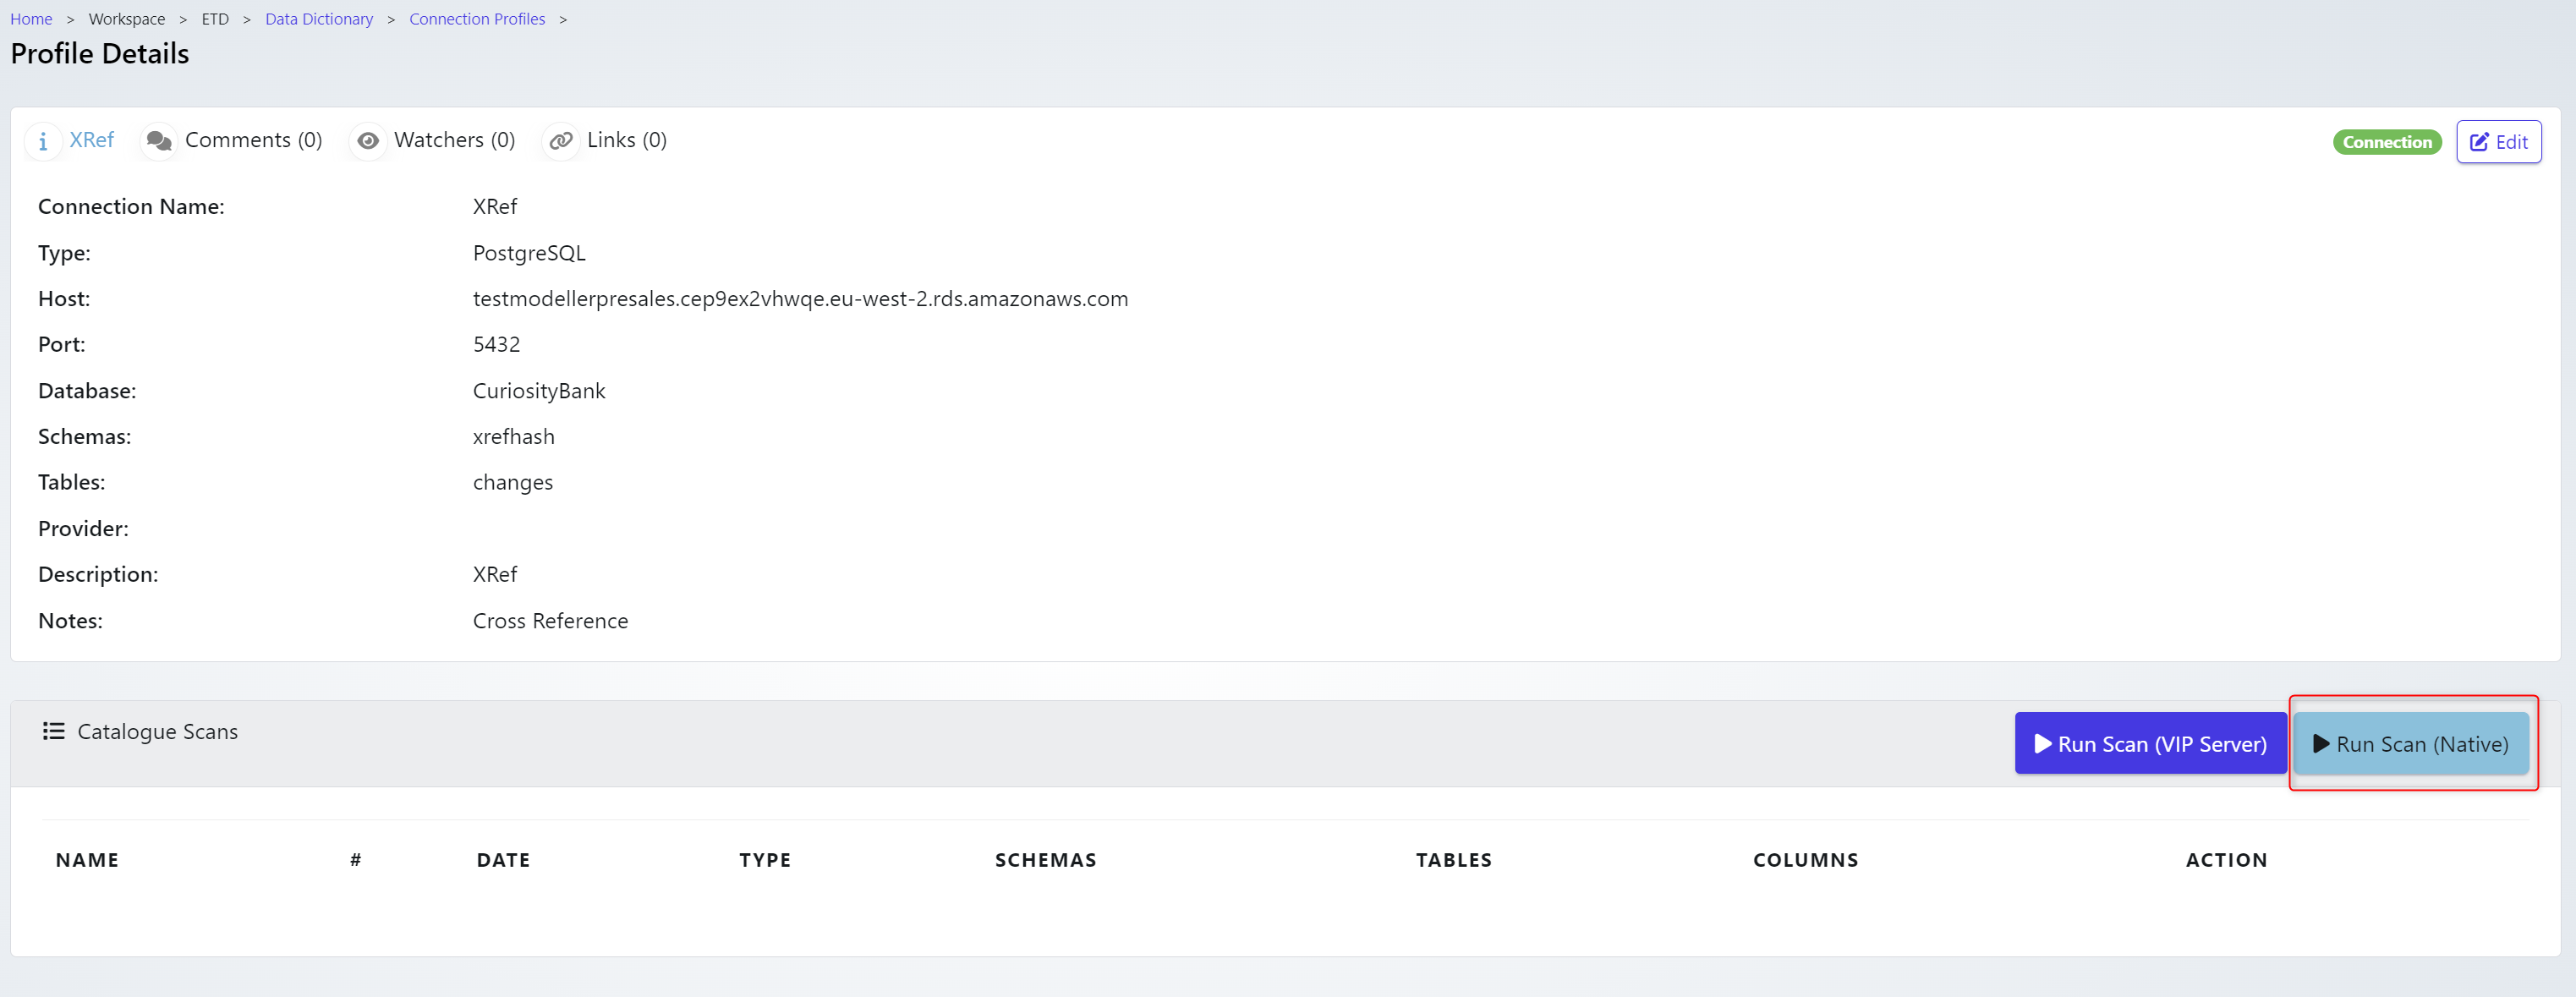
Once completed a new scan should show here:

Data Masking
We will now build a new Data Activity. This activity will configure & control the cross referencing data masking job.
Navigate to the Data Actives → Activity Explorer. Choose to +Add Activity → Mask Database.
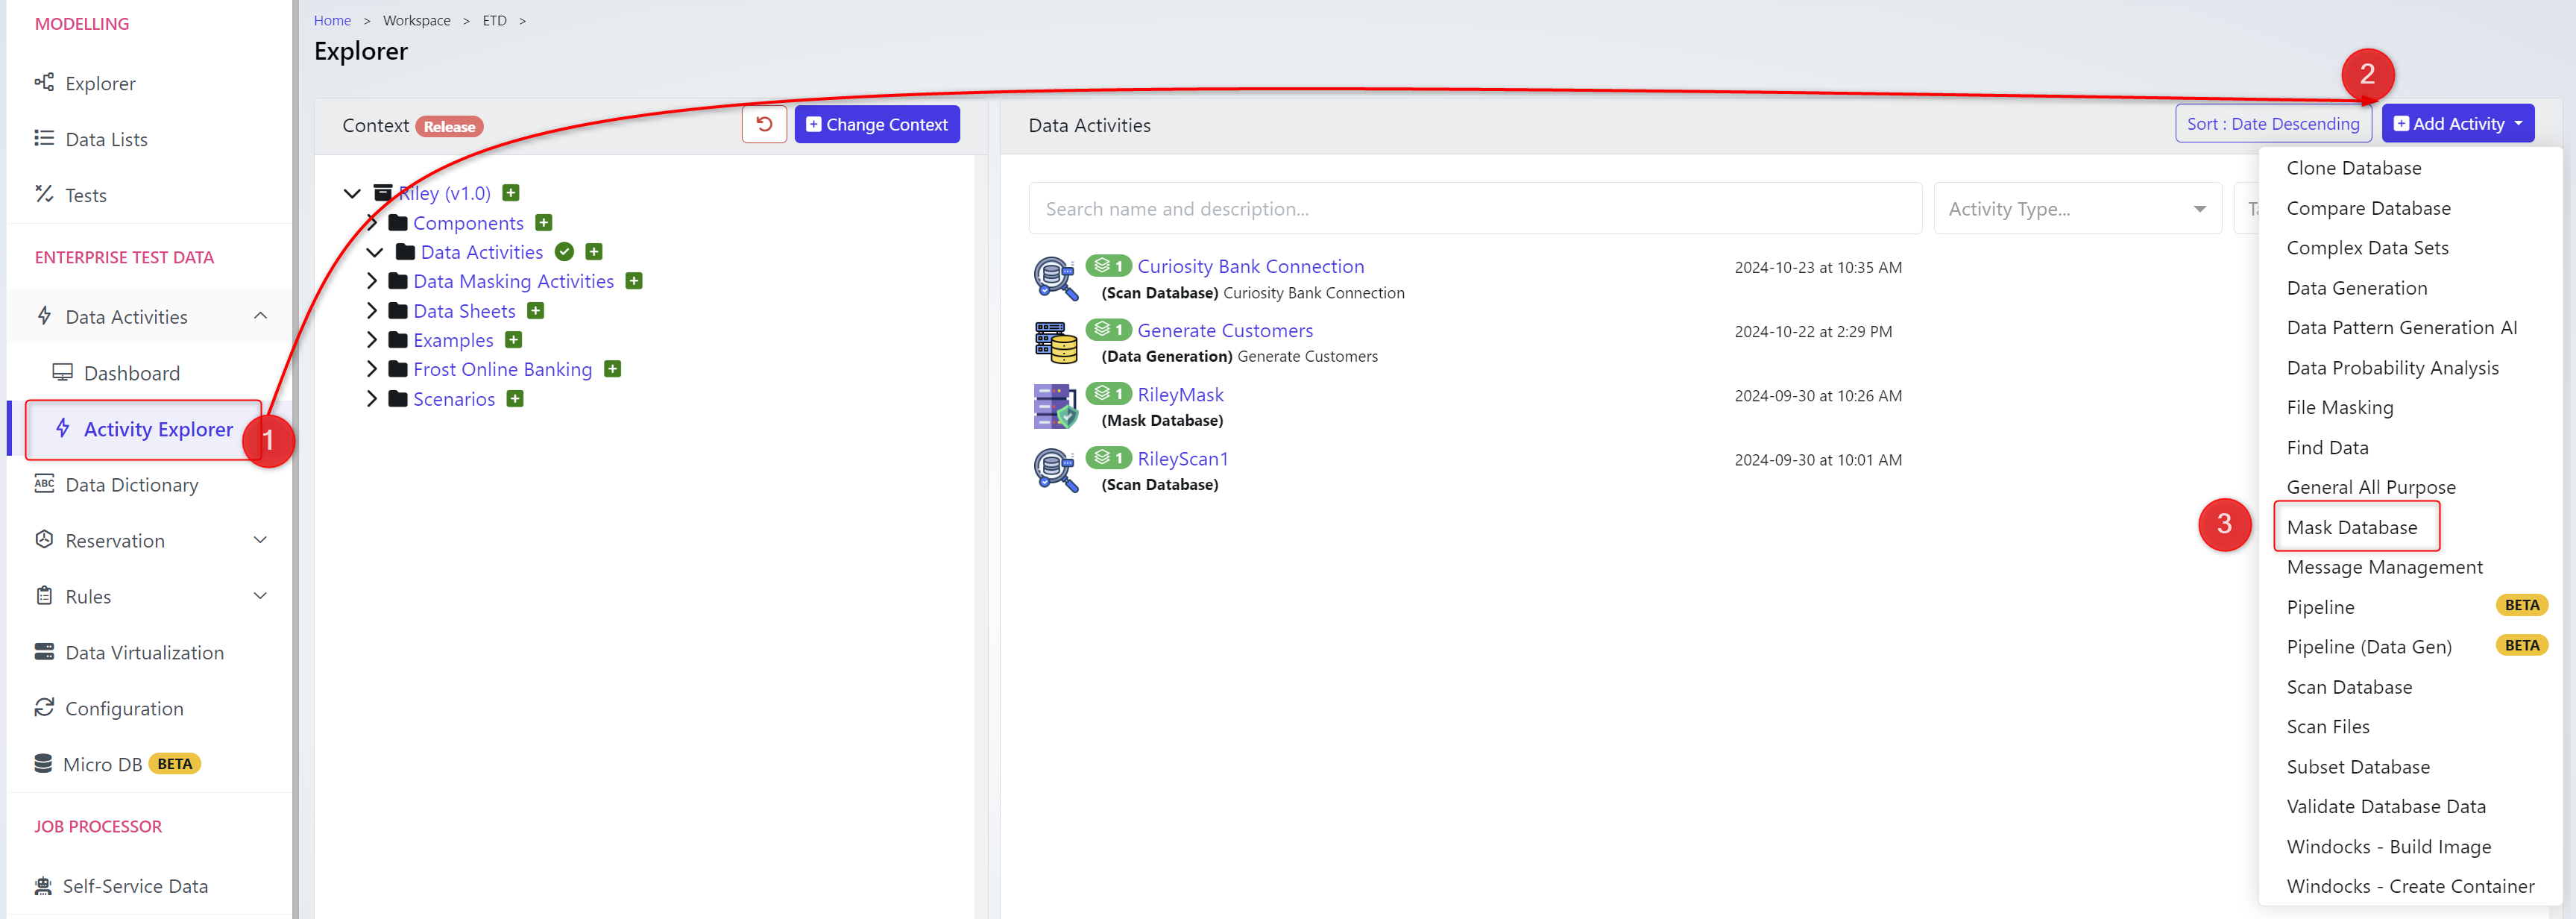
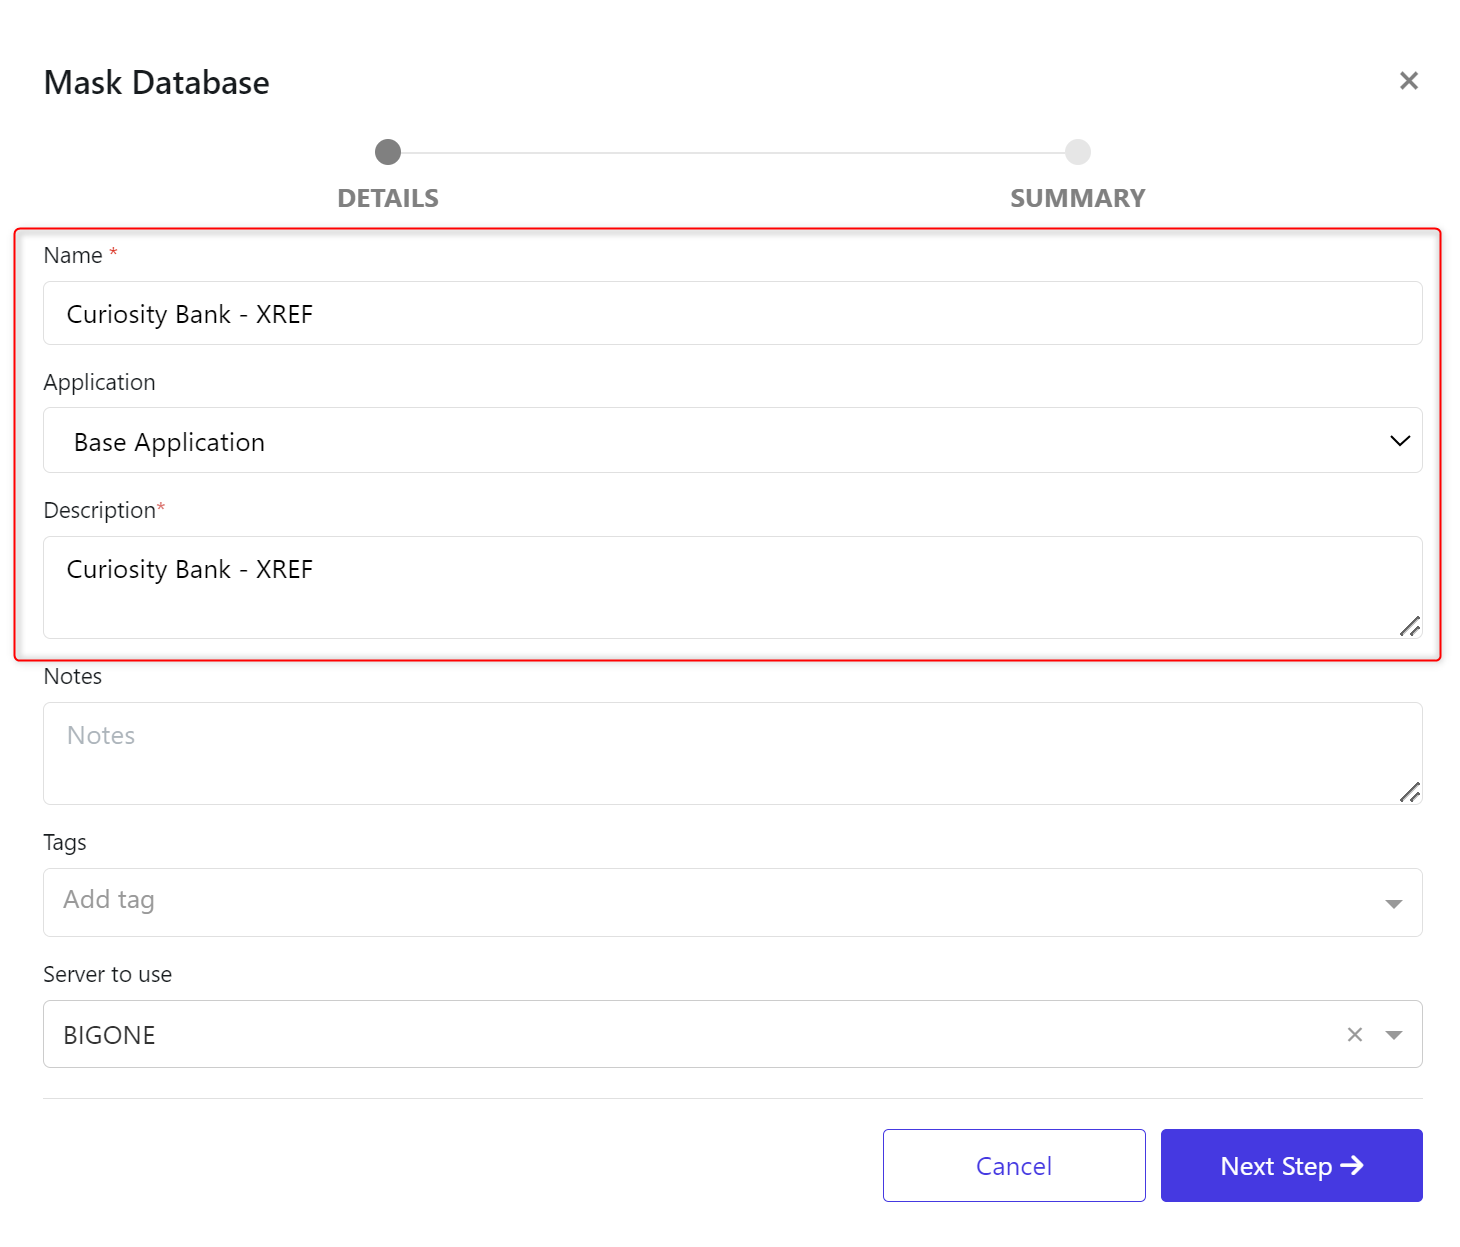
Provide a Name & Description then click Next Step when ready.
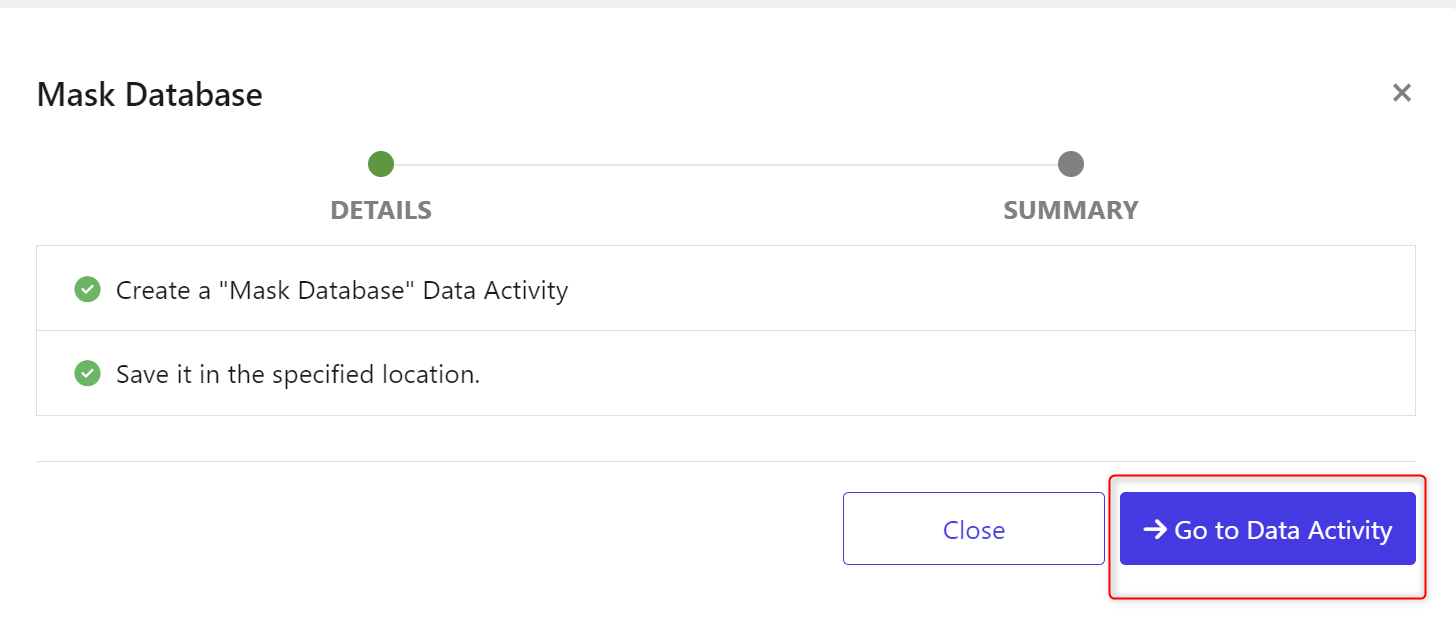
When completed click Go to Data Activity.
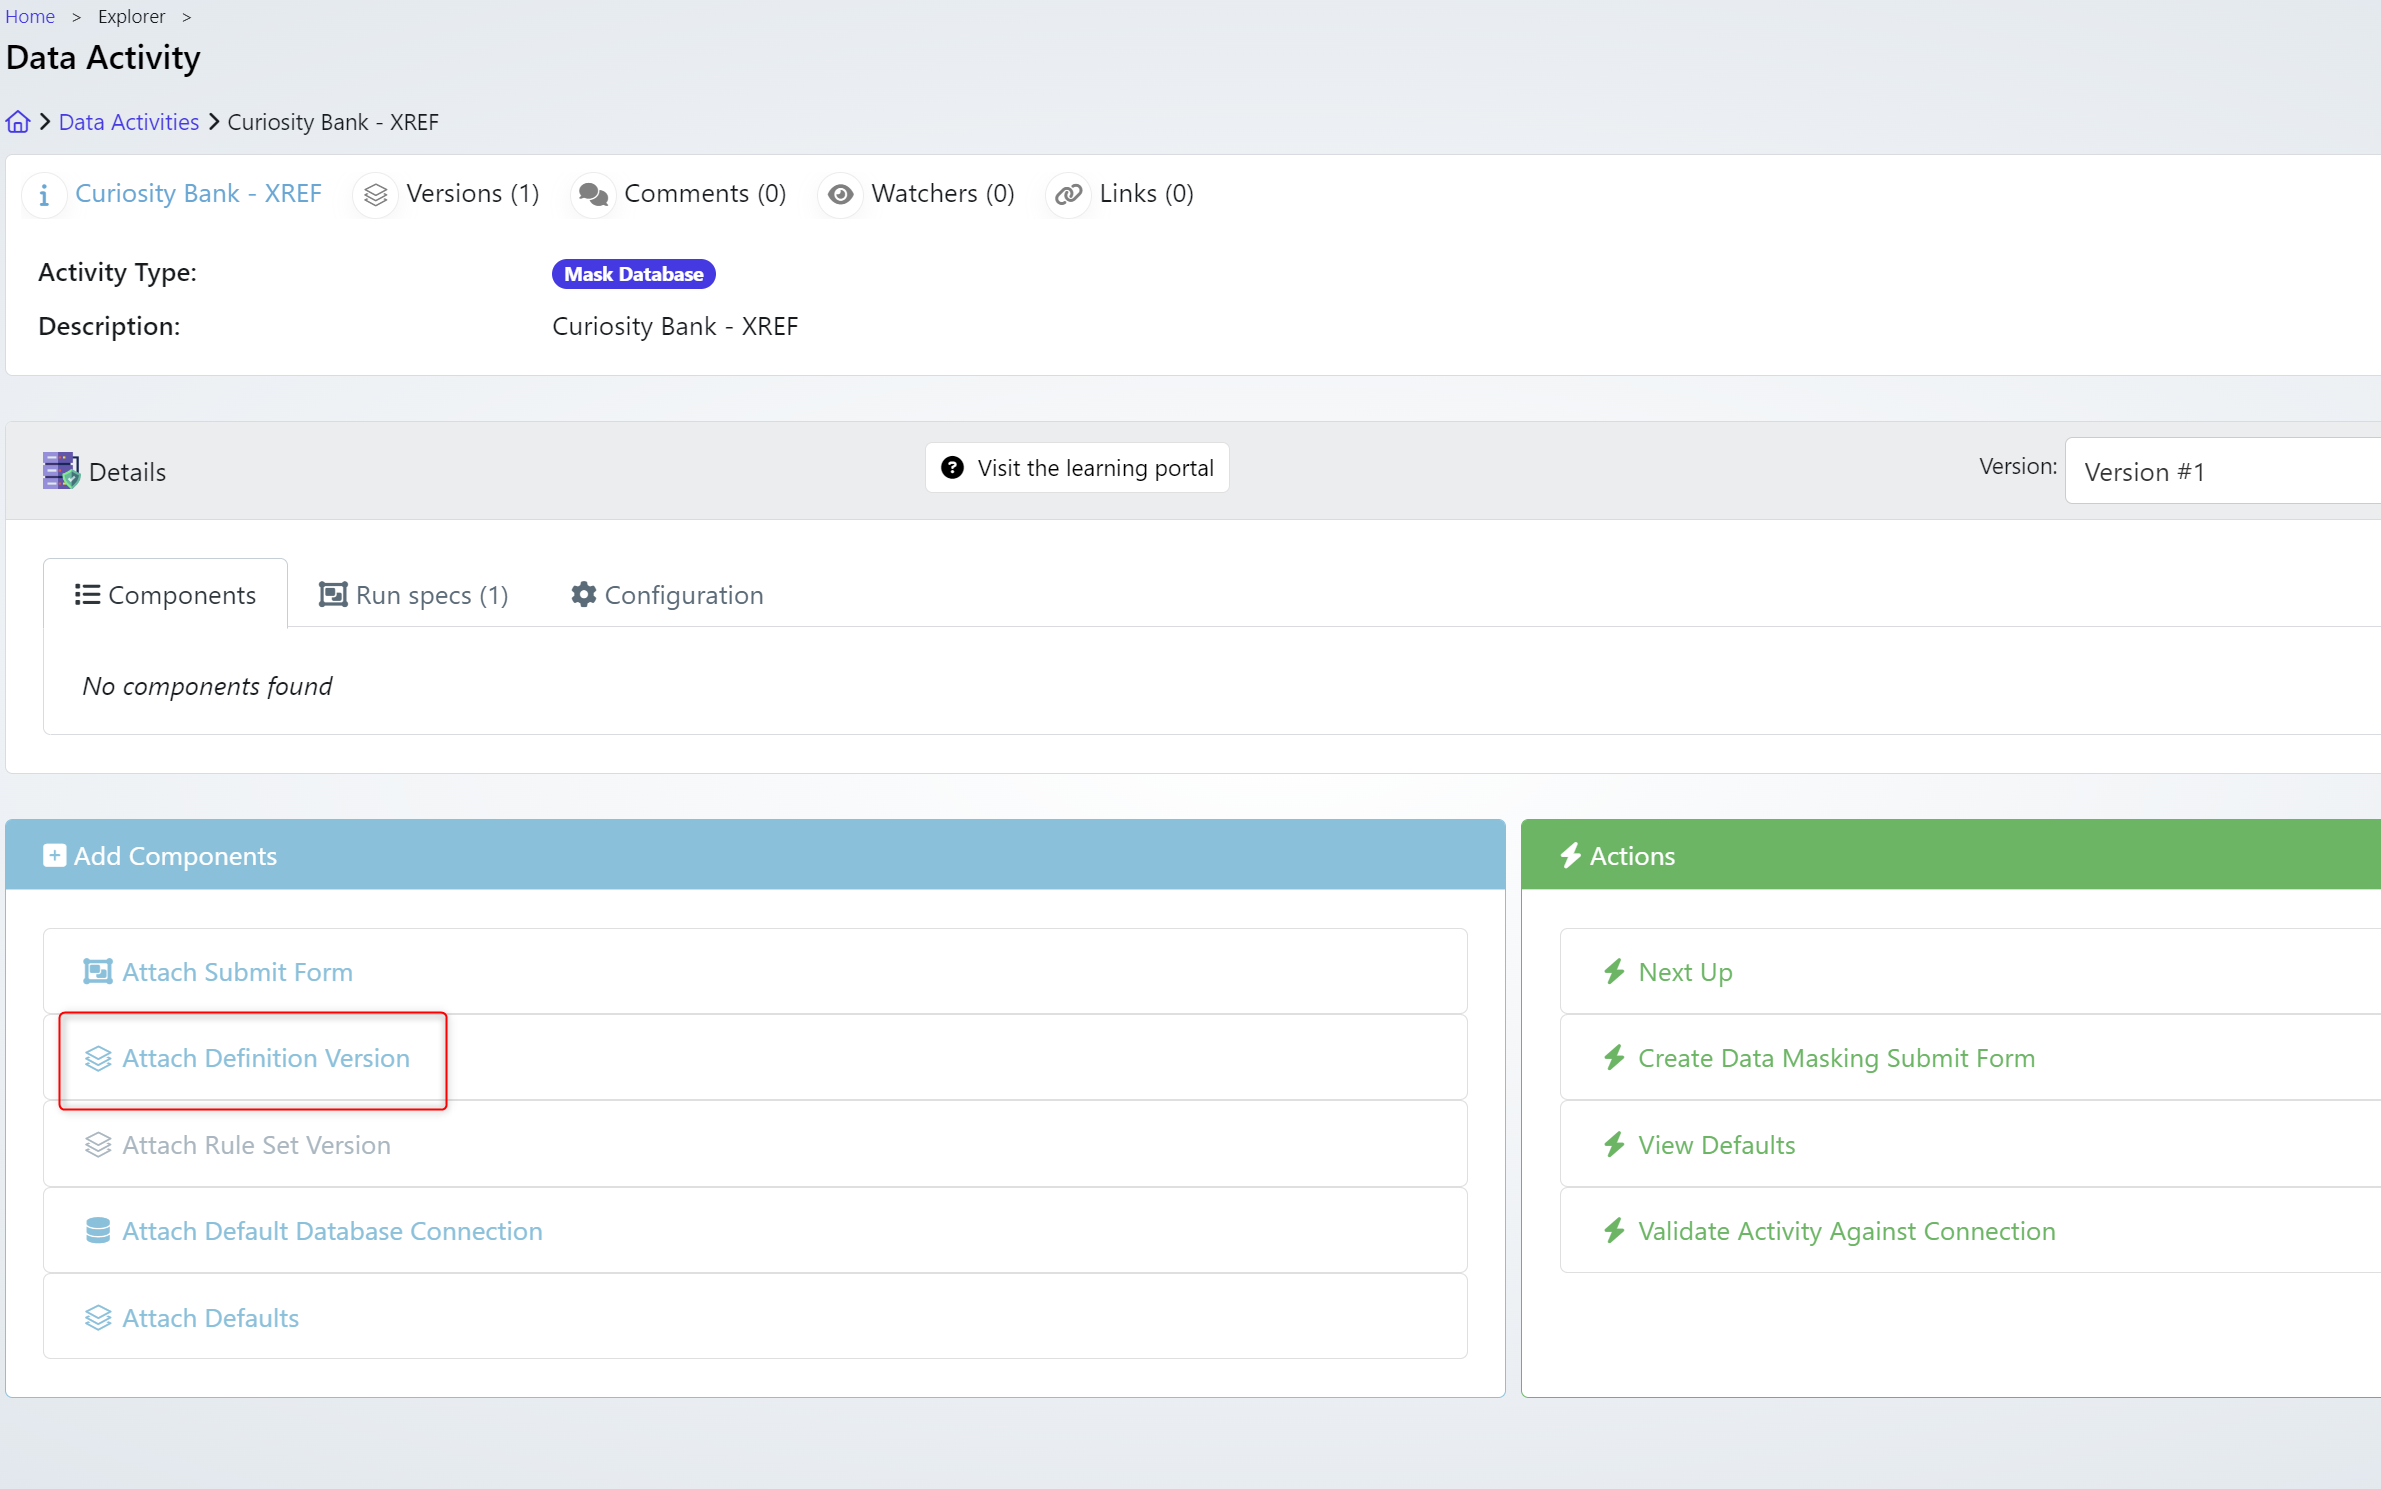
First Attach Definition Version
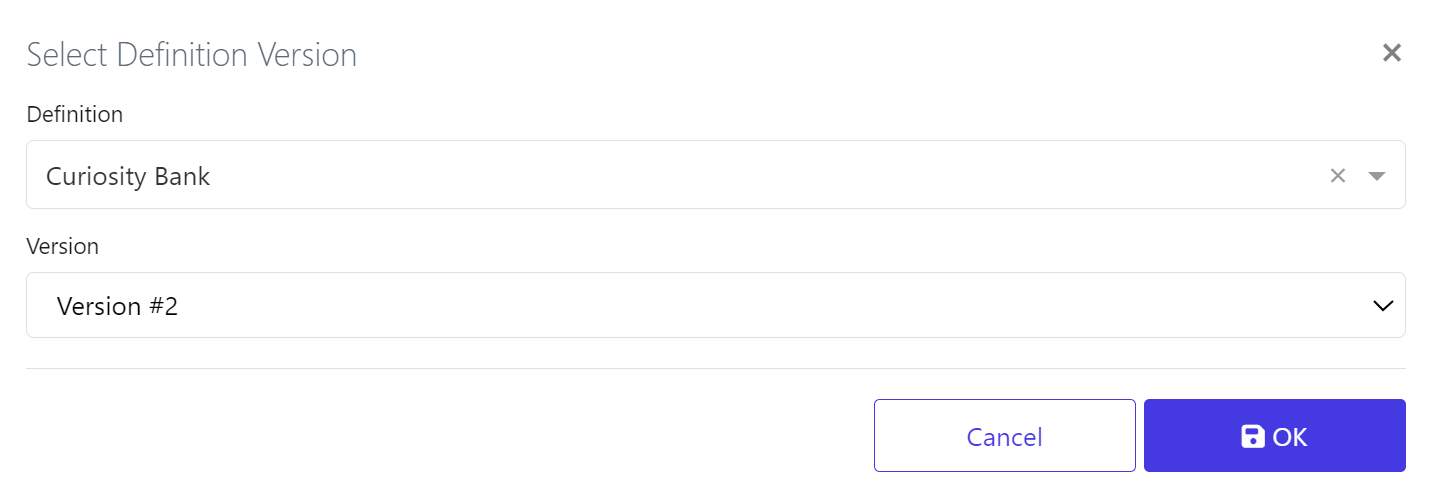
Choose the Definition & Version
Then we Attach Default Database Connection
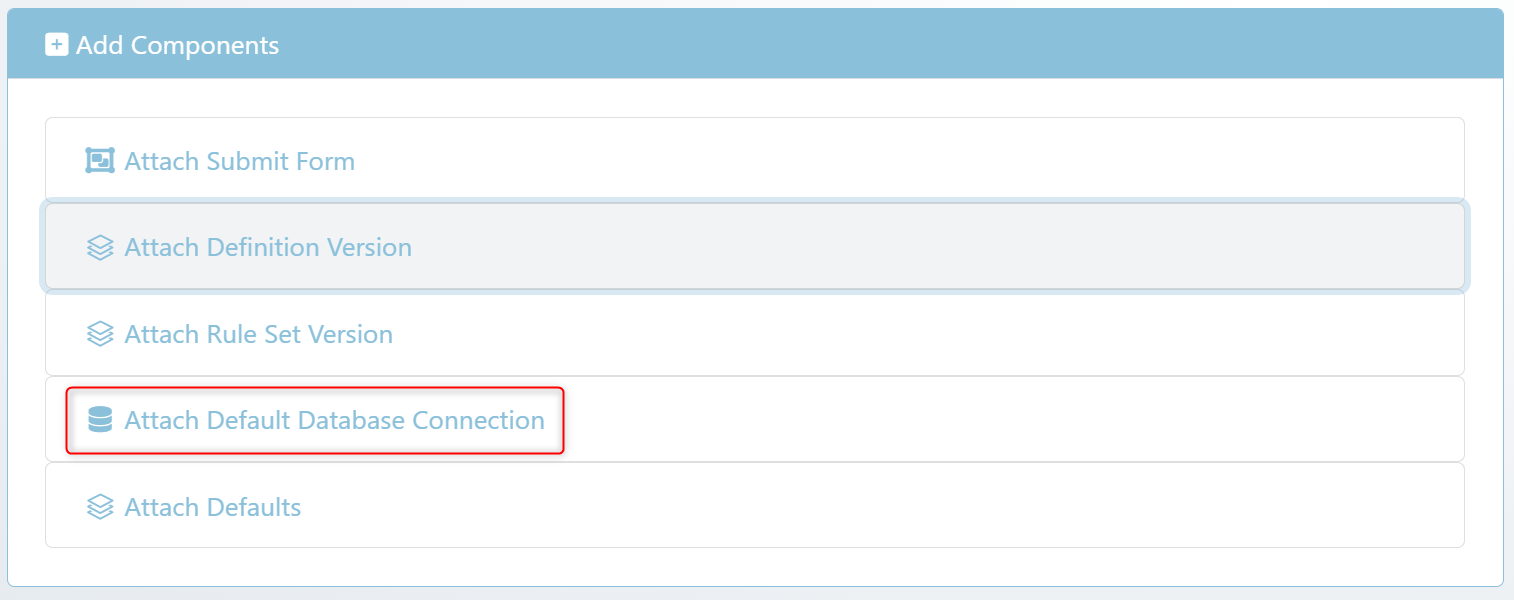
In this case the Curiosity Bank

We now have some basic building blocks in place.
The configuration is an extremely important part of this process.
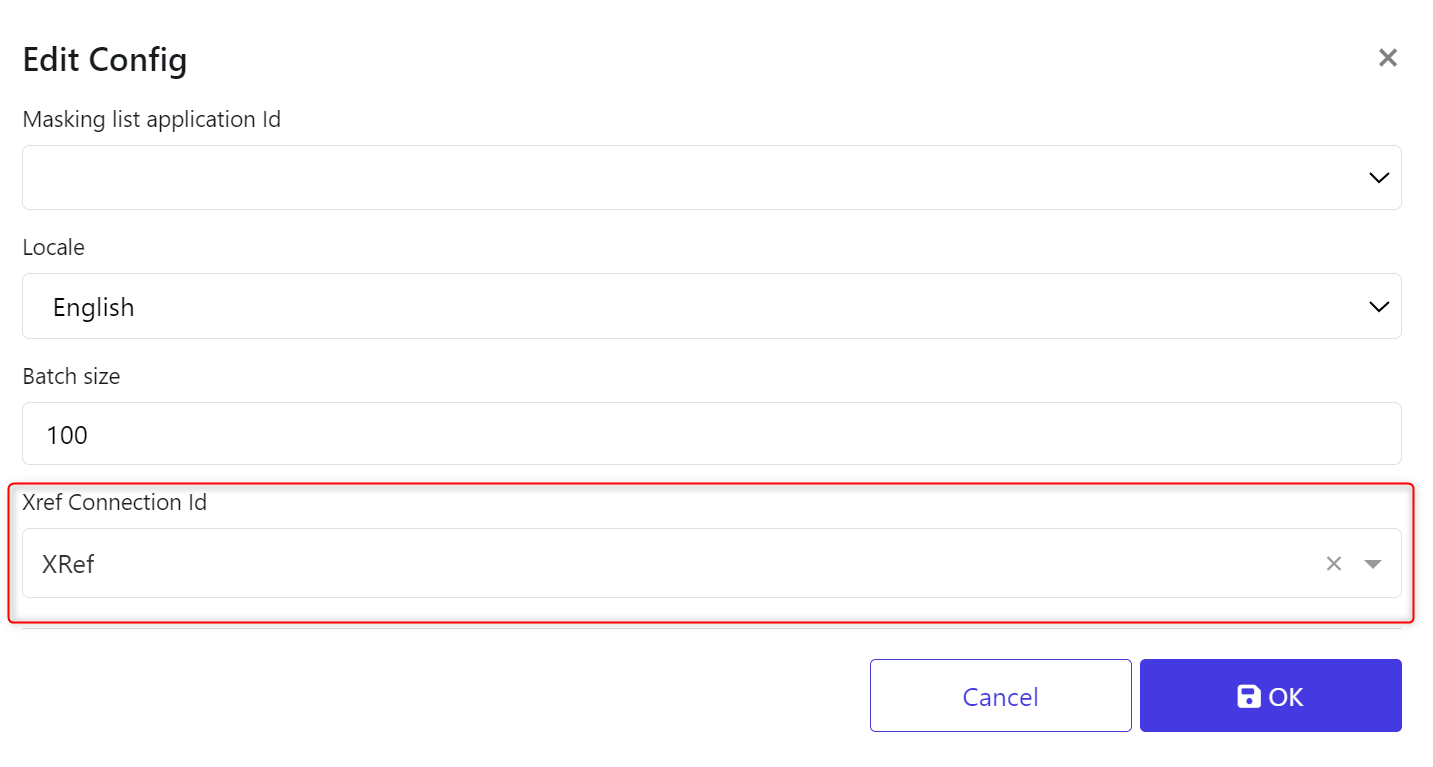
Navigate to the Configuration tab.

Choose the Xref Database Connection you previously created. Click OK when ready.
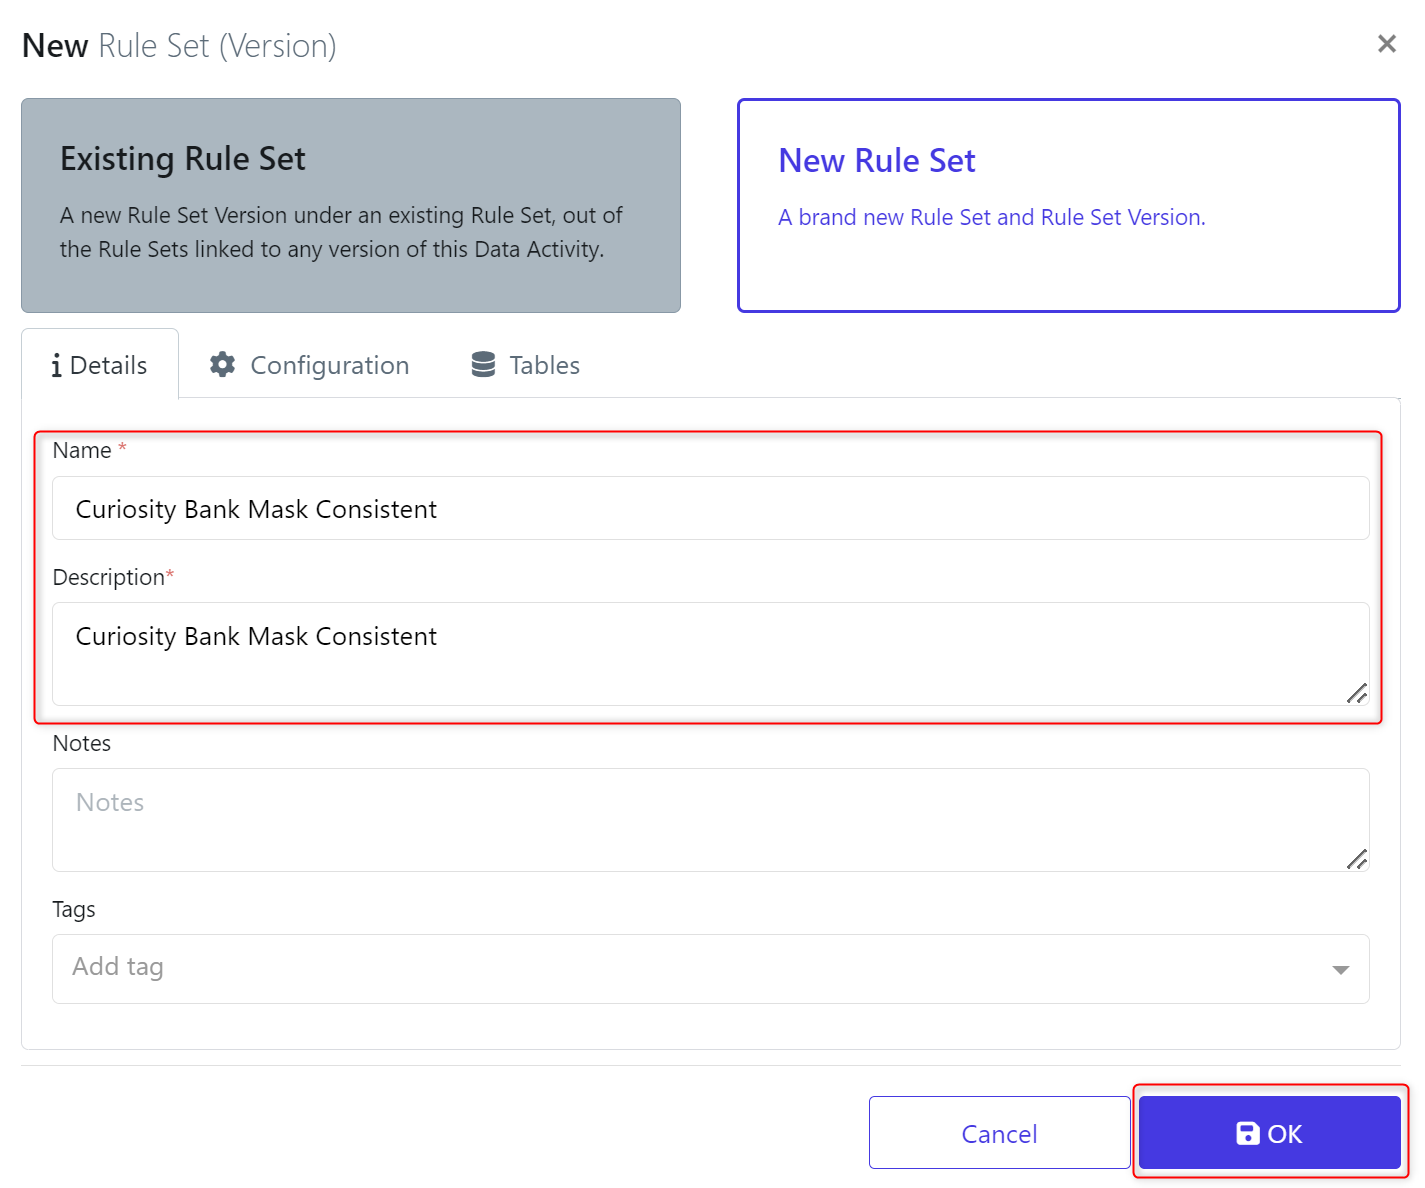
We now are in a position to Create a New Rule Set. From the Components tab click the play icon.

In the details tab provide a Name & Description.
From the Tables tab pick the tables you are looking to mask.
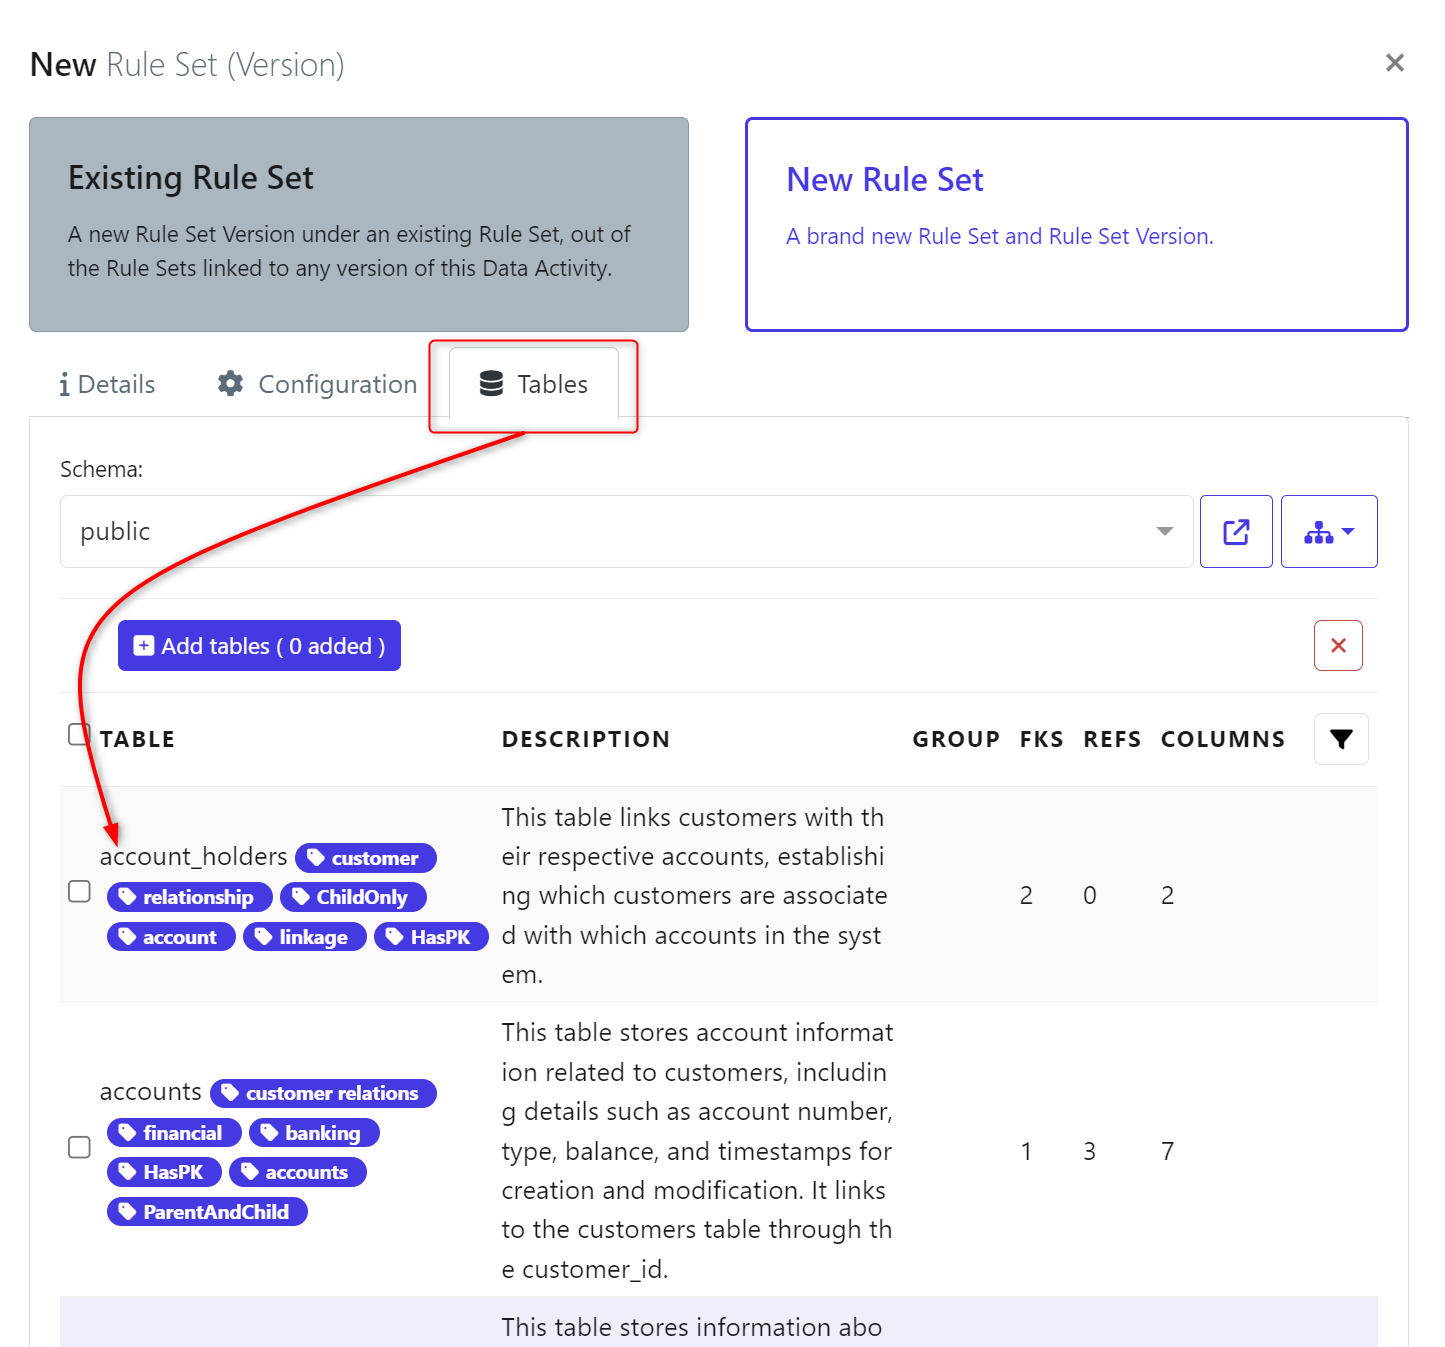
I have chosen Customers & Transactions. When selected, click + Add Tables. This will add the tables into the Ruleset so we can build rules to define against them. Click OK when ready.

Your Components should look like this. With a Rule Set, Connection & Definition. Navigate to the Version #1.

Inside this example i have 4 columns that need consistent masking. FirstNames & LastNames.
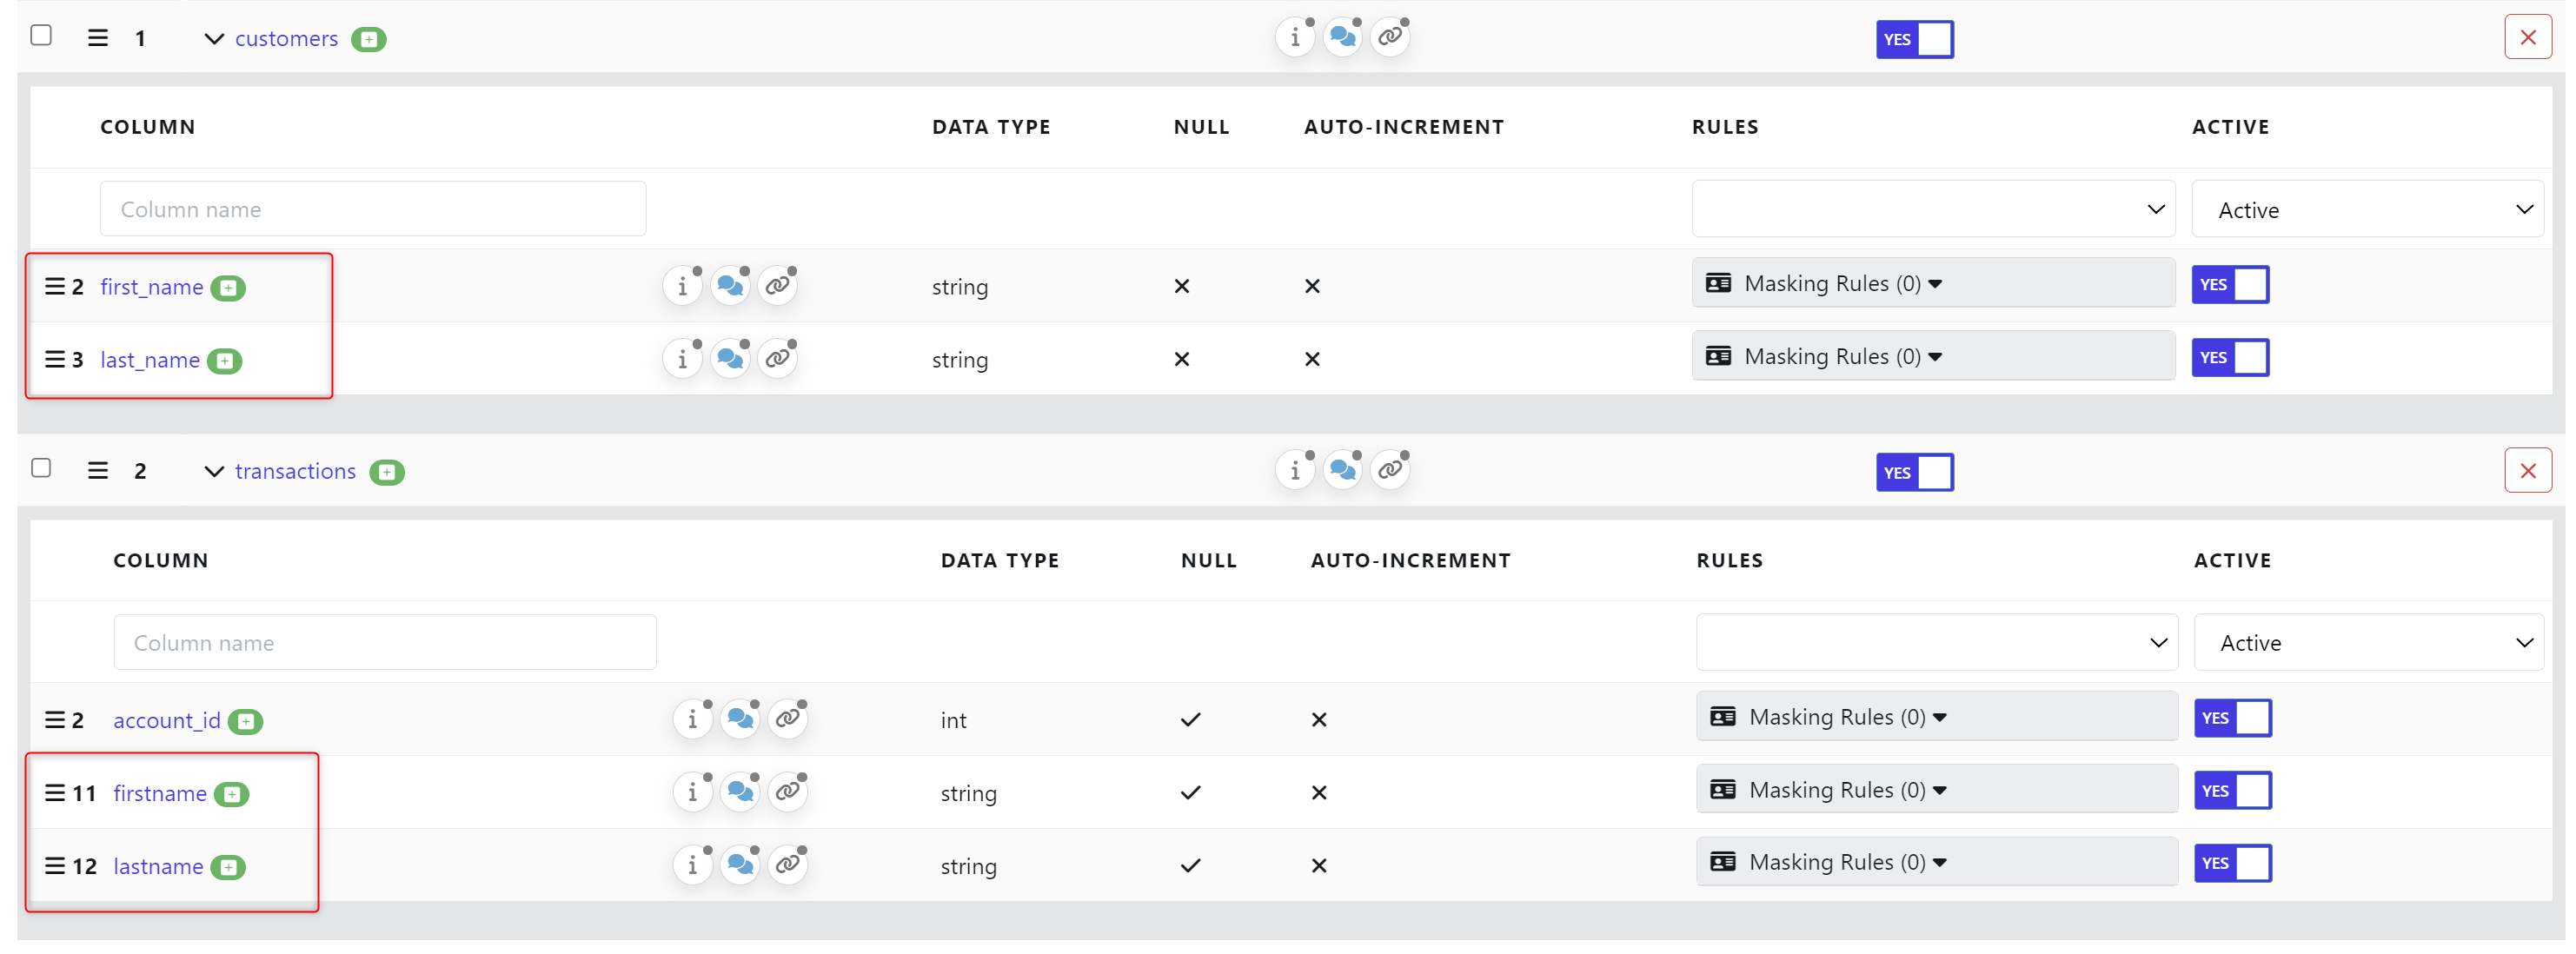
Hint: I have toggled the Active column to Yes / No for other columns. It’s why only a few currently show.
We will now +Add our masking rules. Click +Add.

Choose the Type, Function & Cross Reference.
In this case, Name, Masking.FirstName & FirstName.
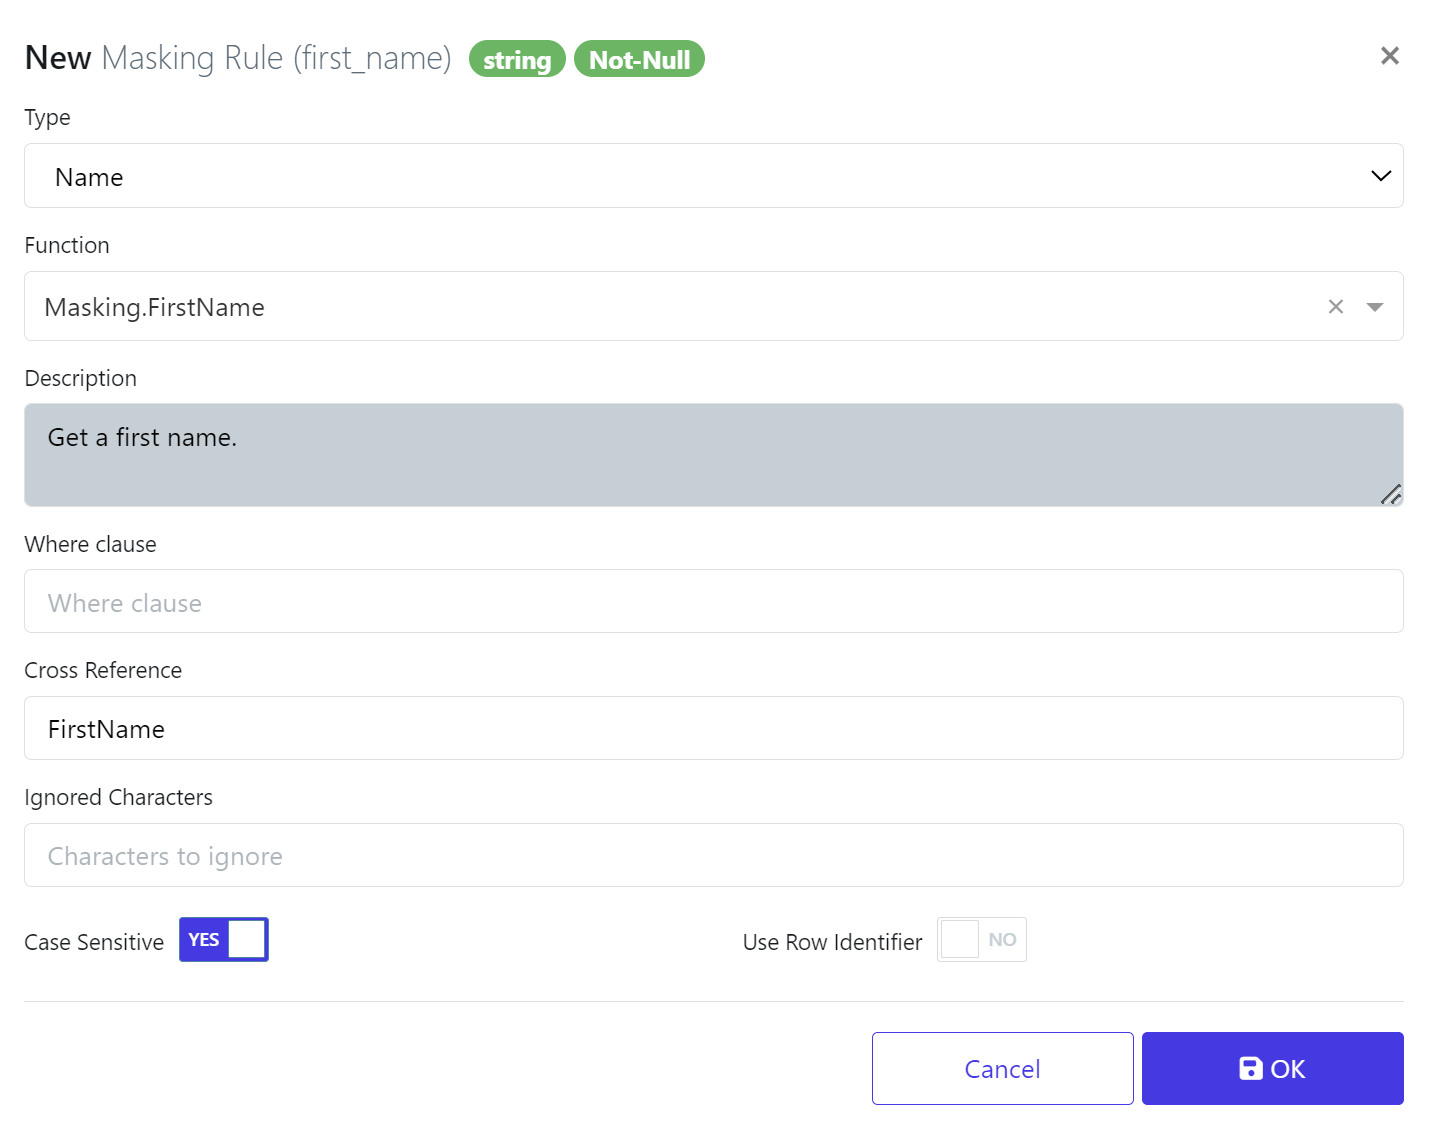
Repeat this for each column that you need to mask consistently. Click Ok to continue.
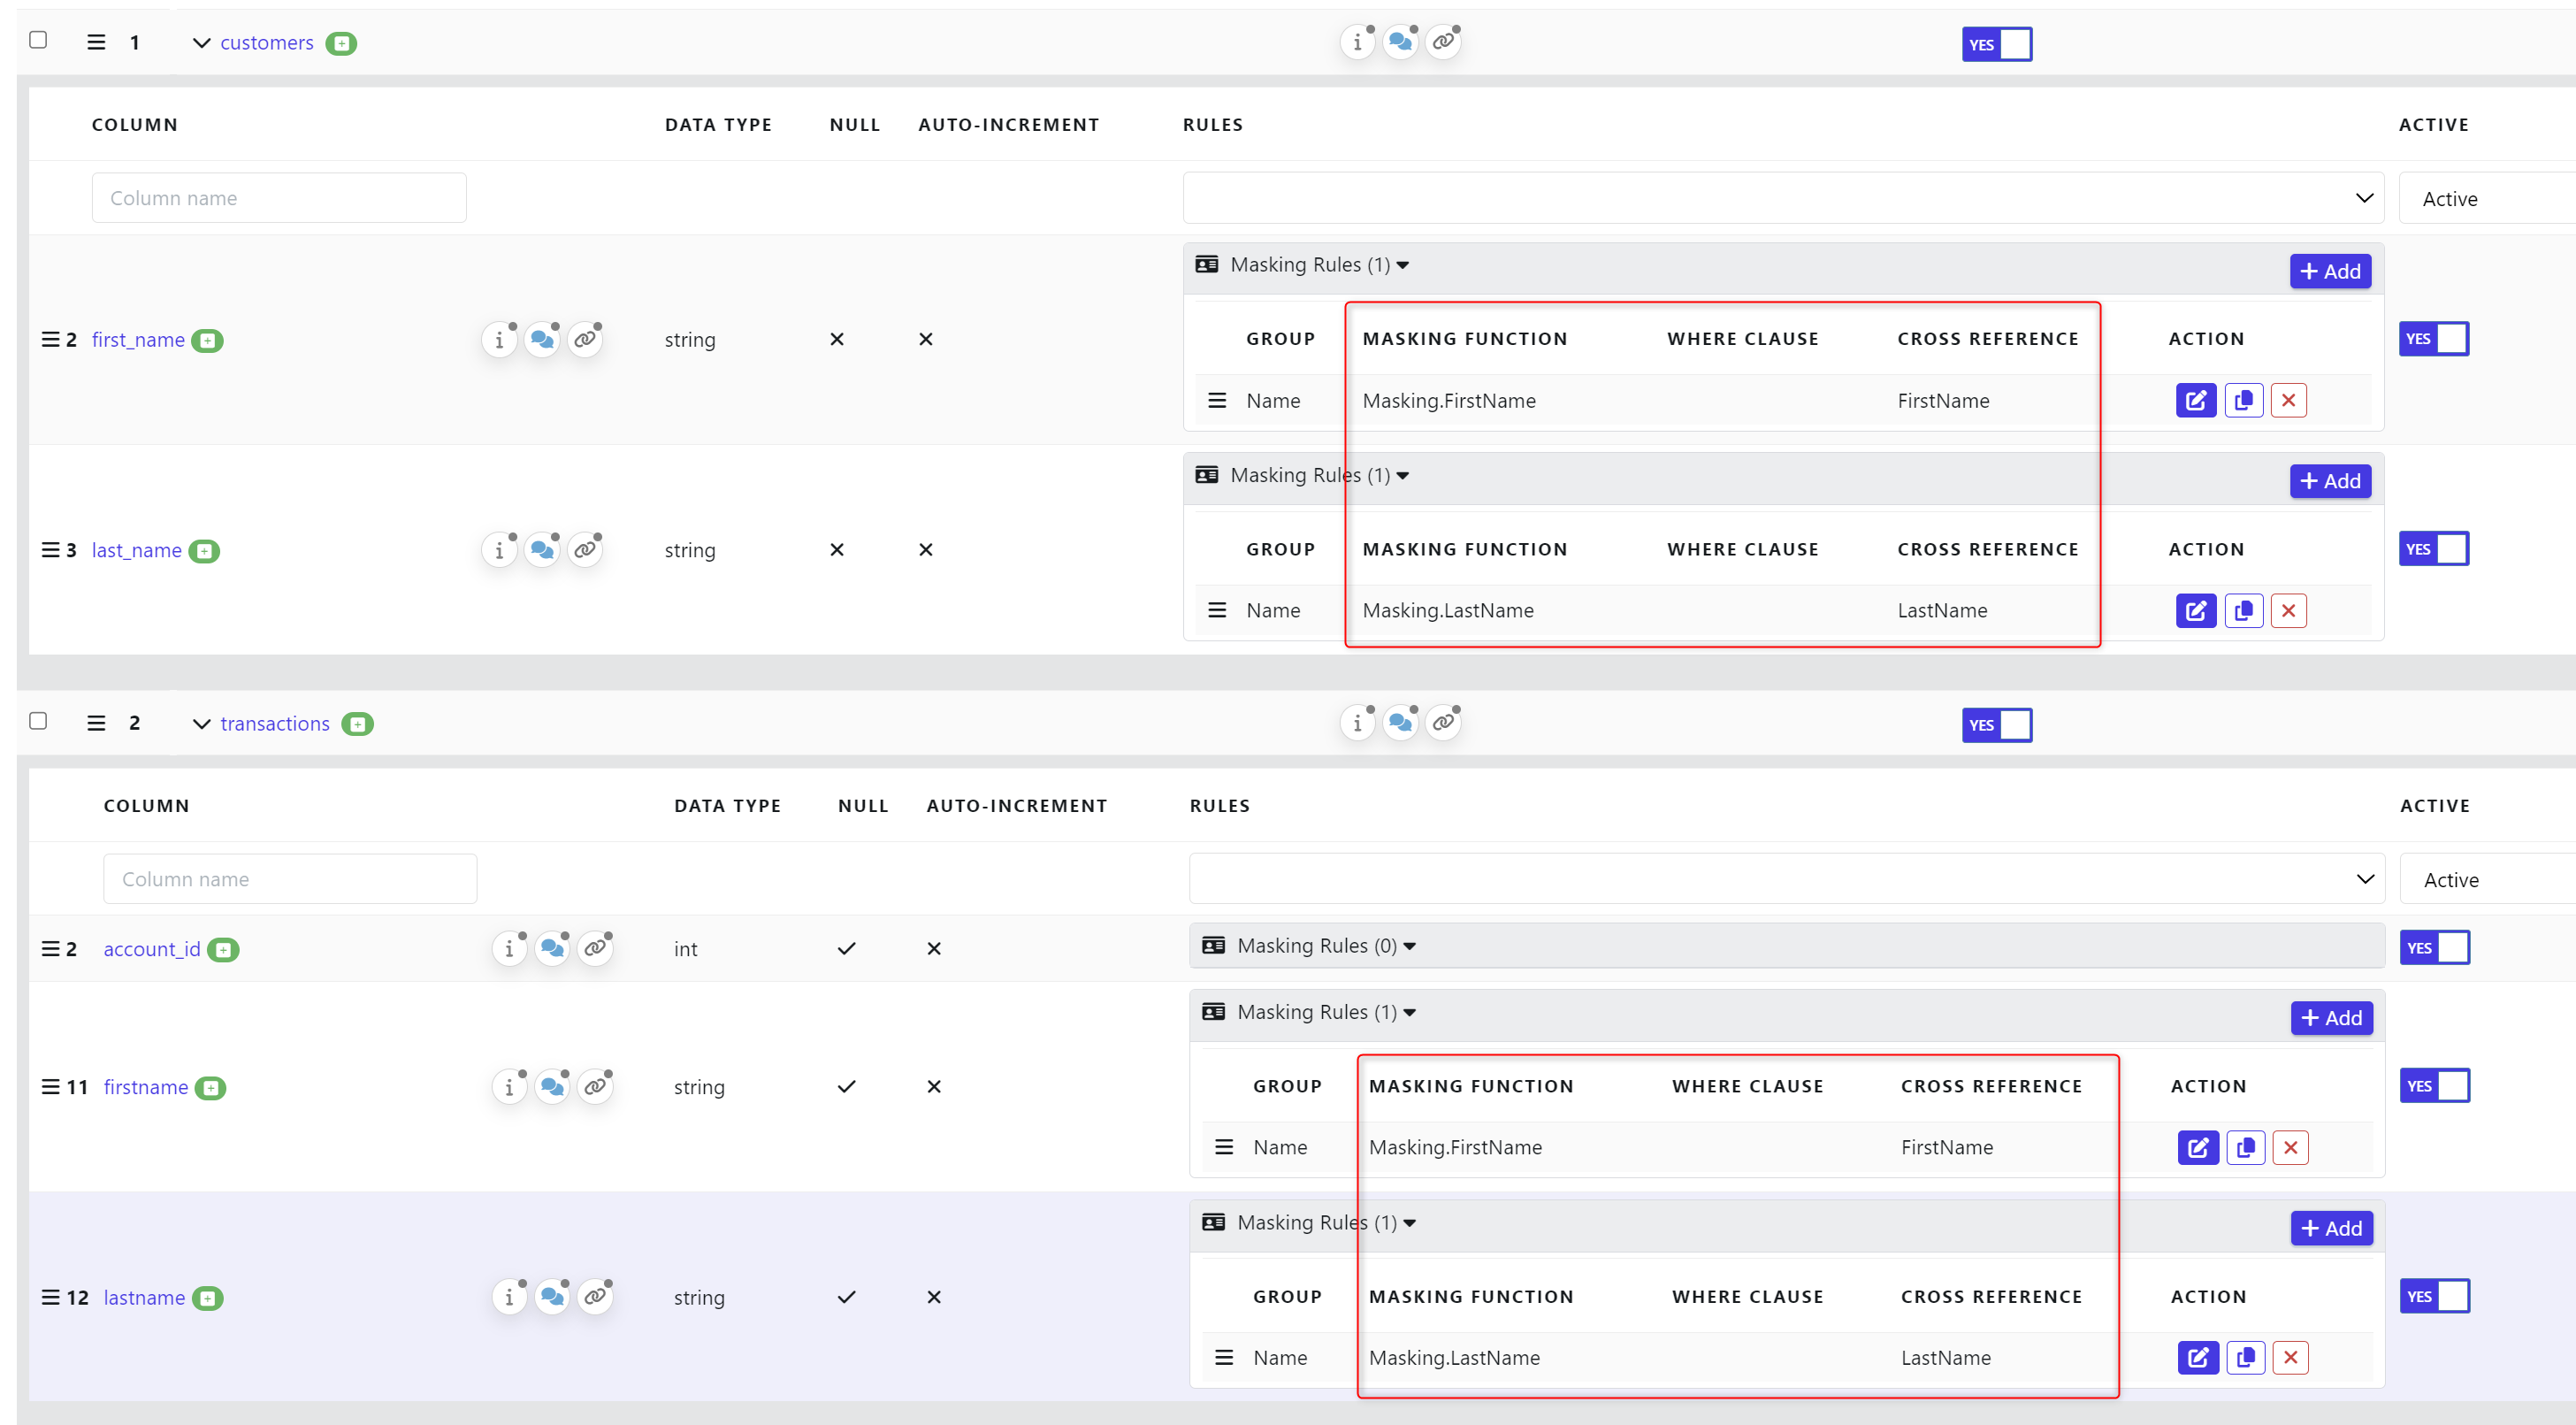
When ready you should have something similar to below with the Masking Function and Cross Reference’s filled out.
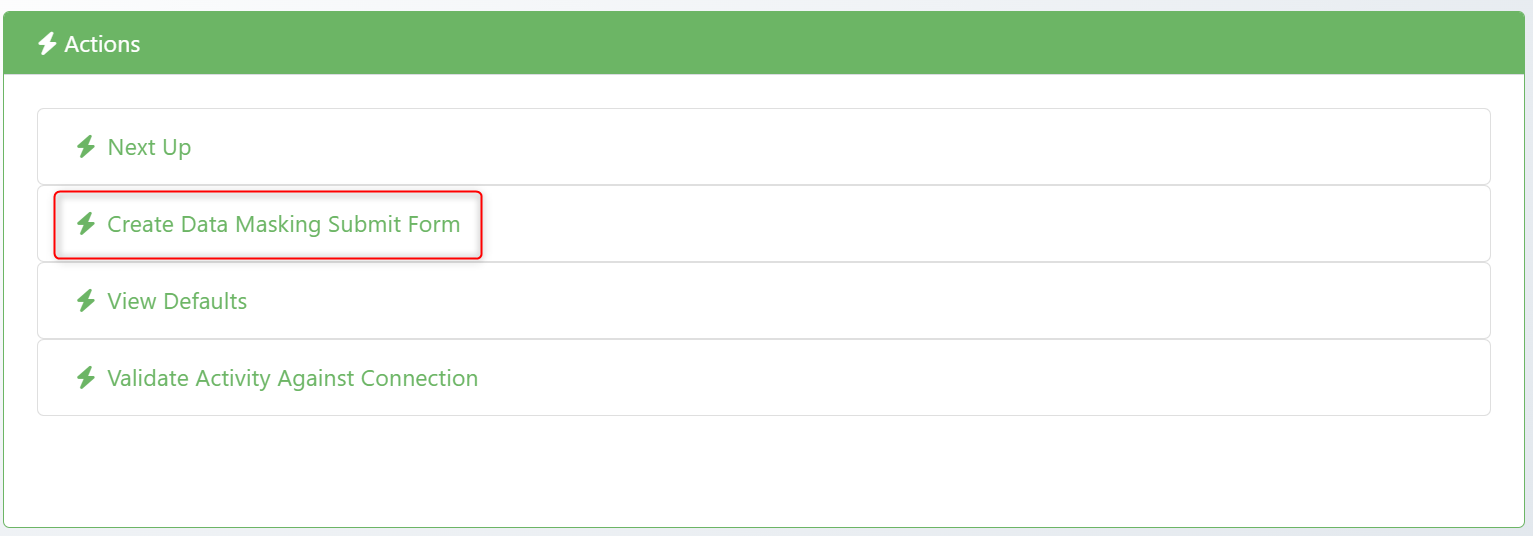
We now need to create the Data Masking Submit Form. From the Data Activity, click Data Masking Submit Form.
Provide the Name & Group to store the job.
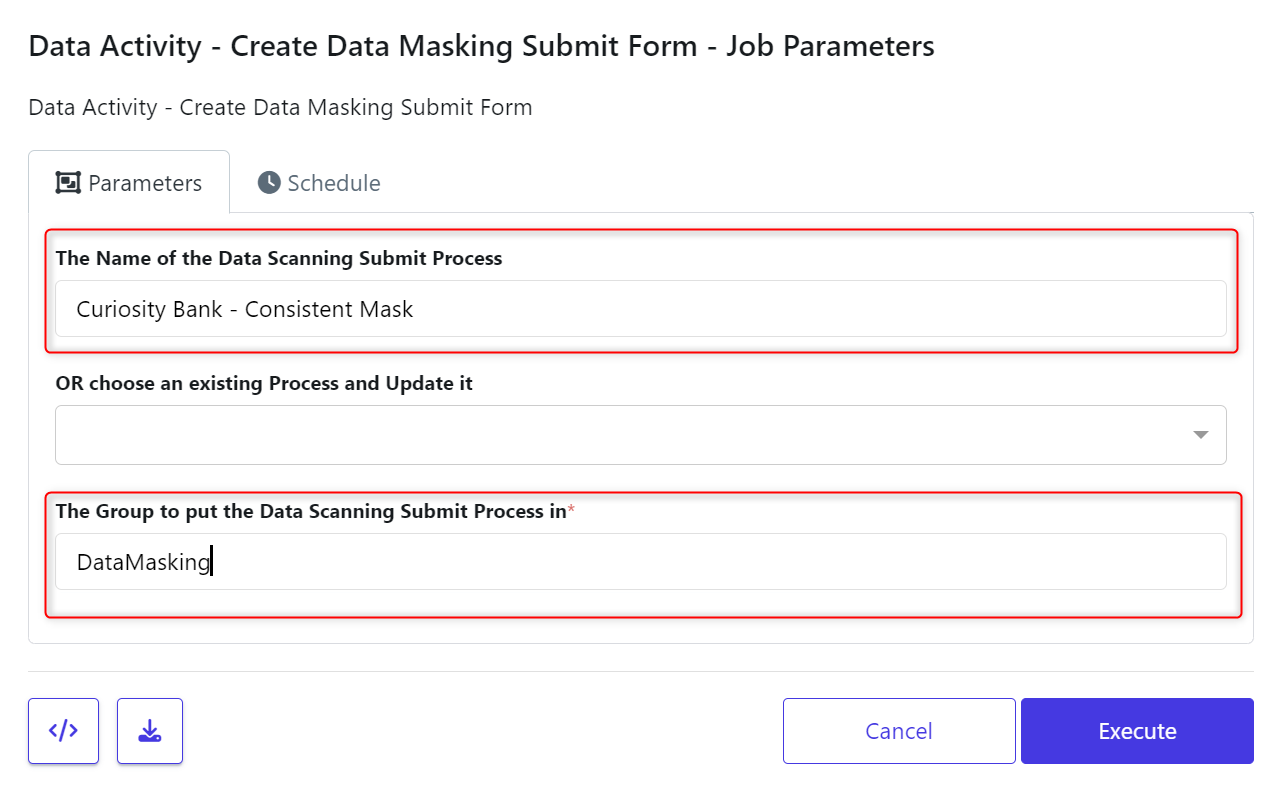
The Data Activity should now hold all the below details. When you are ready to run the mask, Click the Play icon.

If you had additional configurations such as a audit report request or just to validate the database, select those options. Otherwise, just click Execute.
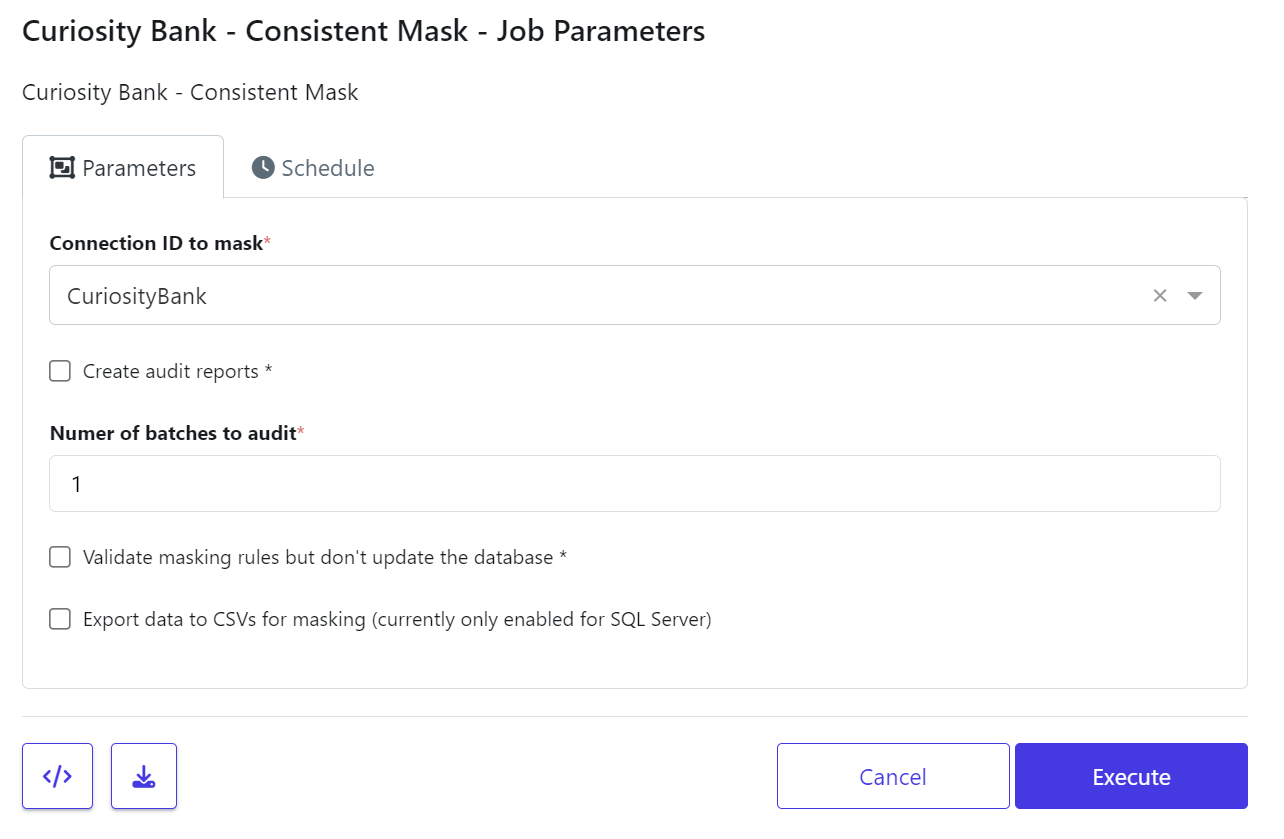
When the job runs you should see the records that have been masked.
Note: Depending on the database type your definition scan/ruleset and database structure for the XREFHASH table need to be case sensitive.
