In this documentation article, learn all about browsing test cases in Quality Modeller.
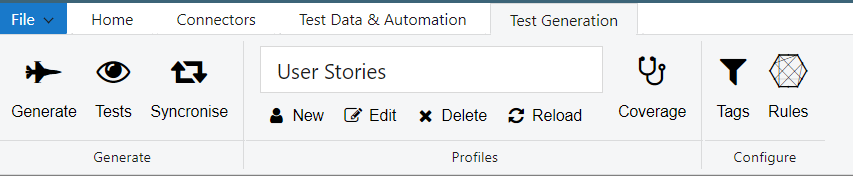
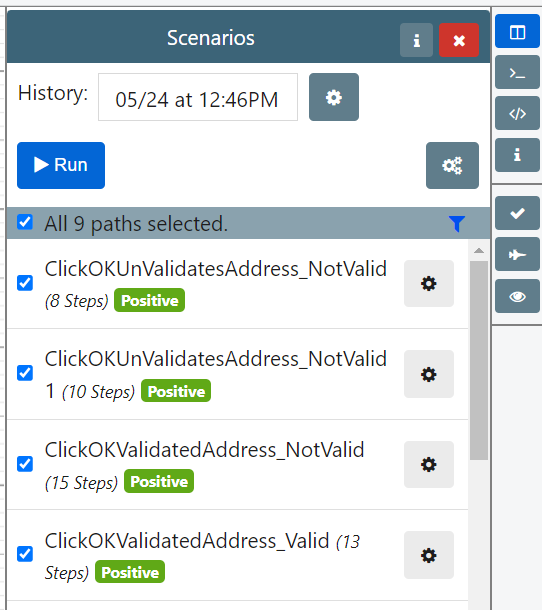
To browse the generated tests, click "Tests" in the Test Generation tab of the top menu. This will open the Scenarios sidebar, displaying any created tests.
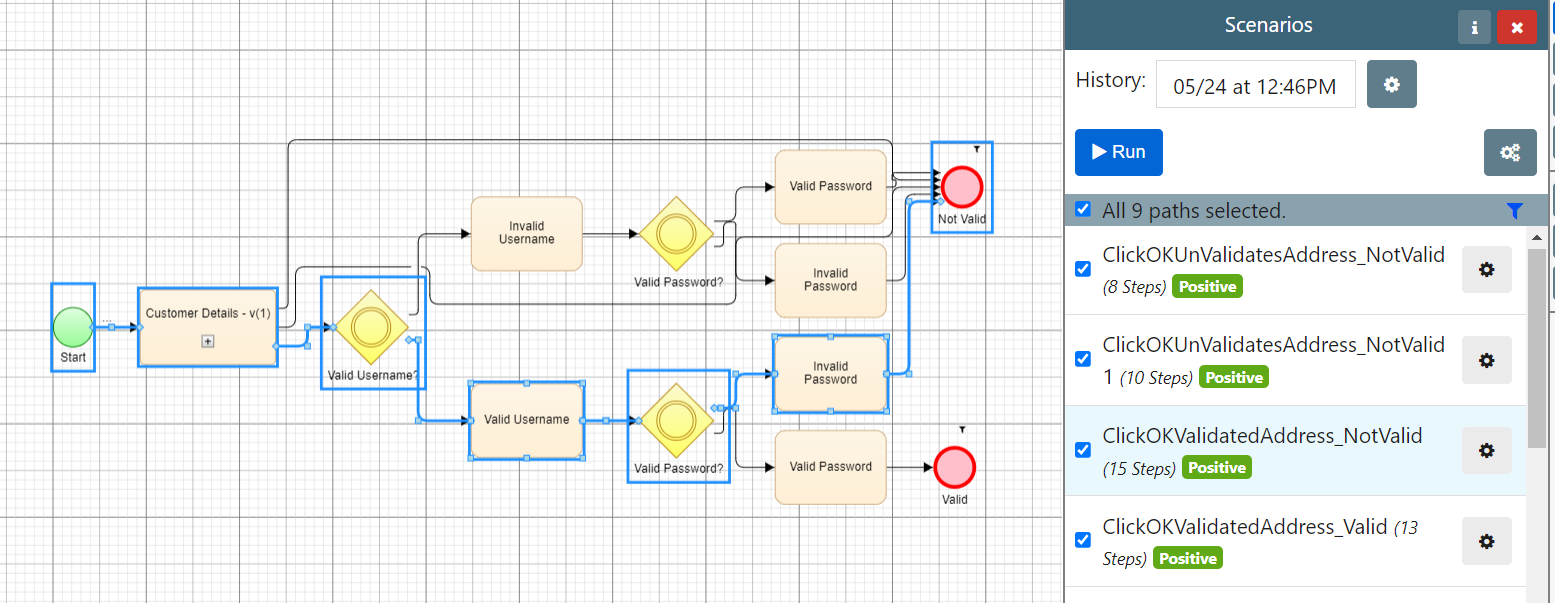
Clicking on a test case will highlight the path through a model's logic which that test reflects:
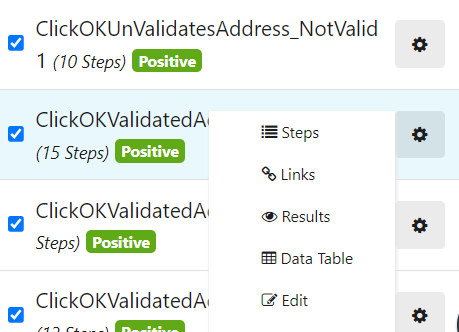
A test case can be reviewed in detail by clicking the cog next to it in the Scenarios sidebar, viewing the test steps, links, and previous results associated with it. The same menu also provides options to delete and edit test cases.
Click the Cog and then "Steps" to browse the test steps set out by a given Test Case:
The Scenarios sidebar provides quick actions for managing previously generated test cases:
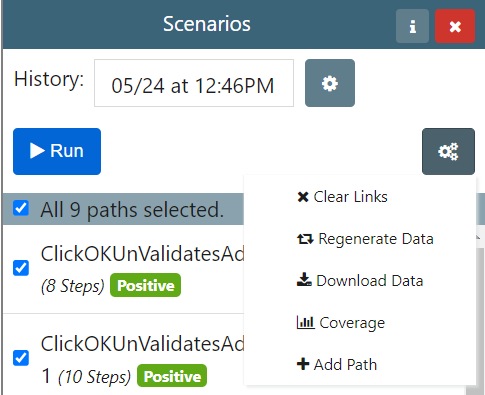
- Execute tests is used to trigger an automated test execution run.
- Regenerate Automation re-resolves the automation overlaid onto a model and associated with test cases. Download Automation exports the test automation associated with test cases to a spreadsheet, from which it can drive test automation frameworks.
- Export Tests exports test cases as a .ZIP file that can be utilized by VIP in automated testing, or to connected tools.
- Add Path allows you to manually construct a test case from the nodes and edges in your model. This is useful when your coverage profile has not generated a test that you would like to execute or export.
- Verify Test Suite checks test cases against the current saved version of the model to see if any are broken. If any nodes or edges contained in a test case have been removed, a cross will be displayed next to it.
- NewTestSuite will create a new set of test cases with the History set to the time of creation. Refresh tests reloads the test cases displayed in the test case sidebar, reflecting any new test cases that have been generated. The test suite details shows the test suite ID and date of creation.
Filtering Valid/Happy and Invalid/Unhappy Paths
If you have marked paths as Valid and/or Invalid, you can filter the generated scenarios based on whether they are valid or invalid.
If you have marked paths as Valid and/or Invalid prior to a test generation, you should see something similar to this:
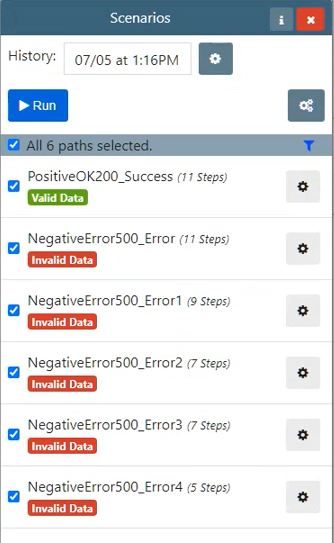
In the Scenarios panel, there is a filter icon that allows you to select just the Valid Data paths or the Invalid Data path:

Clicking the filter icon displays a Filter Paths dialogue box:
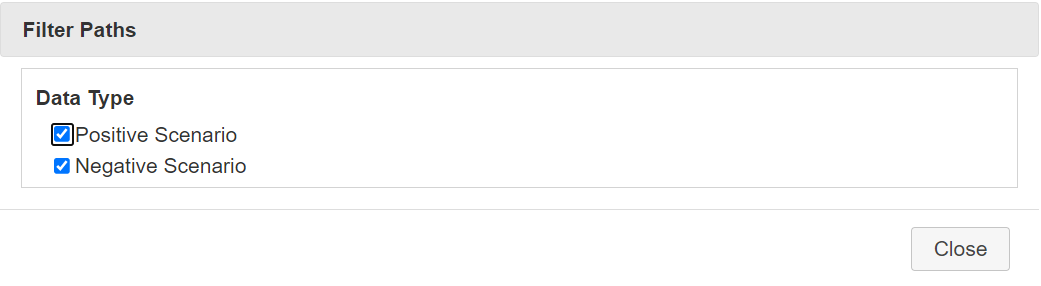
Filtering by Valid or Invalid will display only Valid or Invalid paths.