The majority of actions within the Curiosity Platform require an object (database, file etc) to be registered into the Data Dictionary. The structure is absorbed into the platform to be used to formulate rules and processes to follow. Data masking, requires objects from the data dictionary to then structure into rules and jobs to be executed.
Data Masking - Database
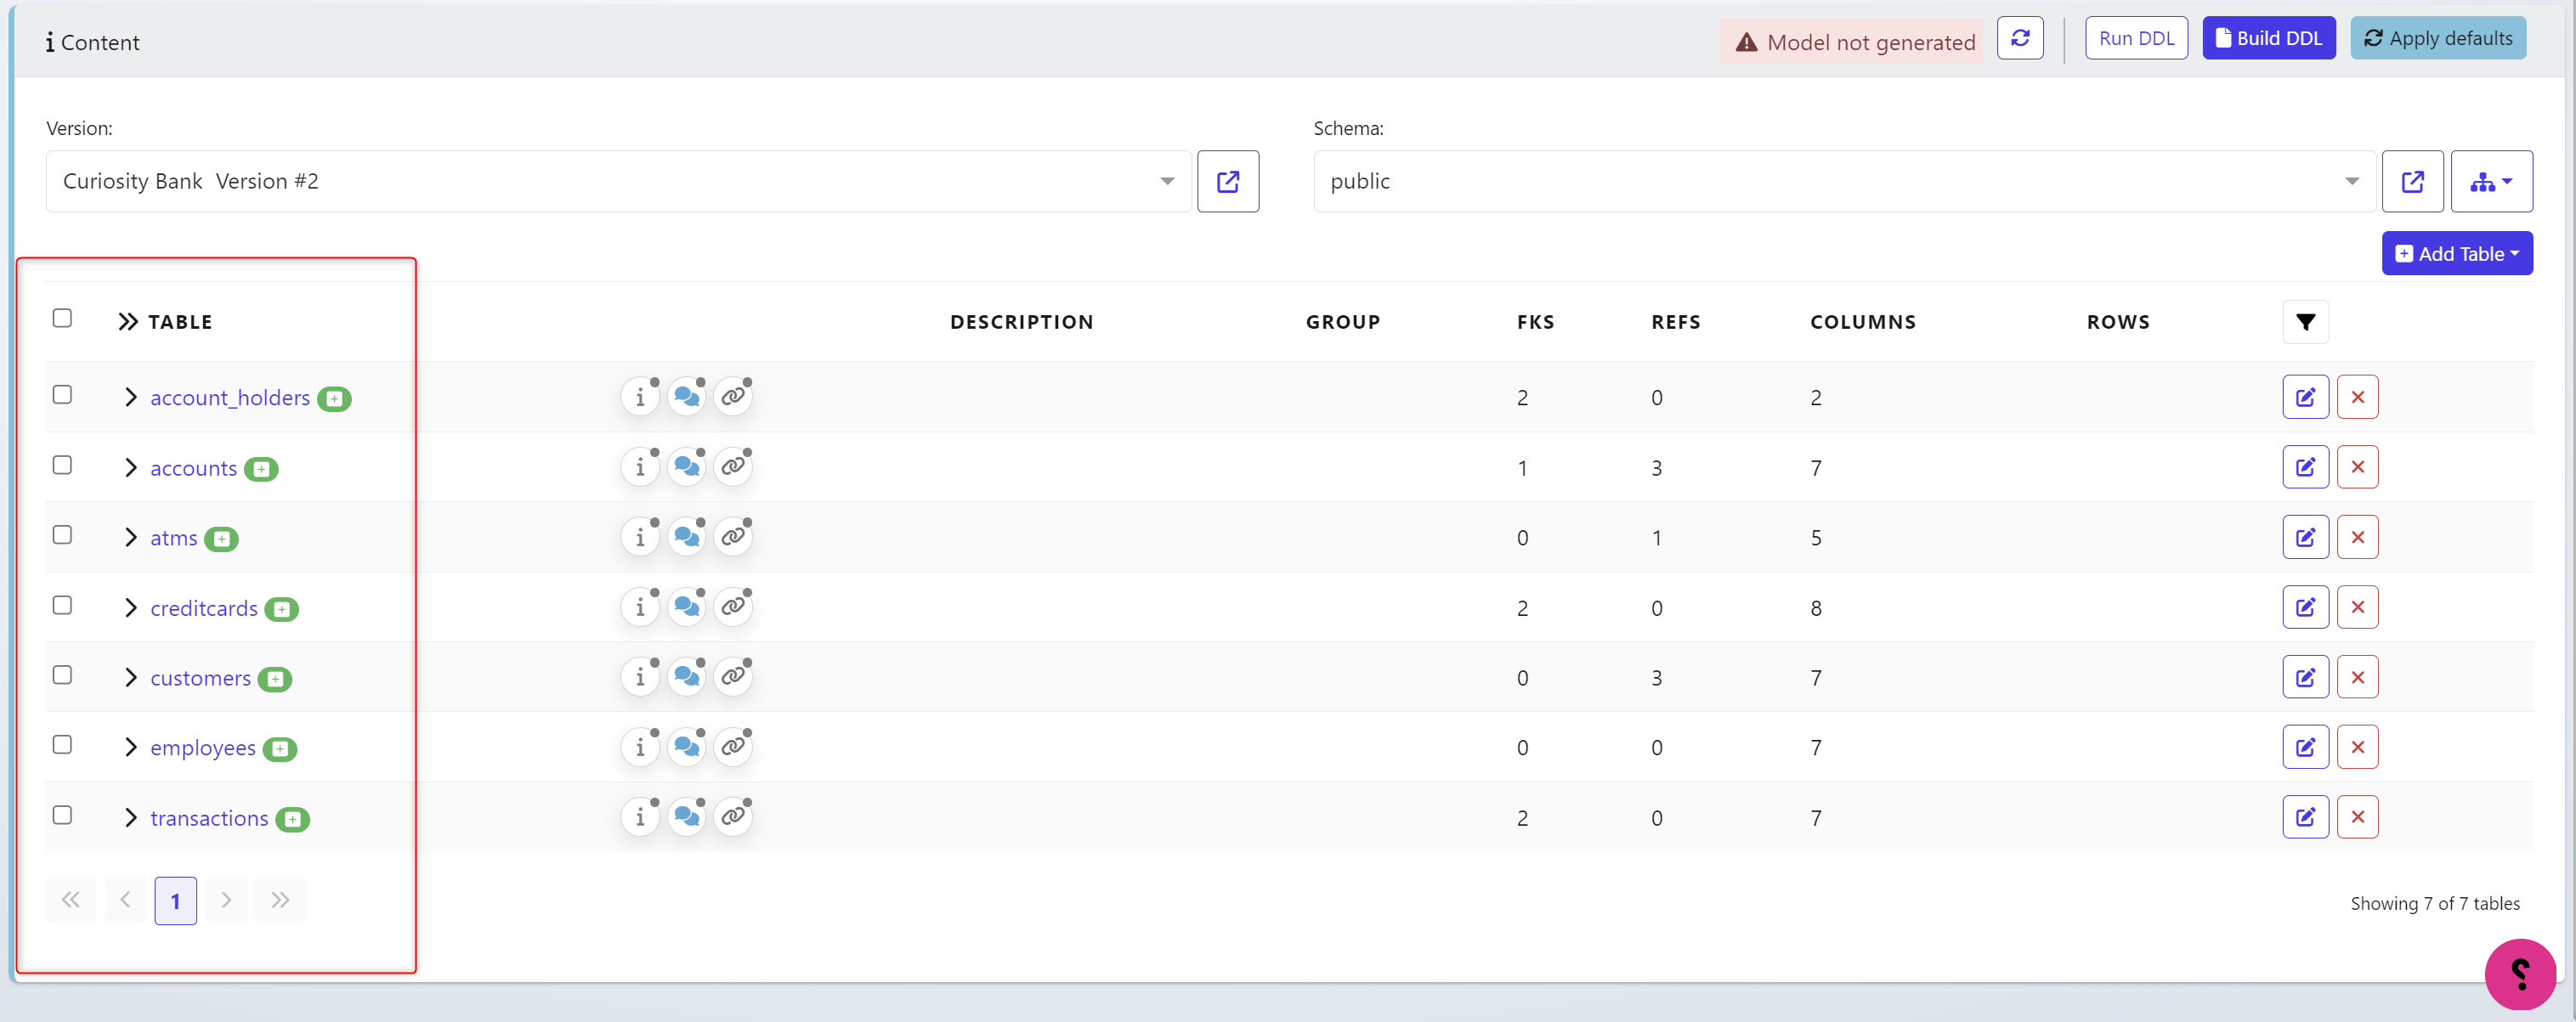
Navigate to the Data Dictionary and choose the object you wish to mask. If you don’t have a registered object, please follow the Data Discovery documentation guide first. Click on your Object Name to proceed. In this example, the Name is Curiosity Bank.

The version, schema and any actions you can take will be provide.
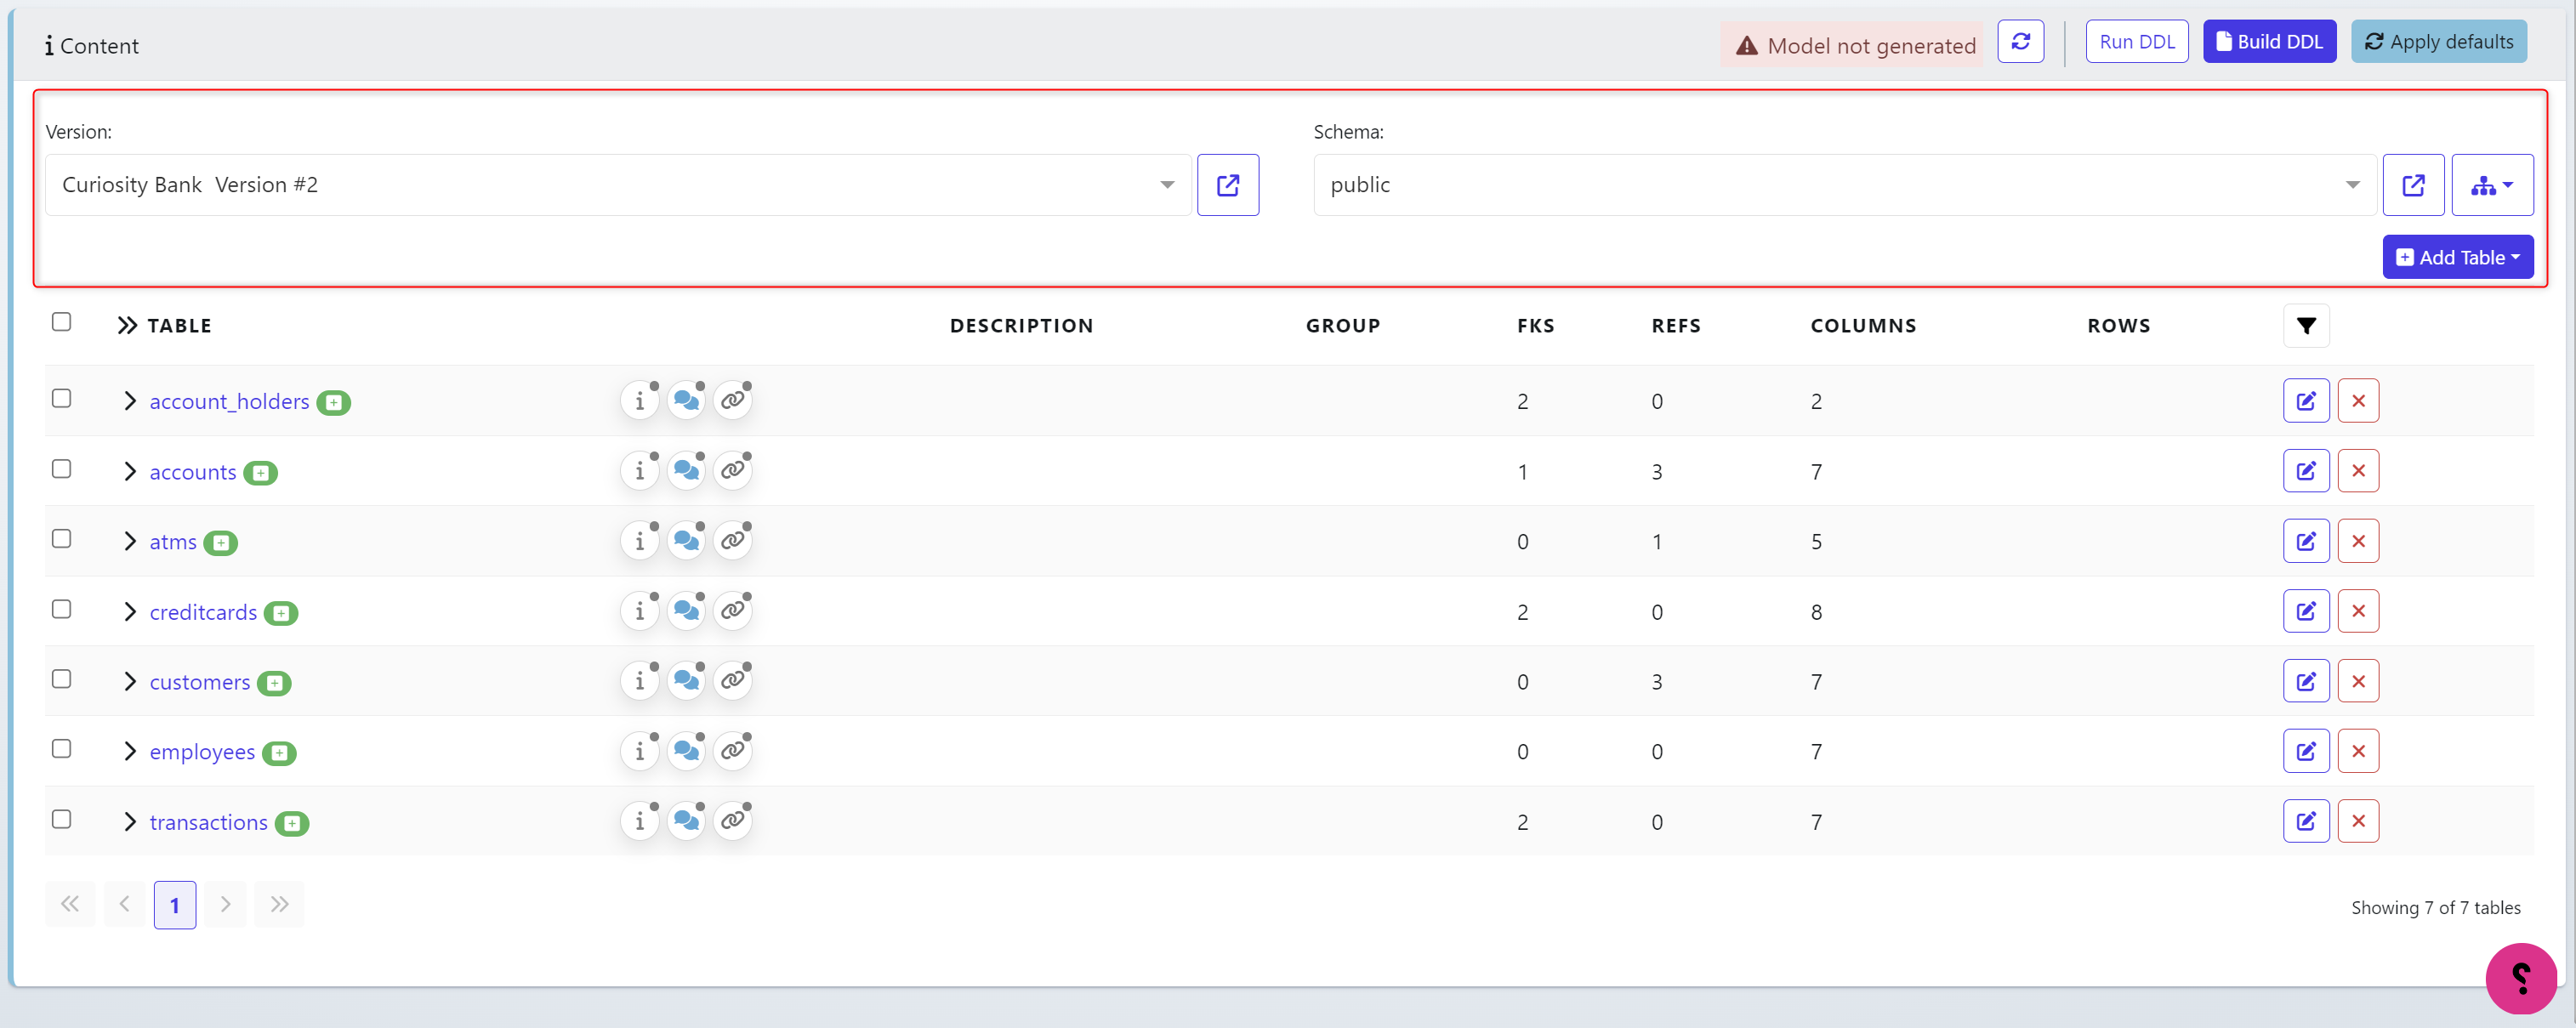
The table names and additional meta data (Foreign Keys, References, Column information) will be stored below.
Entity Diagrams
Click the ‘Diagram’ Icon in the top right and choose Entity Relationship Diagram
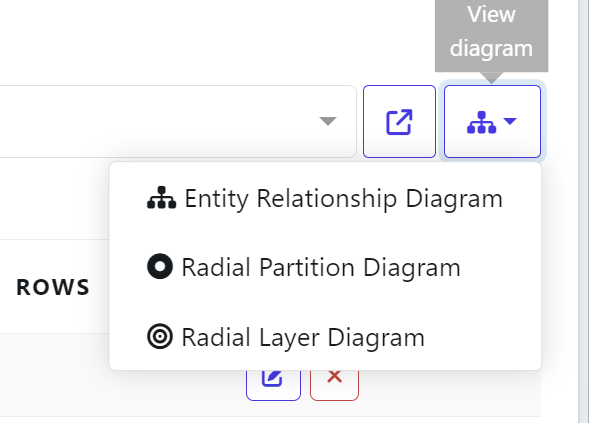
This will present the existing found relationships that need to be considered and likely maintained when running a masking routine.
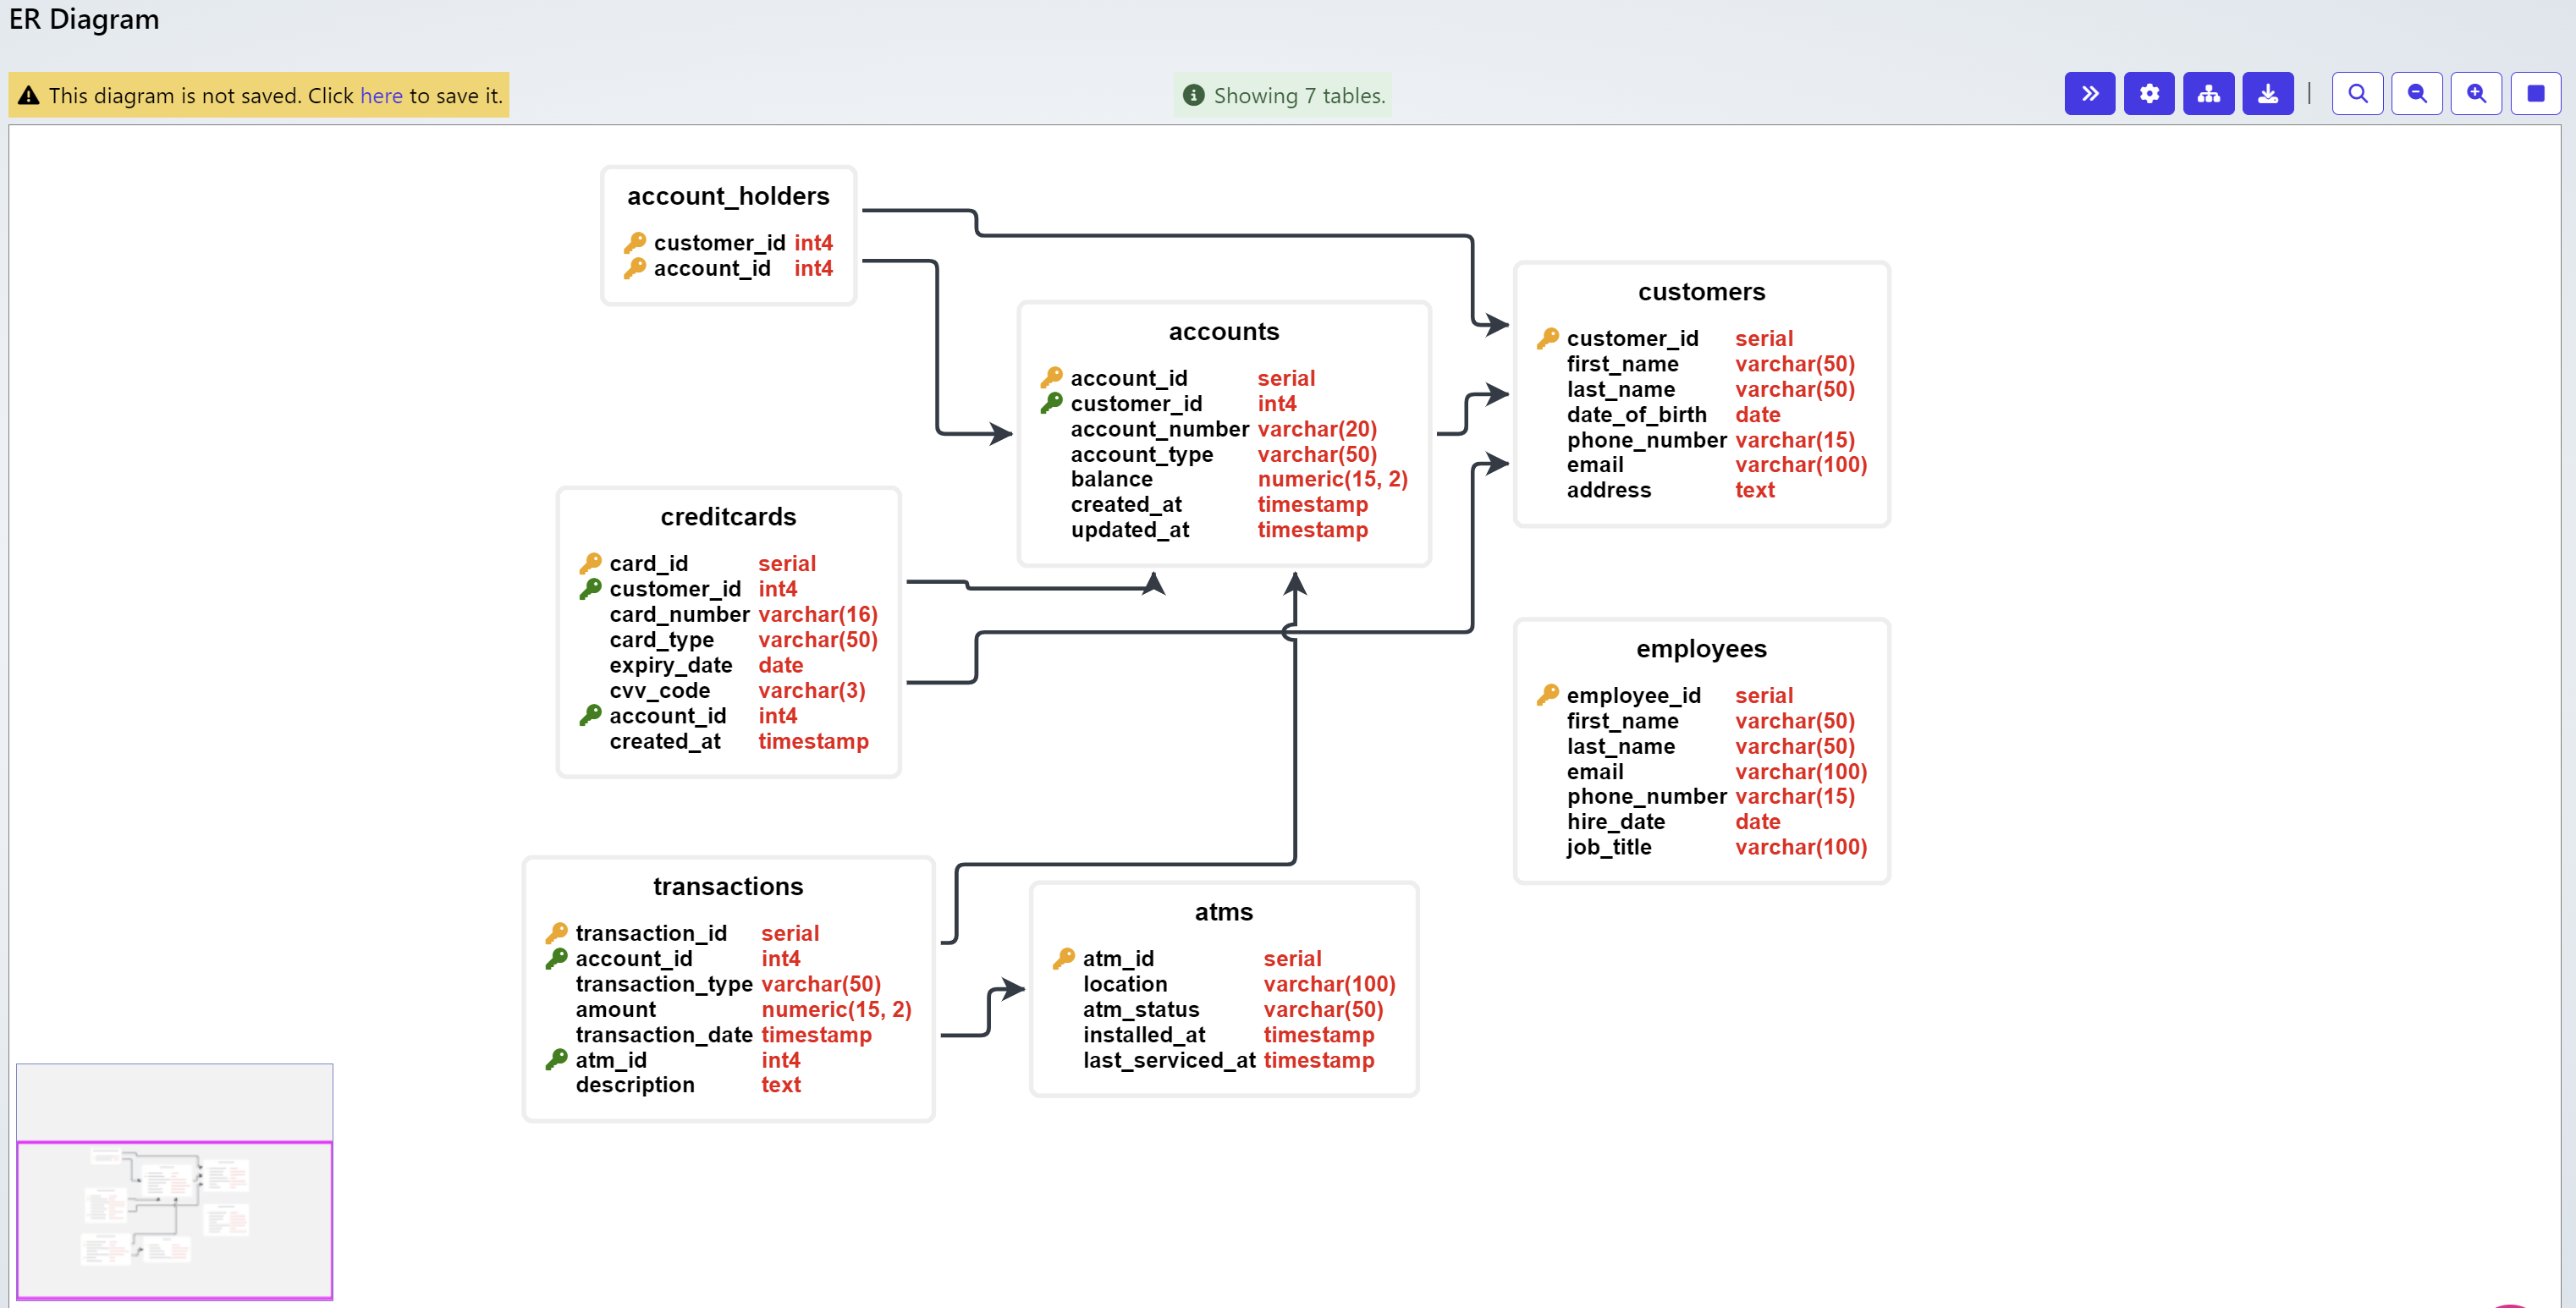
In the top right, additional actions are possible including:

Toggle Collapse/Expand the image
Settings
Relayout
Download as PNG
Search
Zoom In / Out
Fit to screen
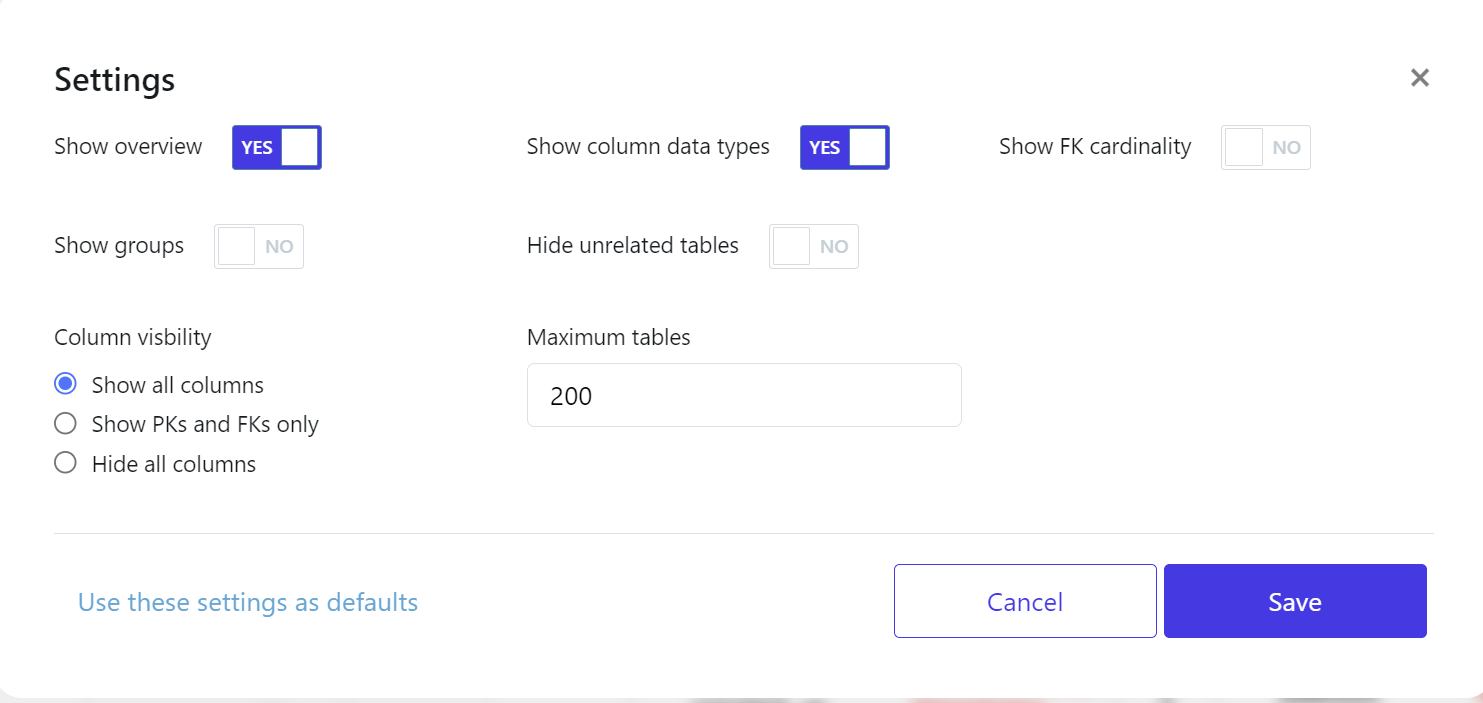
Settings
Some databases & files have large structures and table amounts/column amounts. Settings allow you to customize what is displayed and how much based on various configurations. The amount of tables displayed and the columns you wish to see, should be configured here for an easier viewing experience when looking at large databases.
Data Discovery - Tags
Under the Data Dictionary Definition Details choose a table
In this example, the customers table will be used. It’s been 'Tagged’, these tags represent potential rules that later we will apply to these columns to mask.
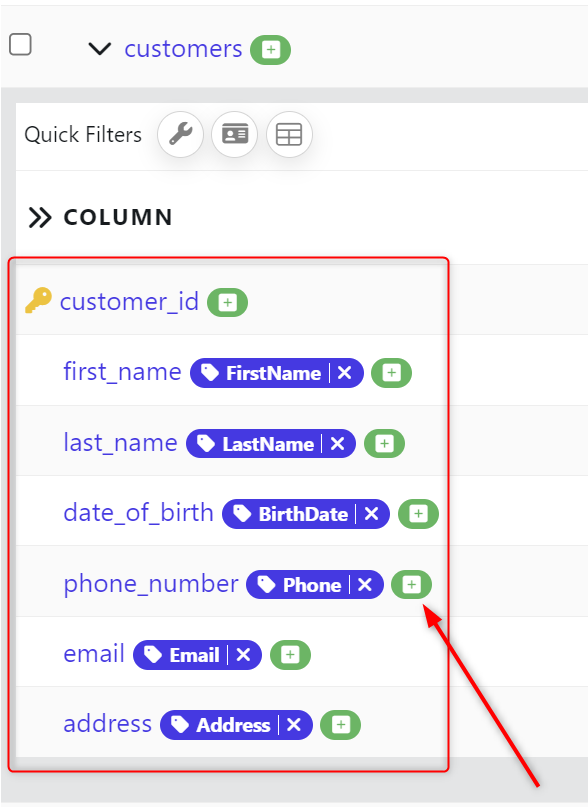
Tags can be added by clicking the green Add Tag icon. Columns can have multiple tags. Below is an example of multiple Tags both for PII & types of PII found.

Tags make the process of building masking routines faster as you can apply the same rules to lots of different mask routines later on.
Data Masking - Data Activity
The next part of the process is to build a Data Activity. This is the process of adding the individual components together to create a working job to then execute. Different masking routines have different requirements potentially before & after a masking is completed. The Data Activity gives tremendous flexibility to customize how each job should be run.
Navigate to the Activity Explorer in the left ribbon. All activities available to you will be stored here under the folder structure that your Project has access to. By default a structure for storing your Data Activities will be here, to create a new folder to storing masking activities click the green ‘+’ icon.

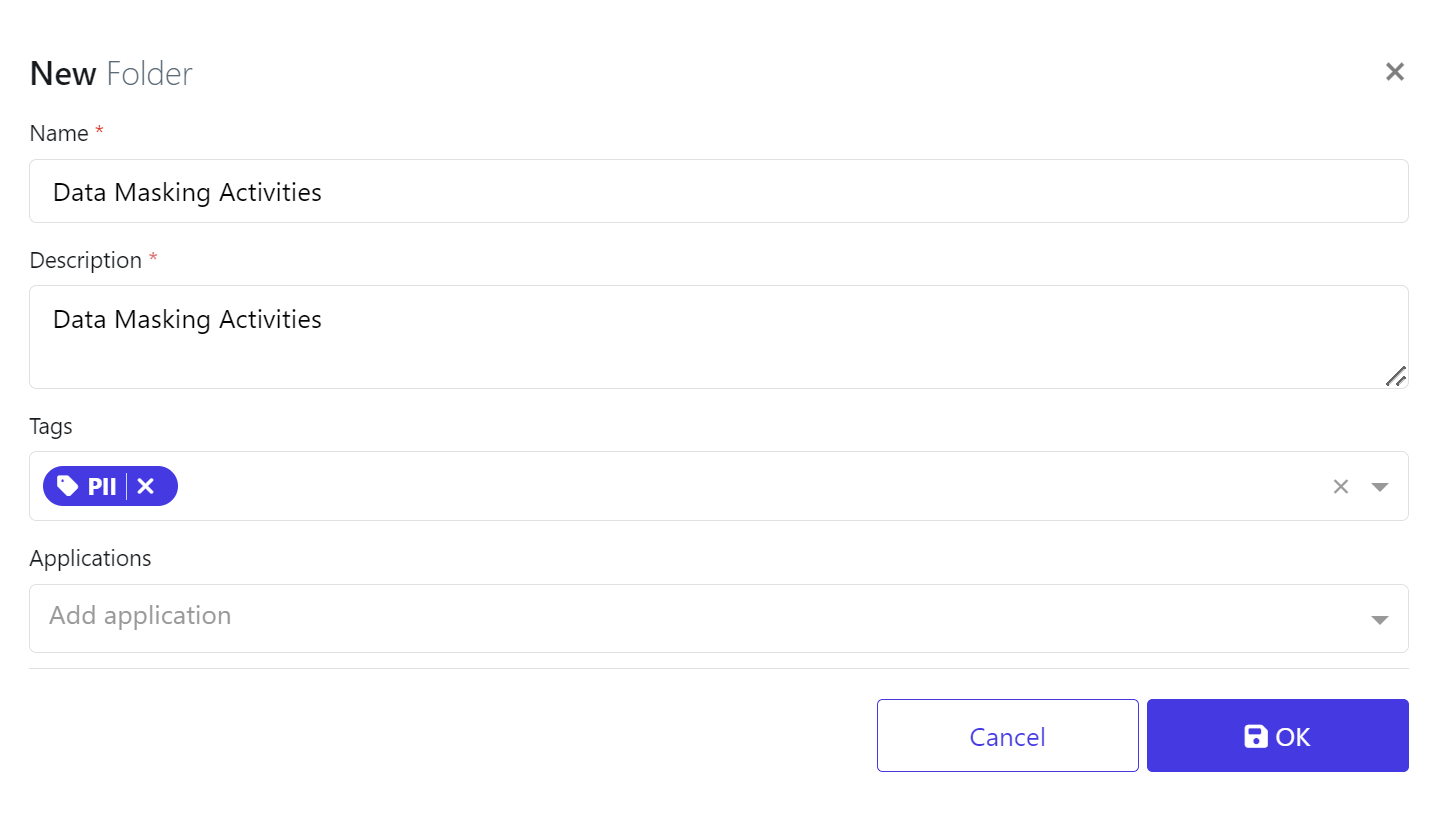
Provide the folder a Name & Description
Additional Fields are not mandatory but helpful later on. In this example, we’ve added ‘PII’.
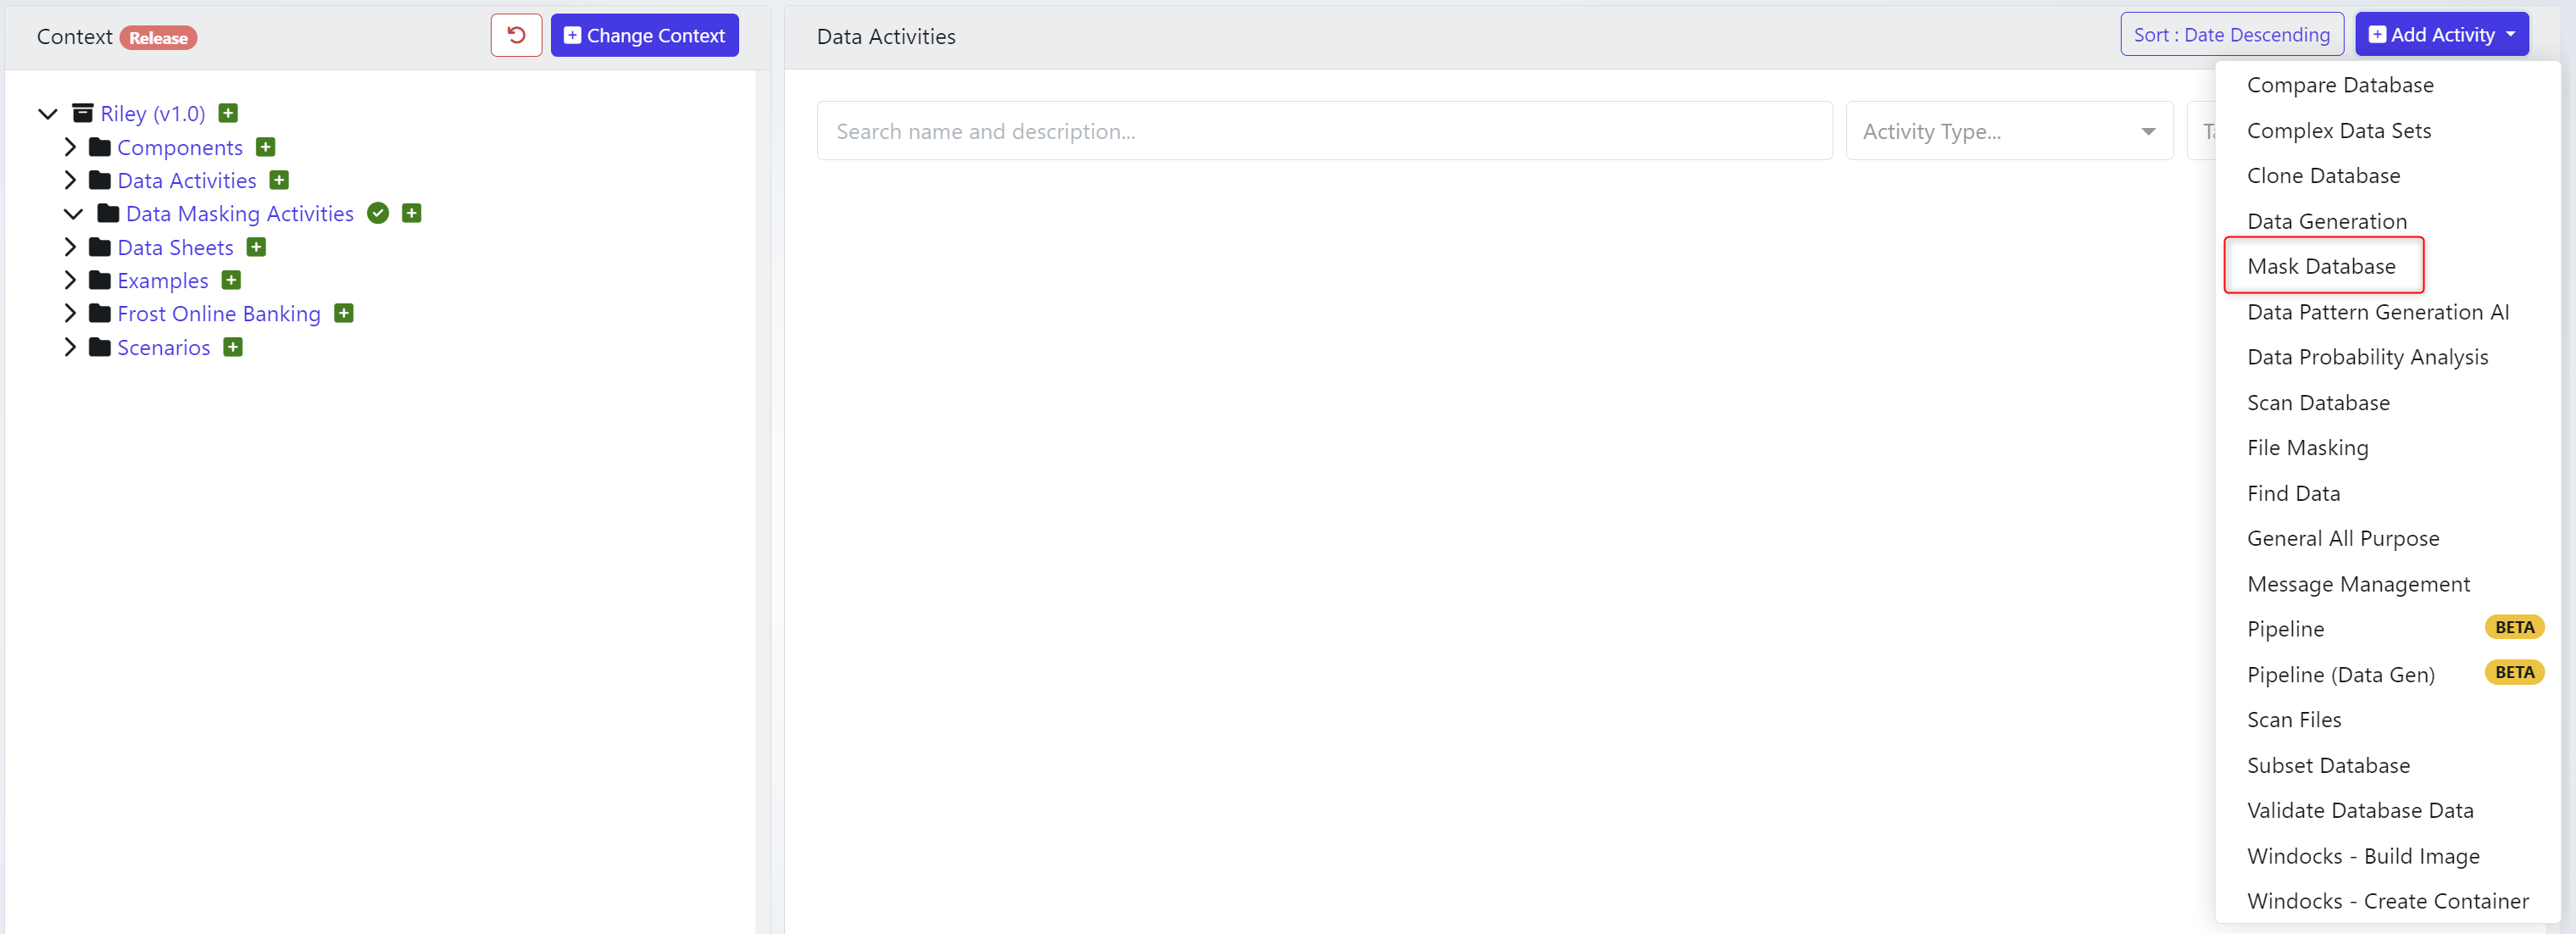
You will need to add a new Data Activity from the Add Activity in the top right.
Choose Mask Database.
This will open the Mask Database wizard which will allow you to enter the details over a series of pages:
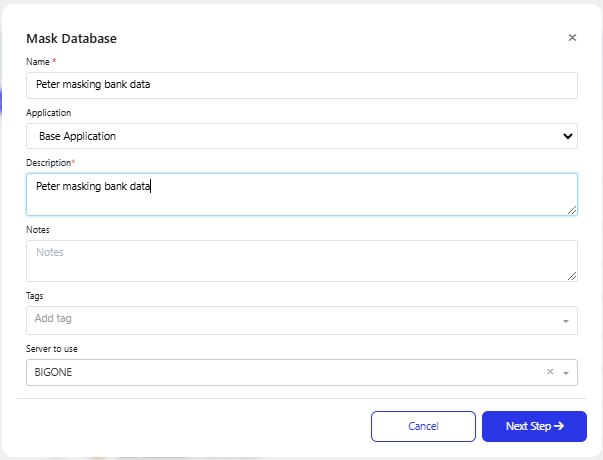
Name: Name of the routine
Application: Base Application the routine is linked to
Description: Description of the routine and its purpose
Notes: Any associated notes
Tags: Add tags for the job
Server to use: The name of the Test Data Server being used.
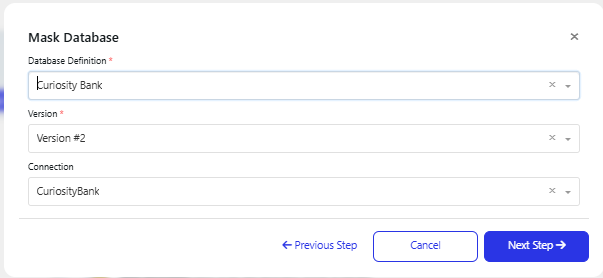
Database Definition: The database definition to use for the masking. Note that there are more details on setting up a definition here.
Version: the definition version
Connection: The database connection, note that this will be auto-populated, if you choose a database definition first.
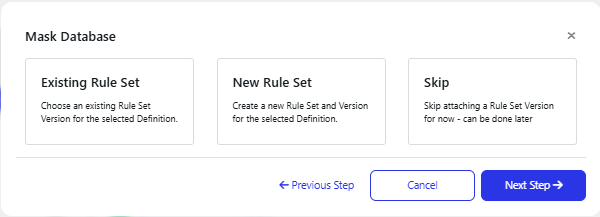
This allows you to attach an existing rule set or create a new one. You can also skip the rule set creation at this stage and create it later.
If you choose an existing rule set, then only those linked to the definition chosen on the previous page will be displayed.
If you create a new rule set, then you can configure the rule set, there are more details on this later, in the Configuring the data activity section.
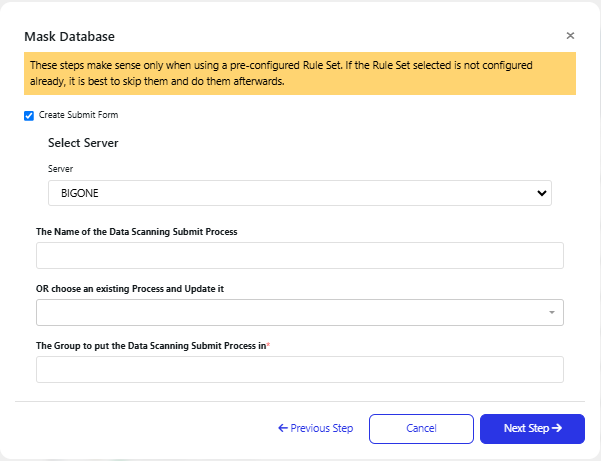
This page is only visible, if you have attached or created a rule set.
You can skip it by un-checking the Create Submit Form box, otherwise you can set up the submit form for the activity. There are more details on the parameters for this in the Masking Submit Form section
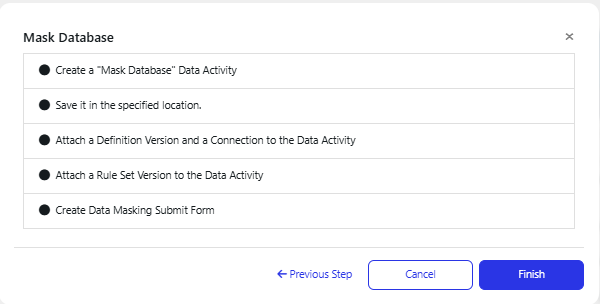
You are presented with a list of actions that will be carried out by the wizard.
When ready, click Finish. You can cancel or return to Previous Step if you need to make adjustments.
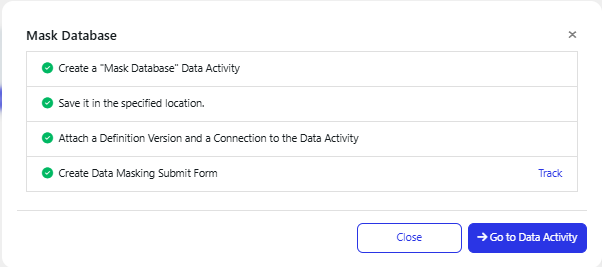
Note that any actions which create jobs will have a track link, so you can review the job, if needed
Click Go to Data Activity to see the activity ready to be worked on.
Data Activity Screen:
The data activity screen provides the basis for all data activity jobs. It holds Components, Actions, Run Specs & Configuration. These elements need to be created before running any data activity Job.
A number of components will have already been created, dependant on the steps taken during the creation wizard. Normally you will not need to either register a definition or attach a database connection again.
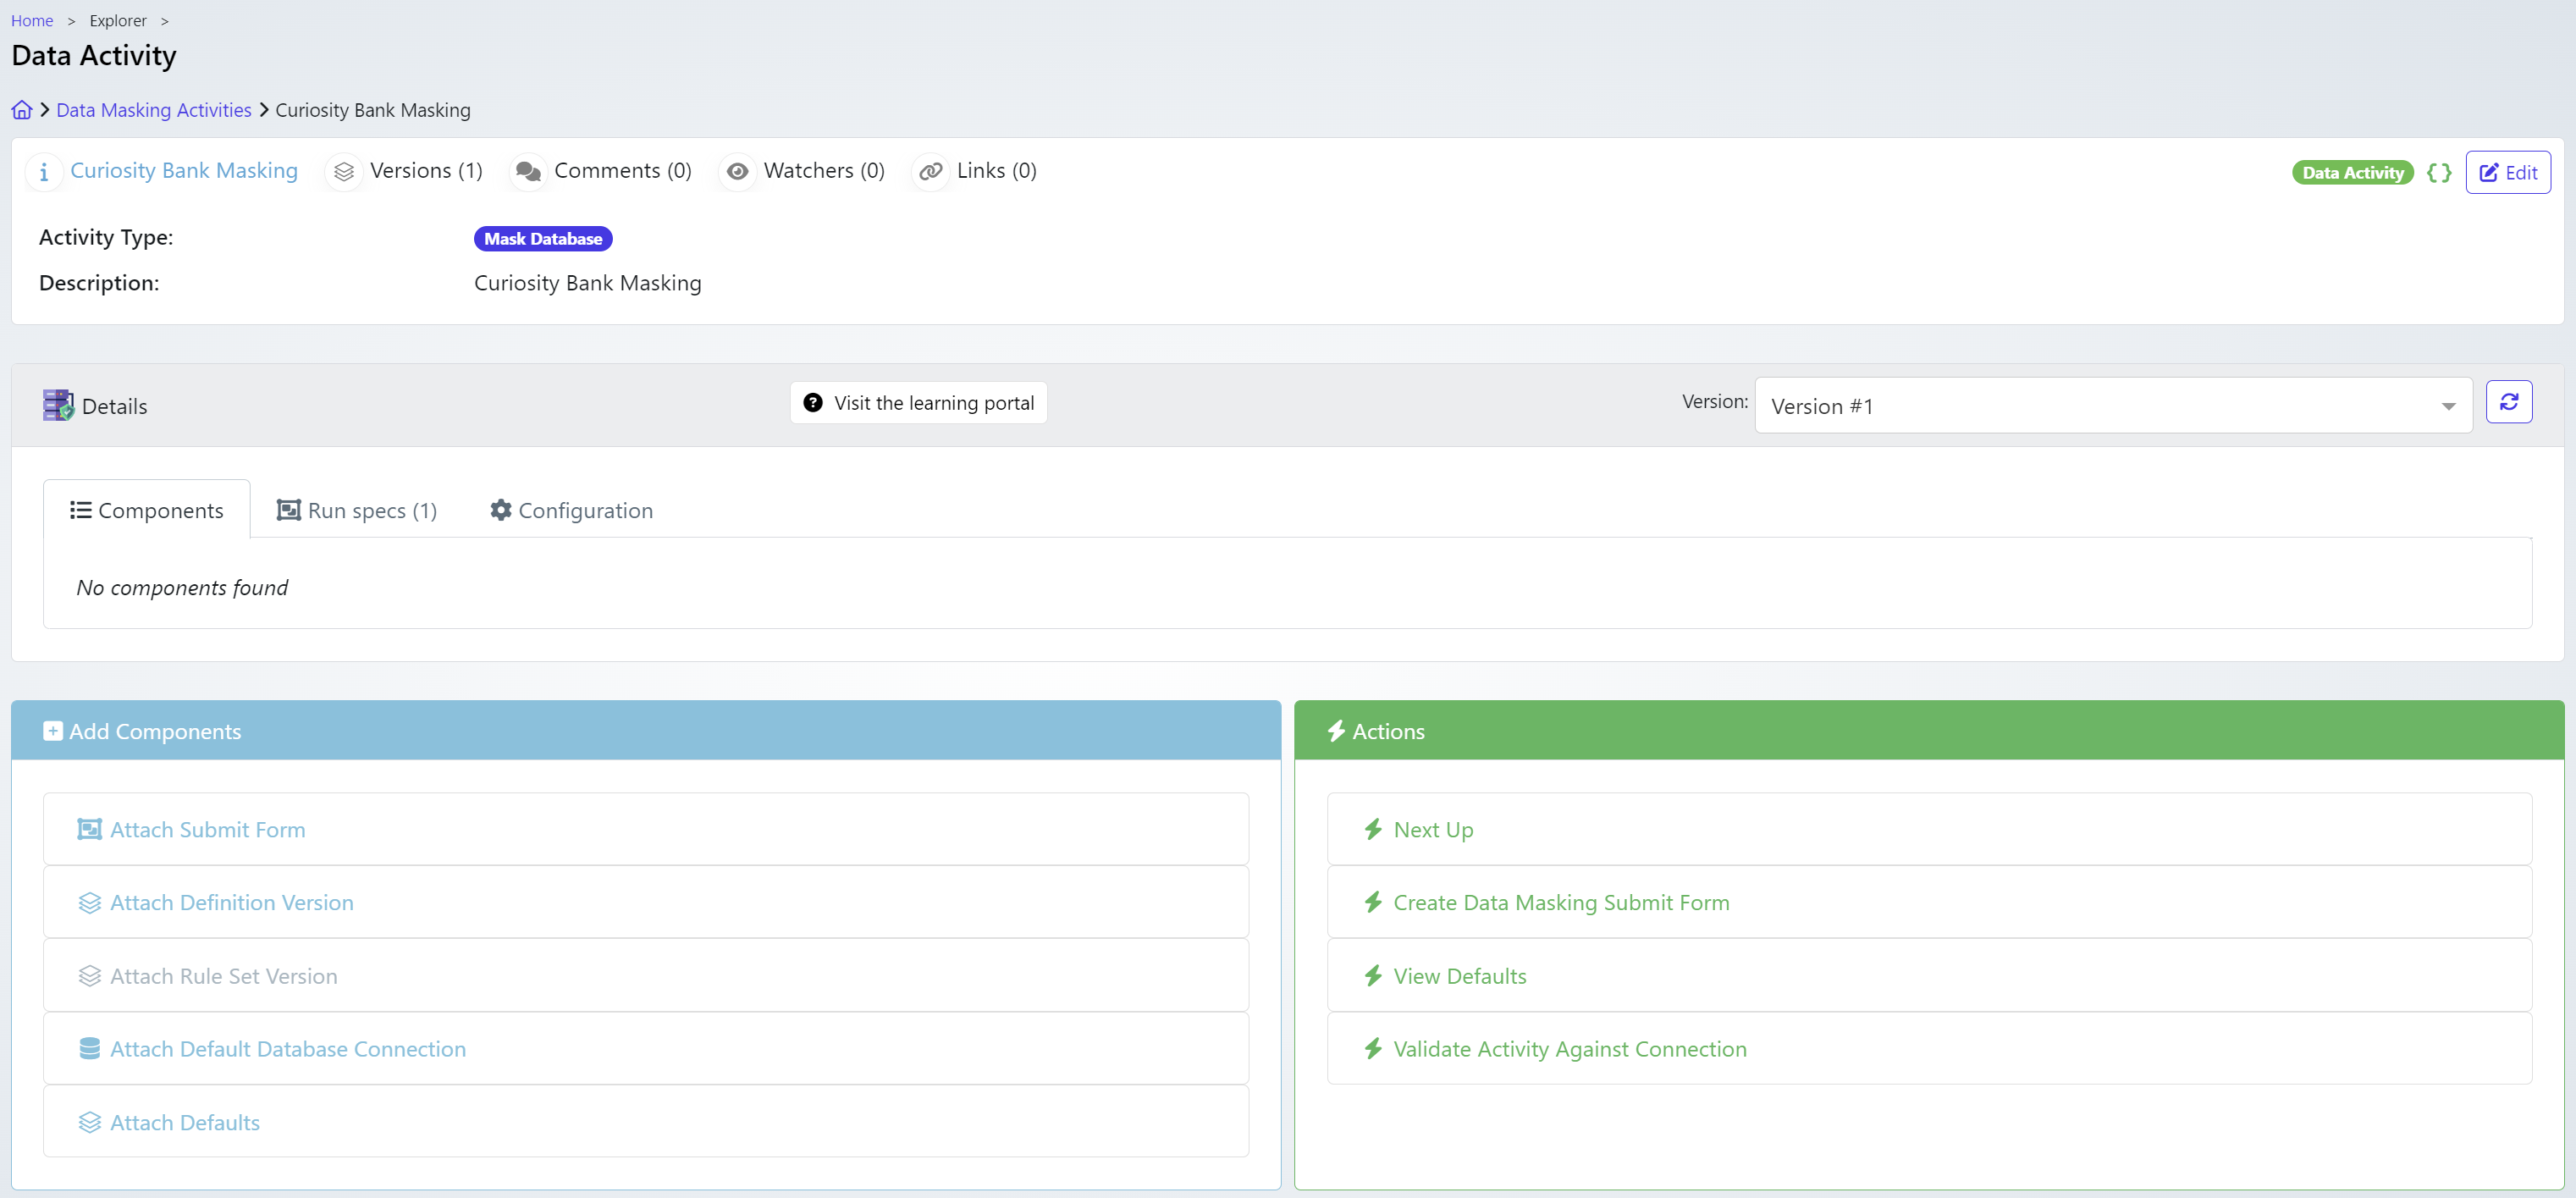
We will walk through each individual section below:
Components:
Components are the building blocks to the Data Activity It allows the various combination of items to be selected and grouped into the activity.
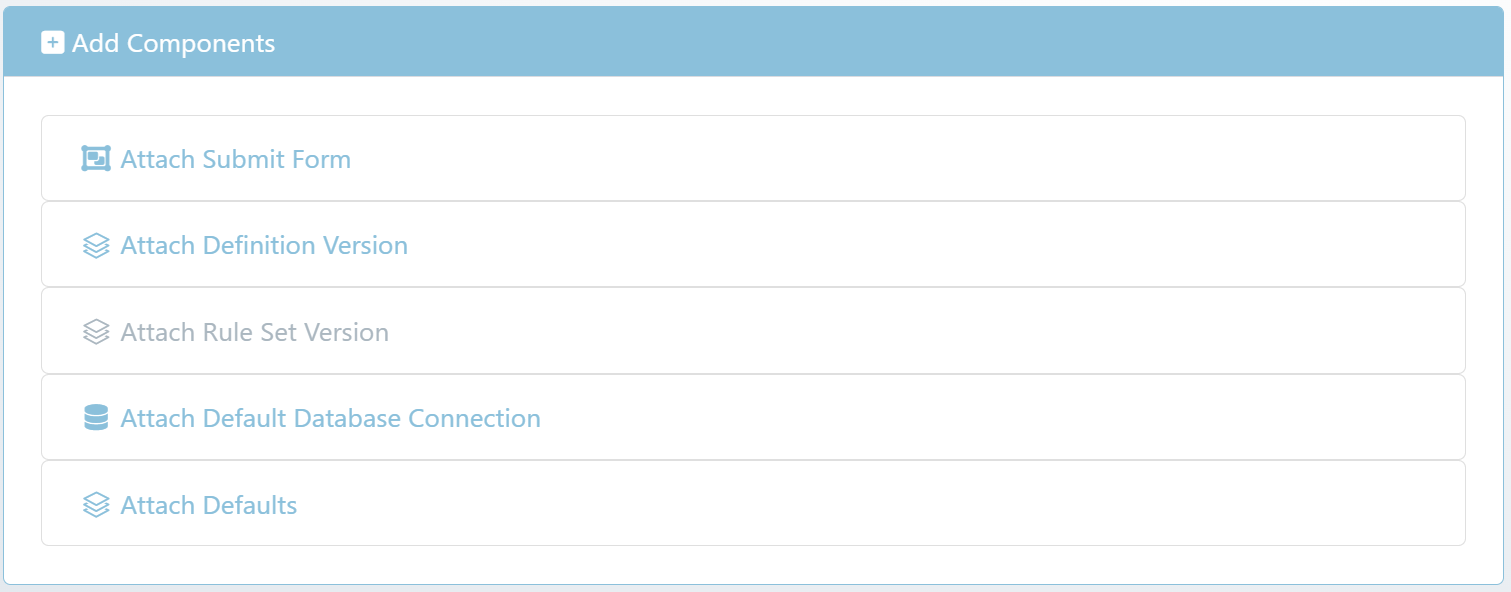
Attach Submit Form
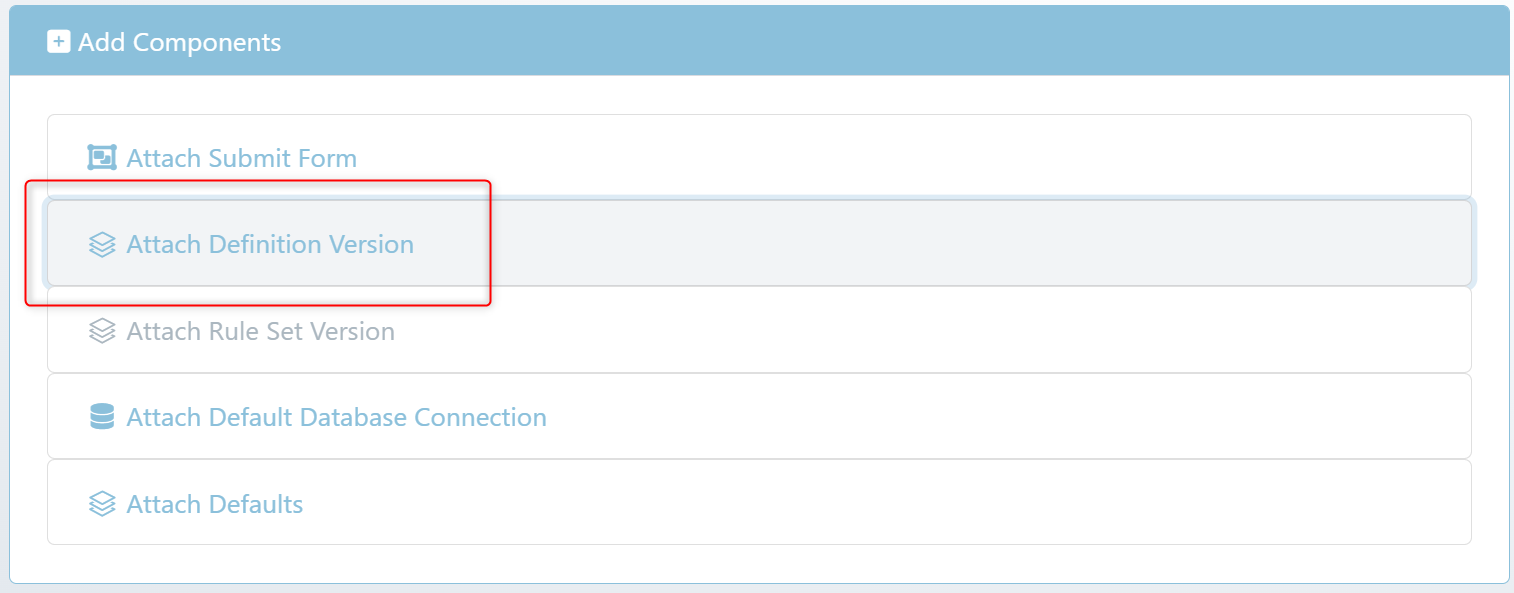
Attach Definition Version
Attach Rule Set Version
Attach Default Database Connection
Attach Defaults
Actions:
Actions provide next steps, defaults and verifications against the Data Activity itself.
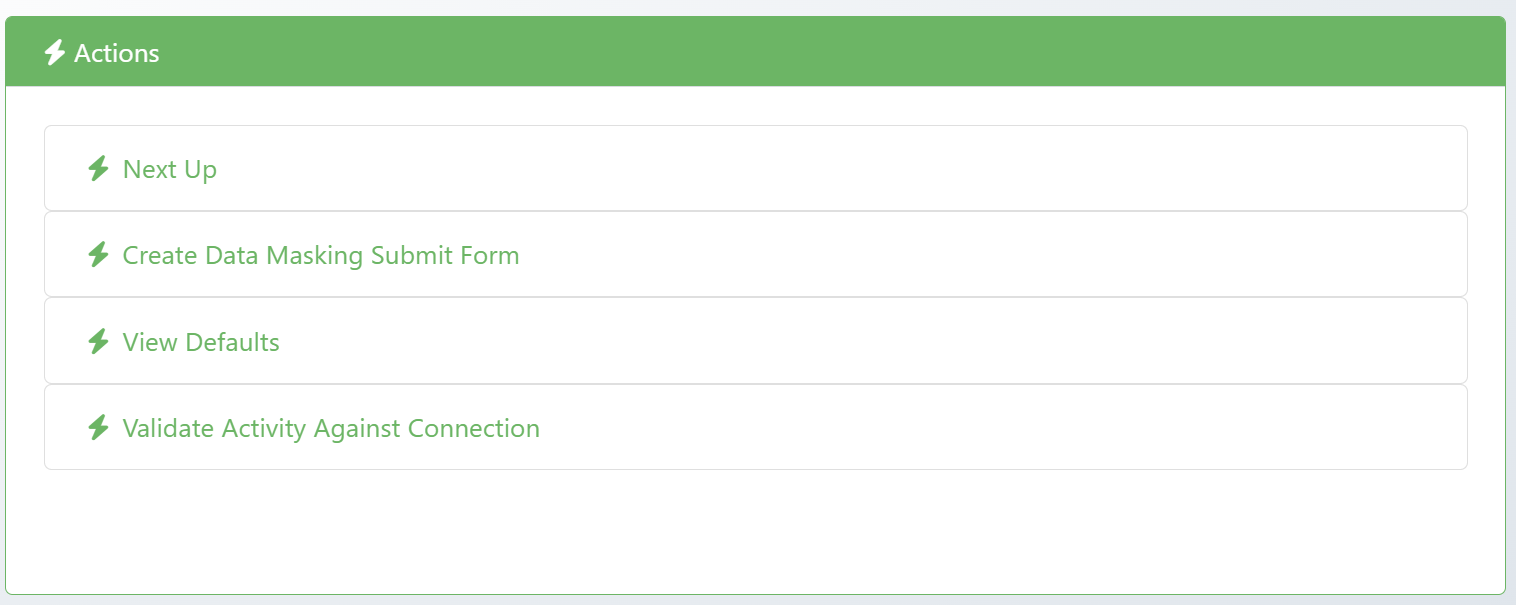
Next Up: What steps do i have to take next?
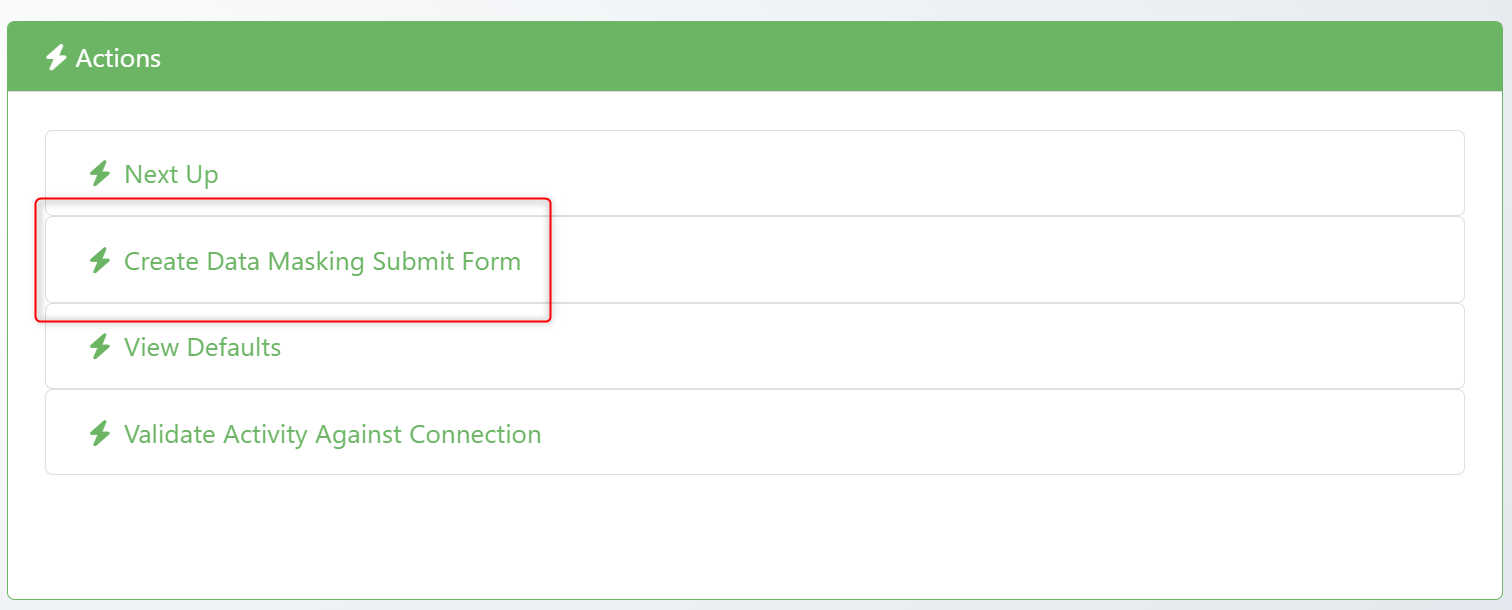
Create Data Masking Submit Form: Build a simple form to allow users to easily submit the job.
View Defaults: See what defaults exist in this Data Activity
Validate Activity Against Connection: Confirm this works against the database connection
Configuring the Data Activity
In order to attach a definition version. Click Attach Definition Version
Provide your Definition & the Version you are working with.
The Definition field is effectively a free text search bar.
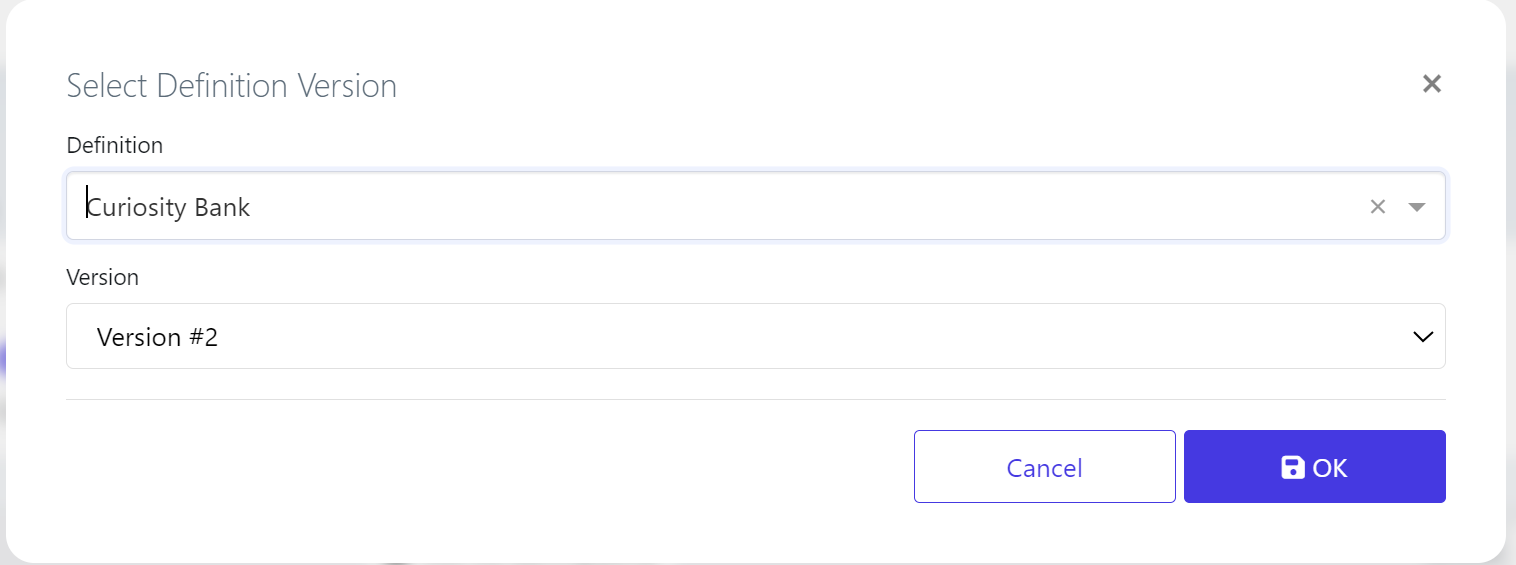
Click OK when ready.
The Component will be added to the Data Activity

In order to attach a Database Connection:
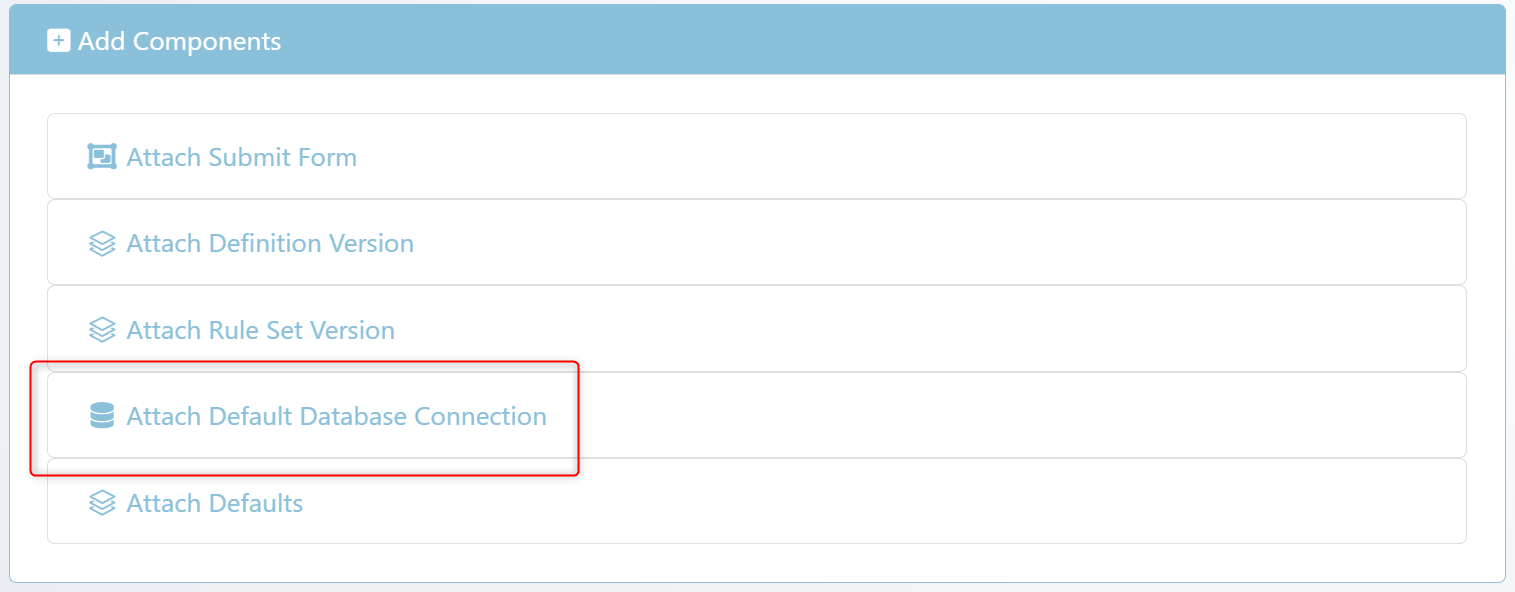
Search for the database connection you want to connect to.

The database connection is now added:

We now need to build the Rule Set. This will define what the Data Activity includes. Click the Blue play icon.

We will now configure the routine:
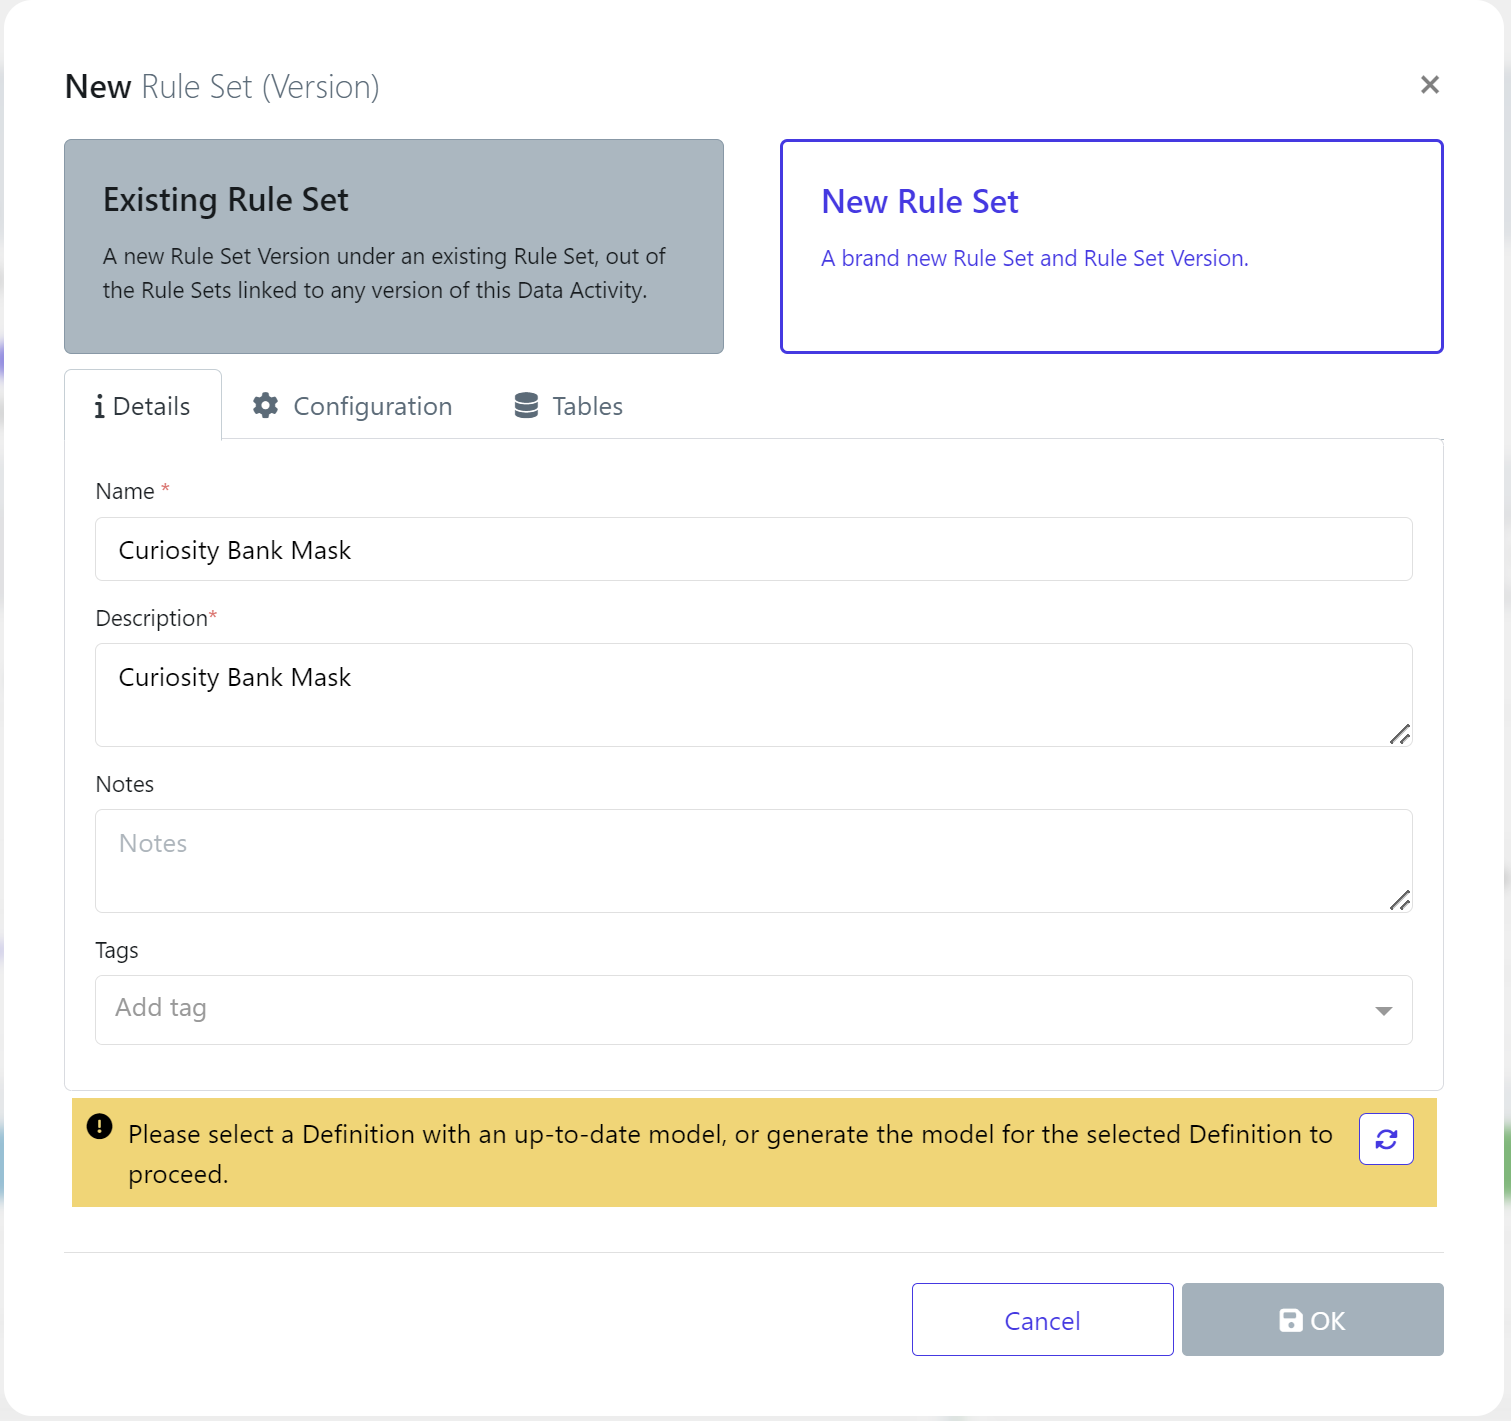
Provide a Name, Description and any Notes or Tags you wish to add.
On the Configuration tab:
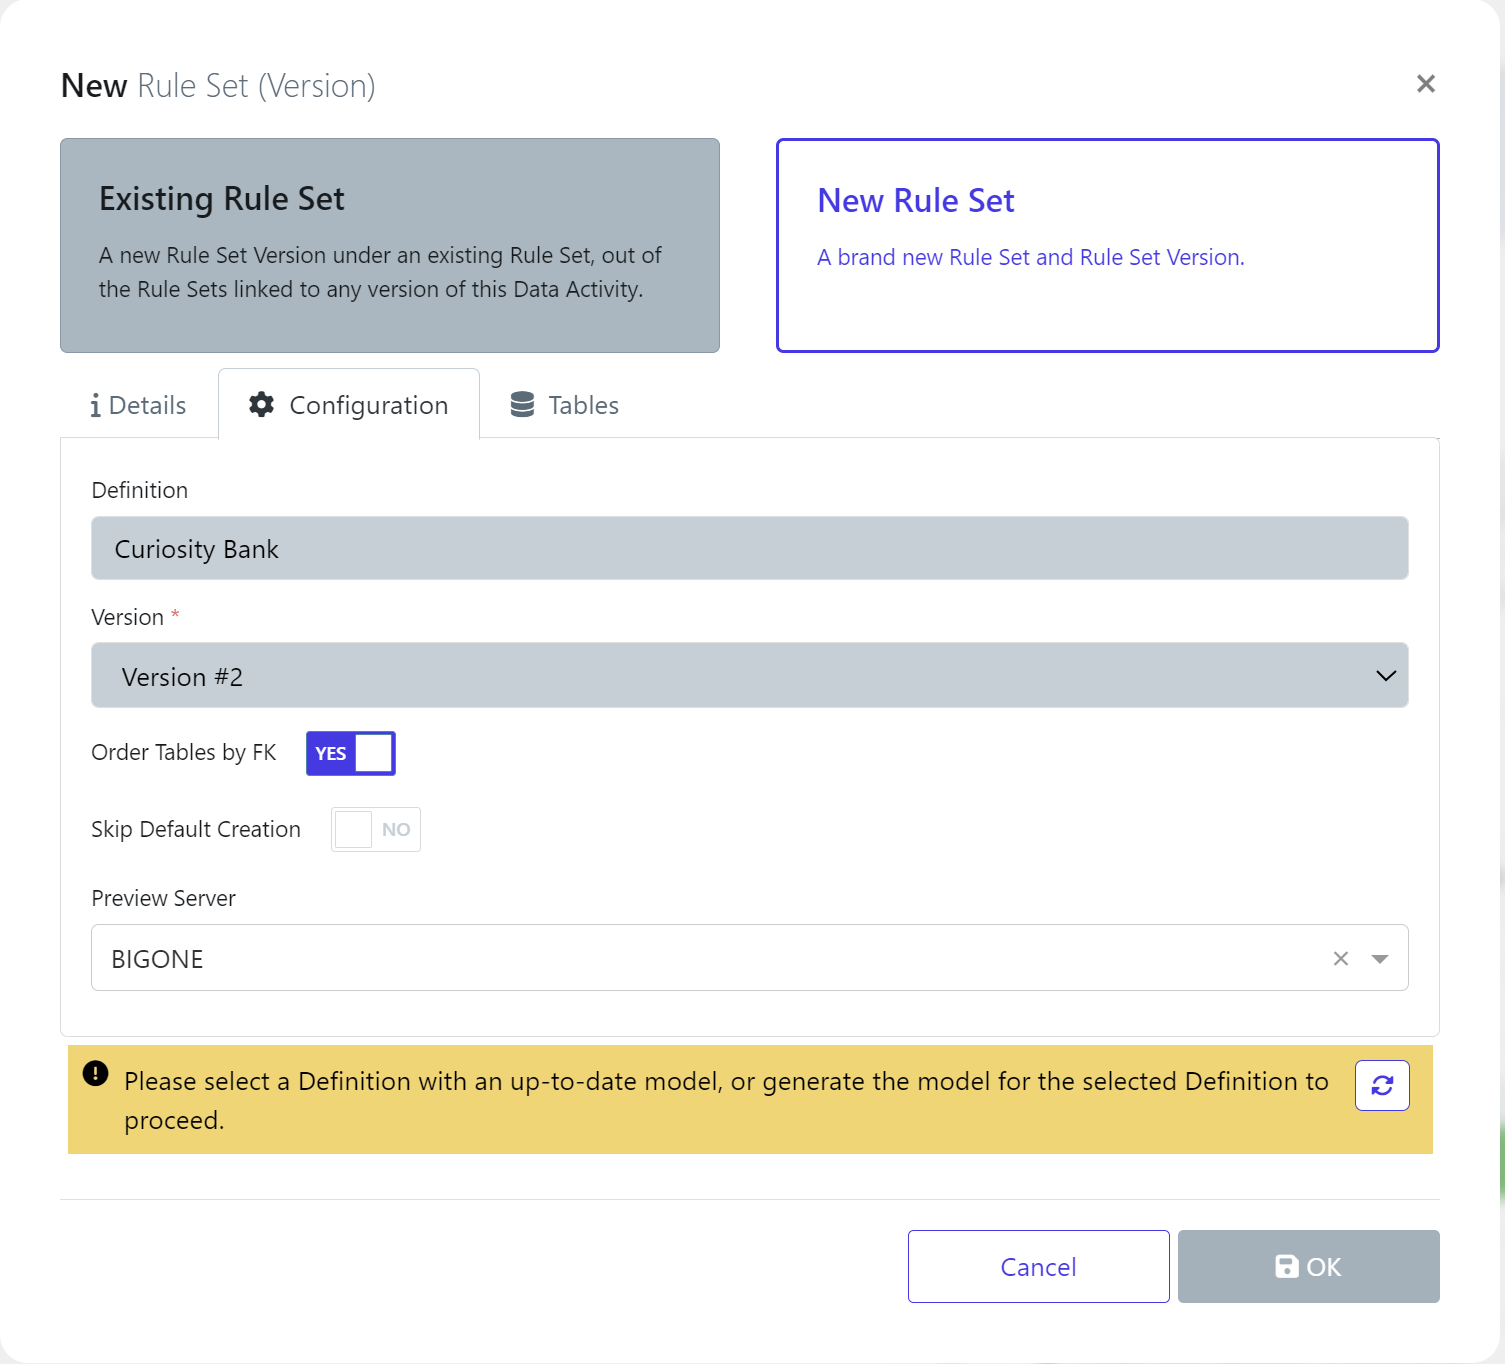
Confirm your Definition and Version. You can also change your Test Data Server here if you have multiple.
On the Tables tab:
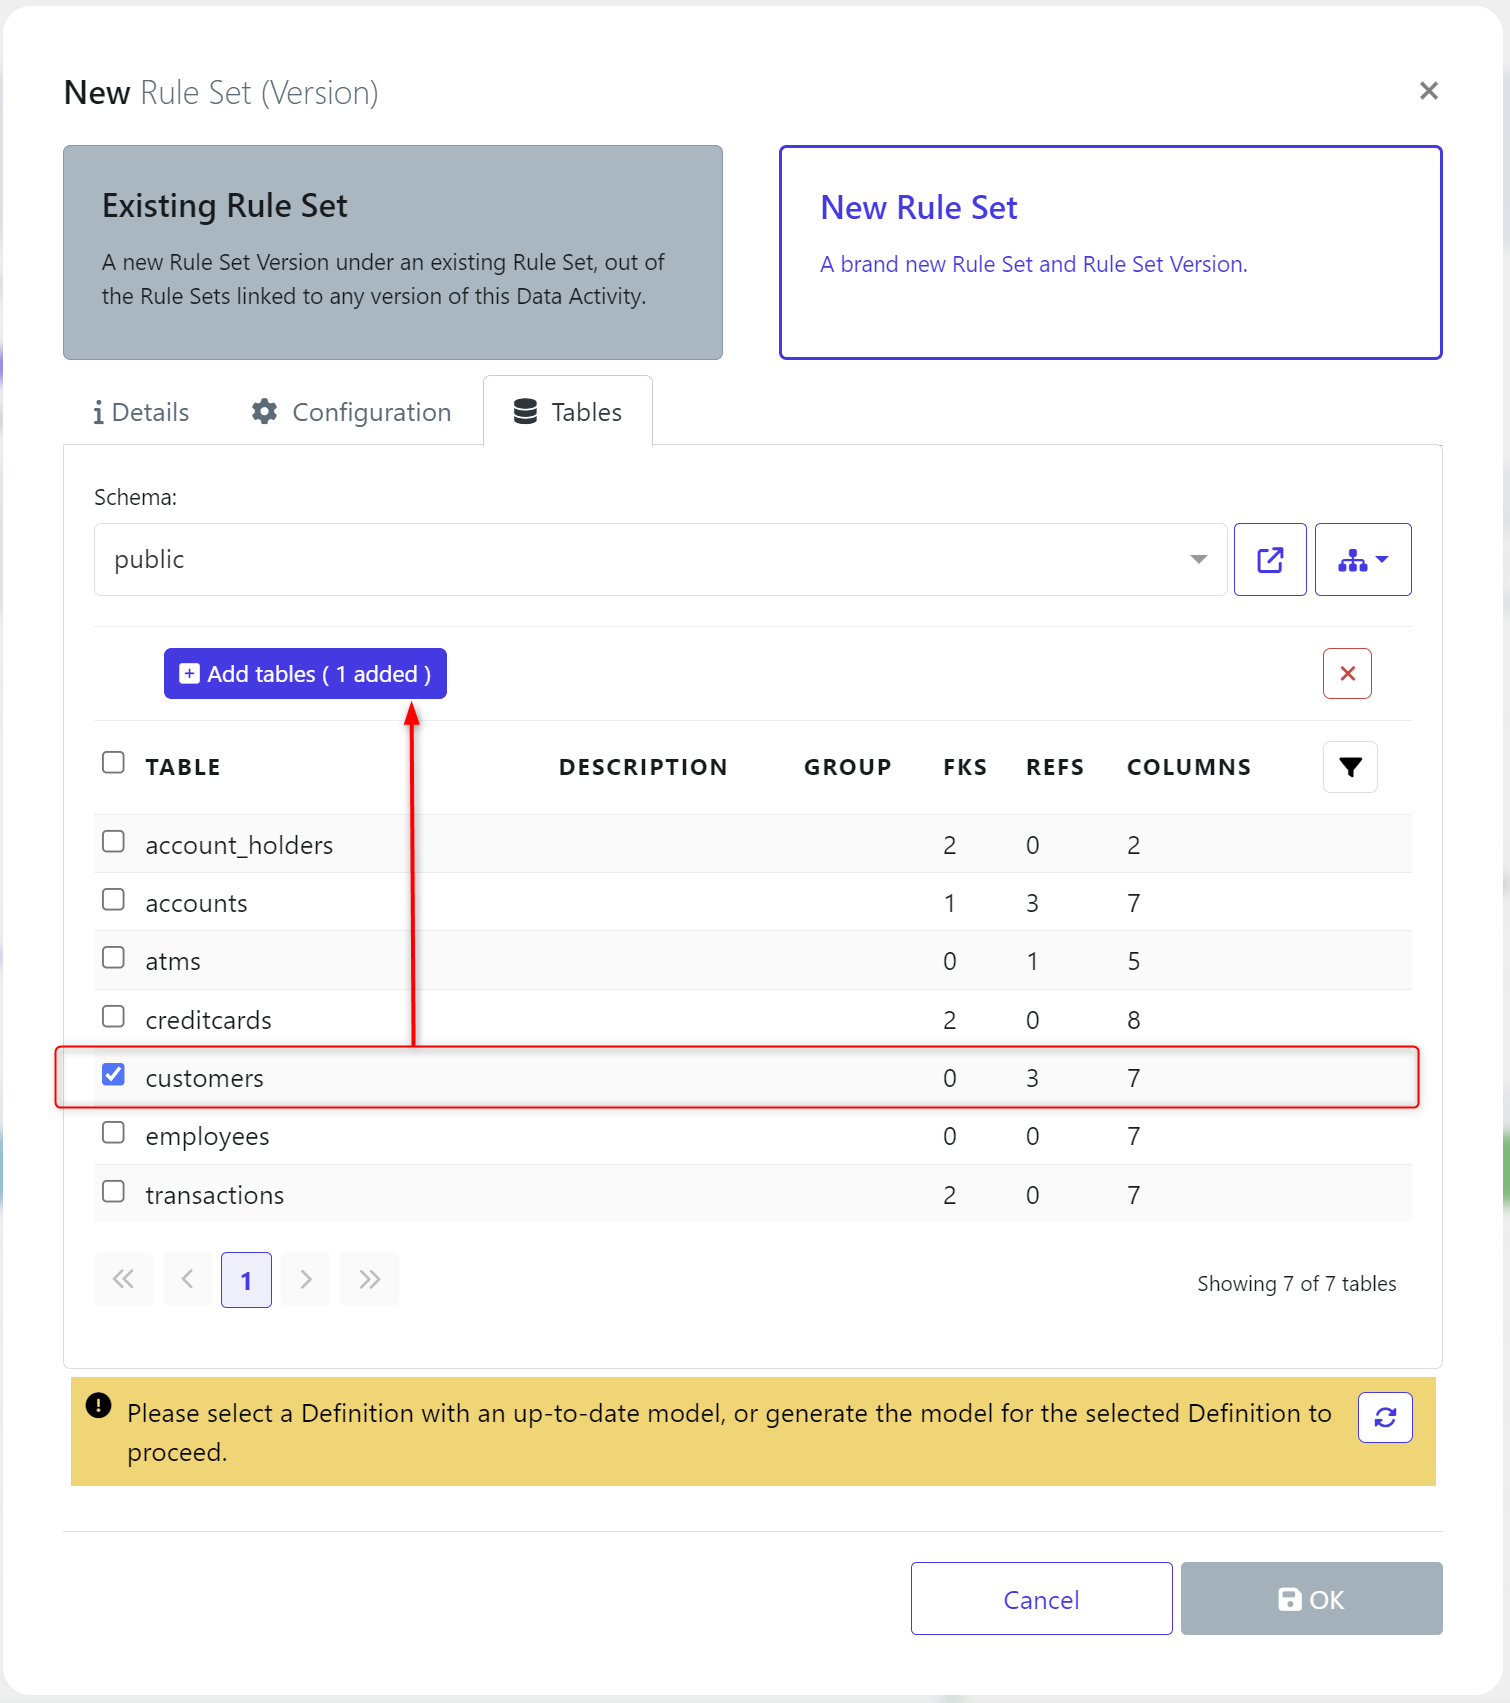
Choose the tables you wish to mask. In this example, we only have 1 selected. When its selected click Add Tables to add them into the activity.
If your Data Activity has an outdated definition, it will notify you here:

Click the refresh Icon to proceed. You will not be able to continue unless the definition is validated as up to date.
When ready - Click OK
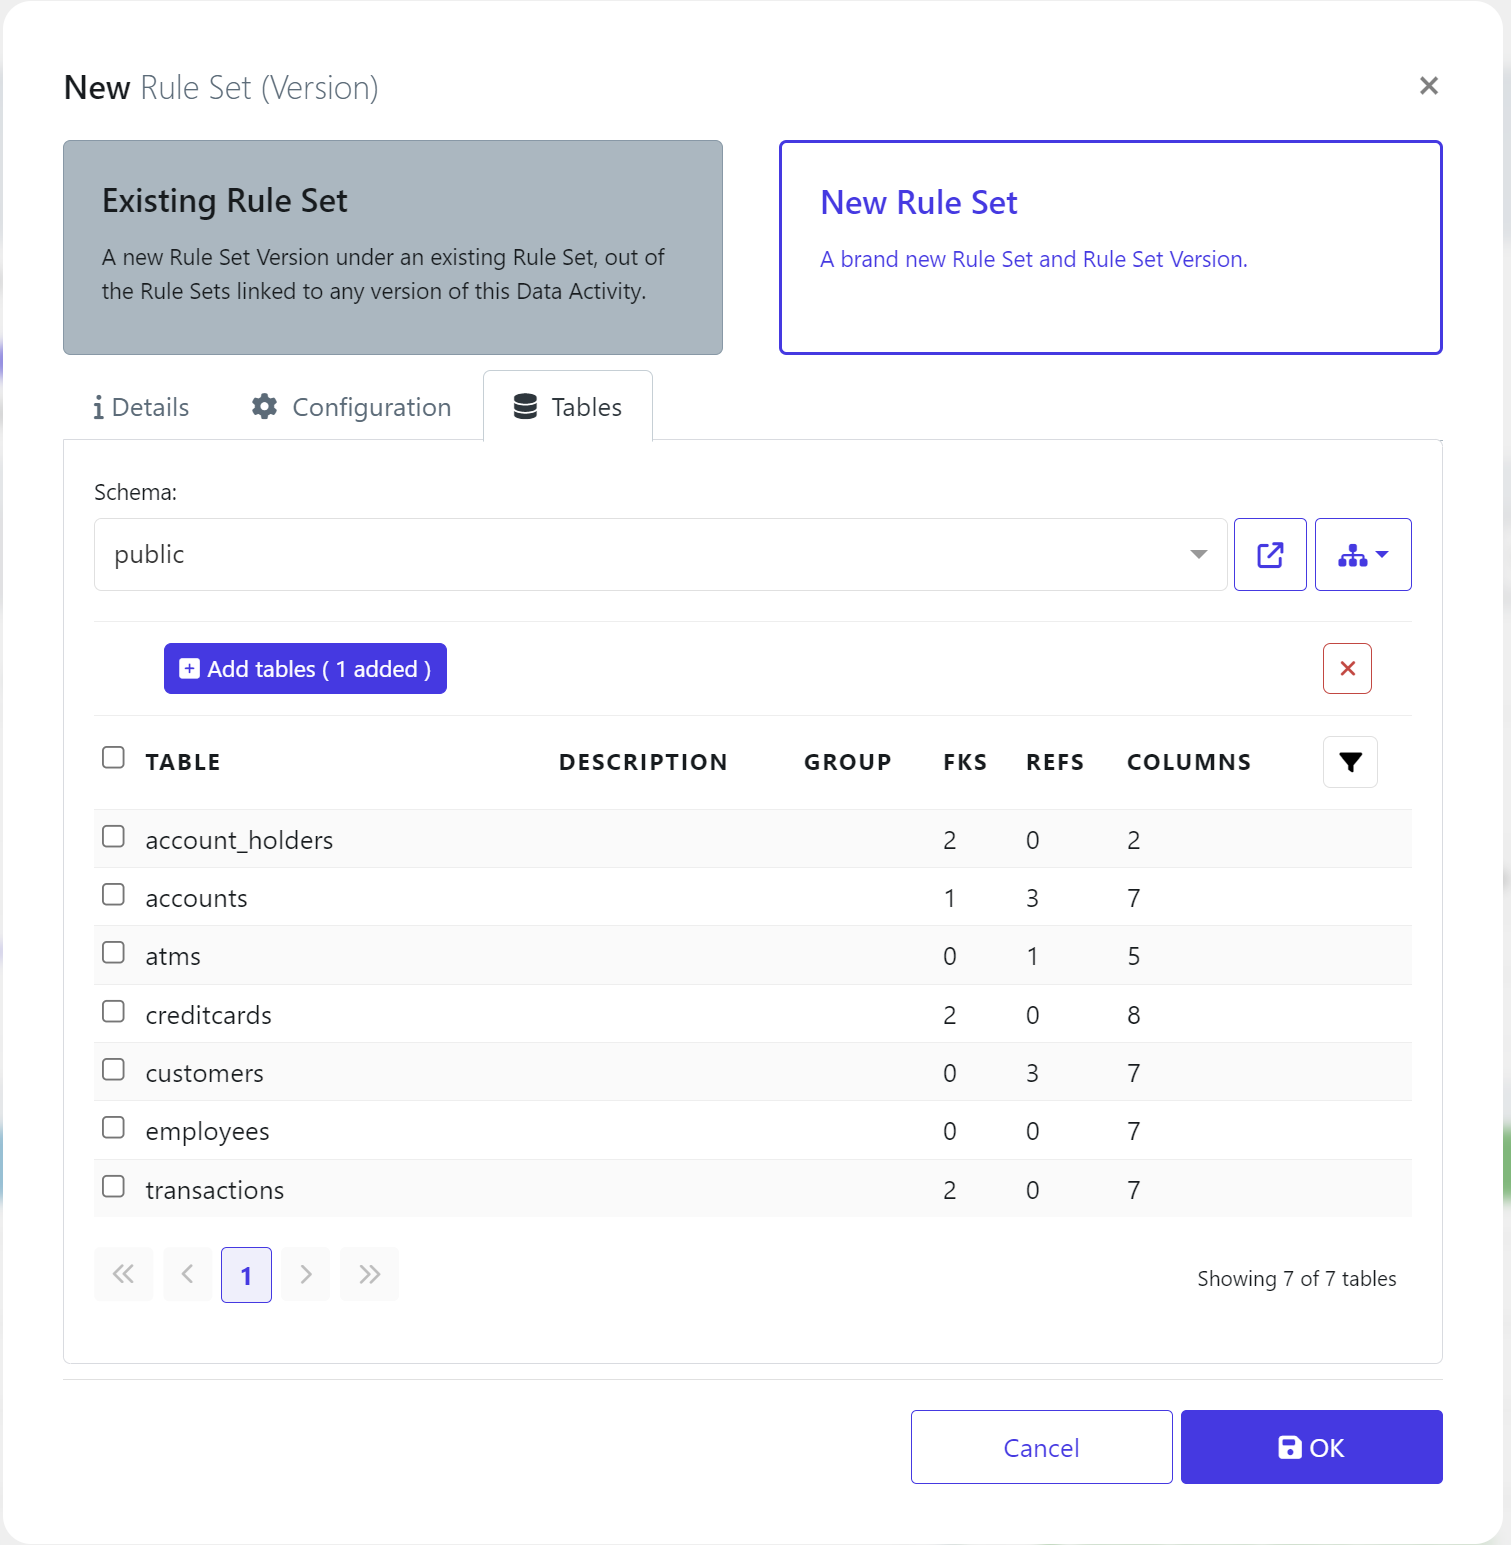
A masking ruleset will now be attached to the activity:

Configure Masking Rules
We can now configure our masking rules. Click on Version #1 of our masking rules.
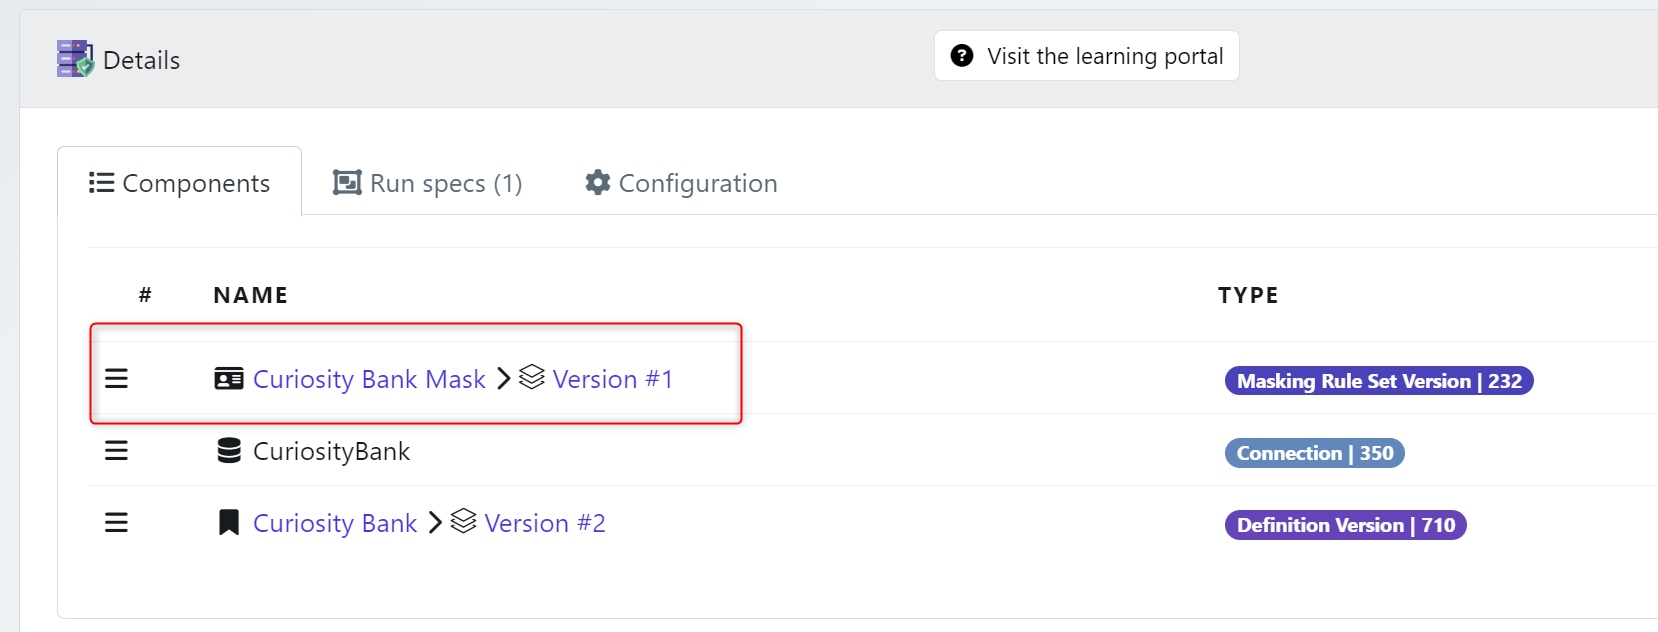
We can now add rules into the version. This is essentially a mask rules job template we can now follow. Click the table drop down to assign rules to columns.

Click on the column to mask

You can now choose a type of function and the name of the function to mask with.
In this example Type is a Name. Which means we are expecting to mask names. The Function is Masking.FirstName which will mask these recordds as first names.
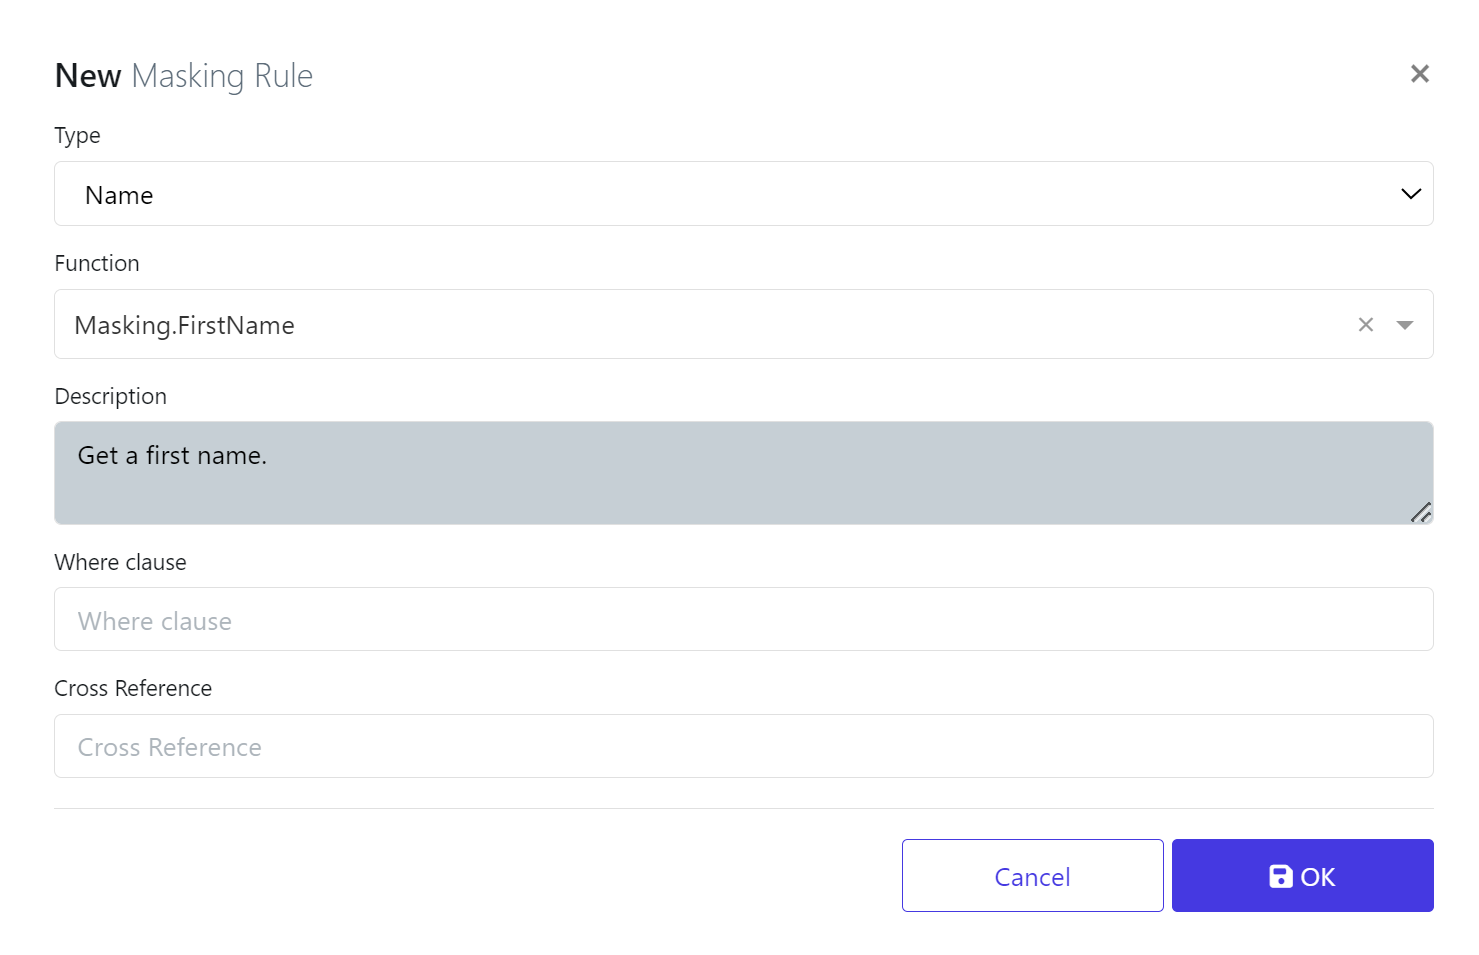
Click OK to continue.
You should be presented with confirmation of rules now against the column. Repeat this process until you have assigned rules to each of your columns.

Masking Submit Form
We now need to create a form to submit the job to be run. Navigate back to your Data Activity.
Click the Create Data Masking Submit Form option.
Enter the parameters for:
The name of the submit process & the group to put the process in.
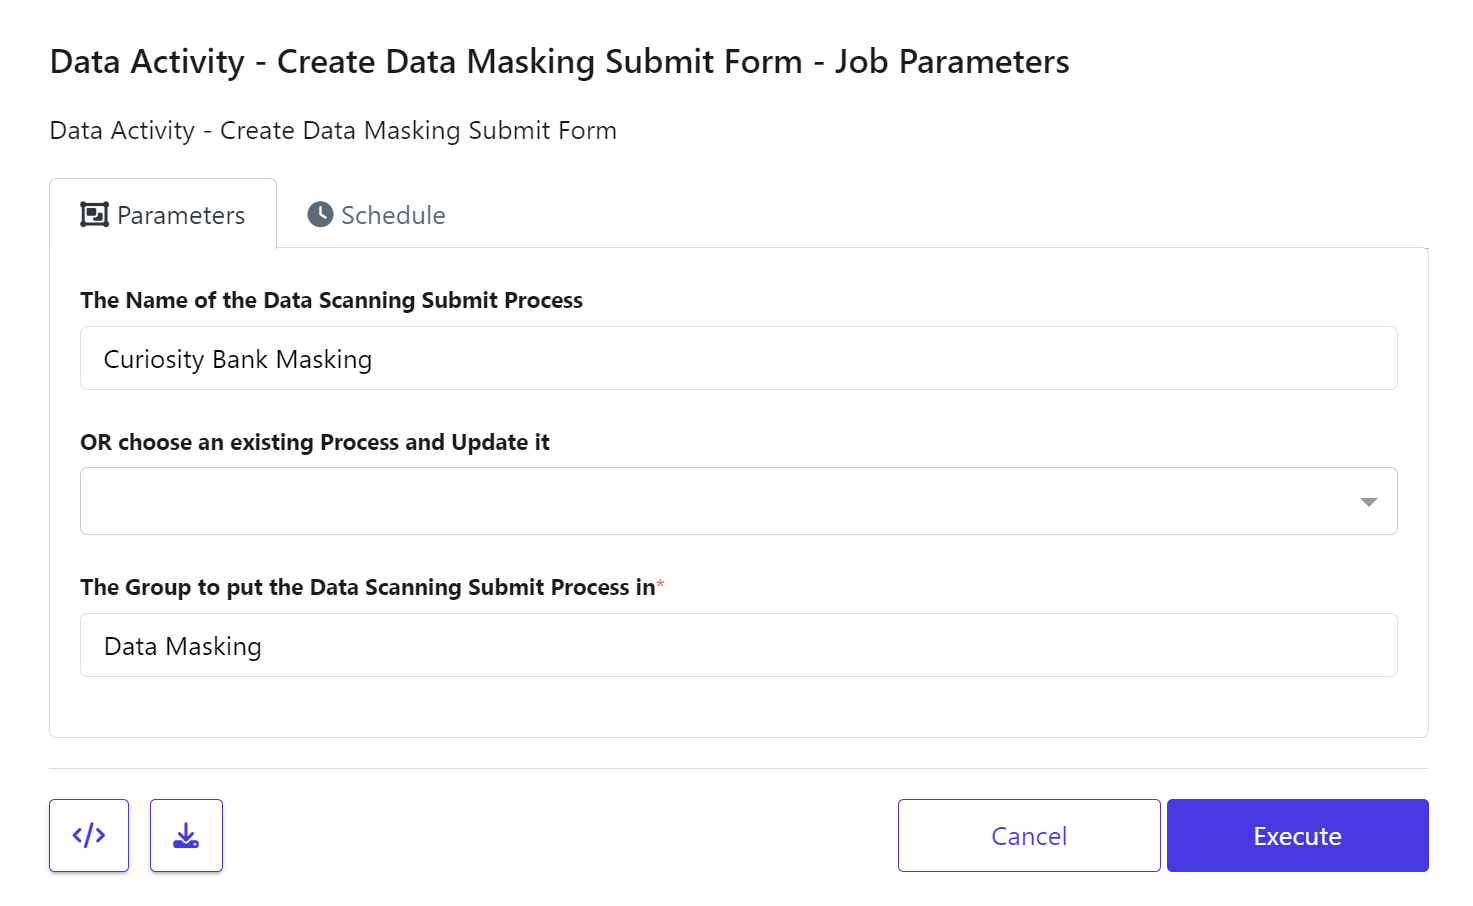
If you are unsure of the Group name, you can find the groups under the job processor or you can create a new group.
When ready, click Execute to build your job.
This will then add a server process into your Data Activity components.

We can now run this Masking routine. On the Server Process select Execute and click the Play Icon.

You can now Execute this job. Click Execute when ready.
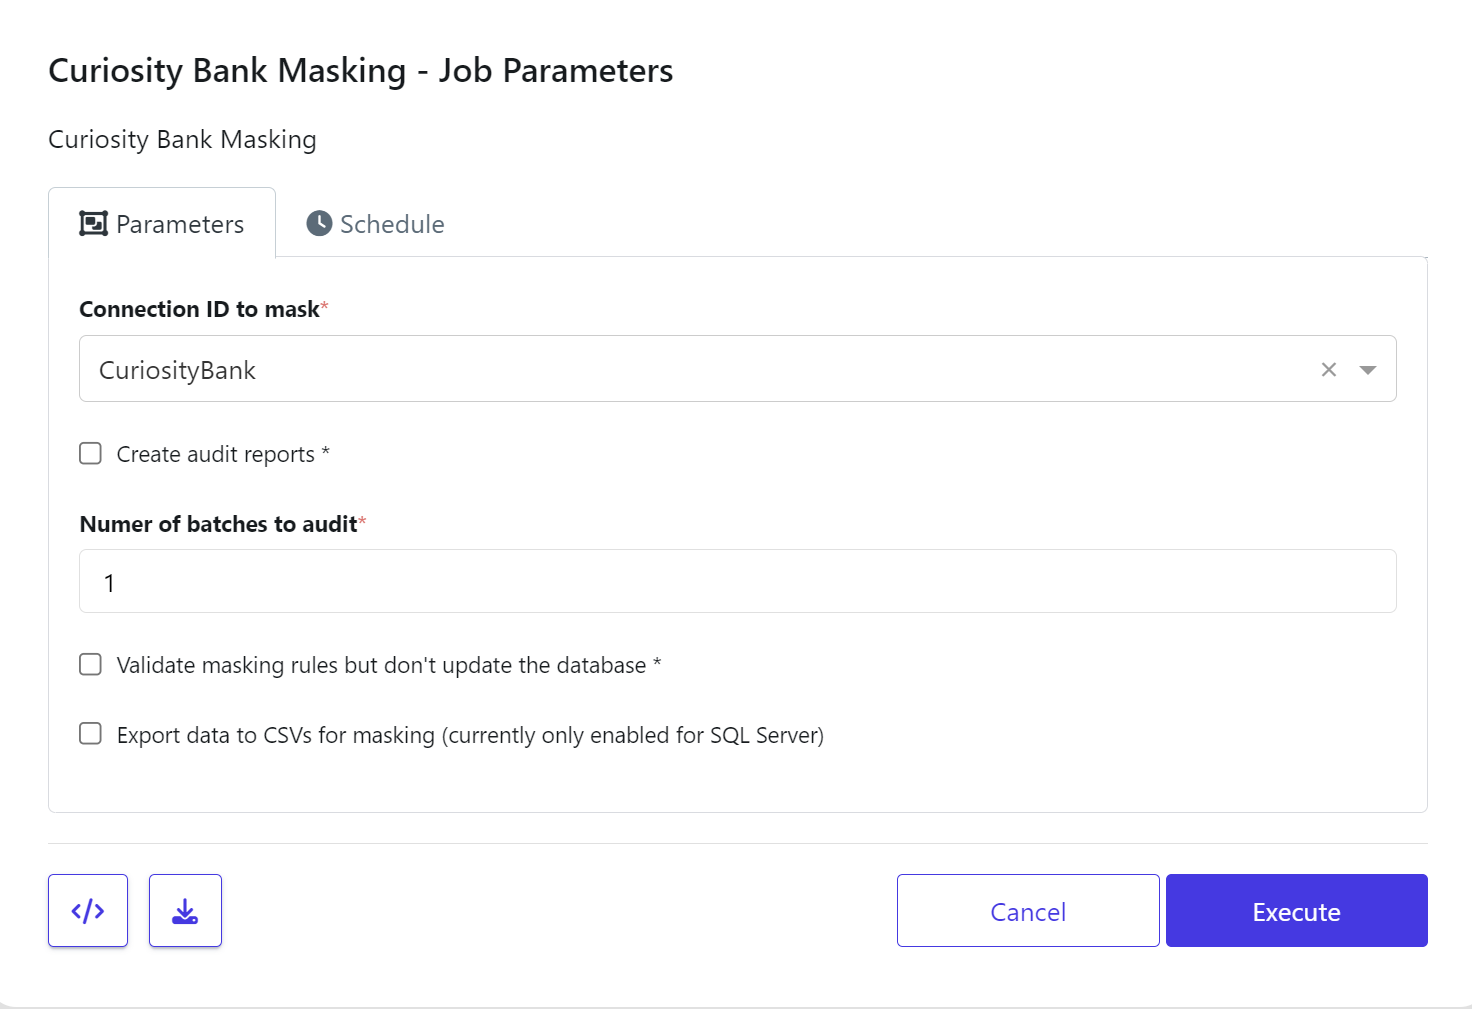
Create audit reports: We recommend when testing this mask, to run an audit to see the results of what masking. We wouldn’t recommend this at full scale.
Validate masking rules but don’t update the database: This will check the rules would have worked, but won’t update any data in the database.
Export data to CSV’s for masking: This will export data into CSV files from the tables you are looking to mask. Note, this is currently only supported for SQL Server.
Job Details
Now the job is submitted, you can track and view the results. Jobs will show as successful or failures in here. If you do experience failures, this is the location for all log files and messages to indicate why a failure might have occurred.
