Data catalogue
Definitions are used to track and store detailed information about the databases or files we work with. In this guide, we’ll walk through the process of connecting to a pre-configured database connection. We’ll explore how to scan the database, capture its details, and leverage the insights gained to make informed decisions about the next steps in managing and optimizing your data.
Catalogue: Automatically map, catalogue, and visualise all data assets across your organisation.
Sensitive data identification: Detect and classify sensitive data such as Personally Identifiable Information and Protected Health Information. Understand where your most critical data is stored and how it’s being used to ensure compliance with regulations.
Relationship Mapping: Uncover how your data assets are interconnected. Automatically map relationships between tables, fields, and systems, providing a complete picture of how data flows through your organisation.
Data gap analysis: Identify gaps and missing data elements that could hinder your analytics, testing, or compliance strategies. Our platform provides detailed reports, and synthetic data generation capabilities, to ensure that every scenario is accounted for.
Database Connections:
To create a new database connection, navigate to the Data Dictionary and onto the Databases tab.
Click on +New Connection Profile
Often users don’t realise they are on the wrong tab when searching for Databases make sure you are on the right tab

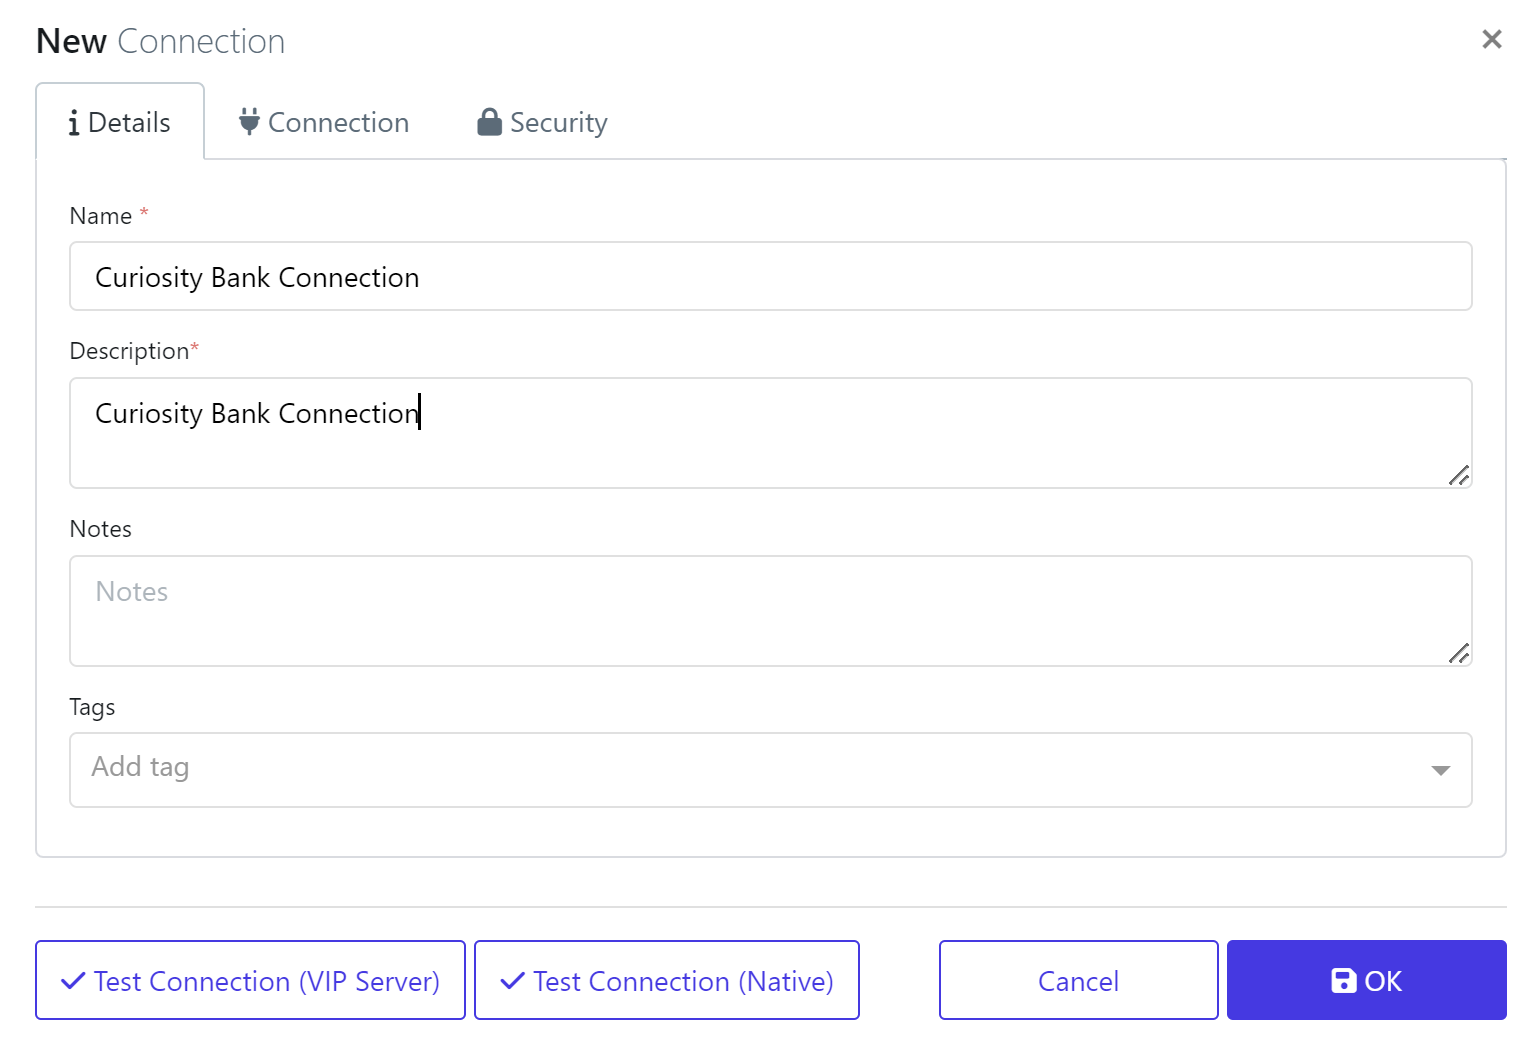
Provide a Name & Description
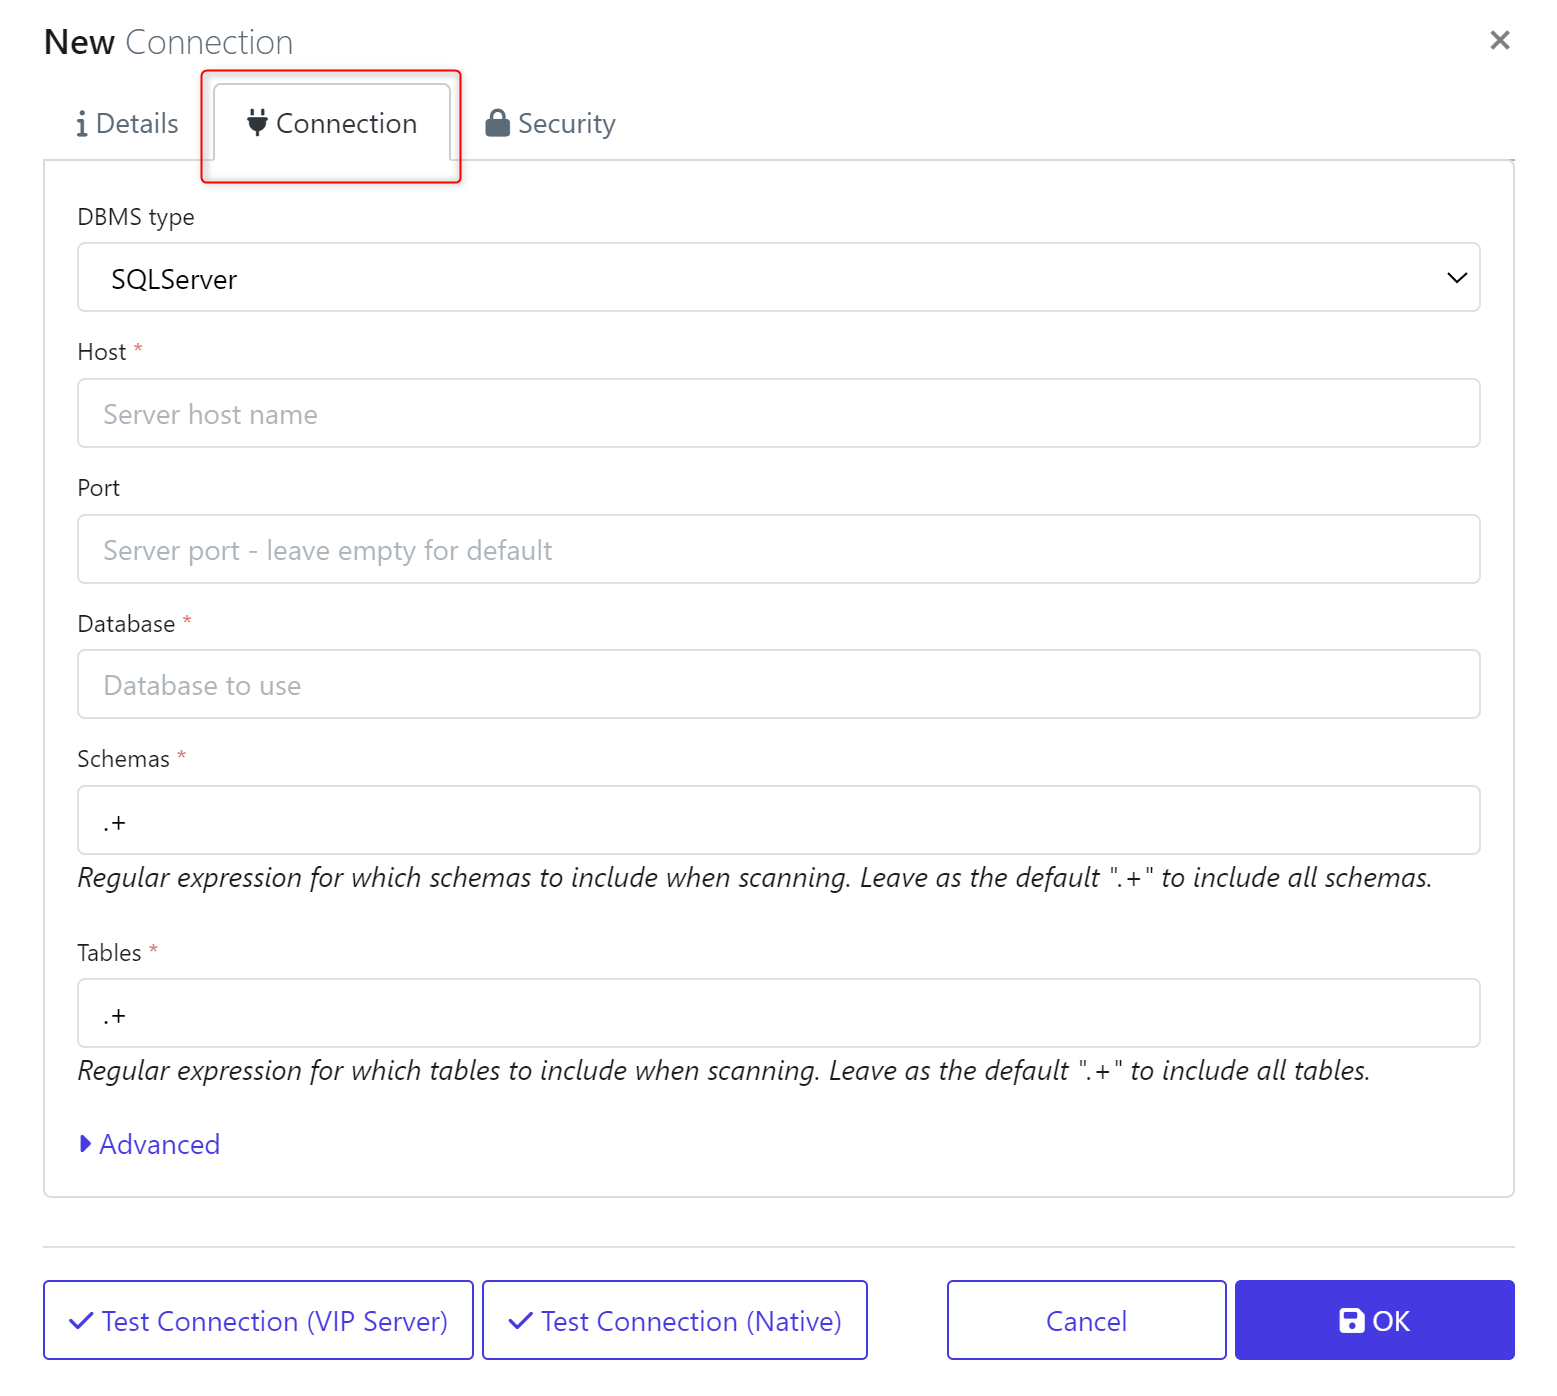
The Connection tab has all the relevant connection details that need to be completed.
DBMS Type - Drop down of supported database types.
Host
Port
Database
Schemas (You can apply regular expression here to choose which schemas to include)
Tables (You can apply regular expression here to choose which tables to include)
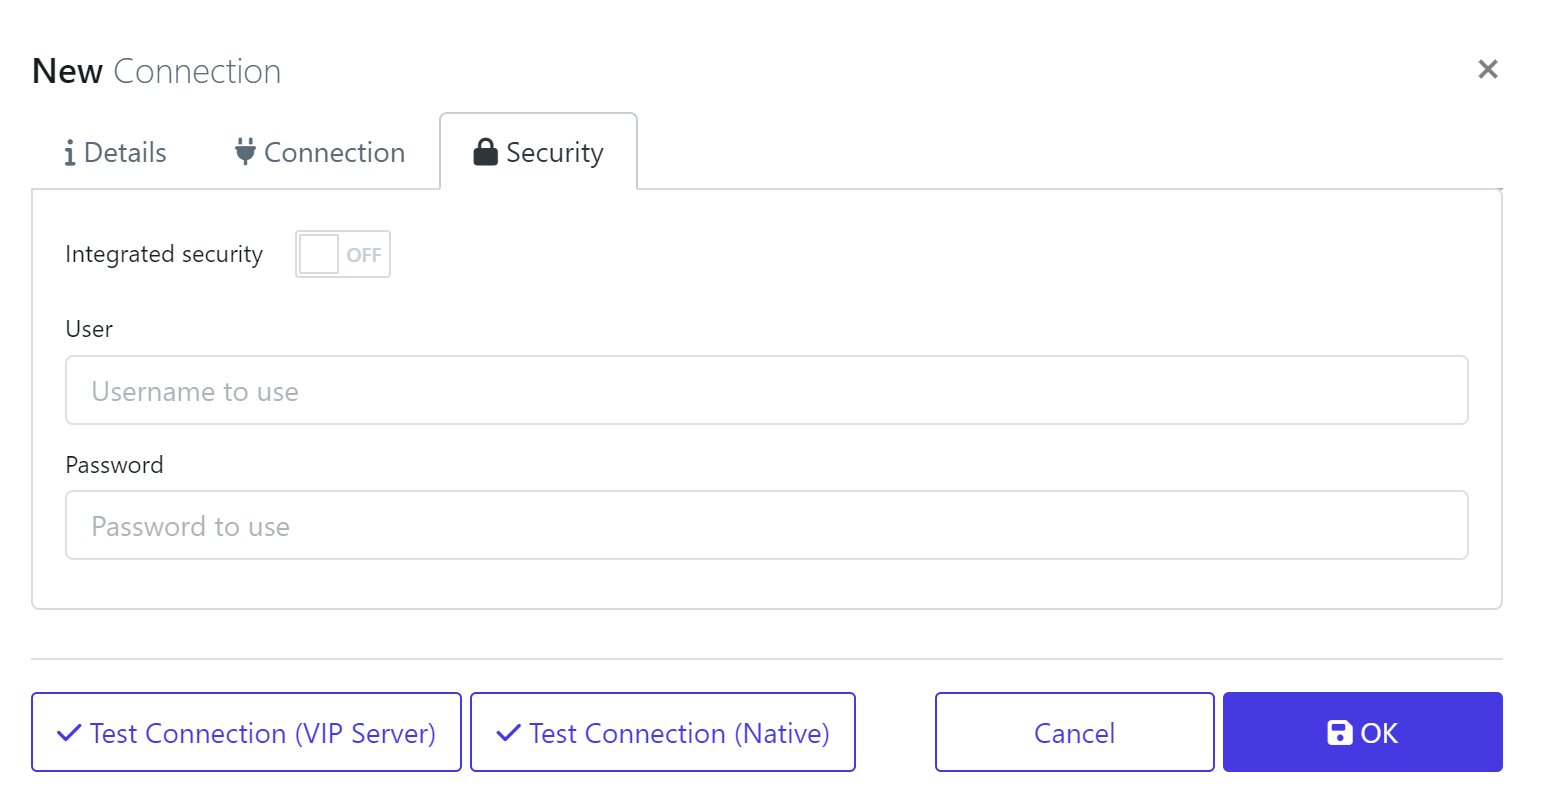
The Security tab holds the Username & Password details to connect to the database with.
When finished click OK to continue and create the connection.
Within the Data Catalogue you will now have a database connection ready to use.

Scan Database
This process will scan and store a version of the database metadata within the platforms catalogue. This will then be available for other activities later on such as Masking or Data Generation.
To scan the database, navigate to the Data Dictionary → Databases and click on the newly setup database connection.
Click on Run Scan (Native)
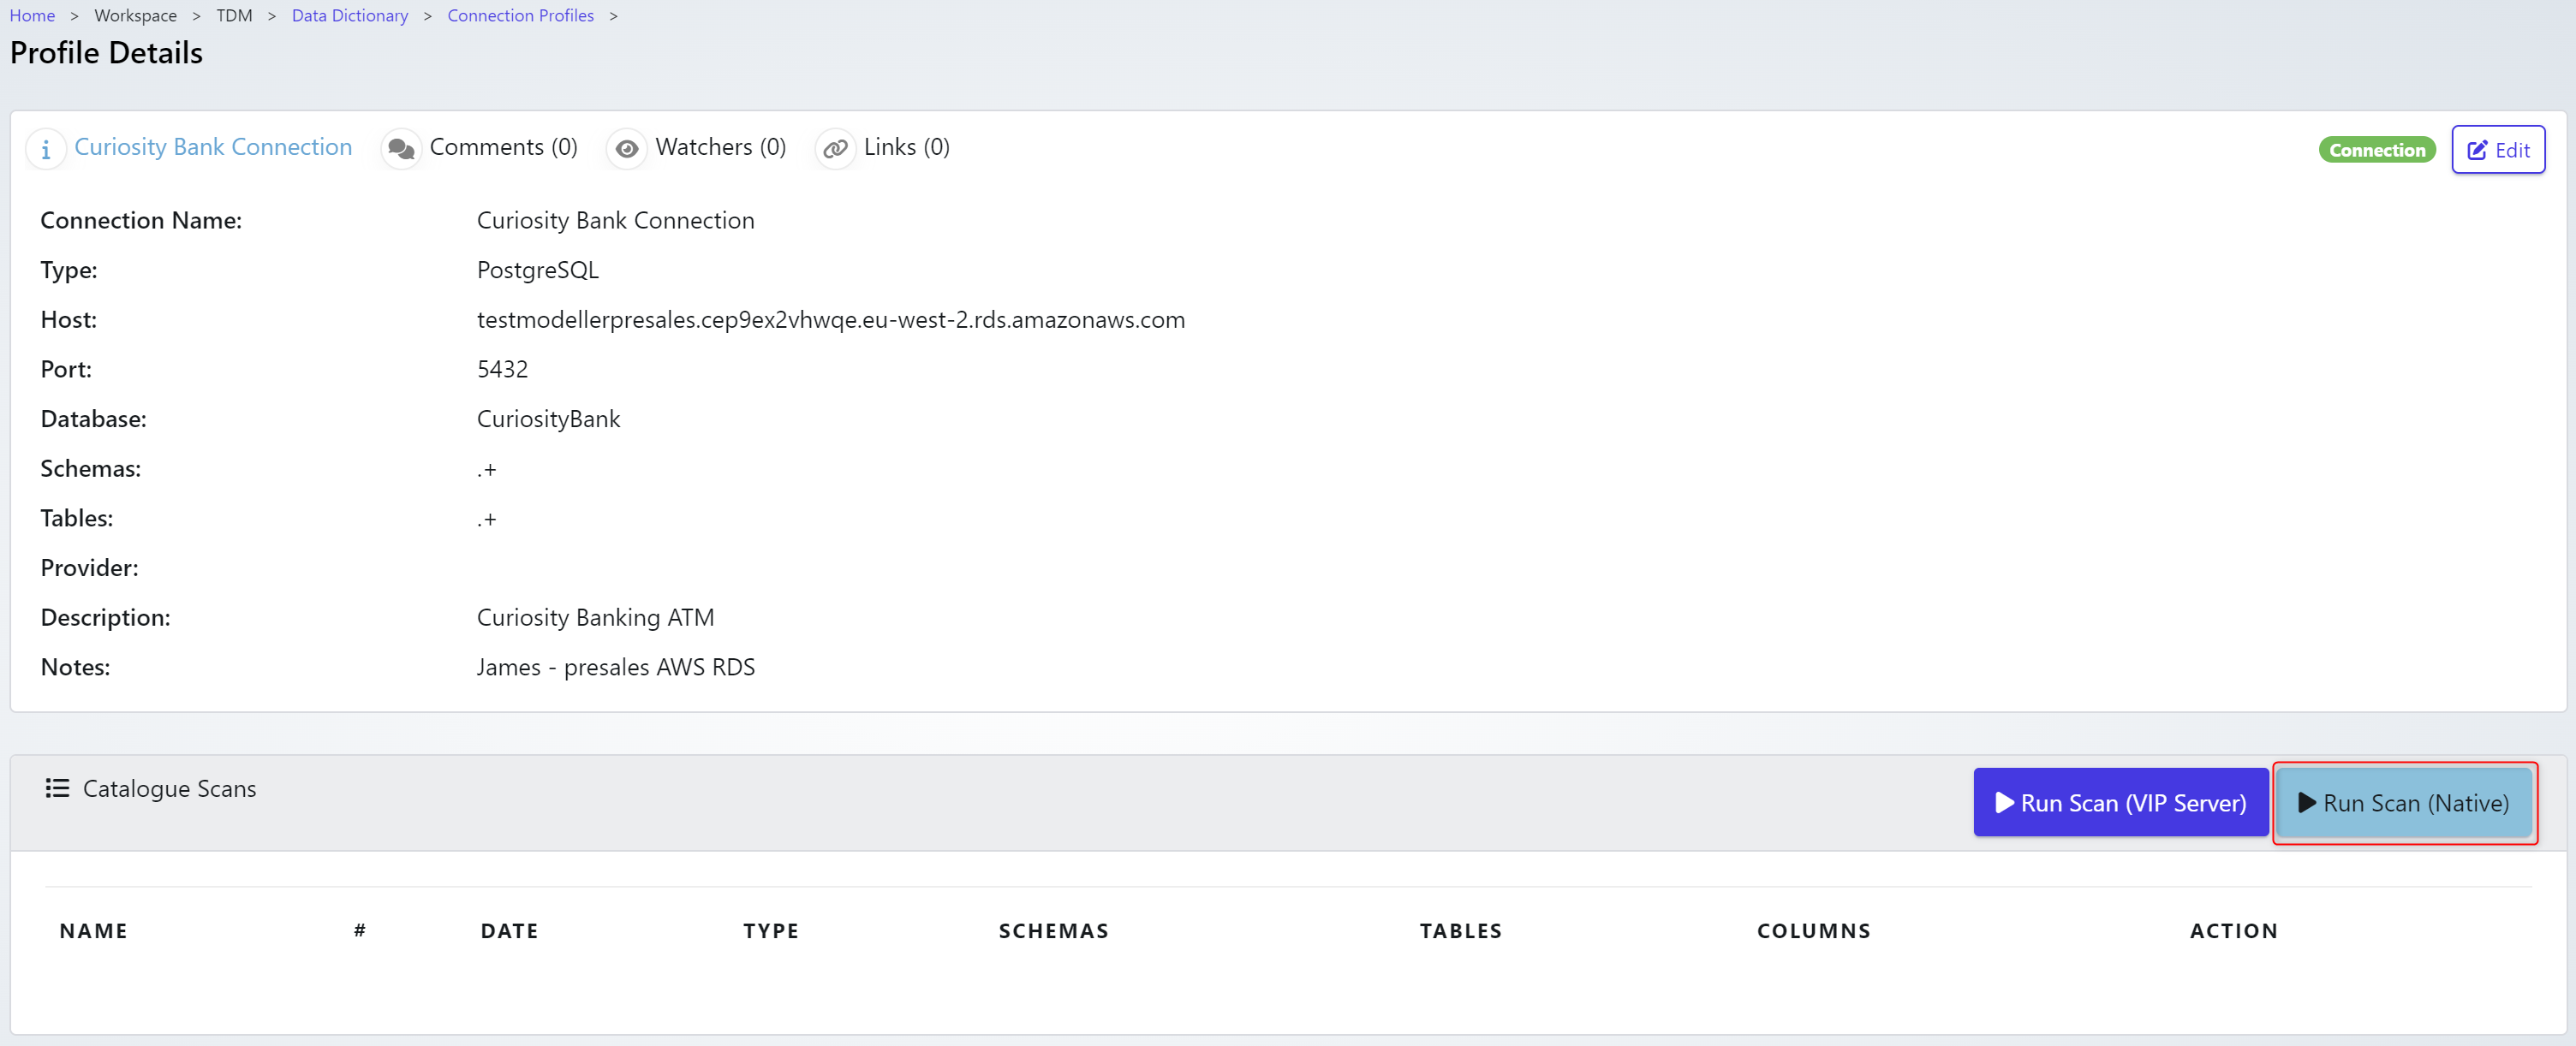
This will start the scan process. A job should complete as below.

When this Job completes, you will have a scanned database to review. It will show Schema, Table, Columns.

To view the Scan details, click on the ‘Scan #1’.
If the database is updated you can scan multiple times. You will then have multiple versions of scans.
The available schemas and some associated information will be presented. In this case
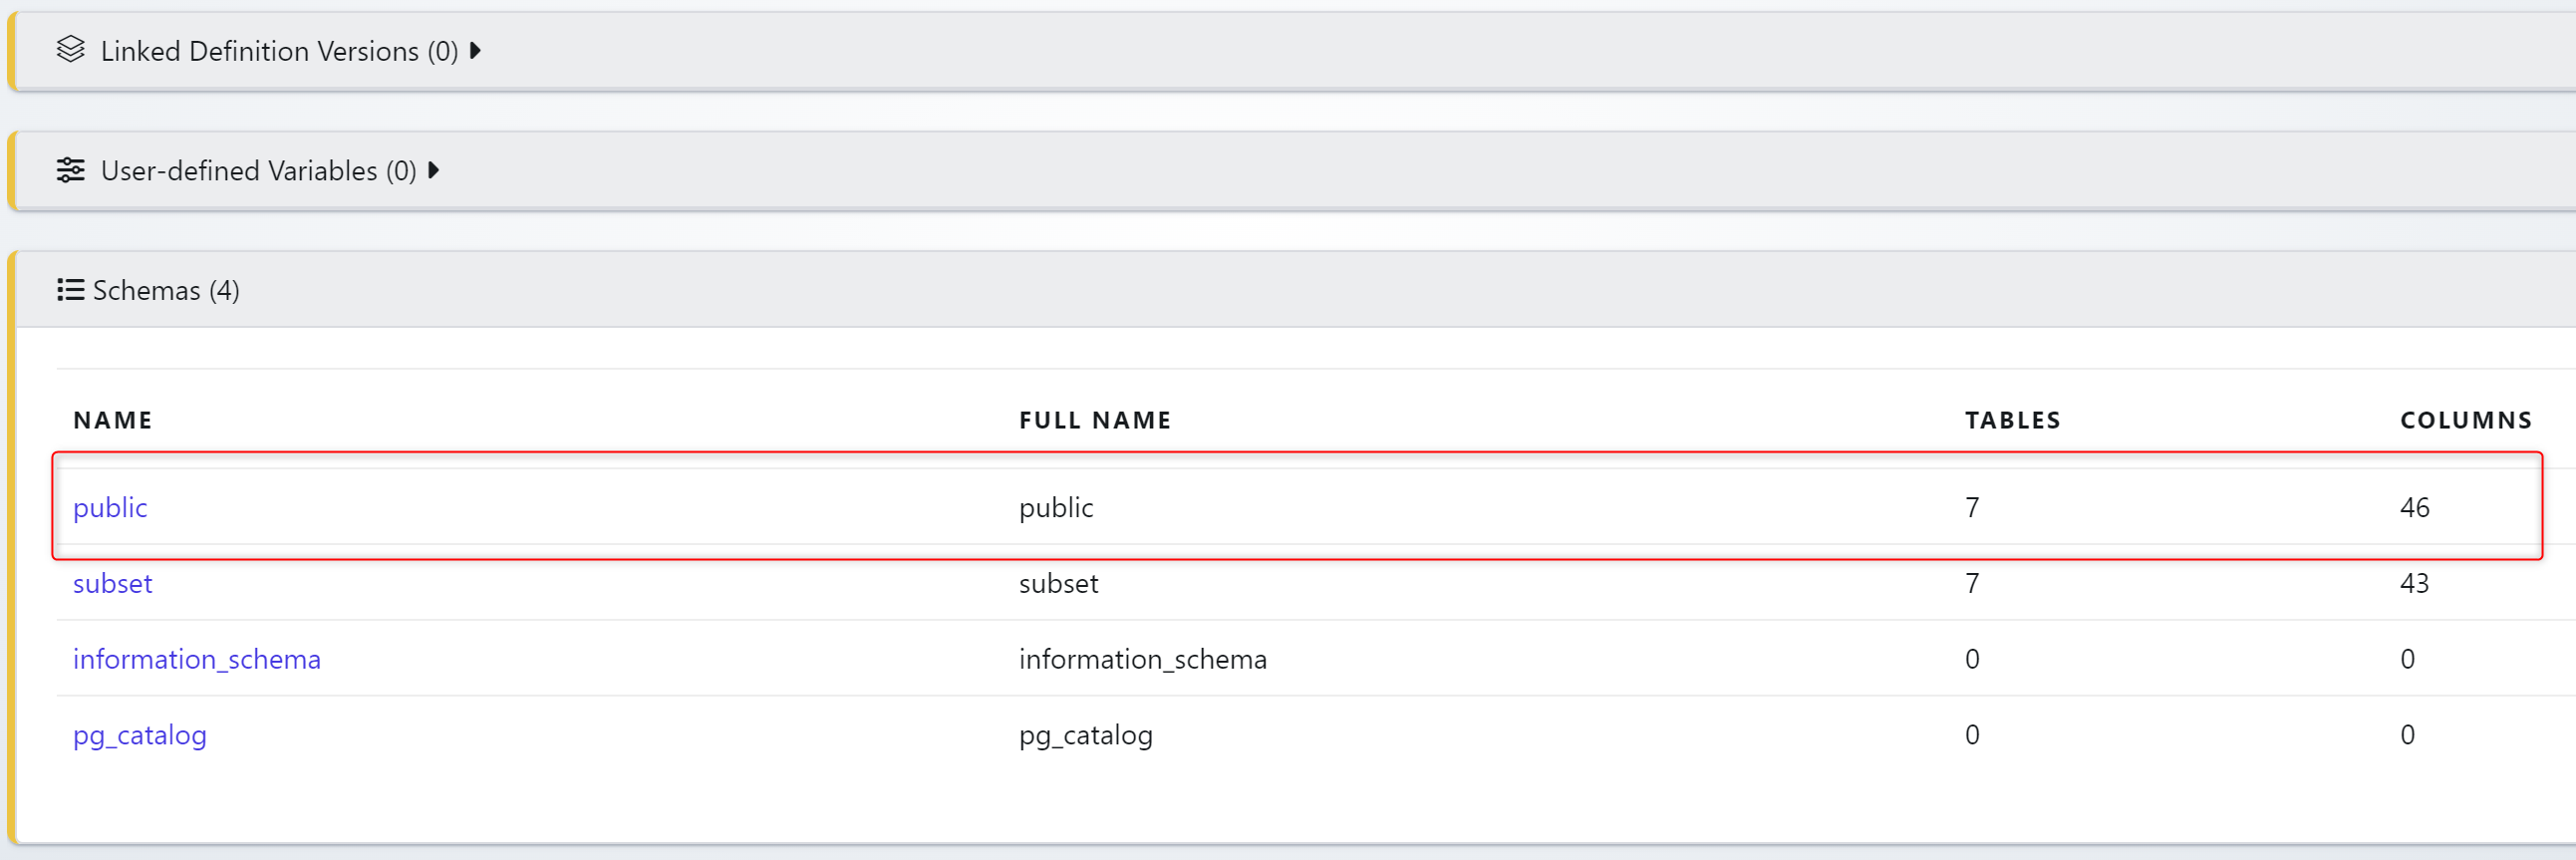
The public schema in this case we’d like to see in more details. Click on public to learn more.
The Schema Details with the column details, foreign keys, references are now displayed.
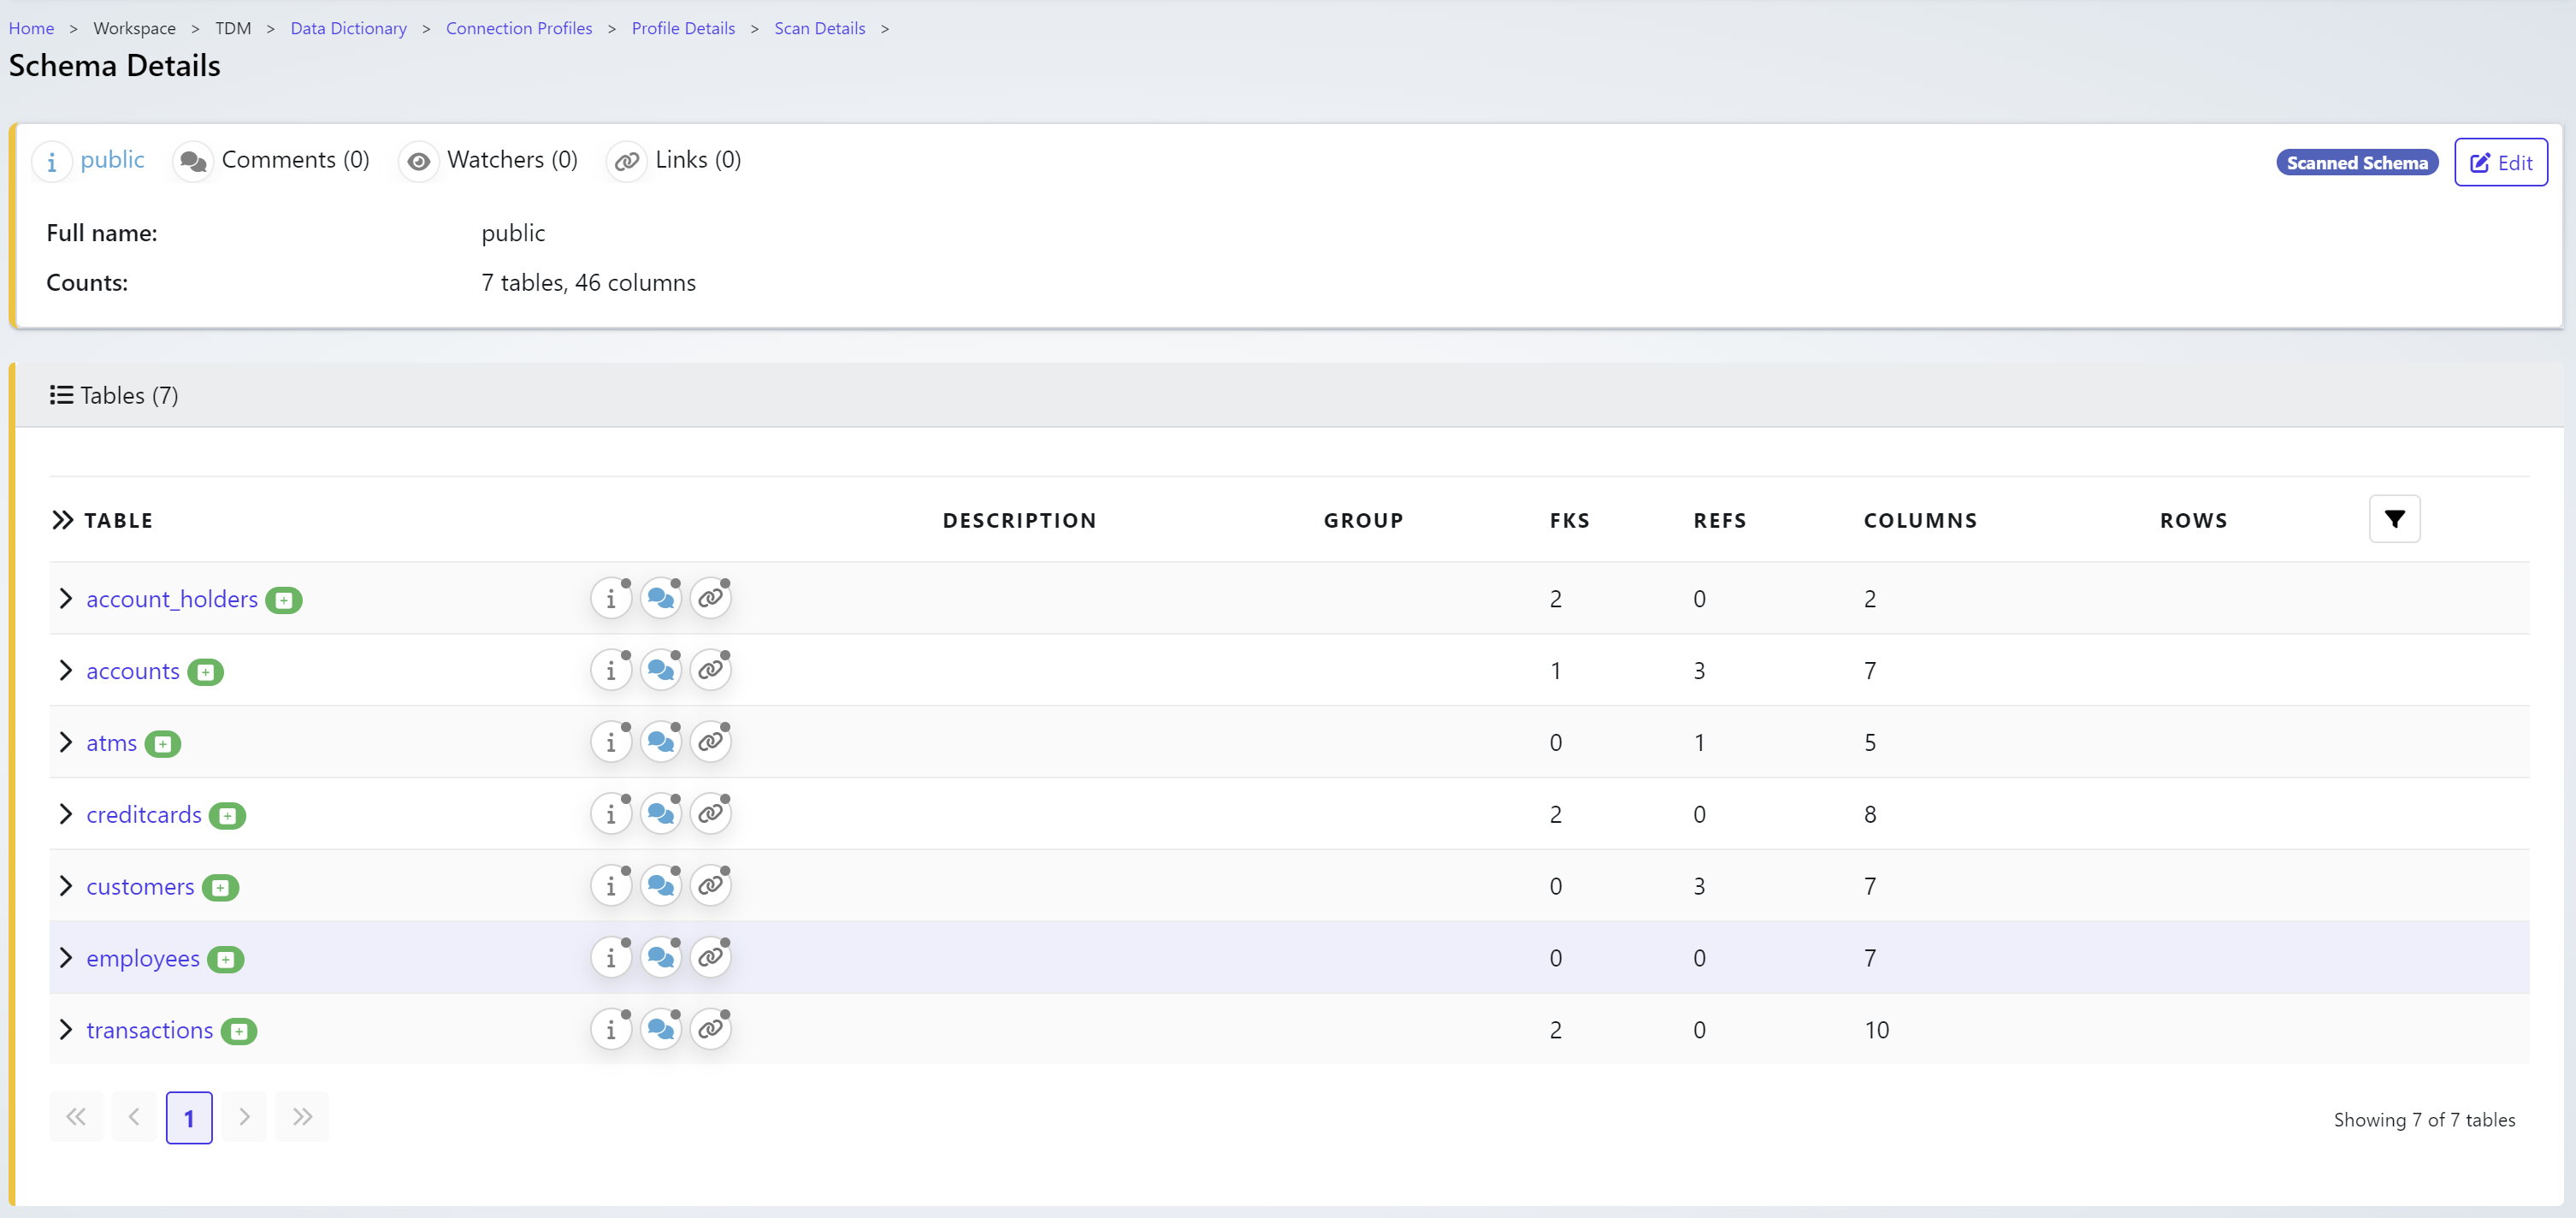
Clicking on any table will show further details on each table.

Column information & data types will often start to drive the decisions made in terms of Masking or Data Generation routines.
Create Definition
Definitions are used to track and store detailed information about the databases or files we work with. In this guide, we’ll walk through the process of connecting to a pre-configured database connection. We’ll explore how to scan the database, capture its details, and leverage the insights gained to make informed decisions about the next steps in managing and optimizing your data.
To create a new Definition

Navigate to the Data Dictionary and click +New Definition
Provide a Name & Description and choose Database. Click Next Step when ready.
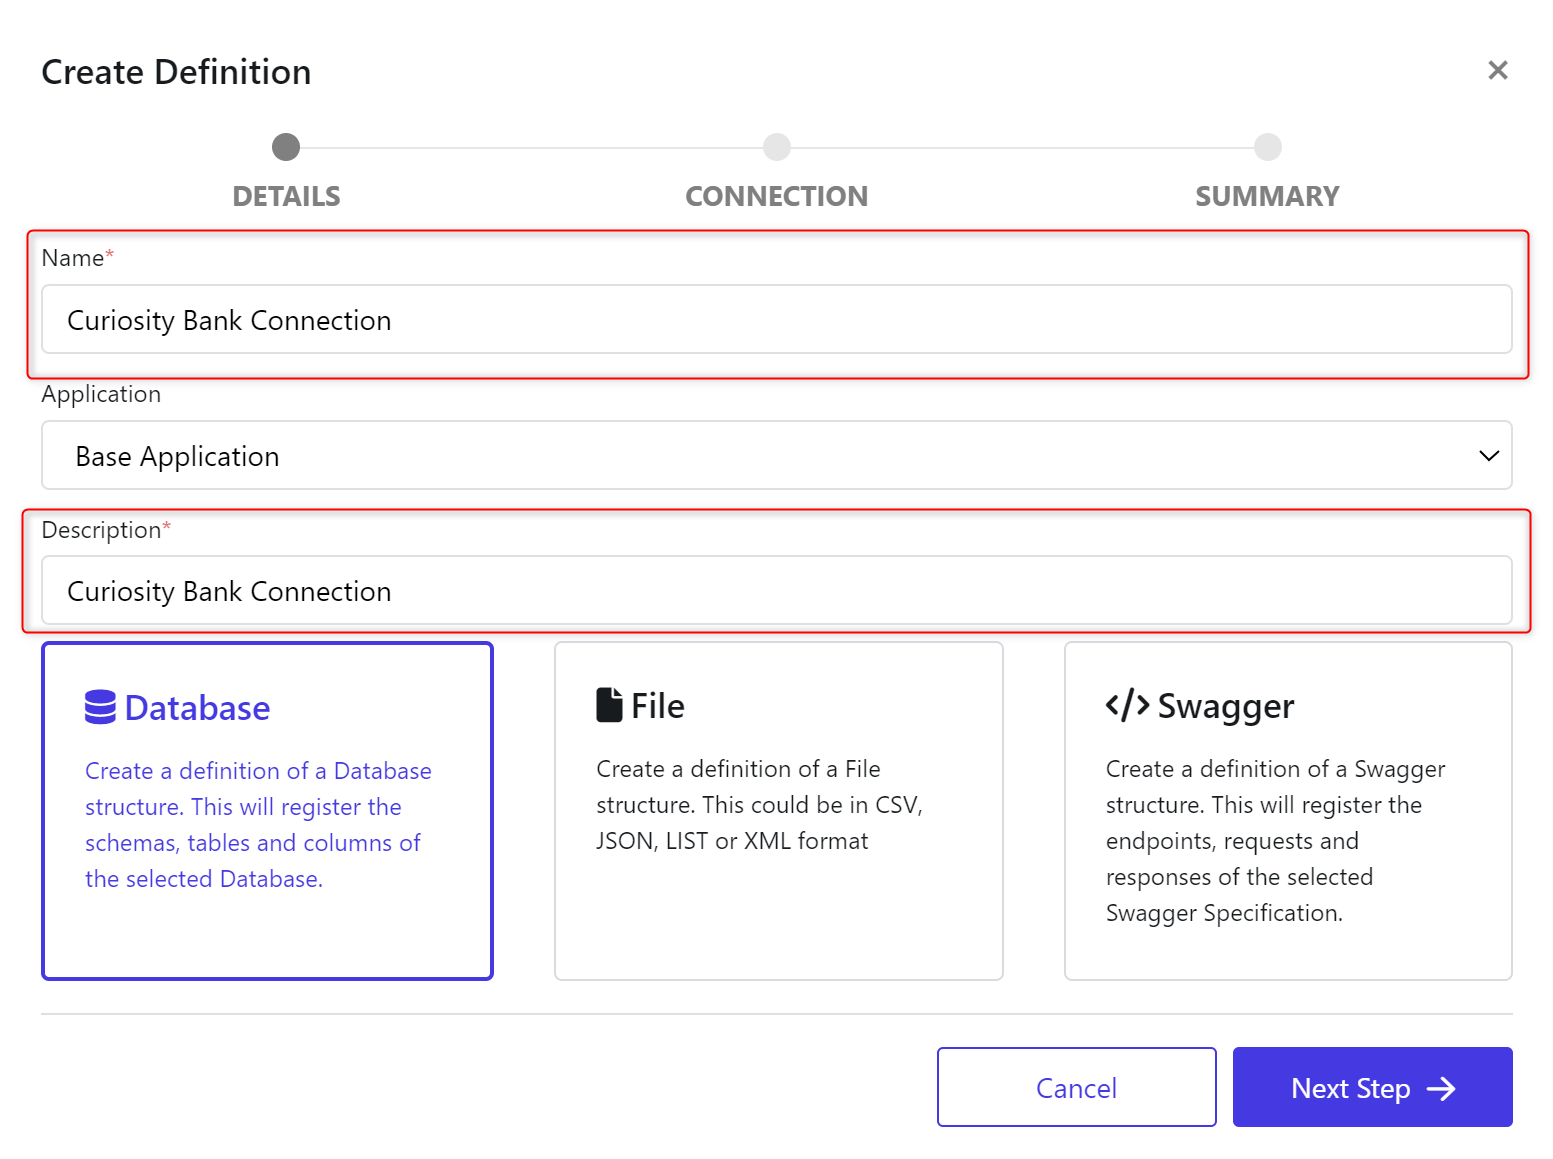
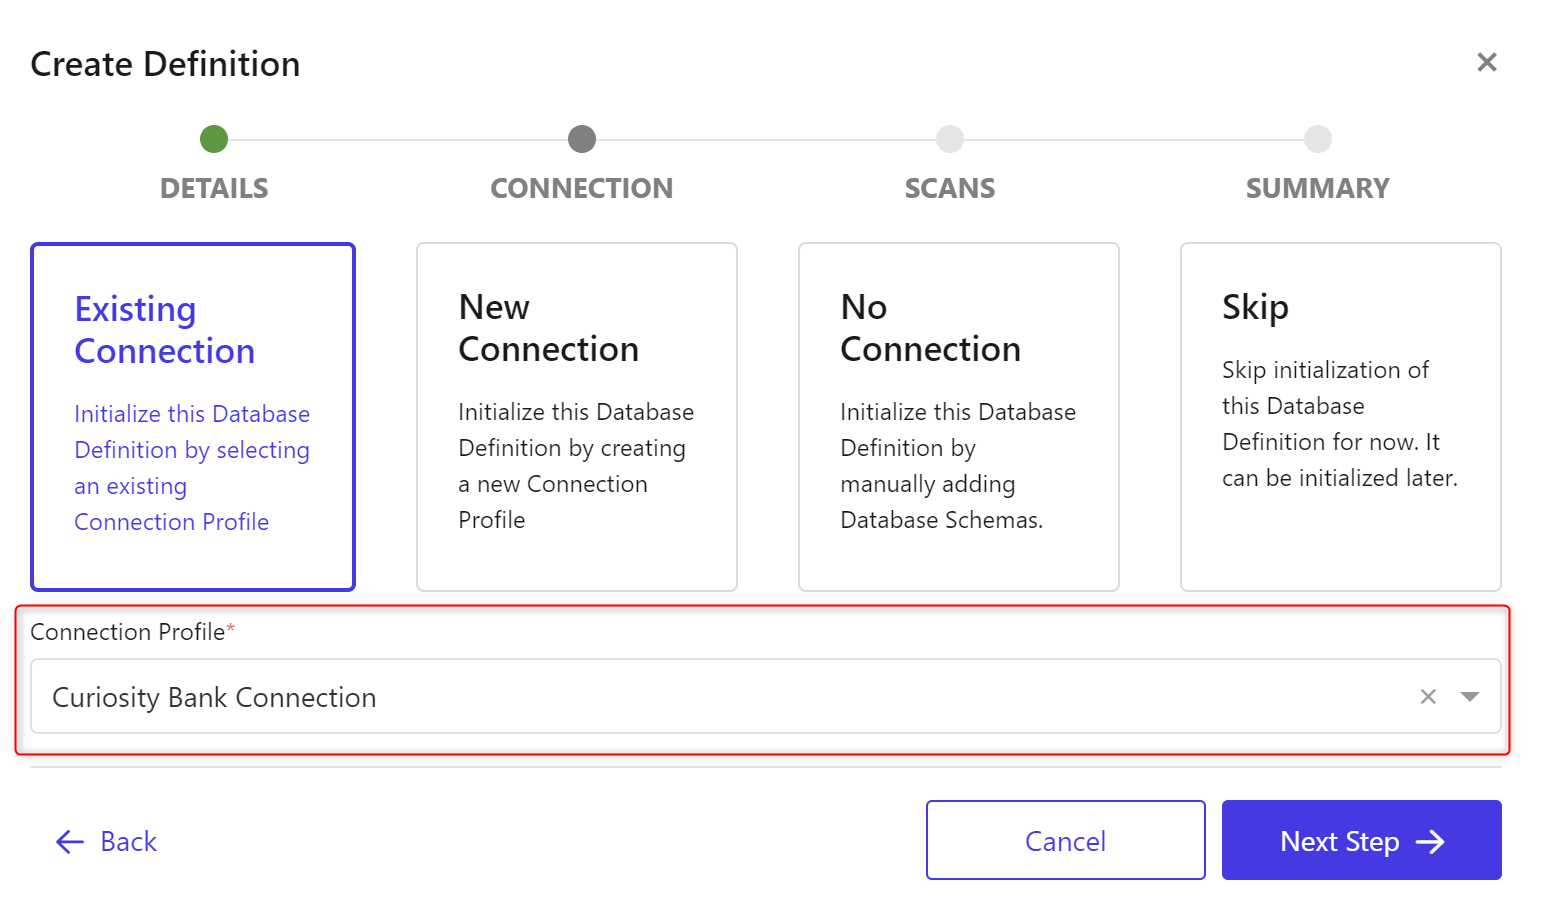
Pick Existing Connection and choose the previously setup connection profile. In this case Curiosity Bank Connection.
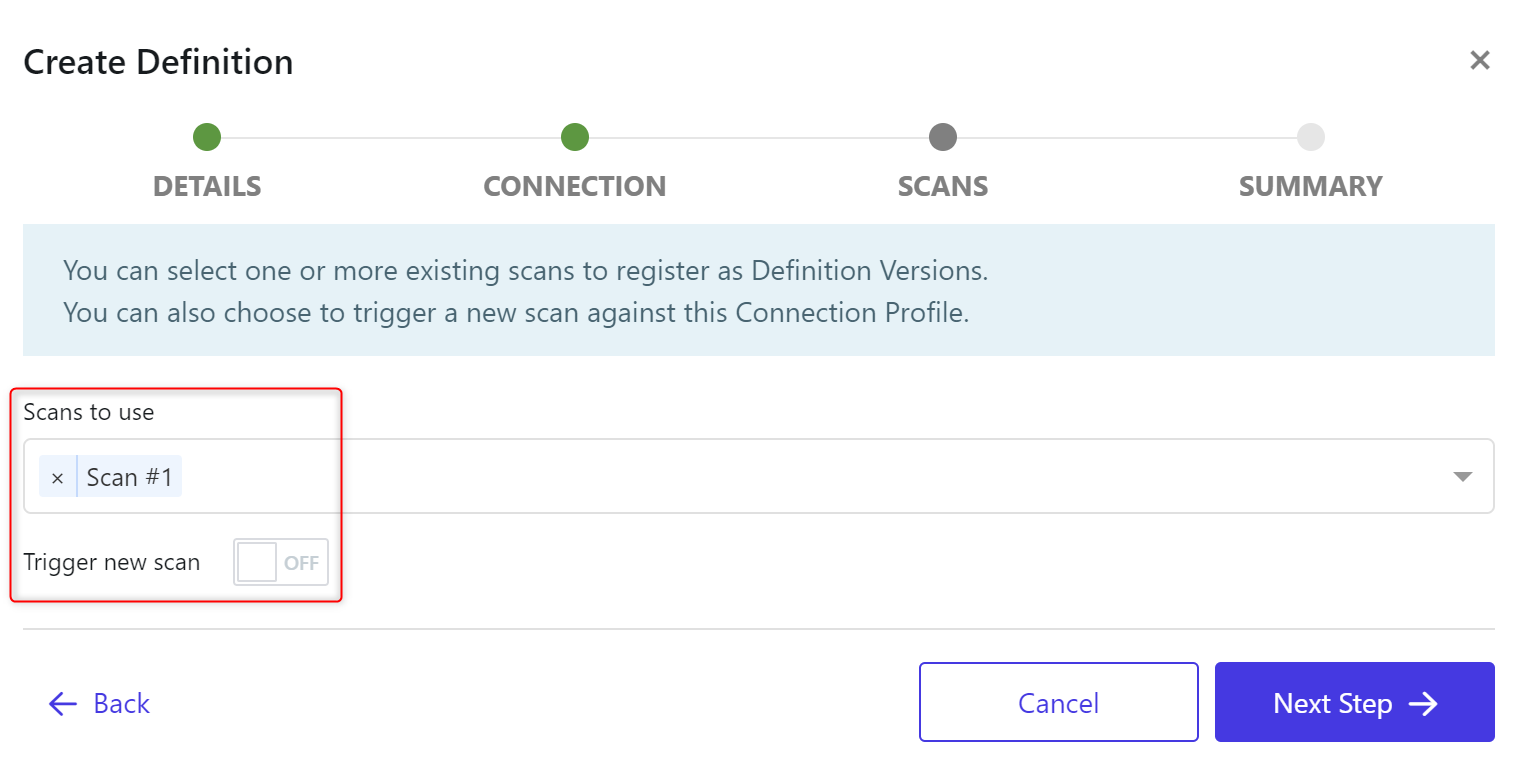
If the database connection has a scan already it will show here. If no scan is available or you are unsure check to Trigger new scan.
Click New Step → Finish.
Once completed you will have a new Definition linked to a Connection Profile with a completed Scan.
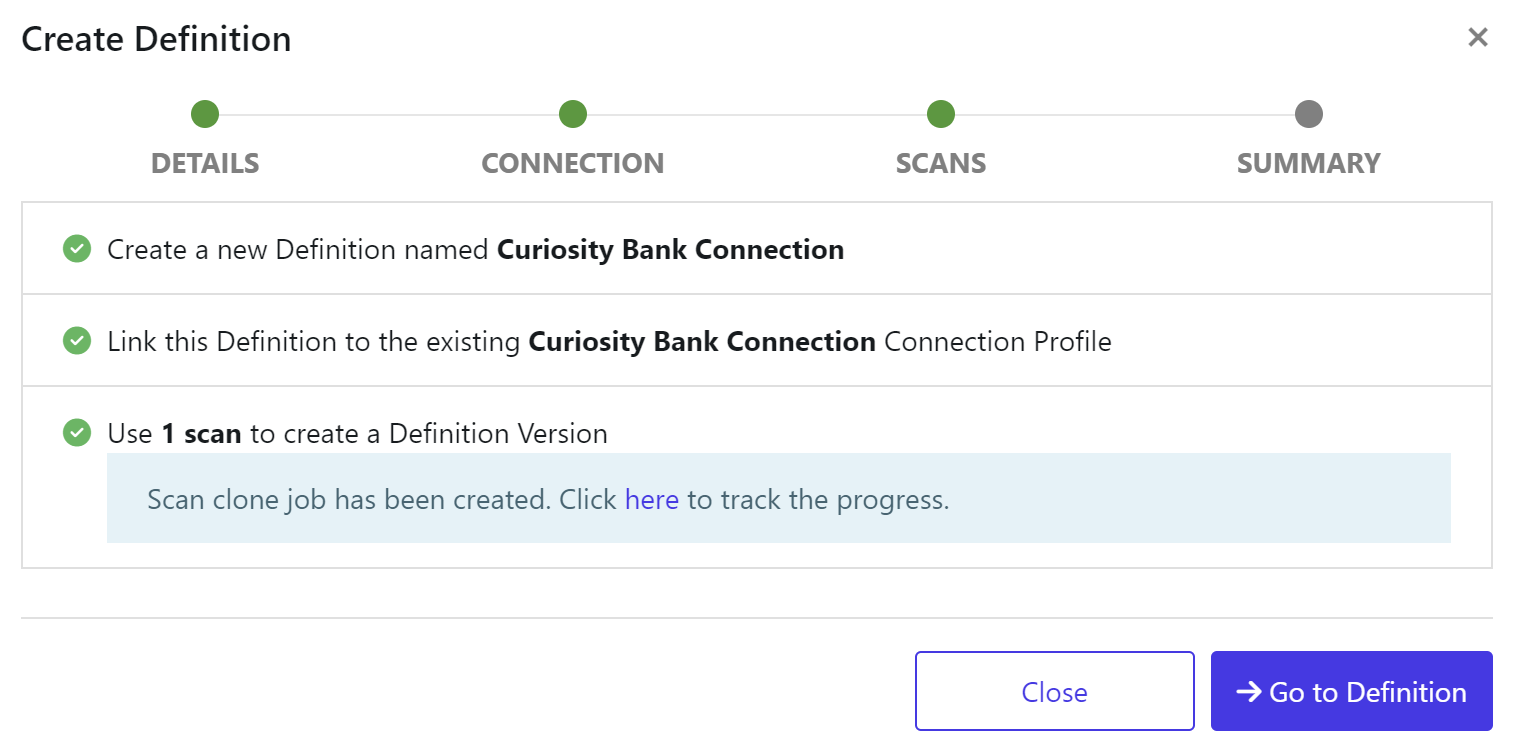
When finished click Go to Definition.
You will see the current Version, Table Details & additional actions you can now perform against the Definition.
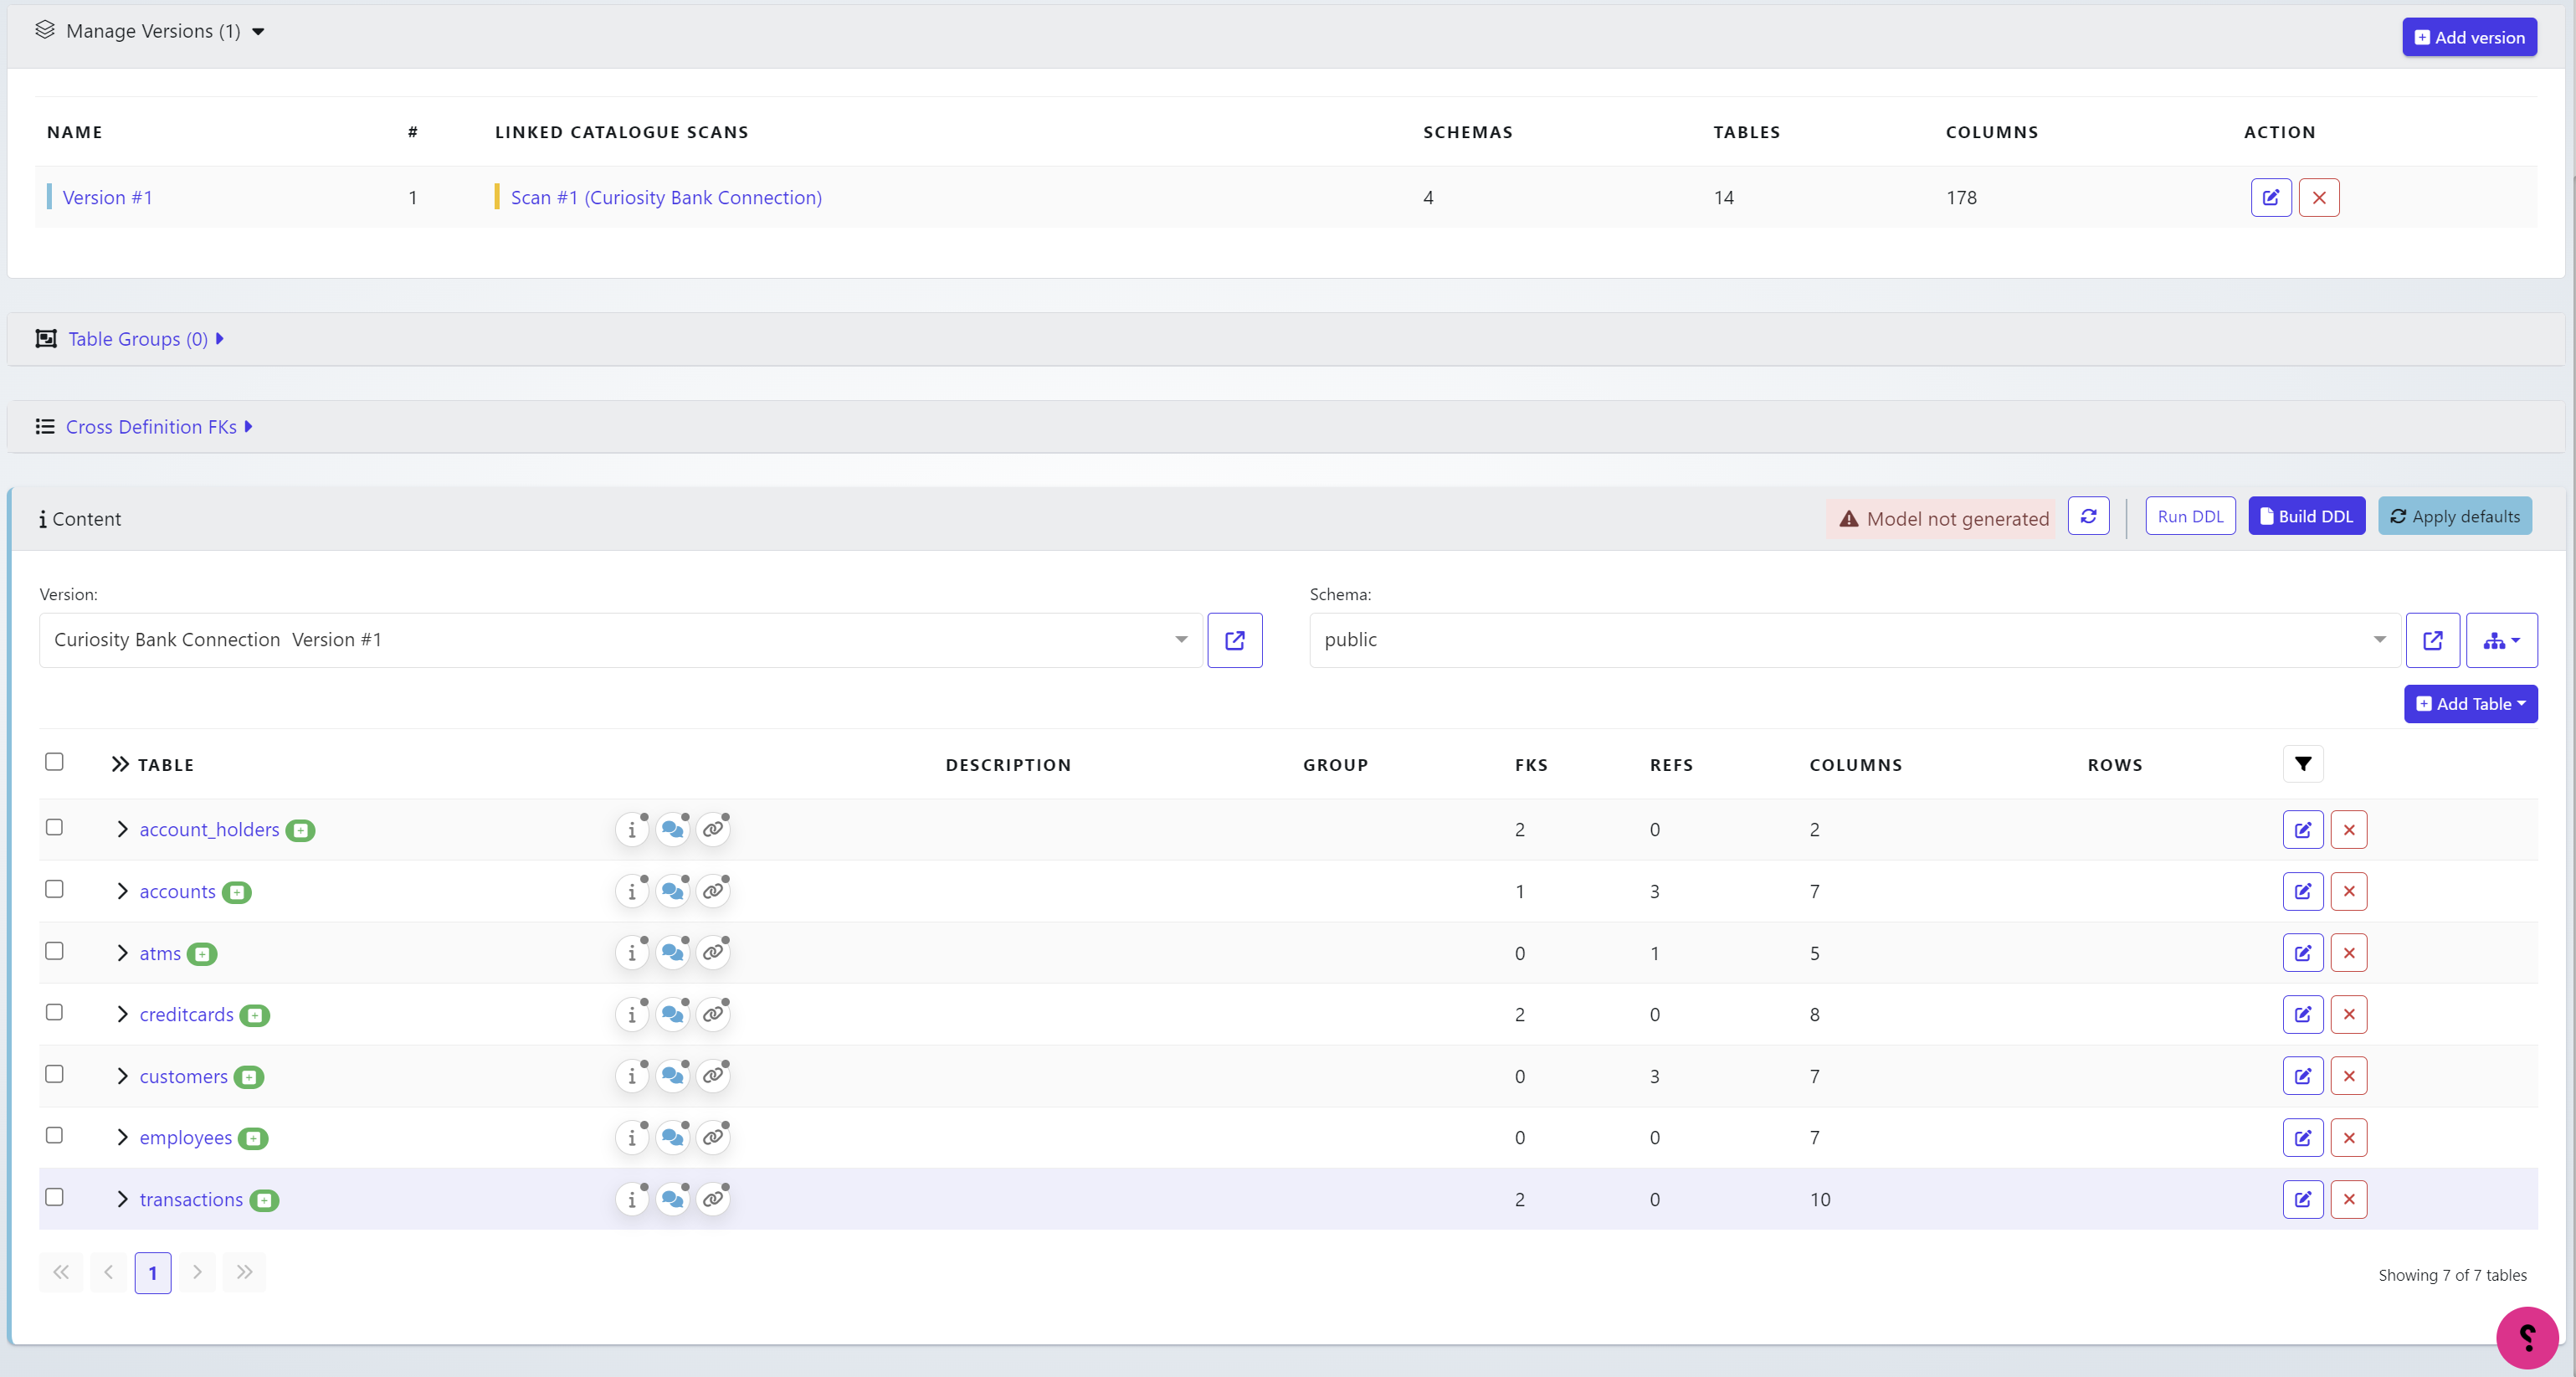
The Version and Schema within the Content tab will hold various scanned information. You can choose different versions or schemas from these drop downs.
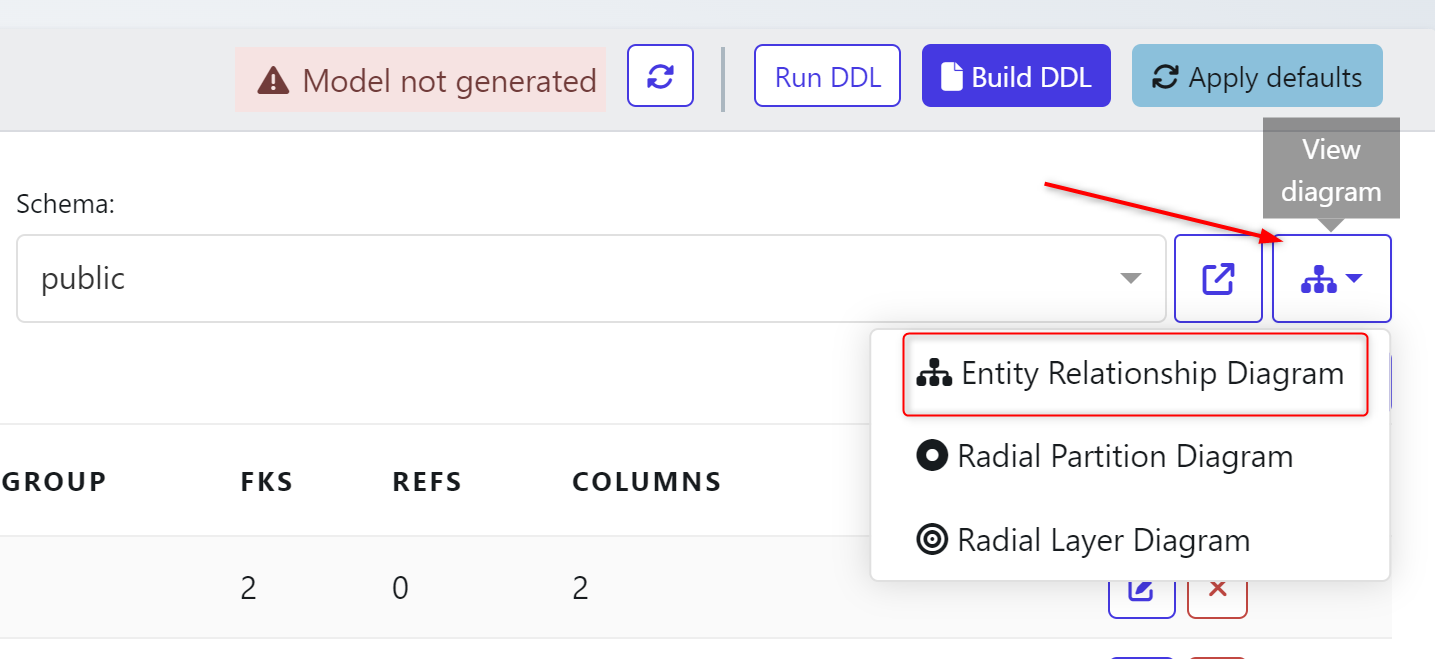
You can also visualize the table relationships within the definition.

Click on the tree icon in to view diagram and choose Entity Relationship Diagram.
The diagram will then be generated.
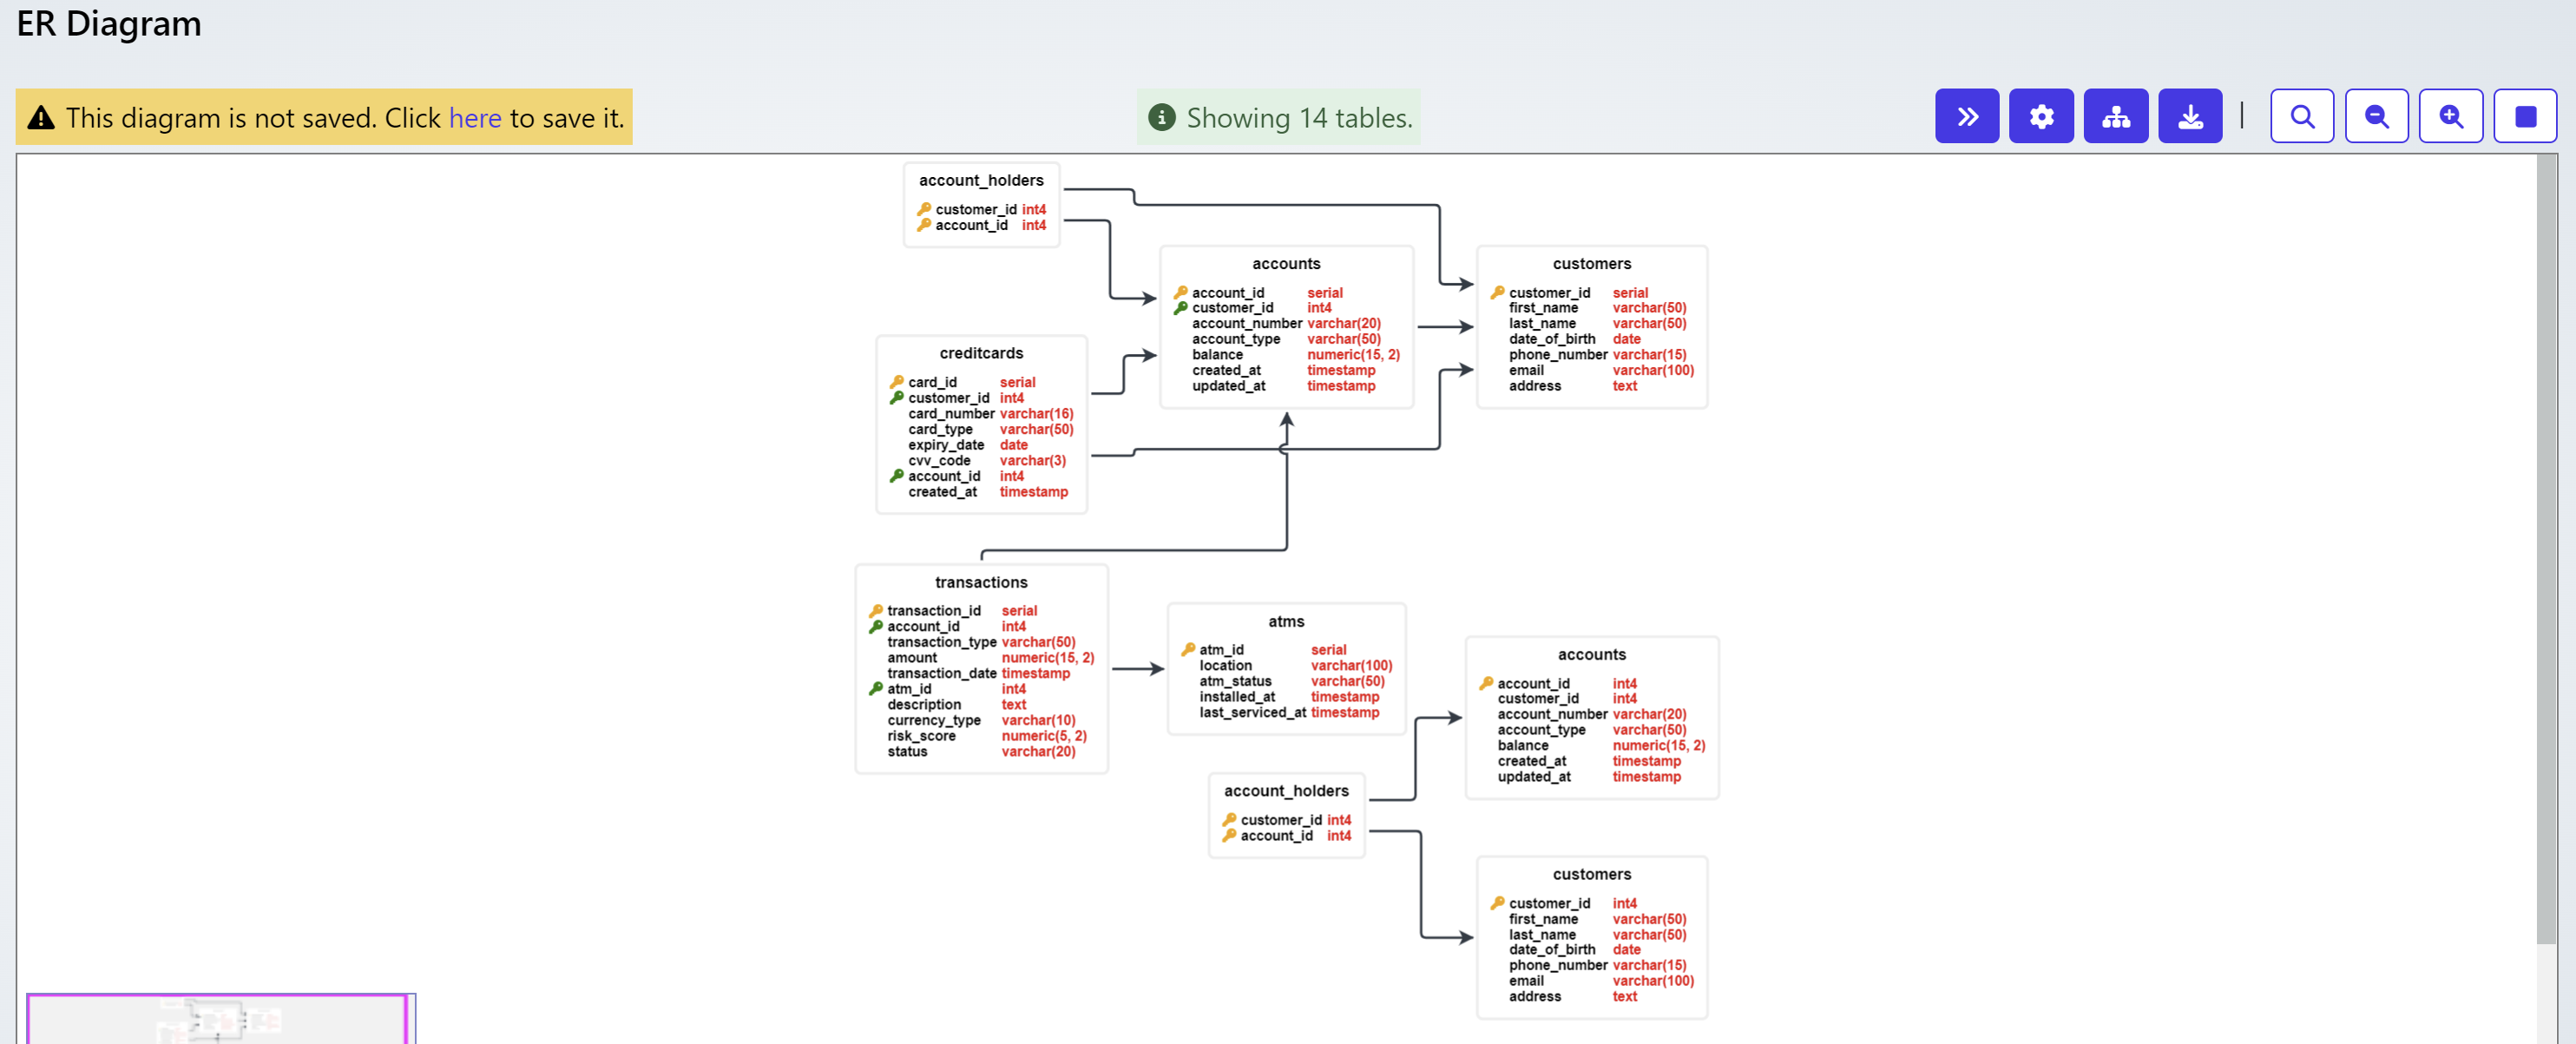
This will present the existing found relationships that need to be considered and likely maintained when running a masking or data generation routine.
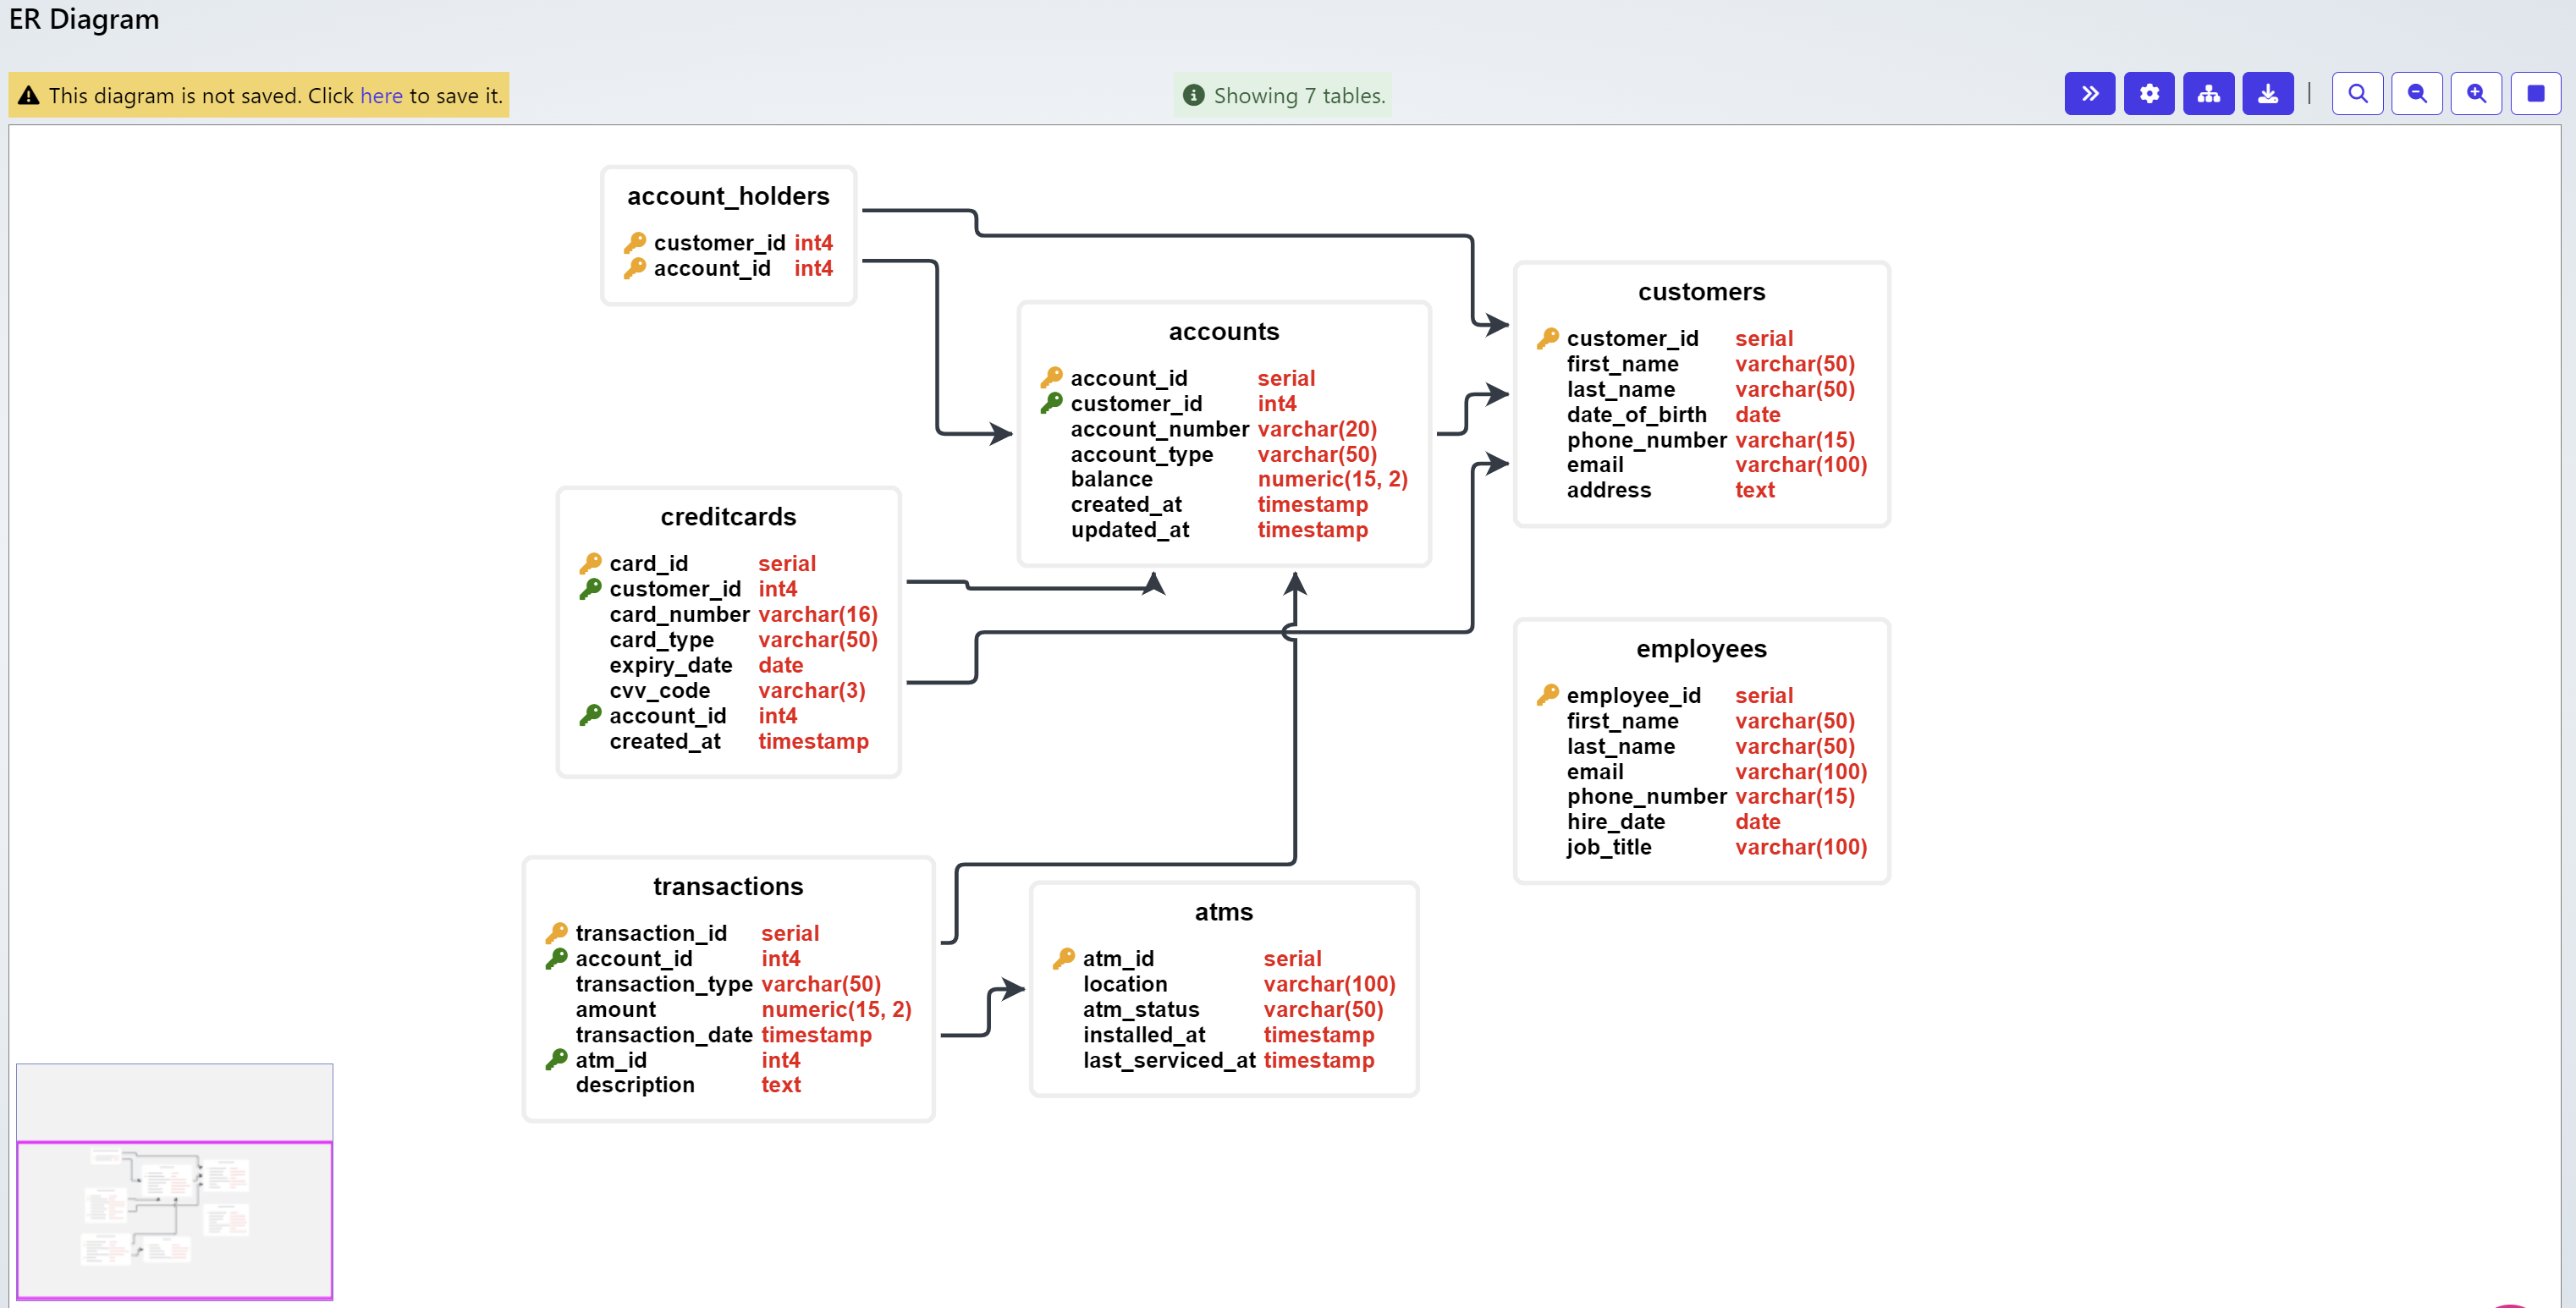
In the top right, additional actions are possible including:

Toggle Collapse/Expand the image
Settings
Relayout
Download as PNG
Search
Zoom In / Out
Fit to screen
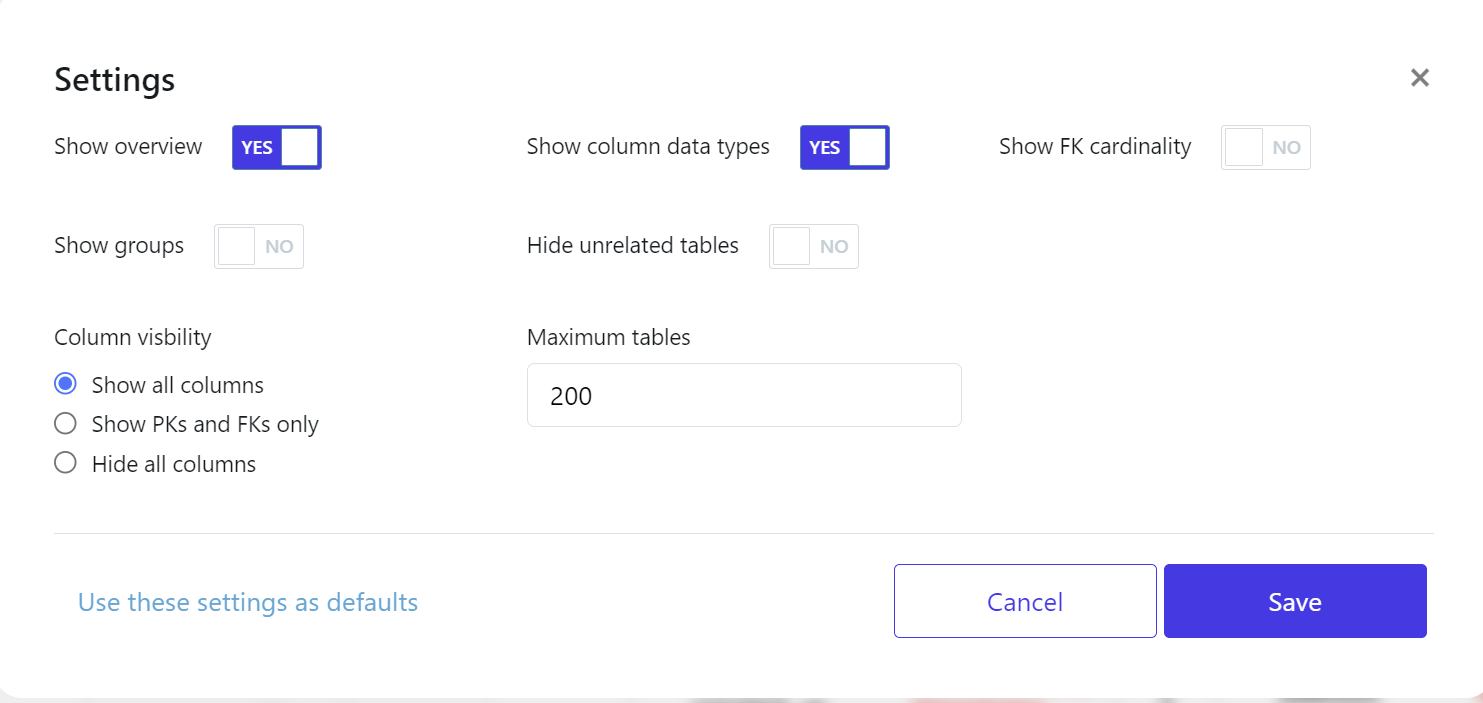
Settings
Some databases & files have large structures and table amounts/column amounts. Settings allow you to customize what is displayed and how much based on various configurations. The amount of tables displayed and the columns you wish to see, should be configured here for an easier viewing experience when looking at large databases.
