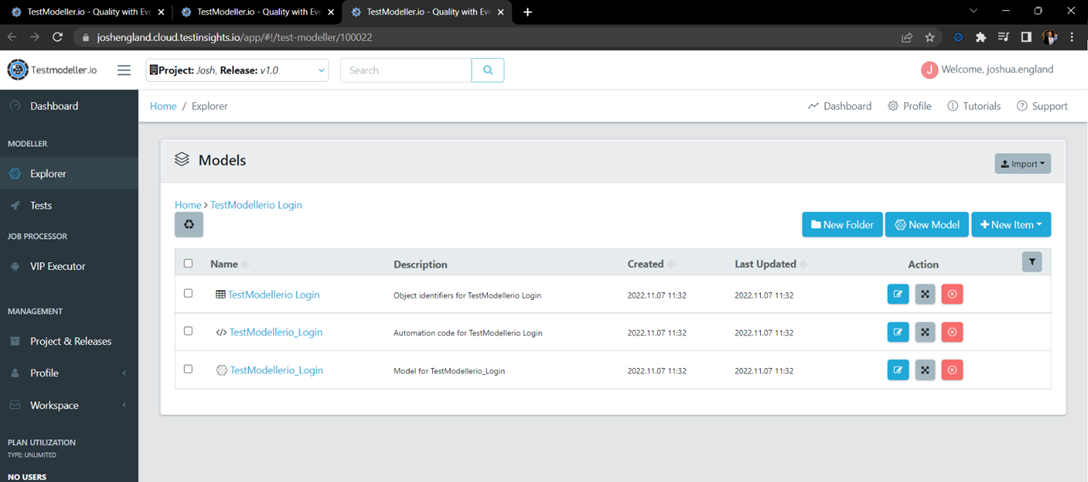
This documentation article is going to break down a new feature, which automatically opens Quality Modeller when performing a new scan using the Quality Modeller UI Scanner.
Step 1) To get started with this new feature open and log in to Quality Modeller using your credentials, once done you should see your dashboard:
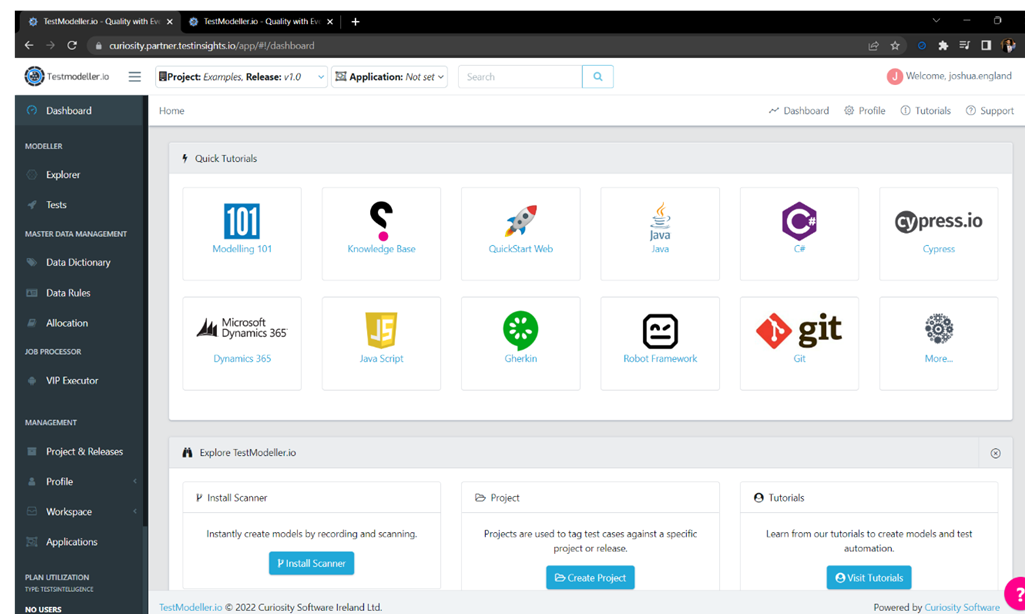
Step 2) In your browser, open a new tab and go to the page/locate the components which you are wanting to scan and test. For this example, we have used the login page for Quality Modeller.
Step 3) Once you have opened your desired page, open the Quality Modeller UI Scanner Extension in your browser – please note, you may need to log in again using the same credentials from Step 1.
Once you have logged in, you will be able to use the scanner to scan components of the page.
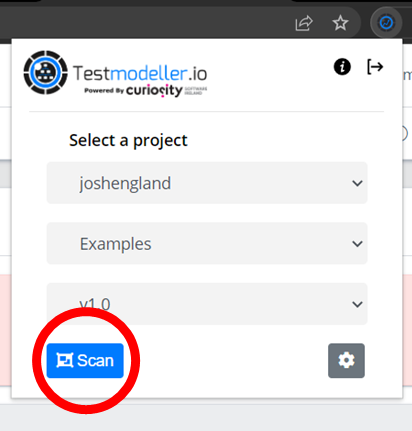
To learn more about the scanner, check out our documentation: Quality Modeller's UI Scanner
Step 4) Click ‘Scan’. This will allow you to click on each of the components that you are wanting to test – these will be highlighted in red (see below).
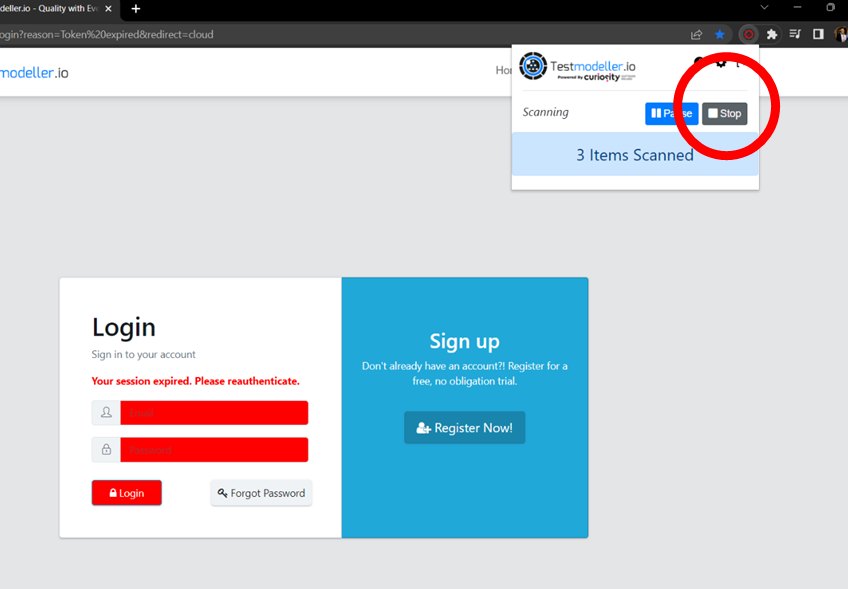
Once you are happy that all the components have been highlighted, click ‘Stop’ in the Scanner extension.
Step 5) To upload your scan to Quality Modeller, click ‘Upload’.
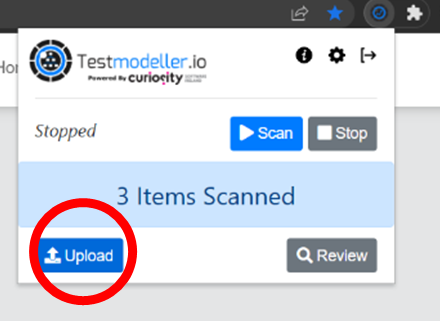
Step 6) After clicking ‘Upload’, a drop-down menu will appear, here you can name your scan and allocate it into an appropriate folder of your choice:
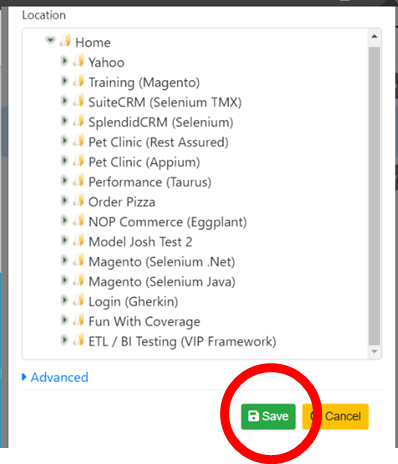
Step 7) Click ‘Save’.
Step 8) Once you have completed all the previous steps, Quality Modeller will automatically load another tab.
This tab will take you to the folder in Quality Modeller where the components of your scan have been saved!
