In the previous tutorial we covered exposing a self-service form to create messages, by directly specifying values for each exposed parameter. This tutorial walks you through an alternative method to generating messages through data modelling. The benefit of modelling is it allows you to overlay business logic into your defined parameters, and introduce the concept of coverage, by creating covered sets of messages, which is vital for testing and virtualisation of environments.
Here, part three walks you through generating files and messages through a data model, using the previously configured message management data activity.
Tutorial
Follow along with the written tutorial below where each of the steps is broken down and explained.
Prerequisites
- A message management data activity configured with a self-service form.
Step 1 – Create Model
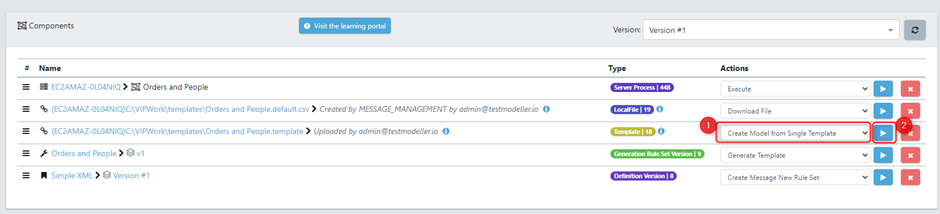
Firstly, we will create a model which is linked to our template and configuration settings. To do this, in the components section of the data activity, select to Create Model from Single Template from the template component.
A dialog will appear asking for a model name, description, and which data catalogue to use for the generation functions.
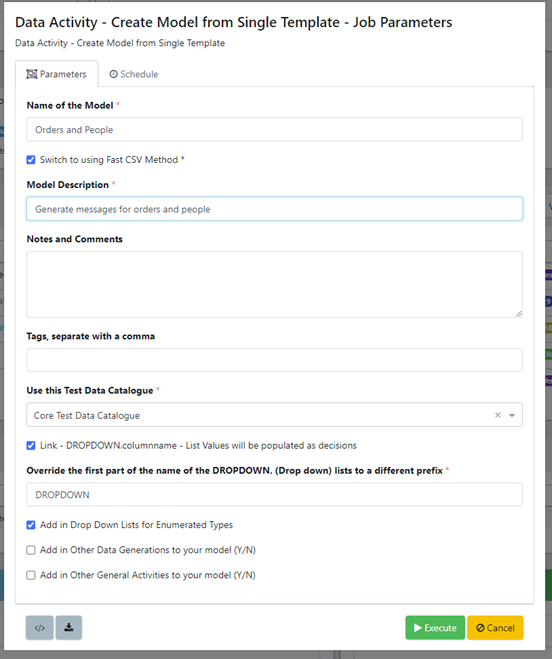
Once you are happy with this you click execute and your model will be created in the folder of the data activity. Open the model, you’ll see the created model contains a task for each parameter that we configured in our rule set, if the parameter was an enumerable it will be split into decision points in the model. Also included in each task is a variable which has been defined with a default value.
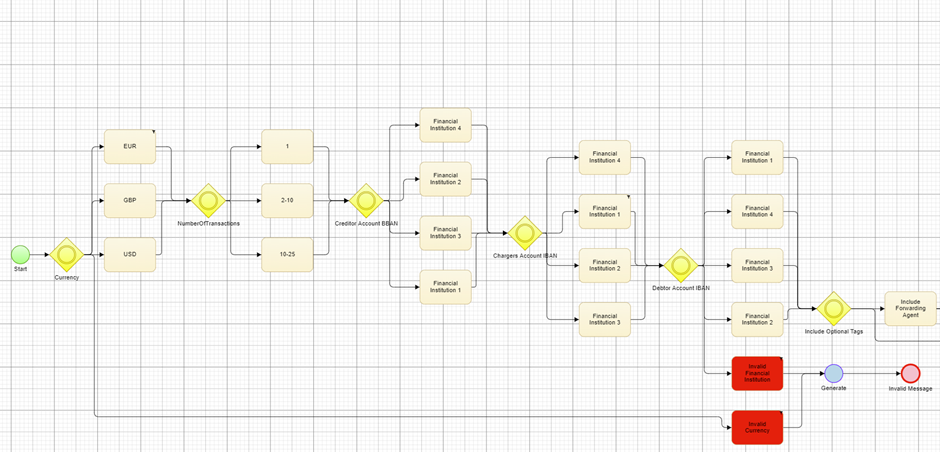
Once you have the initial model you can begin to build you data model by including at the ranges / values to test for your parameters and overlaying any business rules onto the logic of the model.
For more information on how to build models and set the data to test for each parameter see here. You should use this model to design the different data scenarios that you want to test thinking about key edge cases and business logic. You can also include any relevant negative data combinations.
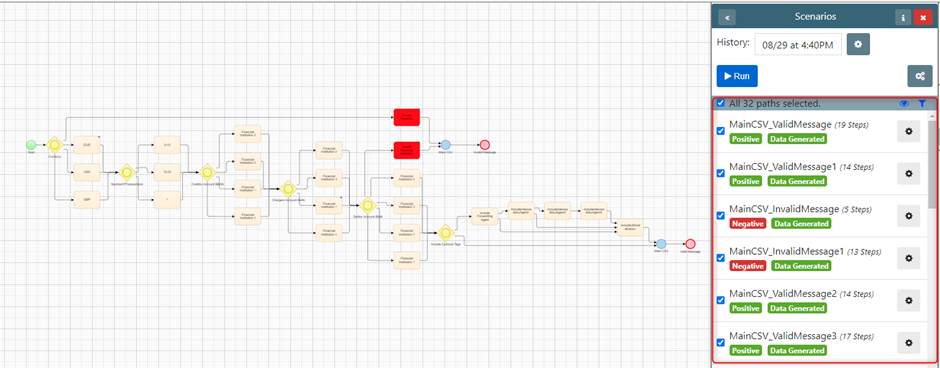
Once your Data model is built you can use Test Modellers coverage capabilities to create an optimised set of Data. We set a coverage profile and click ‘Generate’.

Each of the Paths that we generate from this represents a unique combination of Data / Message based of the model we have created. Click to see more on coverage.
Step 2 - Generating Model Messages
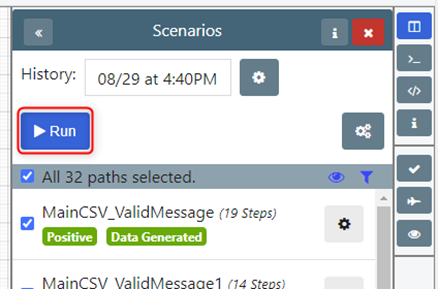
Now that we have the set of Data combinations, we want to generate click the Run button in the path panel.
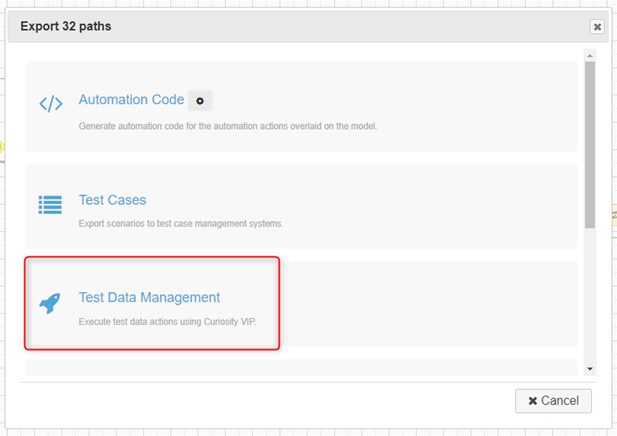
Select the ‘Test Data Management’ option.
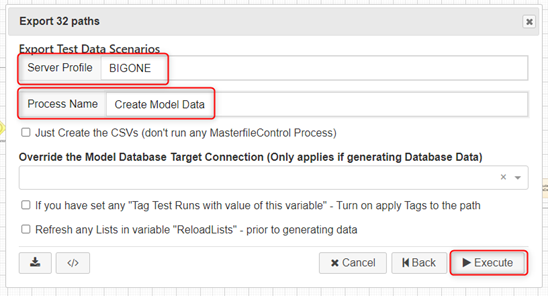
Select your server, then run the job Create Model Data, populate the parameters, and click execute.
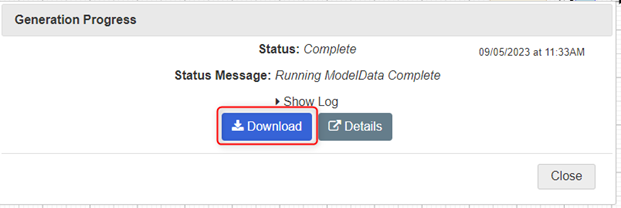
Once the job is complete a zip archive will be available containing a generated message for each combination derived from the set of paths in the model.
Step 3 – Advanced Configurations
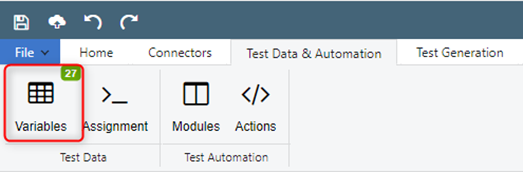
Additional parameters are available for the model in the Test Data Variables screen. To navigate to this dialog, click the Variables button under the Test Data & Automation ribbon bar.
3.1 Number of Rows to Generate
You can increase the number of messages generated per path by changing the value of ‘HowManyRowsToCreate’. By default, one message is generate per path.

3.2 Default Message Format & Output Location
You can also adjust the Default message format and Output location.

The default output directory ‘?workdir’ will provide a ZIP folder containing your messages that can be picked up from the Job Queue.
The default message format variable defines the file name of the generated files, along with the file extension.