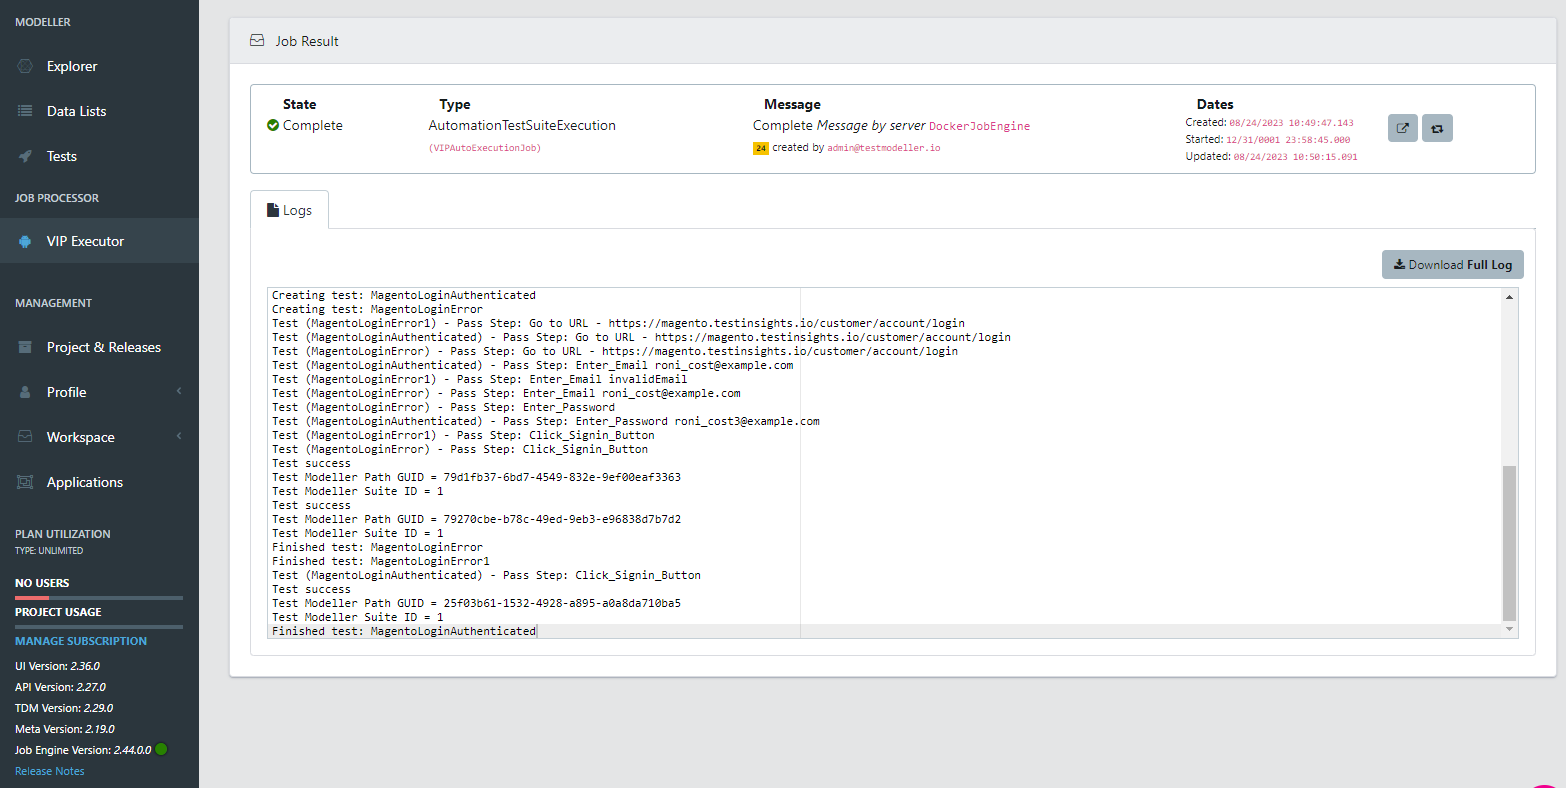
In this article, we'll cover migrating a project utilising the QuickStart Web automation framework into source control. There are several benefits to migrating your framework inside of source control:
- Versioning: Ever needed to revert to a previous version of your project? With source control, every change is tracked, making it easy to go back to any previous state.
- Accountability: Knowing who made which change and when can be essential for debugging purposes and maintaining project integrity.
- Backup & Security: With the project backed up in a source control system, you own the framework and it lives outside of Quality Modeller.
- Integration: An automation framework in a source control repository can be picked up by your CICD and executed anywhere using local Java commands.
Tutorial
Let's jump into migrating your QuickStart framework into source control.
1. Mirror Repository
Firstly, we need to create a new repository of the Java Quickstart framework.
1. Create a new empty repository in git
2. Open Git Bash.
3. Create a bare clone of the repository.
git clone -n https://github.com/CuriositySoftwareIreland/TestModeller-JavaSeleniumFramework.git4. Mirror-push to the new repository.
cd TestModeller-JavaSeleniumFramework

git push --mirror https://github.com/EXAMPLE-USER/NEW-REPOSITORY.git
5. Remove the temporary local repository you created earlier.
cd ..

rm -rf TestModeller-JavaSeleniumFramework
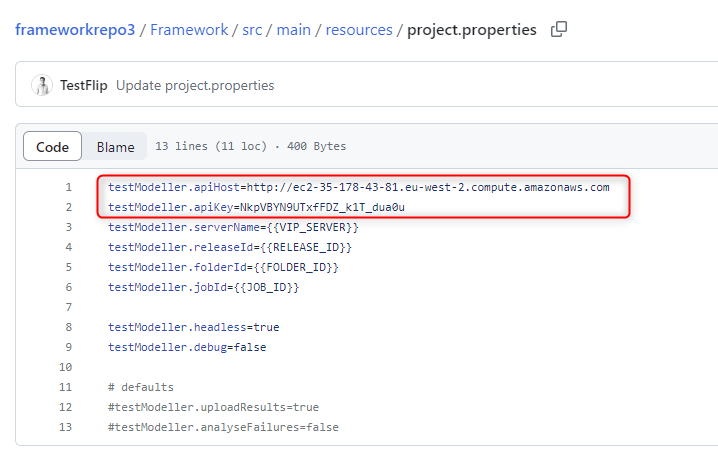
6. Connect the framework to the modeller instance. Navigate to the Framework/src/main/resources/project.properties file and edit the apiHost and apiKey parameters with the values from your instance.
2. Create Source Control Connector
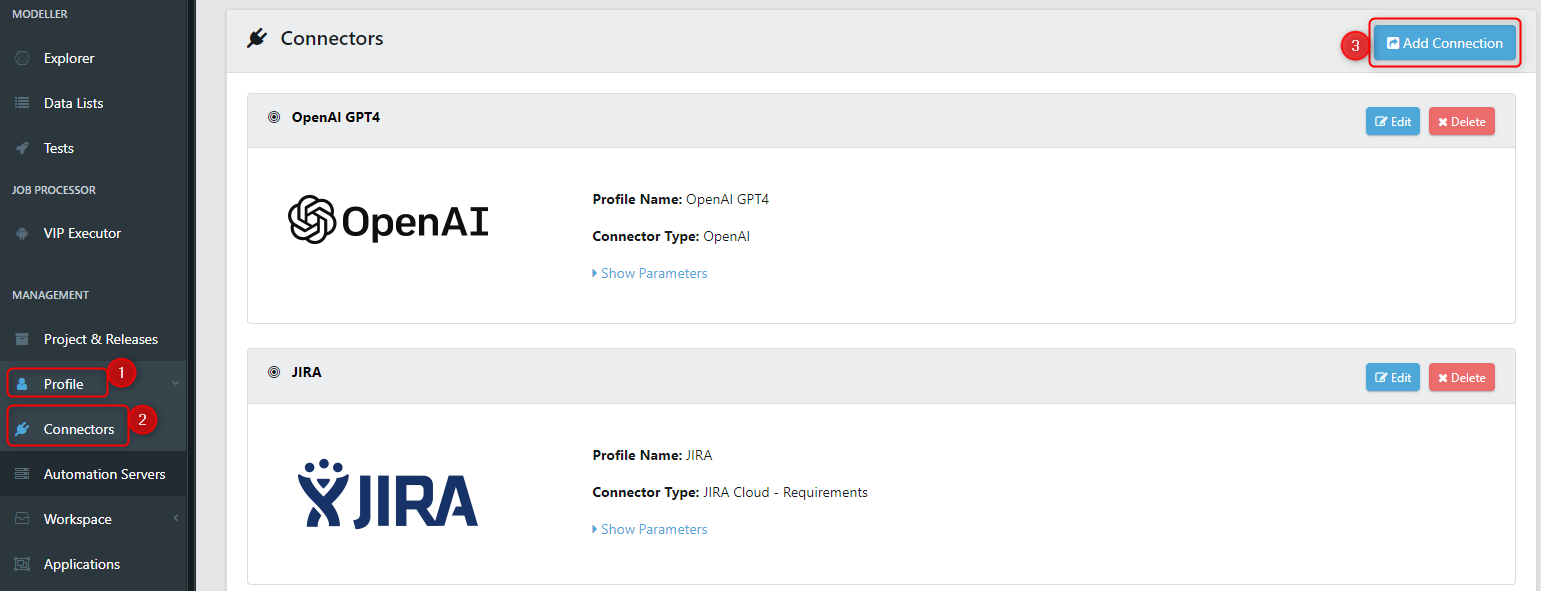
Next, we'll create a connector to the source control repository. Head to the Profile -> Connectors menu. Then select 'Add Connection' in the connectors page.
There are numerous source control connectors which can be configured following the relevant connectors tutorial. In this example, we'll be configuring a GitHub connector.
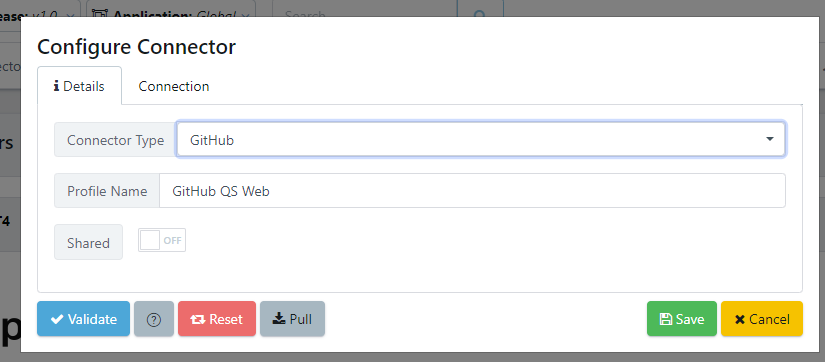
We specify our credentials, along with the newly created Git repository.
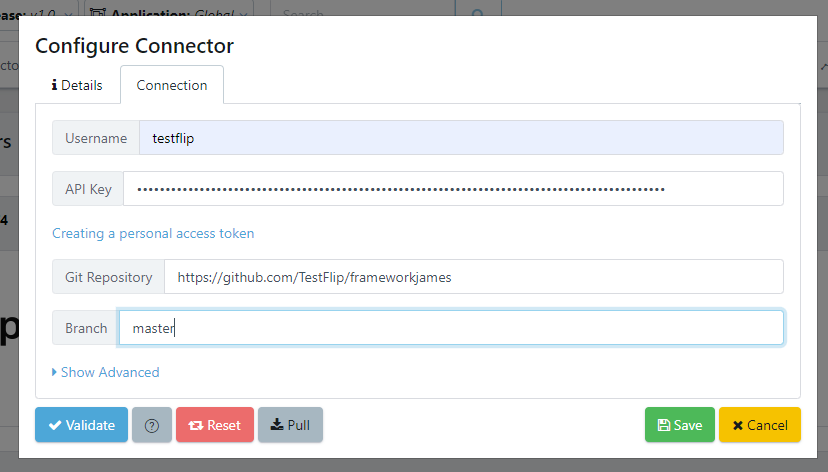
Once complete click Validate to validate the connection and then save the connector.
3. Specify New framework
Next, we'll set up a new framework and associate it with the git repository. To achieve this, navigate to the workspace and select the configuration menu. Upon accessing the configuration page, locate the "Code Templates" tab where you can see all the listed automation frameworks.
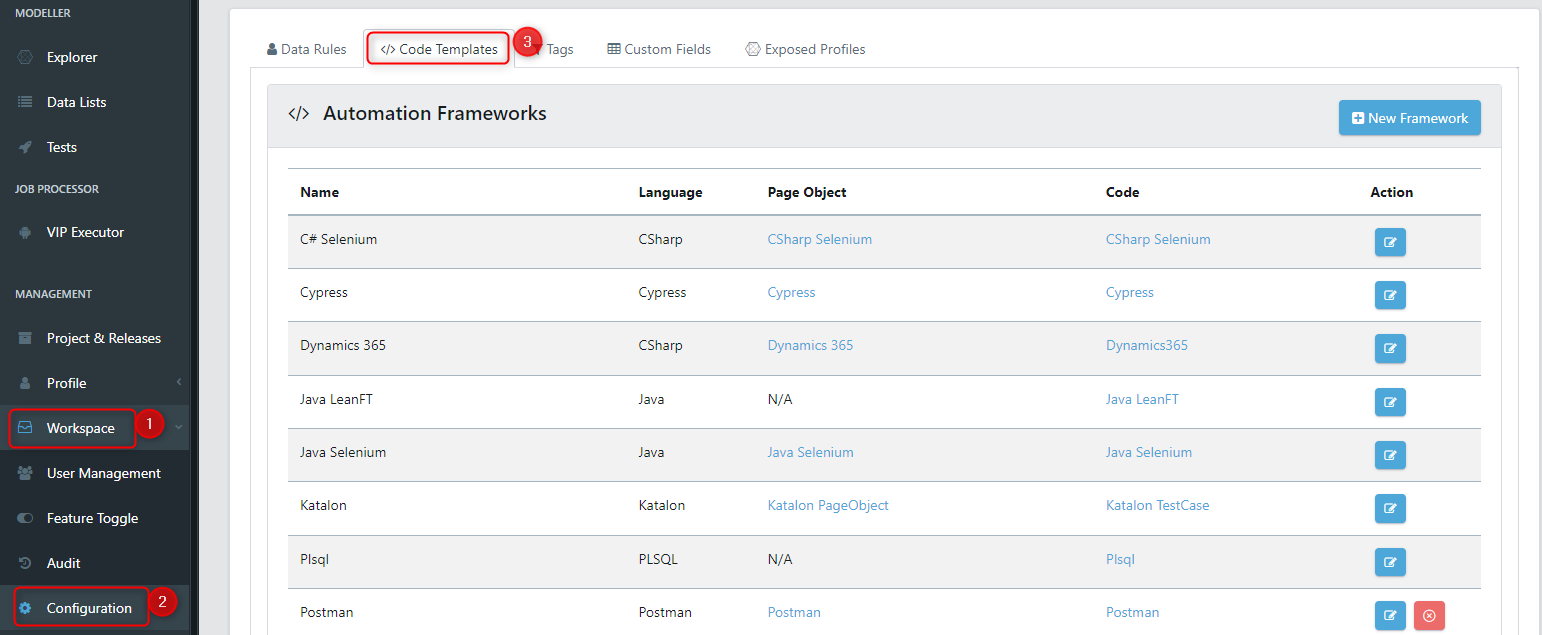
On the Code Templates page, choose 'New Framework' to establish a fresh framework.

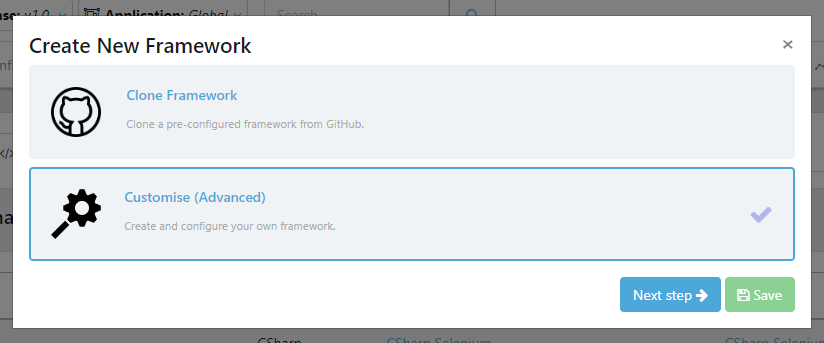
We have the option to clone an existing framework, which will automatically replicate it, or opt for Advanced. For our purpose, we'll choose Advanced, allowing us to define the code templates, git connector, and execution parameters ourselves.
Next, we'll set up the framework parameters. This requires inputting a name, Page Object, and Code Template. As we are transitioning from the QuickStart framework, we'll use its associated code templates. You can choose the "QuickStart Framework (Java) templates" for this purpose. 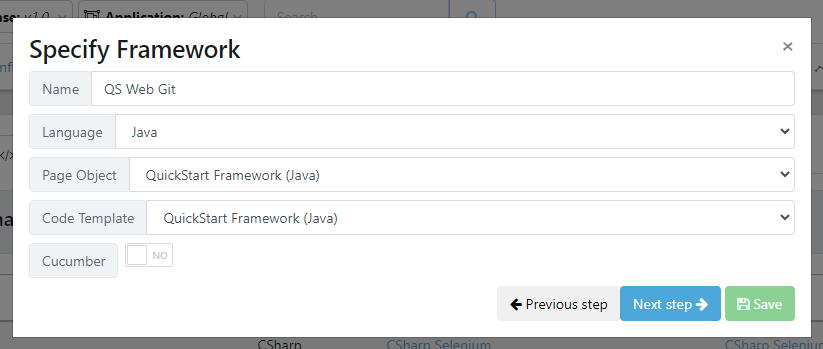
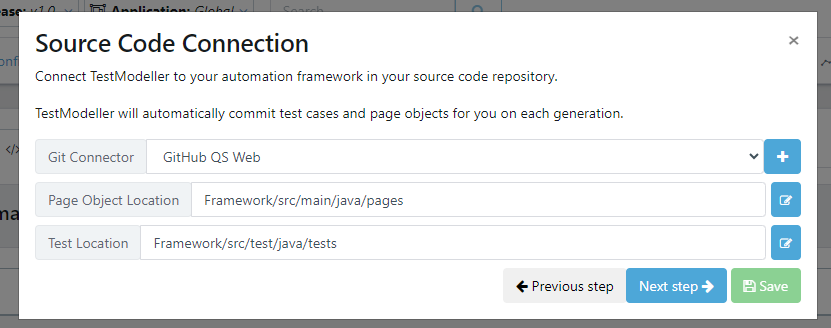
Next, we need to define the source code connector and pinpoint the exact repository locations where the page objects and test cases will be committed. For this, we'll use the git connector we created earlier. The parameters for Page Object and Test Location are as follows:
- Page Object Location: Framework/src/main/java/pages
- Test Location: Framework/src/main/java/tests
Next, we specify the execution settings which define how the framework is executed. For the QuickStart Framework we specify to execute it using Maven, in the Framework directory.
- Execution Directory - Framework
- Execution Command - [MavenLocation]
- Execution Parameters - -Dtest=[filename] -Dtestng.dtd.http=true -DthreadCount=1 test
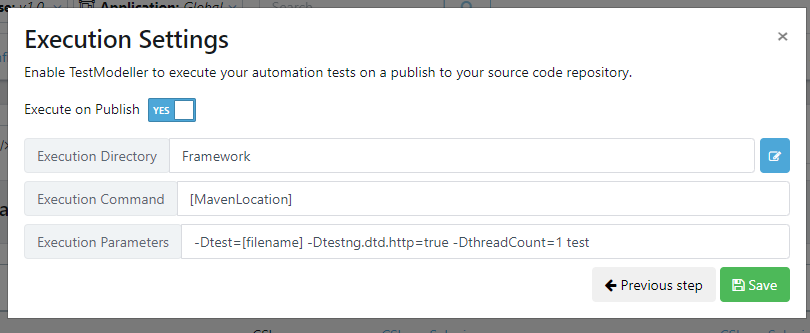
Once complete, save the execution settings.
4. Change Framework Associated with Project
The framework has now been registered with Quality Modeller. To change the project to use the new automation framework, we need to navigate to the Project Settings page. Navigate to 'Project & Releases' in the menu bar, then select the project you wish to leverage the selected automation framework.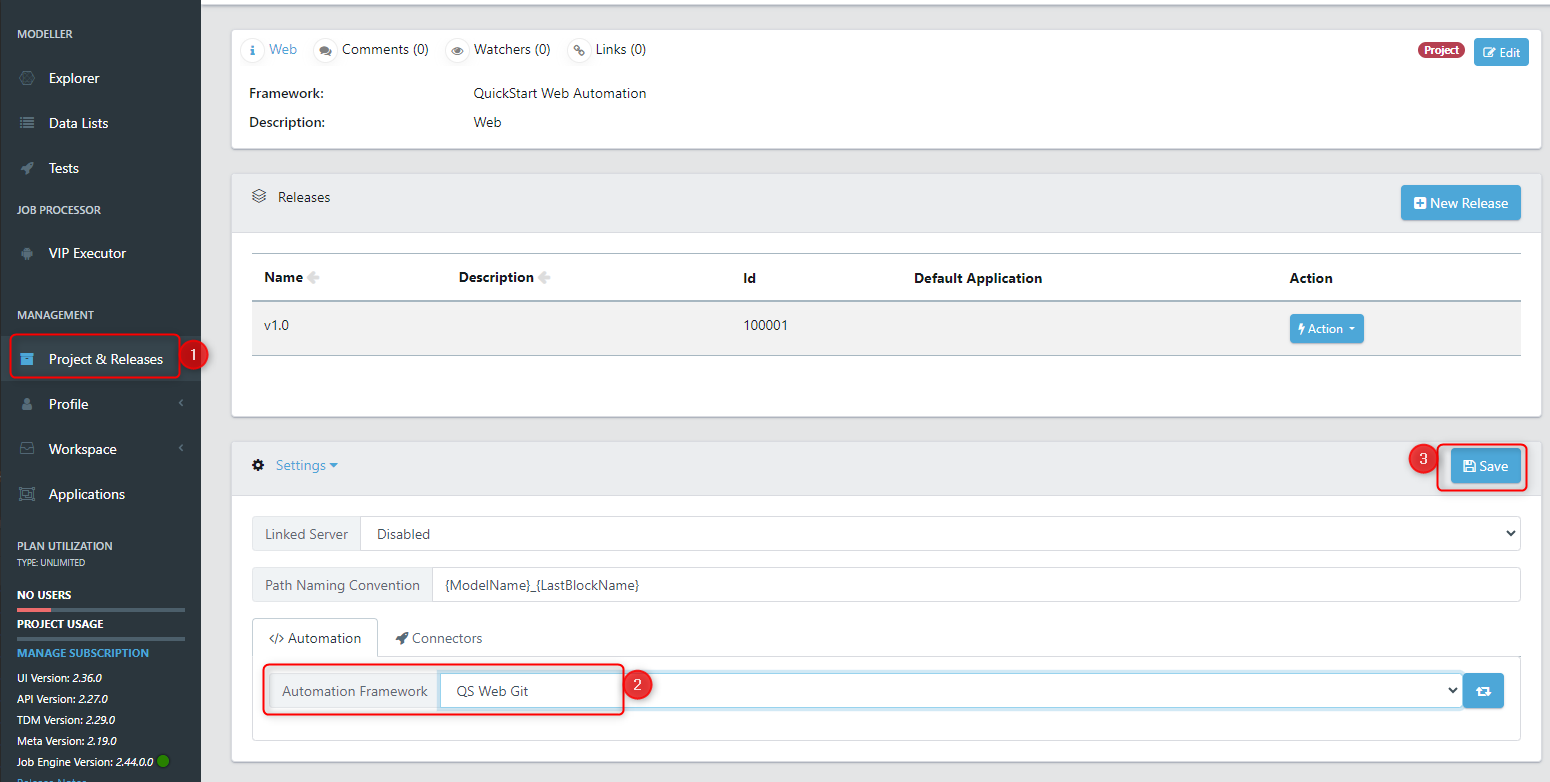
Once in the project settings page, select the Automation Framework, and then Save the settings. Pressing the regenerate button will import any custom page objects available.

The project will now be registered to the selected automation framework.
5. Regenerate Modules and Models
Now that the project is using the chosen framework, any modules we access will default to this framework. To integrate the module with the automation framework, simply click the 'regenerate' button.

During the regeneration procedure, a new task will be initiated that produces the automation code and commits it to the source code repository.
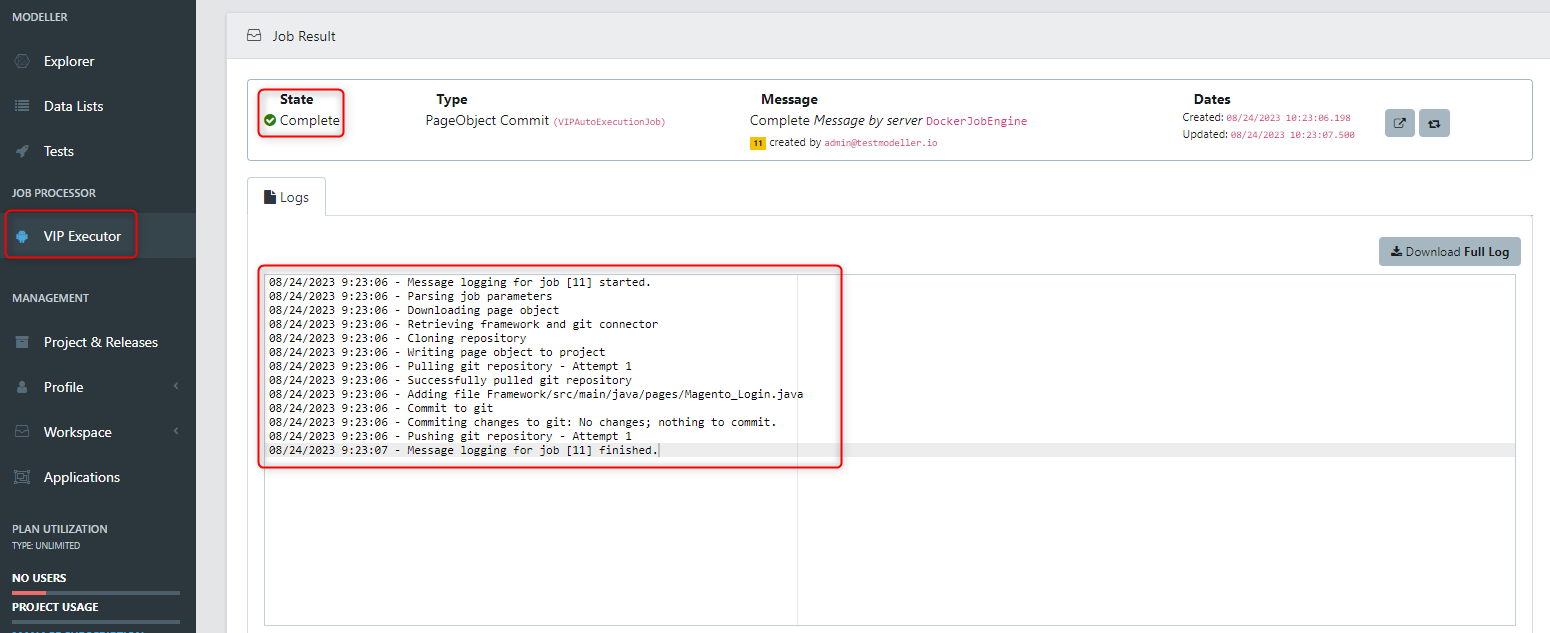
After the job finishes, you should find the file committed to the source code repository.
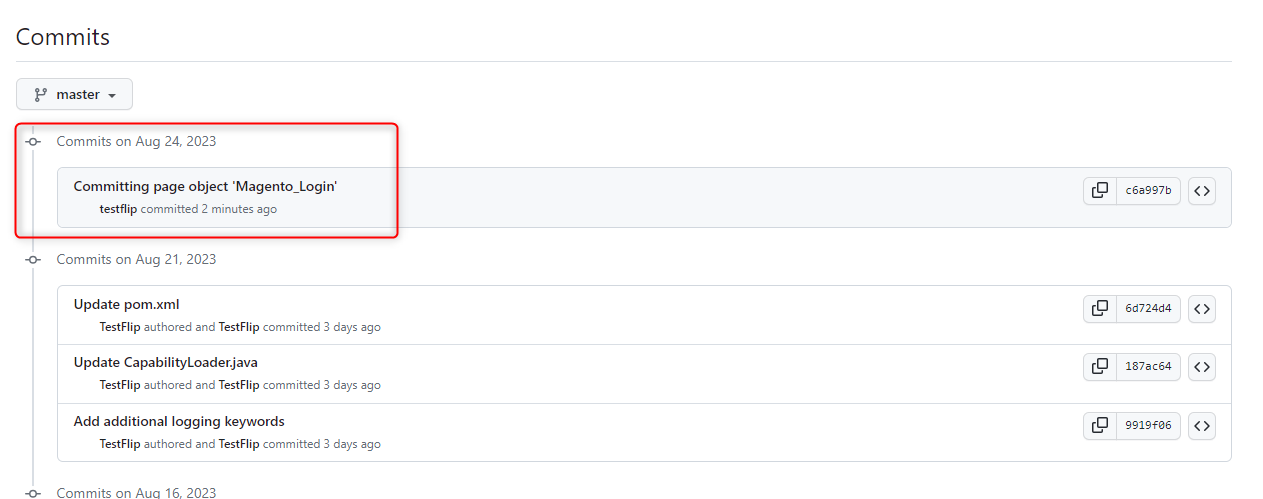
In addition to the modules, you'll also need to re-generate the automation for the models you intend to push to the source code repository.
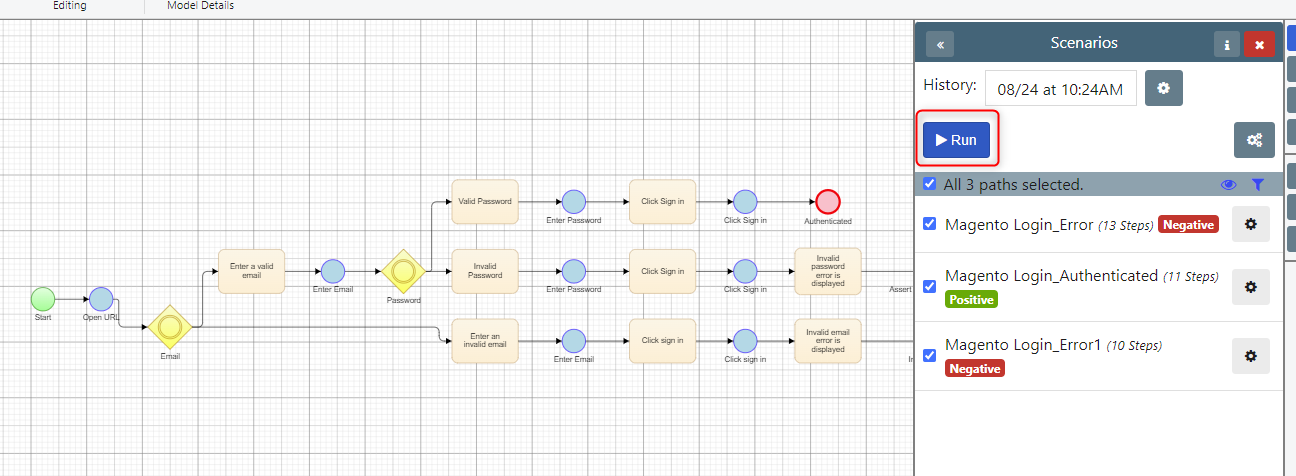
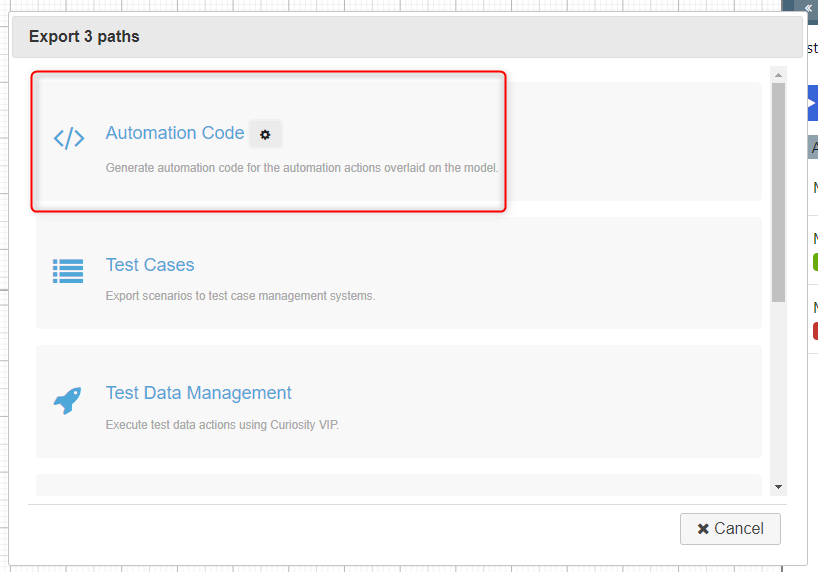
Press the Run button, then select Automation Code from the export dialog.
The job tracking screen will appear. In this screen you'll see messages relating to the test case being published to the source control.
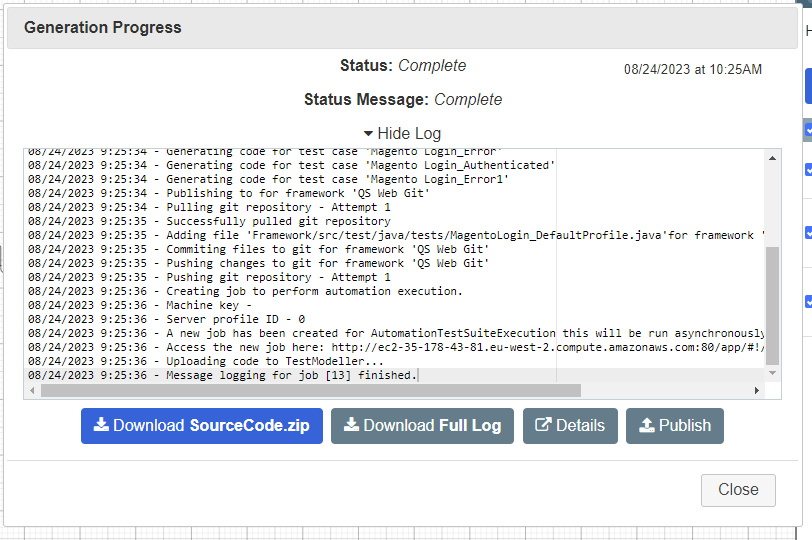
When you access the associated child-job for test case execution, you will be able to view the execution logs.
