In the following article, we'll cover using ModelGPT to create models from textual based requirements. This is a fantastic accelerator for moving anything textual based into Curiosity's Quality Modeller.
To use ModelGPT head to the 'Explorer' panel and select the Import button.
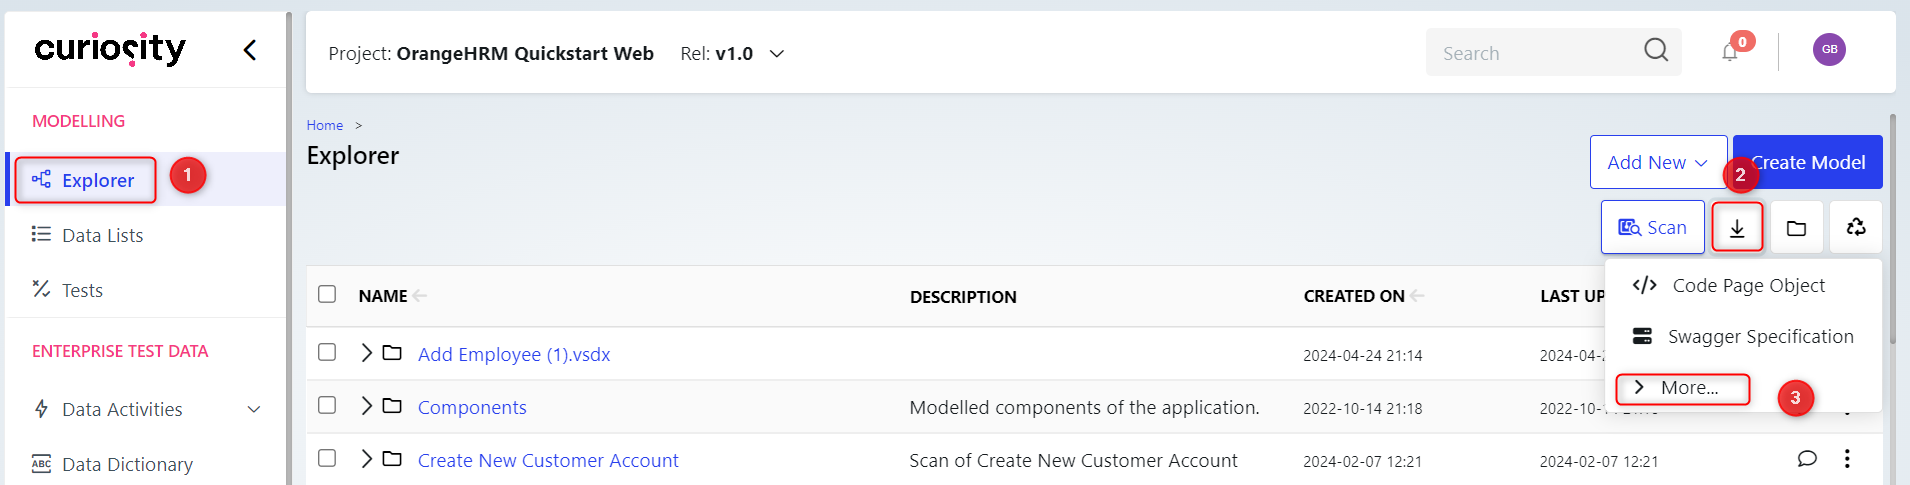
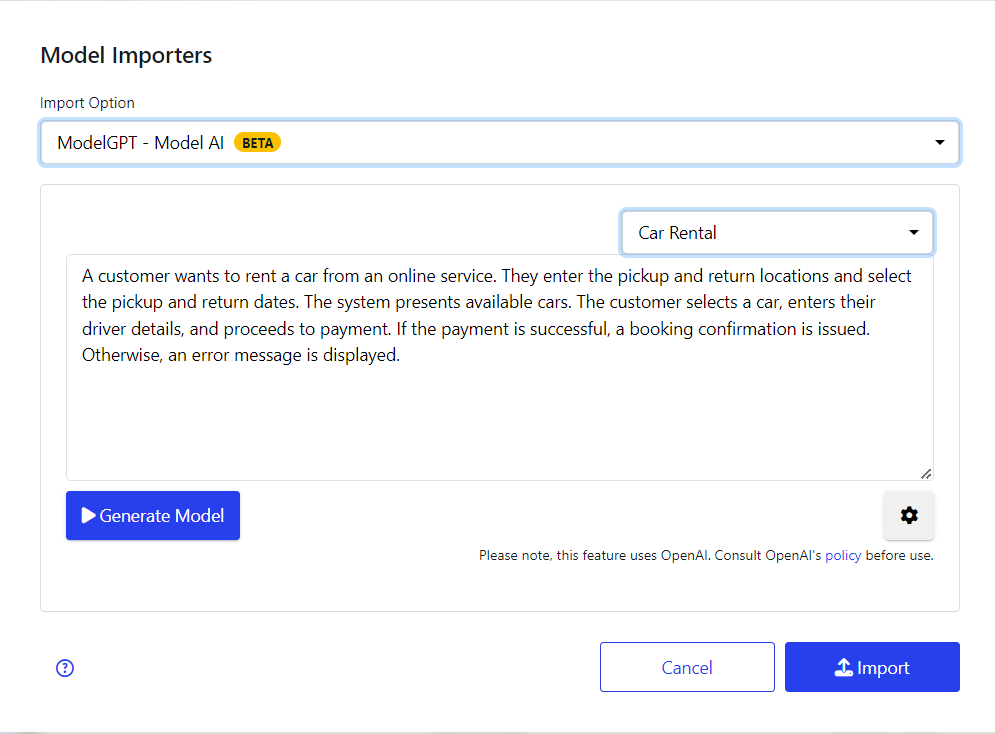
The import dialog should appear. Here you need to select to use the 'ModelGPT' importer in the Import Options dropdown.
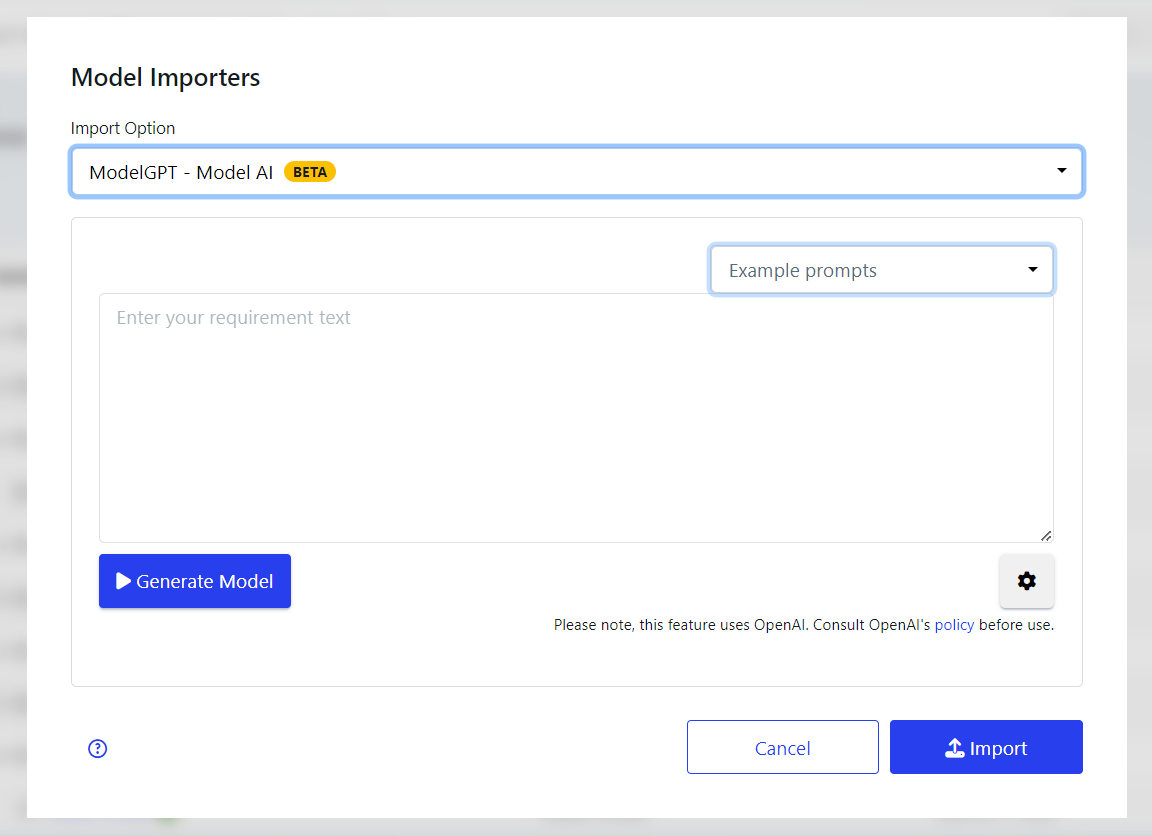
The ModelGPT importer will be displayed. There is a text area to enter your textual requirements, along with a settings button to view advanced settings, such as:
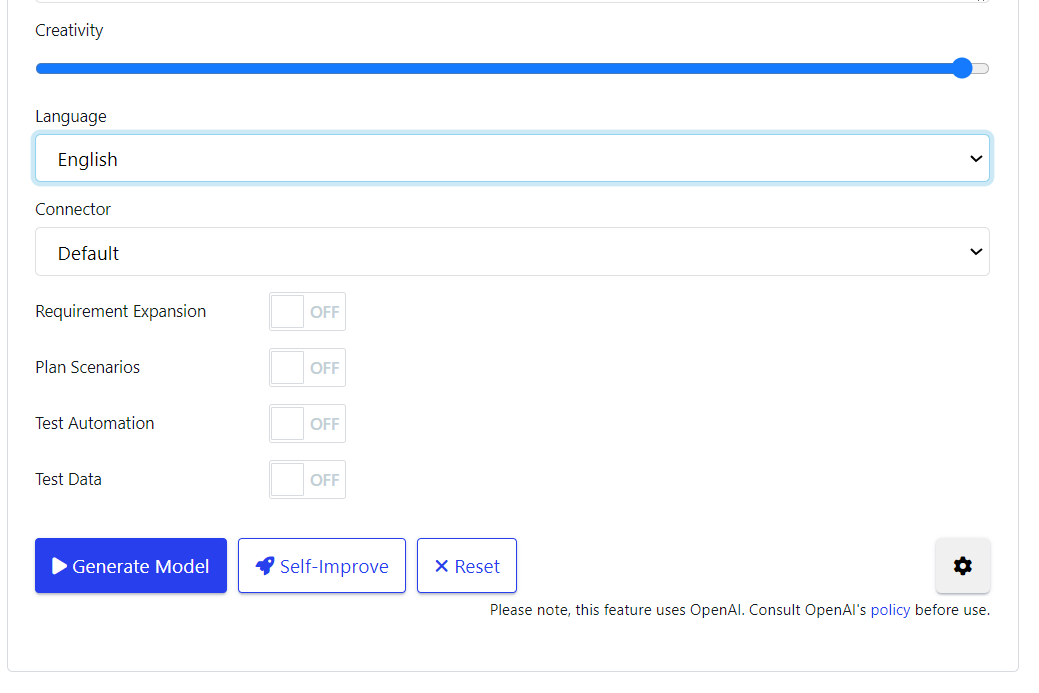
a. Creativity - how creative the AI should be with its response.
b. Language - which language to process the response in.
c. Connector - which underlying LLM to connect to.
d. Requirement Expansion - this will ask the AI to look at the requirement and see if it can logically decide where to expand it, this will often create additional model logic on top of what was initially described.
e. Plan Scenarios - this will ask the AI to spend more time planning different scenarios, which results in a larger inferred E2E process model.
f. Test Automation - toggle for creating representative automation code.
g. Test Data - toggle for creating test data assignments.
You'll also see an 'Example Prompts' option which features pre-packaged examples to get-started with!
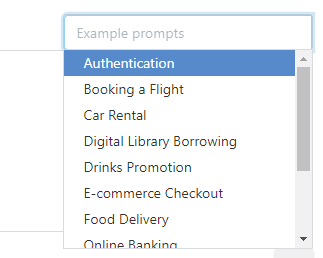
In this initial example we'll pick to use the Car Rental example. You'll see it populates the text area. We can press the settings button to adjust the settings, or click "Generate Model" to jump straight in and generate a model from the textual requirements.
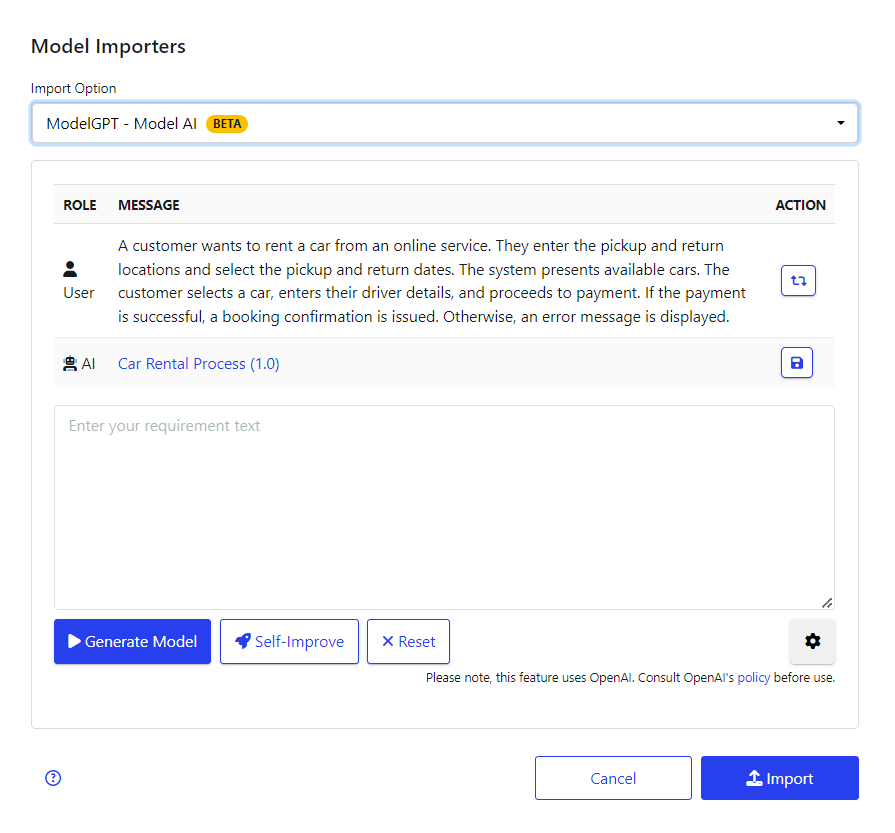
After generation a model in Quality Modeller will be returned. This is saved in the current folder the import button was pressed from. Here we'll see we have a model named "Car Rental Flowchart".
When we open the model we'll see the resulting flowchart. In this case it covers the scenarios of a booking confirmation, and an error message being displayed.

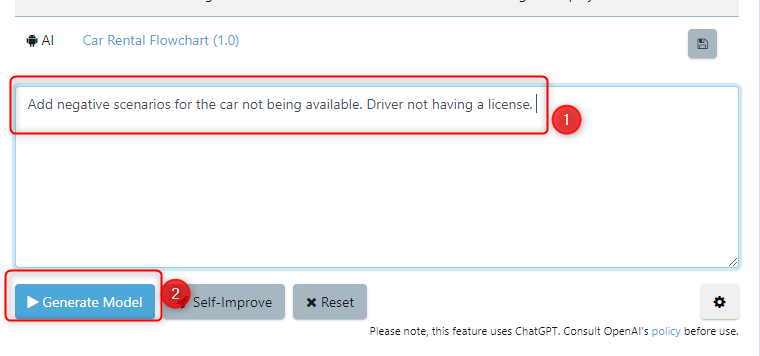
We can adjust the model through the ModelGPT interface. In this case I would like to add some additional negative scenarios which have been outlined in the prompt window below. Clicking 'Generate Model' will take the existing model and enhance it with the suggested feedback.
A new model is returned which can open and review.
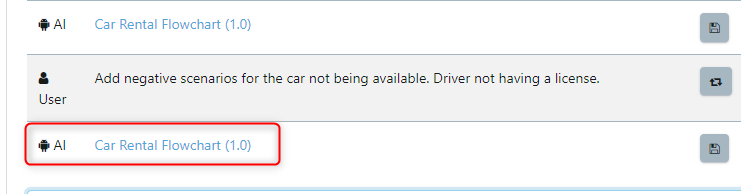
We'll see the new model has the additional edge cases. We can go back and provide further feedback until we our satisfied with the generated model.
