Before you can work with a database Enterprise Test Data, you must first connect to your database. Begin by creating a Connection Profile, which provides the configuration information that Enterprise Test Data will use to create the connection.
1. New Connection
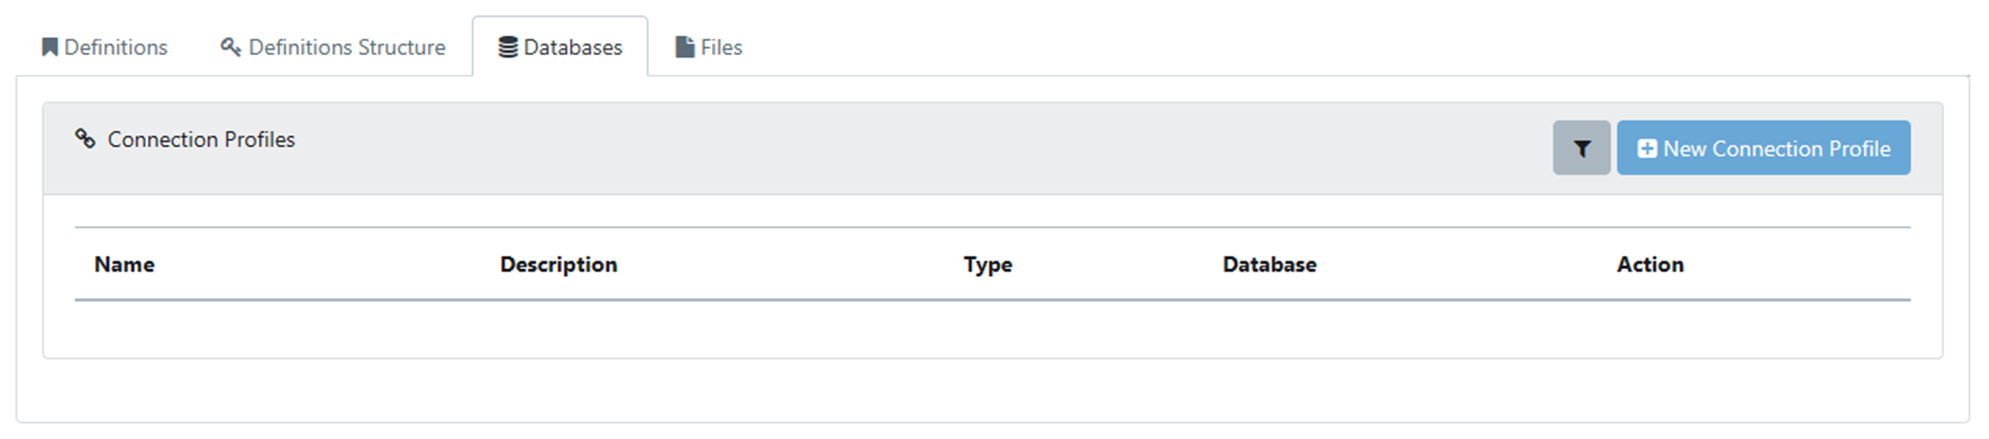
Start in the Data Dictionary, by clicking on Data Dictionary in the Master Data Management section of the Navigation Panel, then select the Databases tab and click on New Connection Profile
2. Connection Details
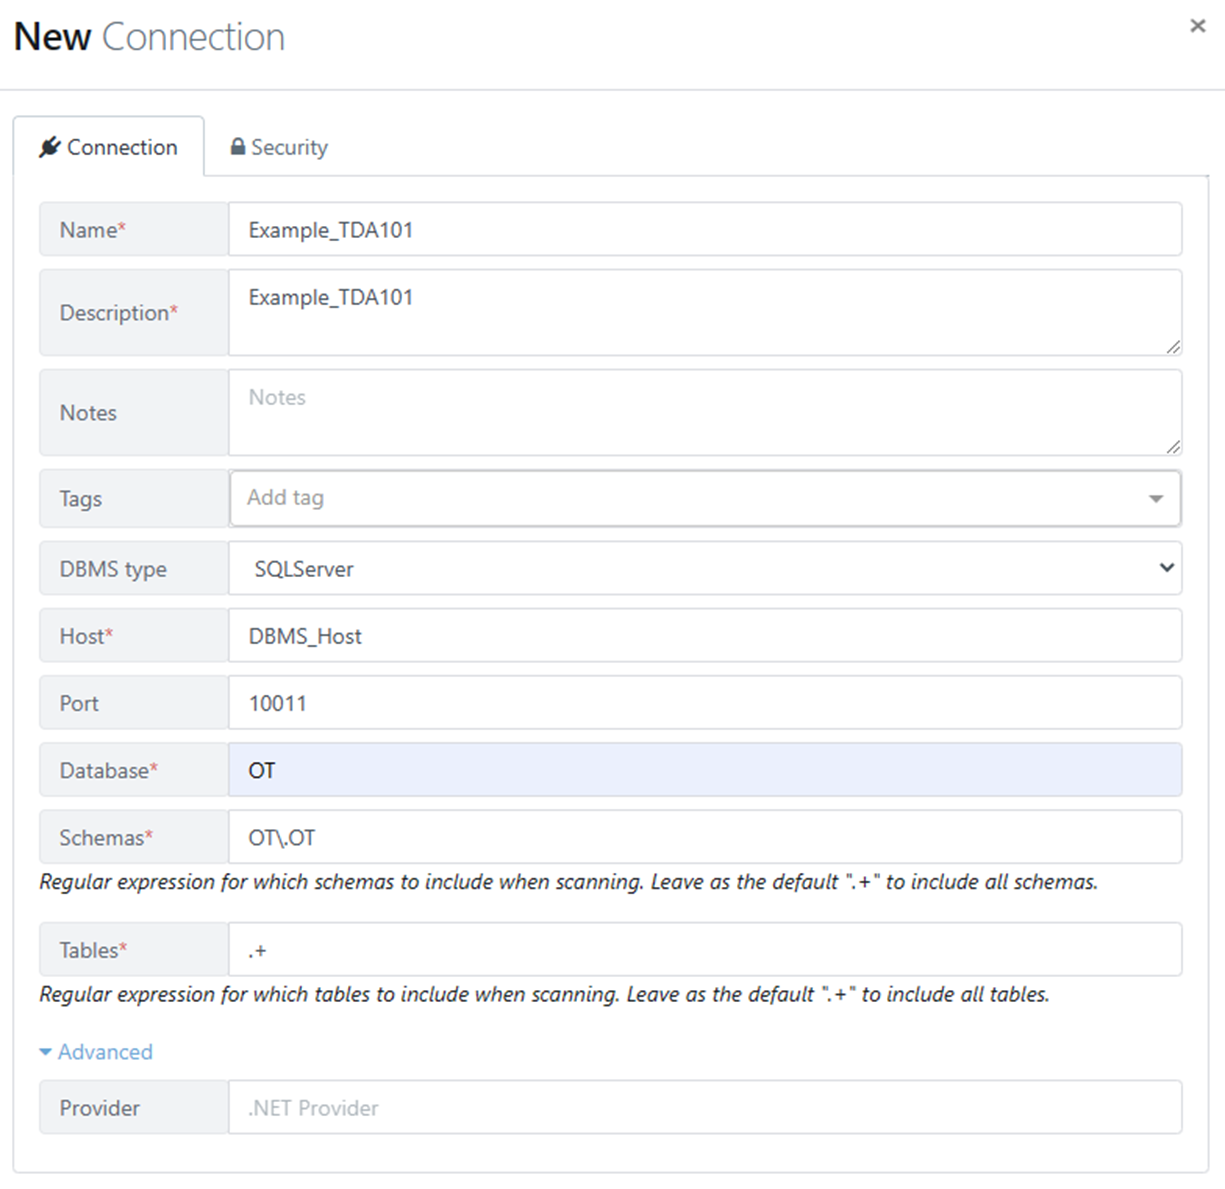
This opens the New Connection box. On the Connection tab, you must enter a Name and a Description for the connection, the name of the Host DBMS and its Port, and the Database you want to connect to. You can provide Schemas and Table names if you need to be selective, however the form defaults to “.+” for these and if those are left in place, Quality Modeller will use all schemas and tables it finds.
3. Connection Security
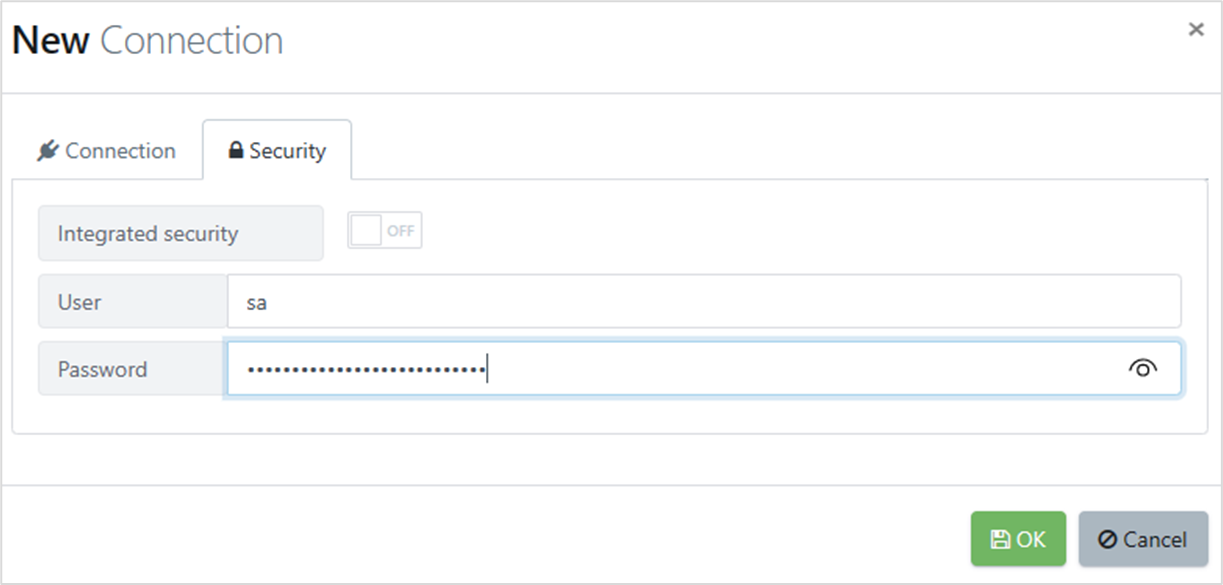
On the Security tab, use the Integrated Security slider to specify if access is bound to Active Directory. It defaults to Off.
If it is switched off, use the User and Password fields to provide the database credentials.
If it is switched on, the User and Password fields disappear.
4. Test Connection
Before containing to create the connection. We recommend you use the 'Test Connection' option to check that Enterprise Test Data can connect to the database using the settings provided. Once a connection is validated, click OK to create the connection for further use.
5. Connection Created
You are returned to the Databases tab of Data Dictionary, where the connection profile should be visible. If there are many profiles, use the filter button next to the New Connection Profile button.
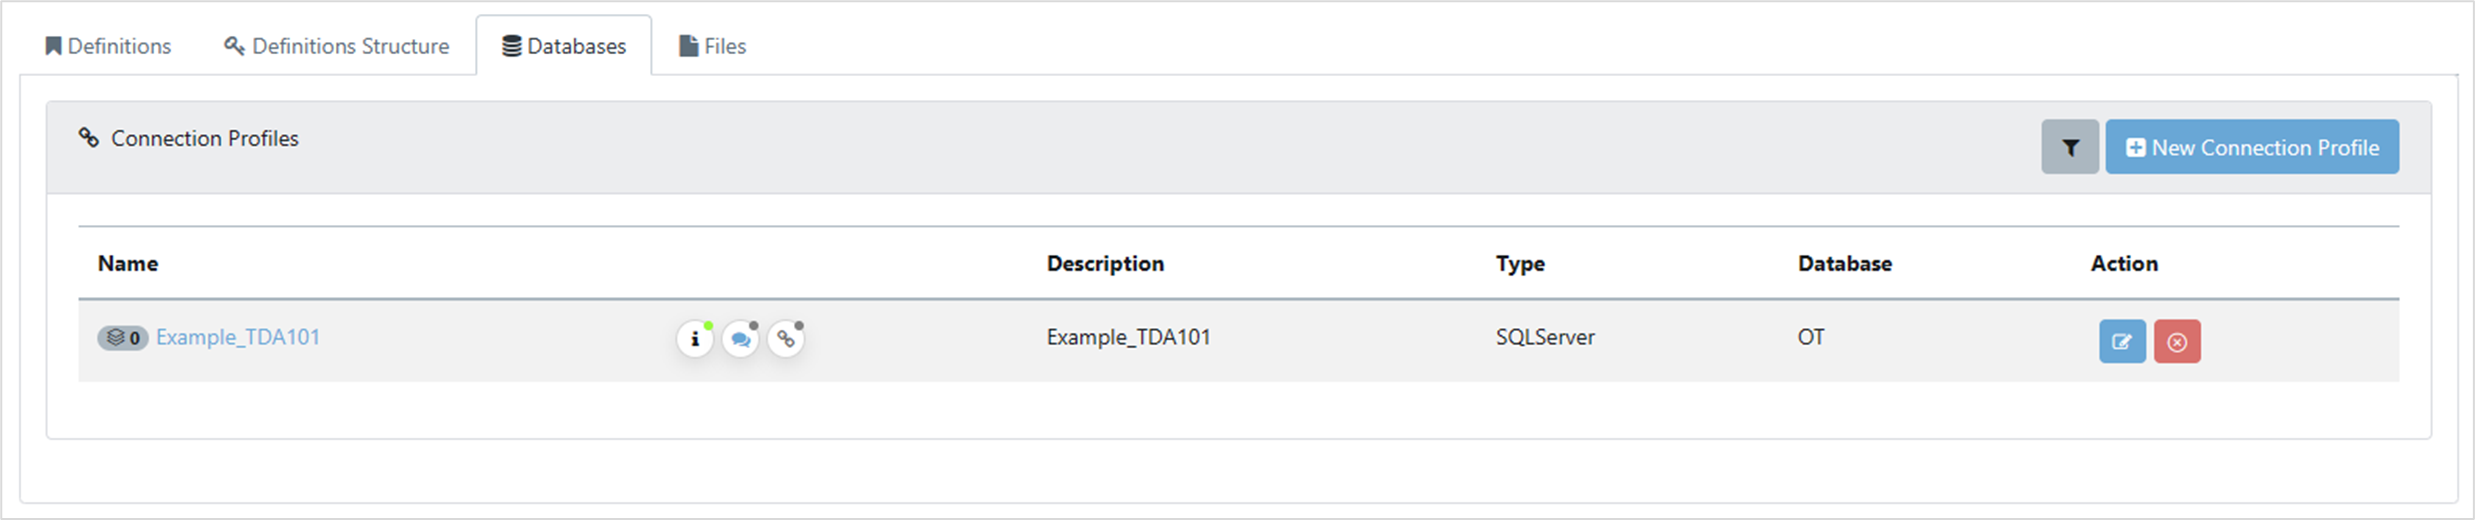
Next to the name of the profile, the number of connected databases shows as zero because you haven’t scanned any.
