In this feature video, learn how to use the automation framework to assign a date in the future: dynamic dates which update every time automation is executed but also plugged into other objects.
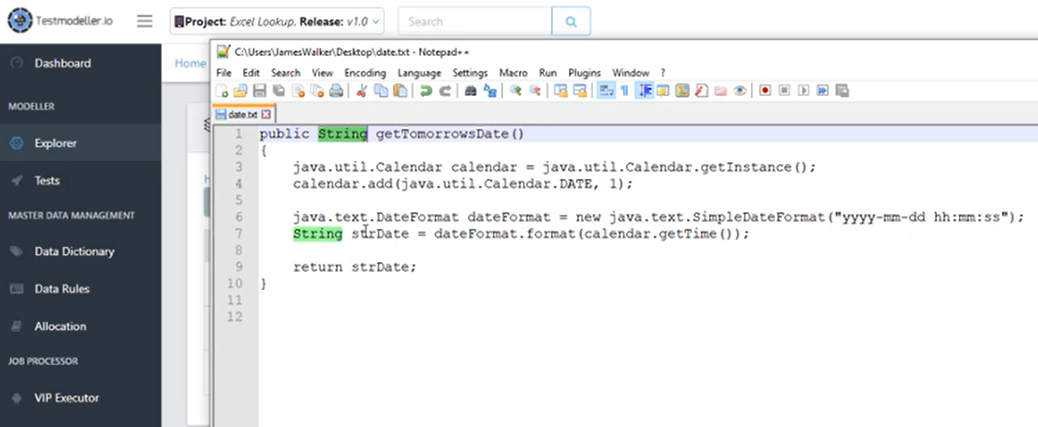
In the context of an existing test case Model, this example Java code assigns a dynamic date, which update every time automation is executed.
Creating a function which can be used in a test model
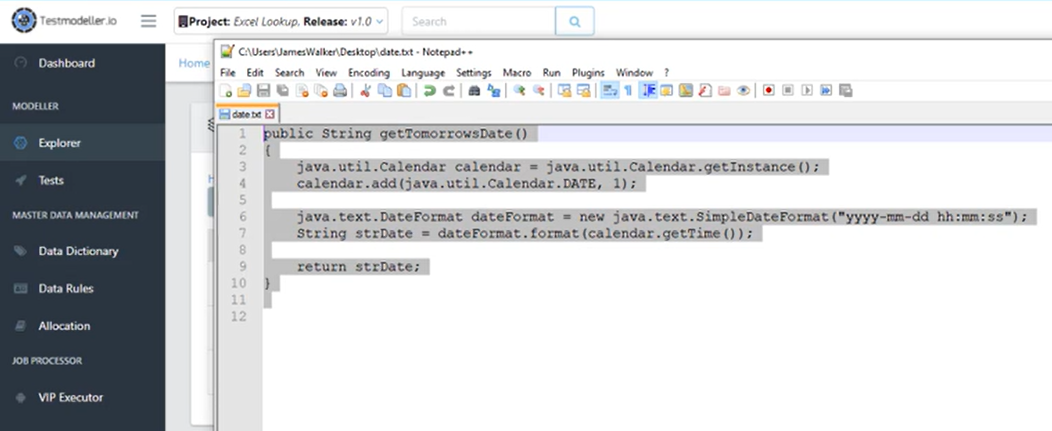
the example the objective is to be able to execute the String…
getTomorrowsDate()
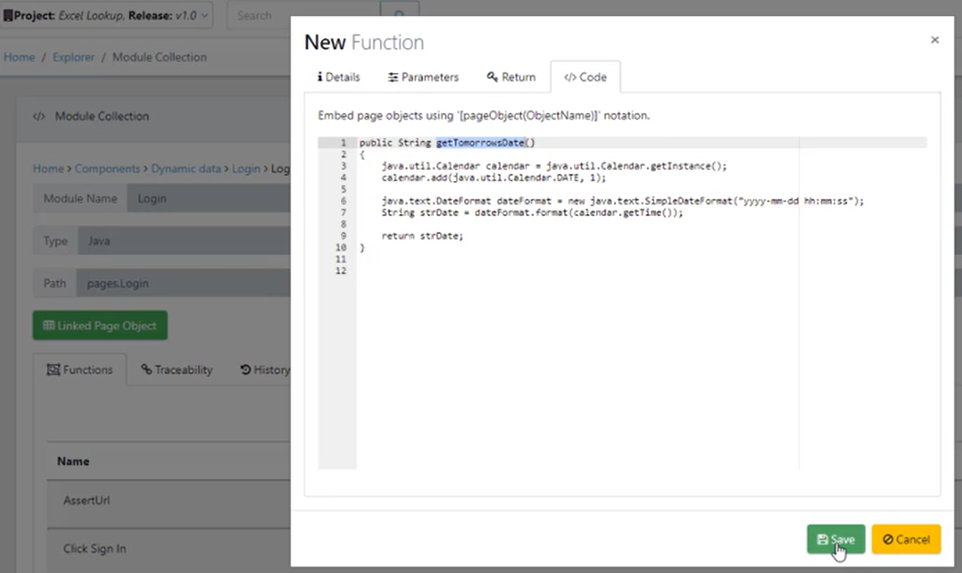
…as a Function in Quality Modeller’s automation framework. To do so, have a Java code snippet ready to copy and paste from a text editor.
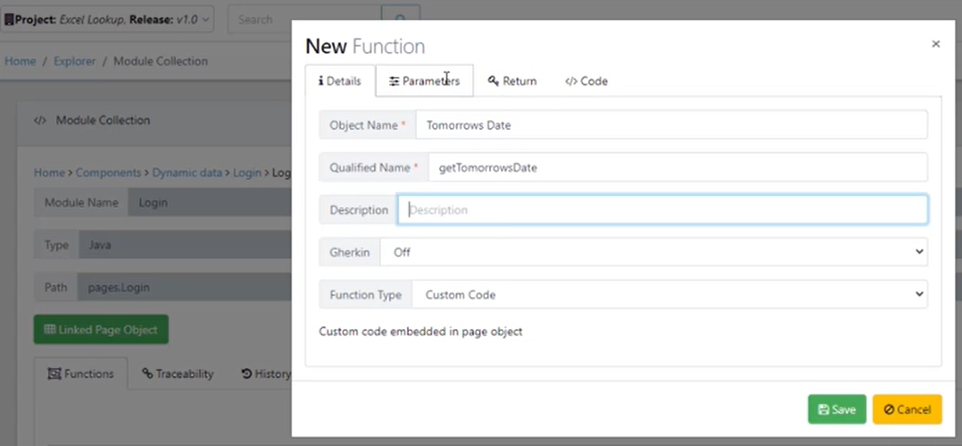
Then using the existing model located in Explorer (Dashboard far left) click the module object </>Login which now gives the option to create a +New Function (light blue button) as part of the Module Collection.
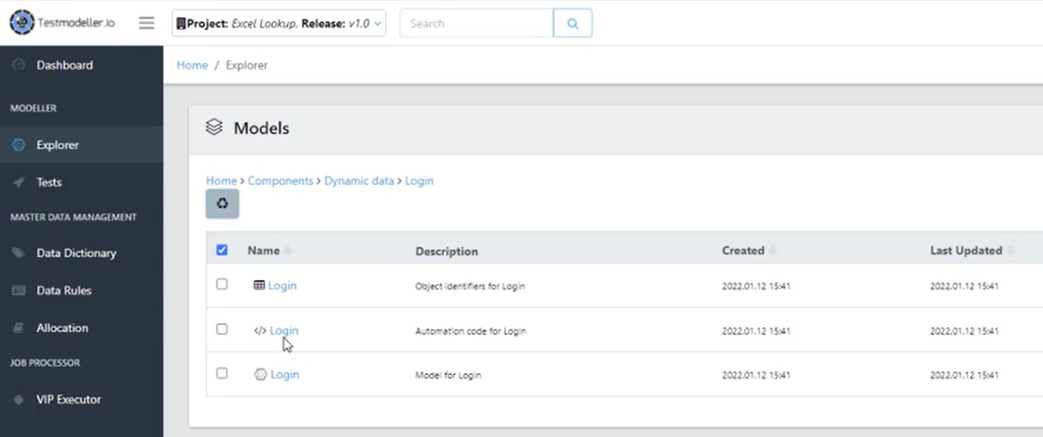
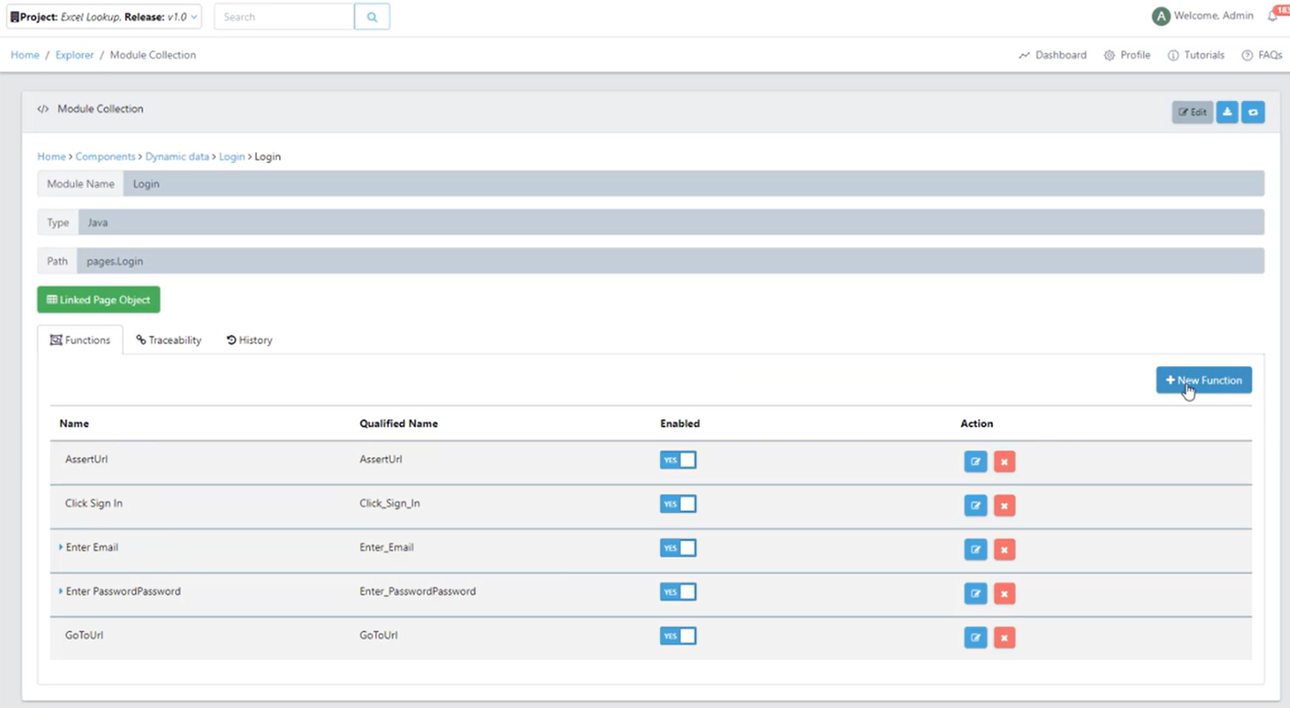
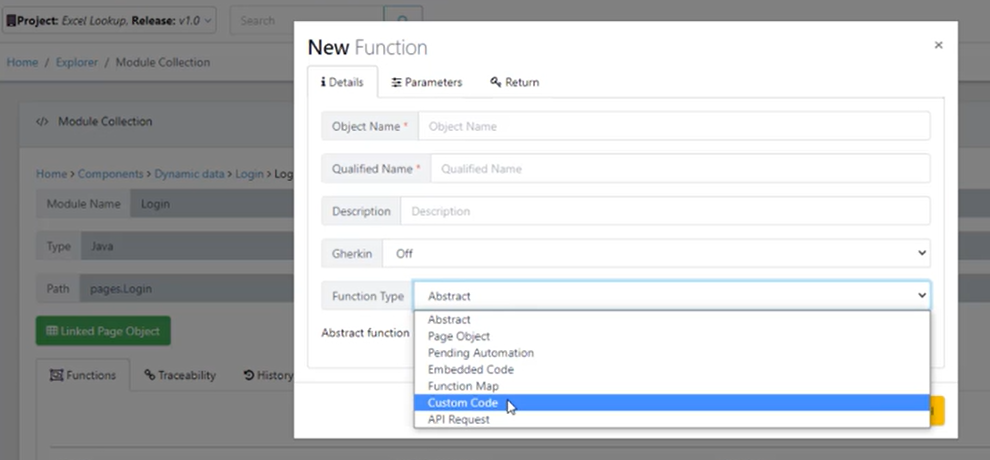
Select Custom Code (to reveal the Code tab) from the Function Type drop down of the New Function panel.
In the test case example where the Java code is to assign a dynamic date which update every time automation is executed the example uses…
getTomorrowsDate
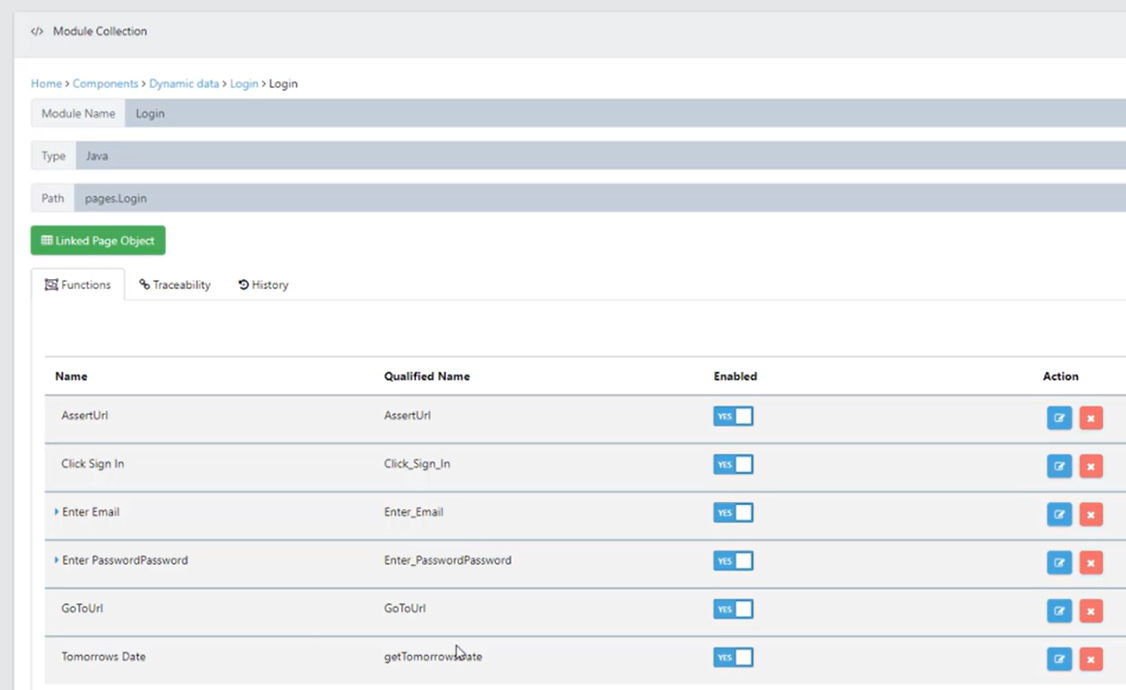
…as the Qualified Name. Then add the Object Name (which will be used in the Automation panel later), in this example Tomorrows Date. Parameters can be left unassigned. Remember to assign a Return Type String in the Return tab text field. Then finally paste the Java code in the Code tab and hit Save. The Function named Tomorrows Date is now listed as part of the </> Module Collection.

Experimenting with one path
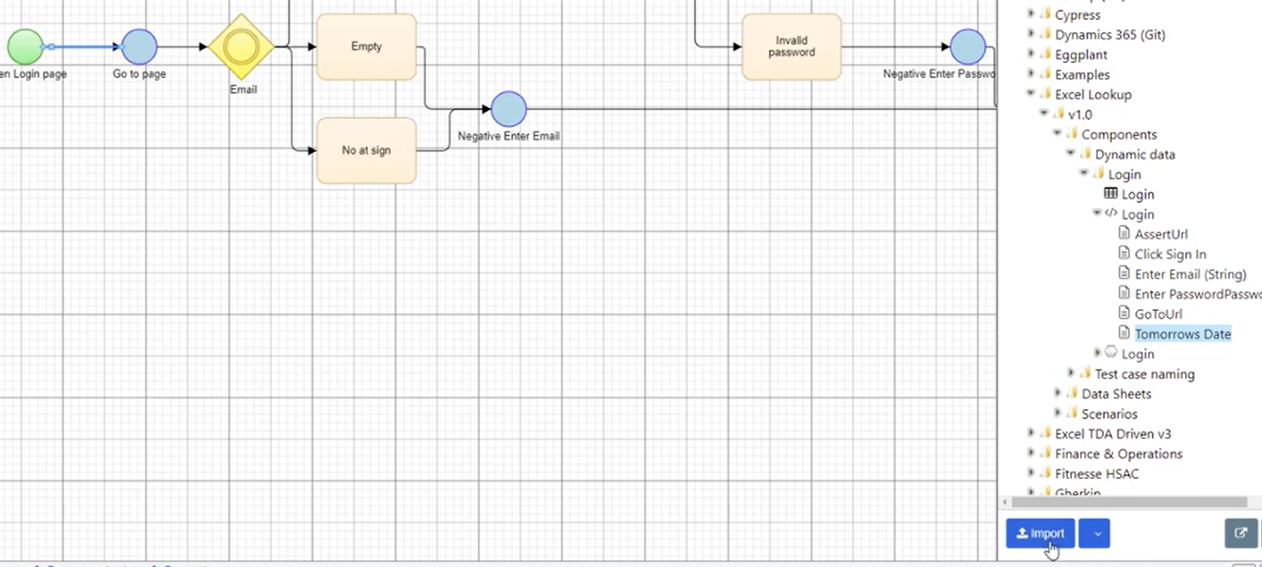
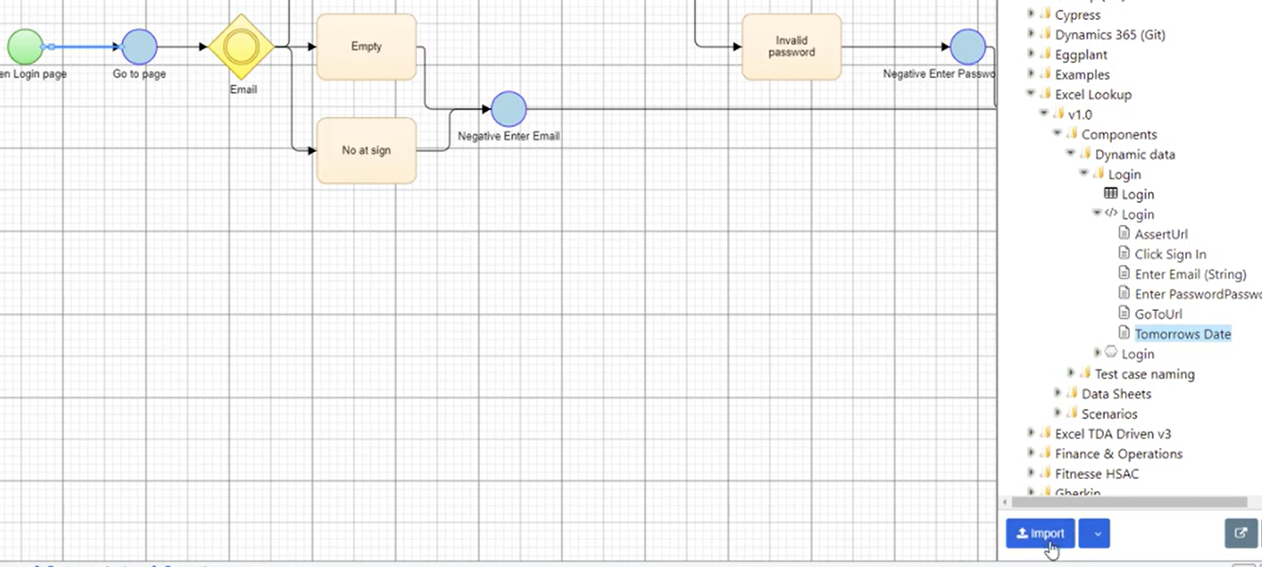
Now navigate the model on the Quality Modeller canvas and also locate the Function named Tomorrows Date listed under Projects > Components > Dynamic Data in the Project Explorer / Automation panel (far right).
Apply the automation in a 3-step process: manually select the arrow highlighted on the canvas, click the listed Function Tomorrows Date, then hit the blue Import button. To view the Output Parameter Tomorrows Date hit Edit in the Automation panel.


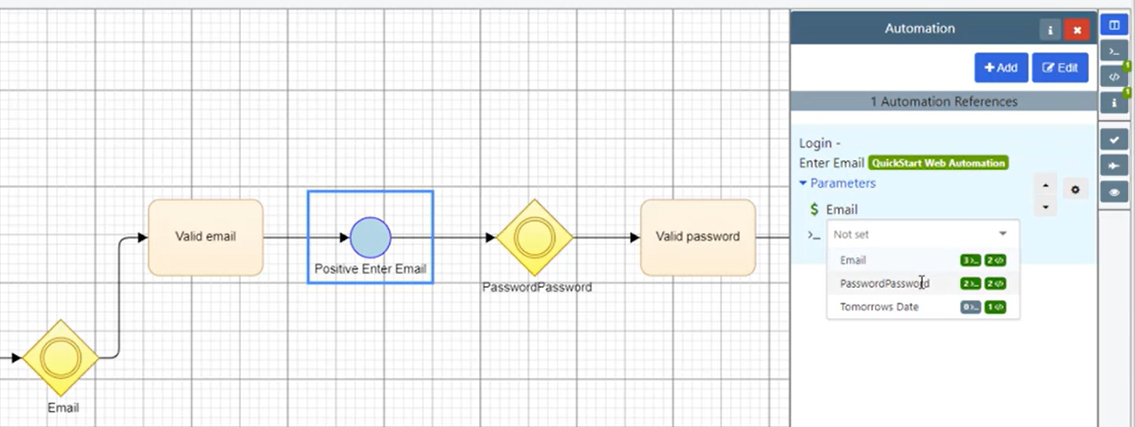
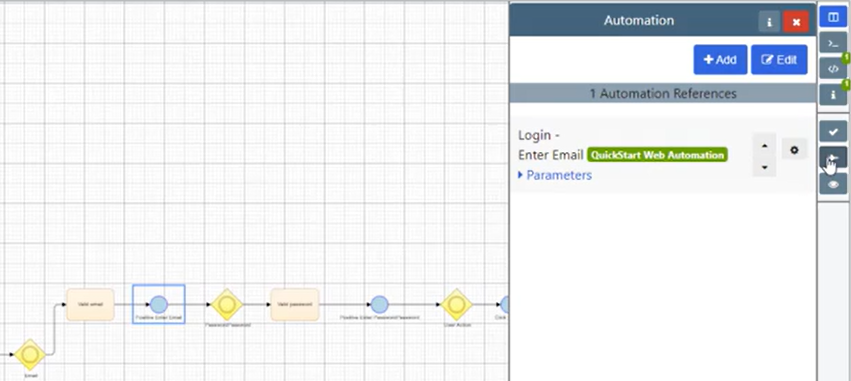
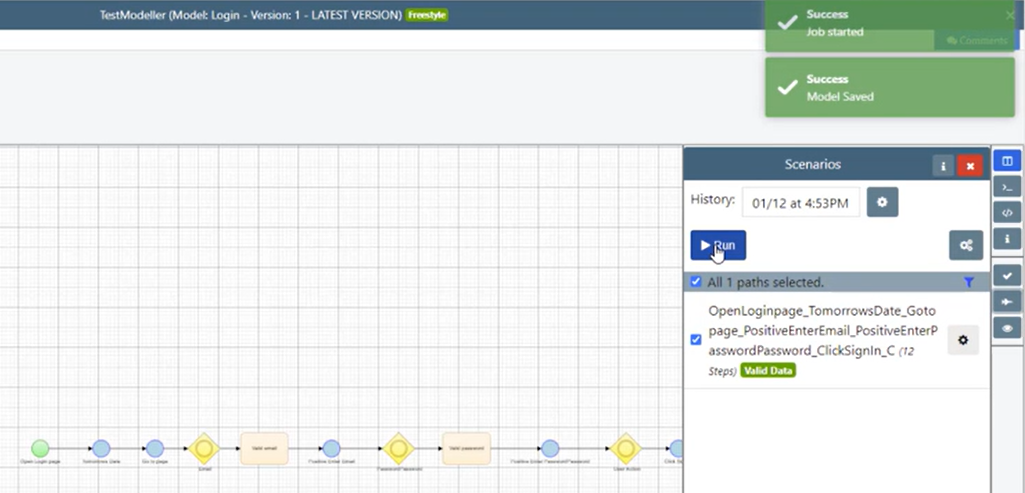
Finally, the next 3-steps allow the module Function to be attributed to another waypoint. In this example, Positive Enter Email is selected. In the Automation panel, set the variable in the dropdown to Tomorrows Date. Then hit the Generate (plane icon) in the Automation panel. To zip the source code for downloading, hit the Run button followed by the cog icon </>Automation code in the Wizard.
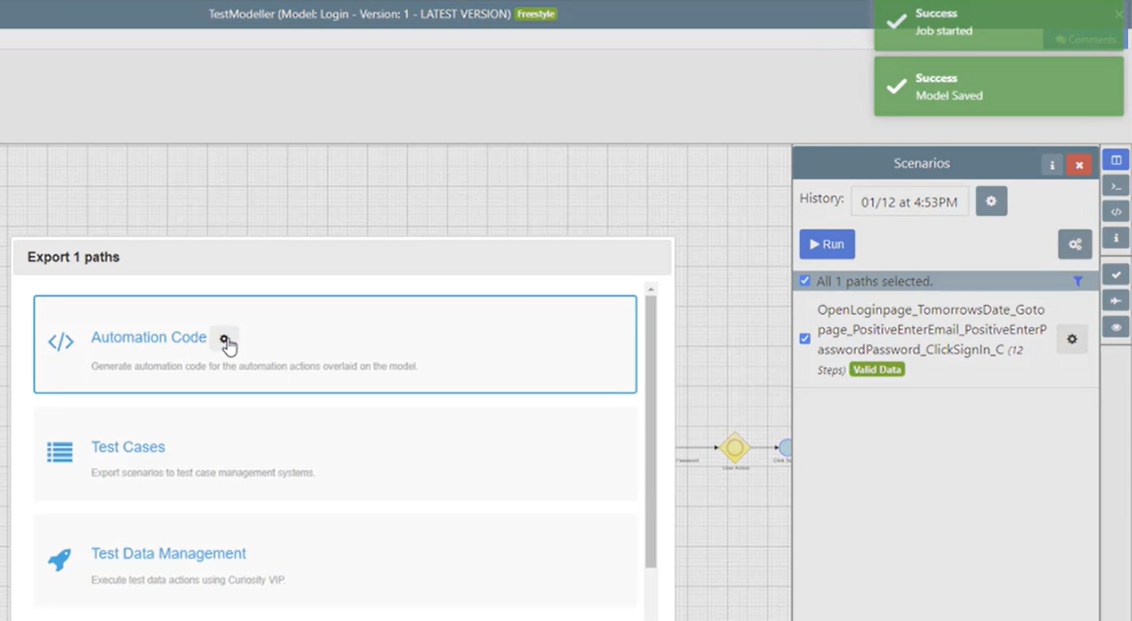
Getting data back to plug into another object
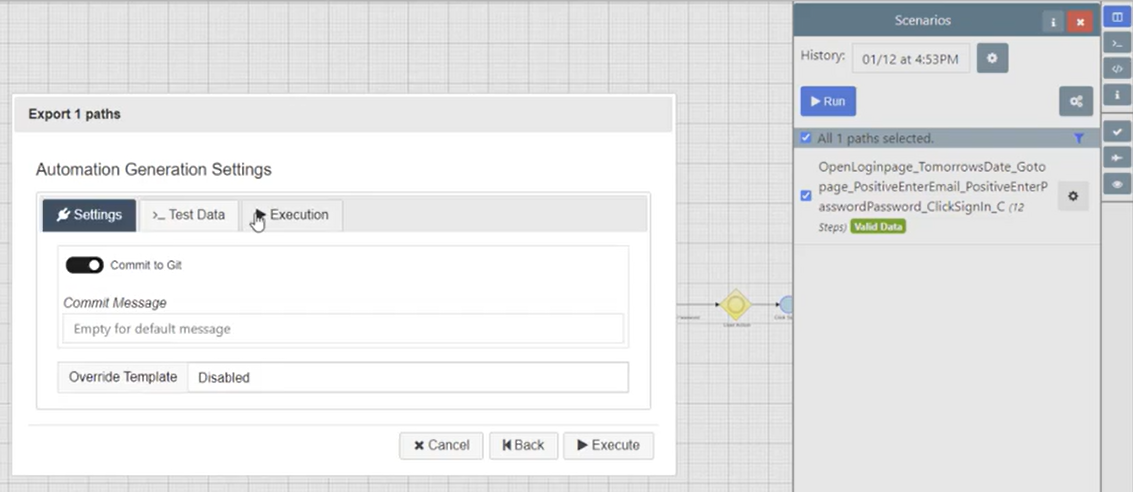
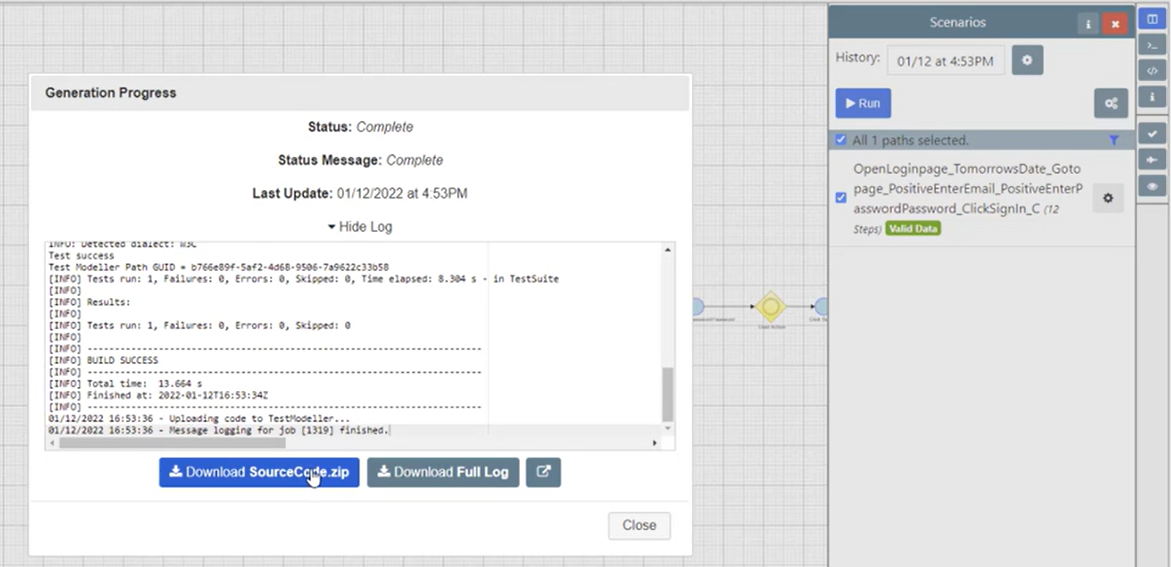
To download the zip file of the source code, select the Execution tab in the Automation Generation Settings panel.
Remember to hit the close button once it’s downloaded.
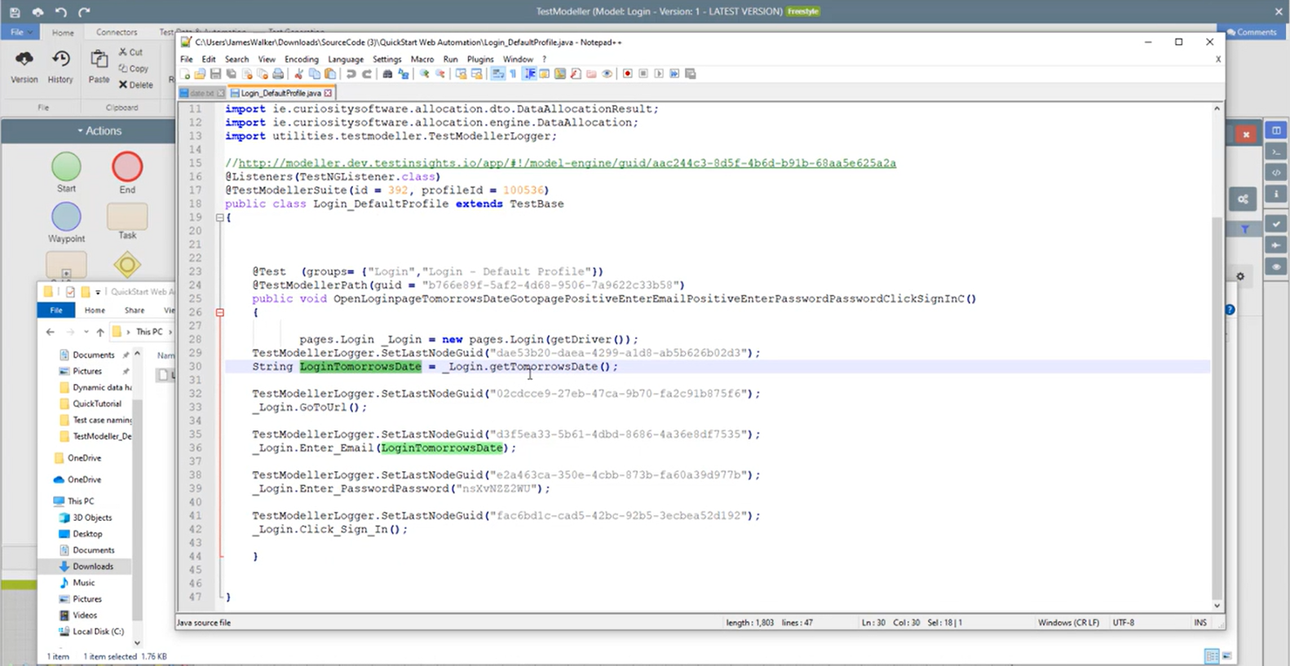

View the results
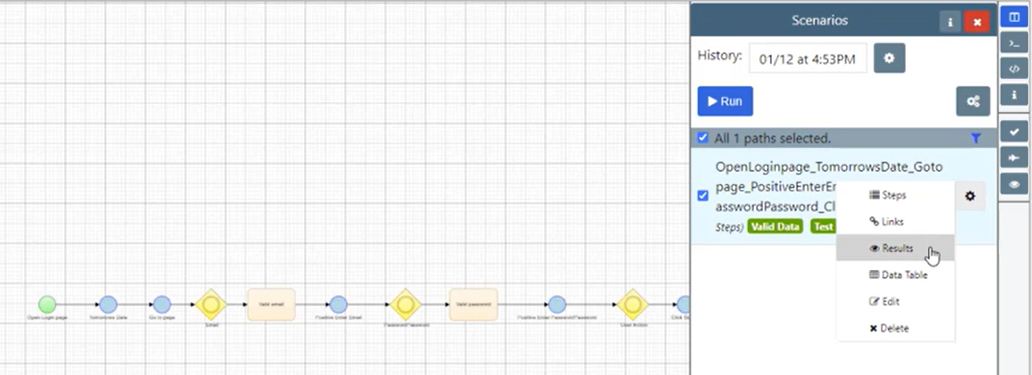
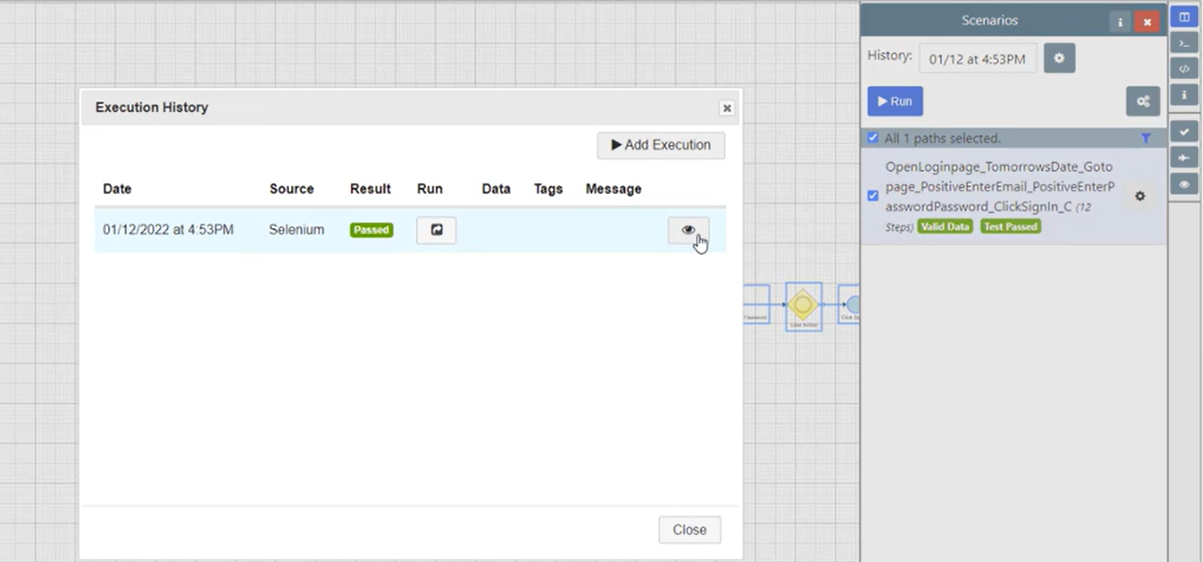
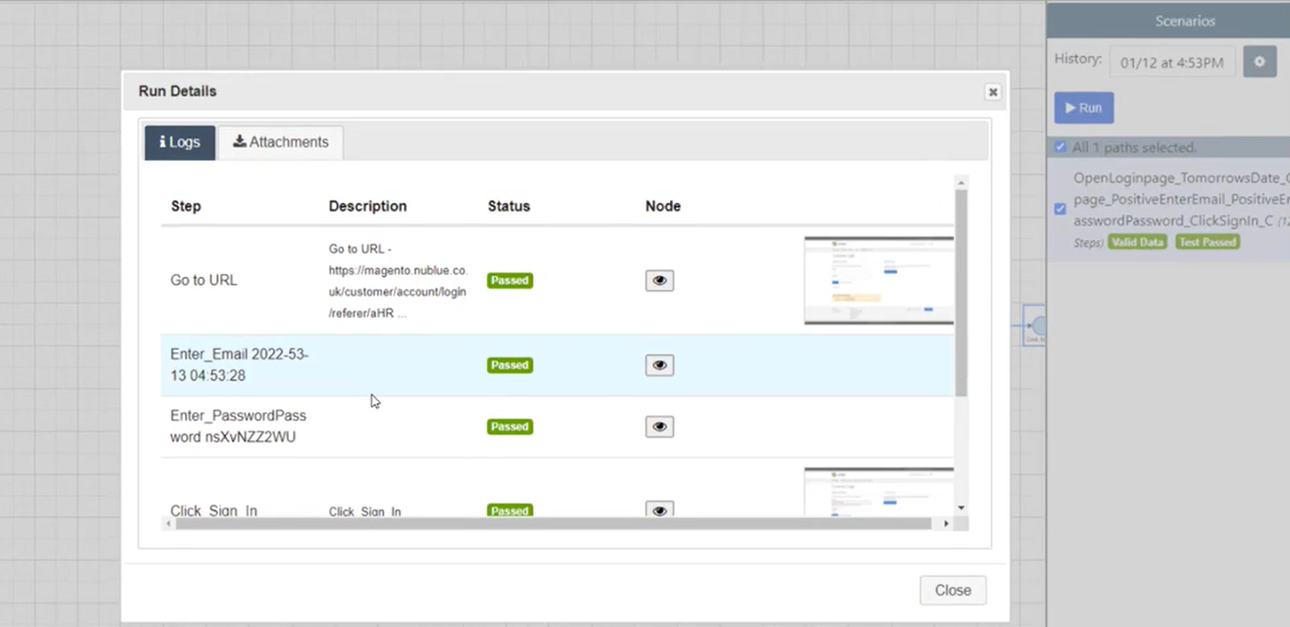
In a model, it’s possible to check its execution history of +New Function in </>Module Collection. In the Scenario in the Automation panel highlight a Generated path, select Results from the drop-down, and finally in the Execution History panel click the eye icon to view the Log/Attachment details.
