The Curiosity Platform provides advanced Data Masking and transformation functions to secure sensitive information before it reaches non-production environments. Often data requirements need to be very specific, and you will need options in how to maintain top quality data. By leveraging techniques like cross-referencing, you can reference different values and combine as part of your masking routine.
In this example, we will use an EMAIL column and reference a FIRST_NAME or LAST_NAME to keep the data looking realistic whilst being secure.
Data Activity
We will now build a new Data Activity. This activity will configure & control the cross-referencing data masking job.
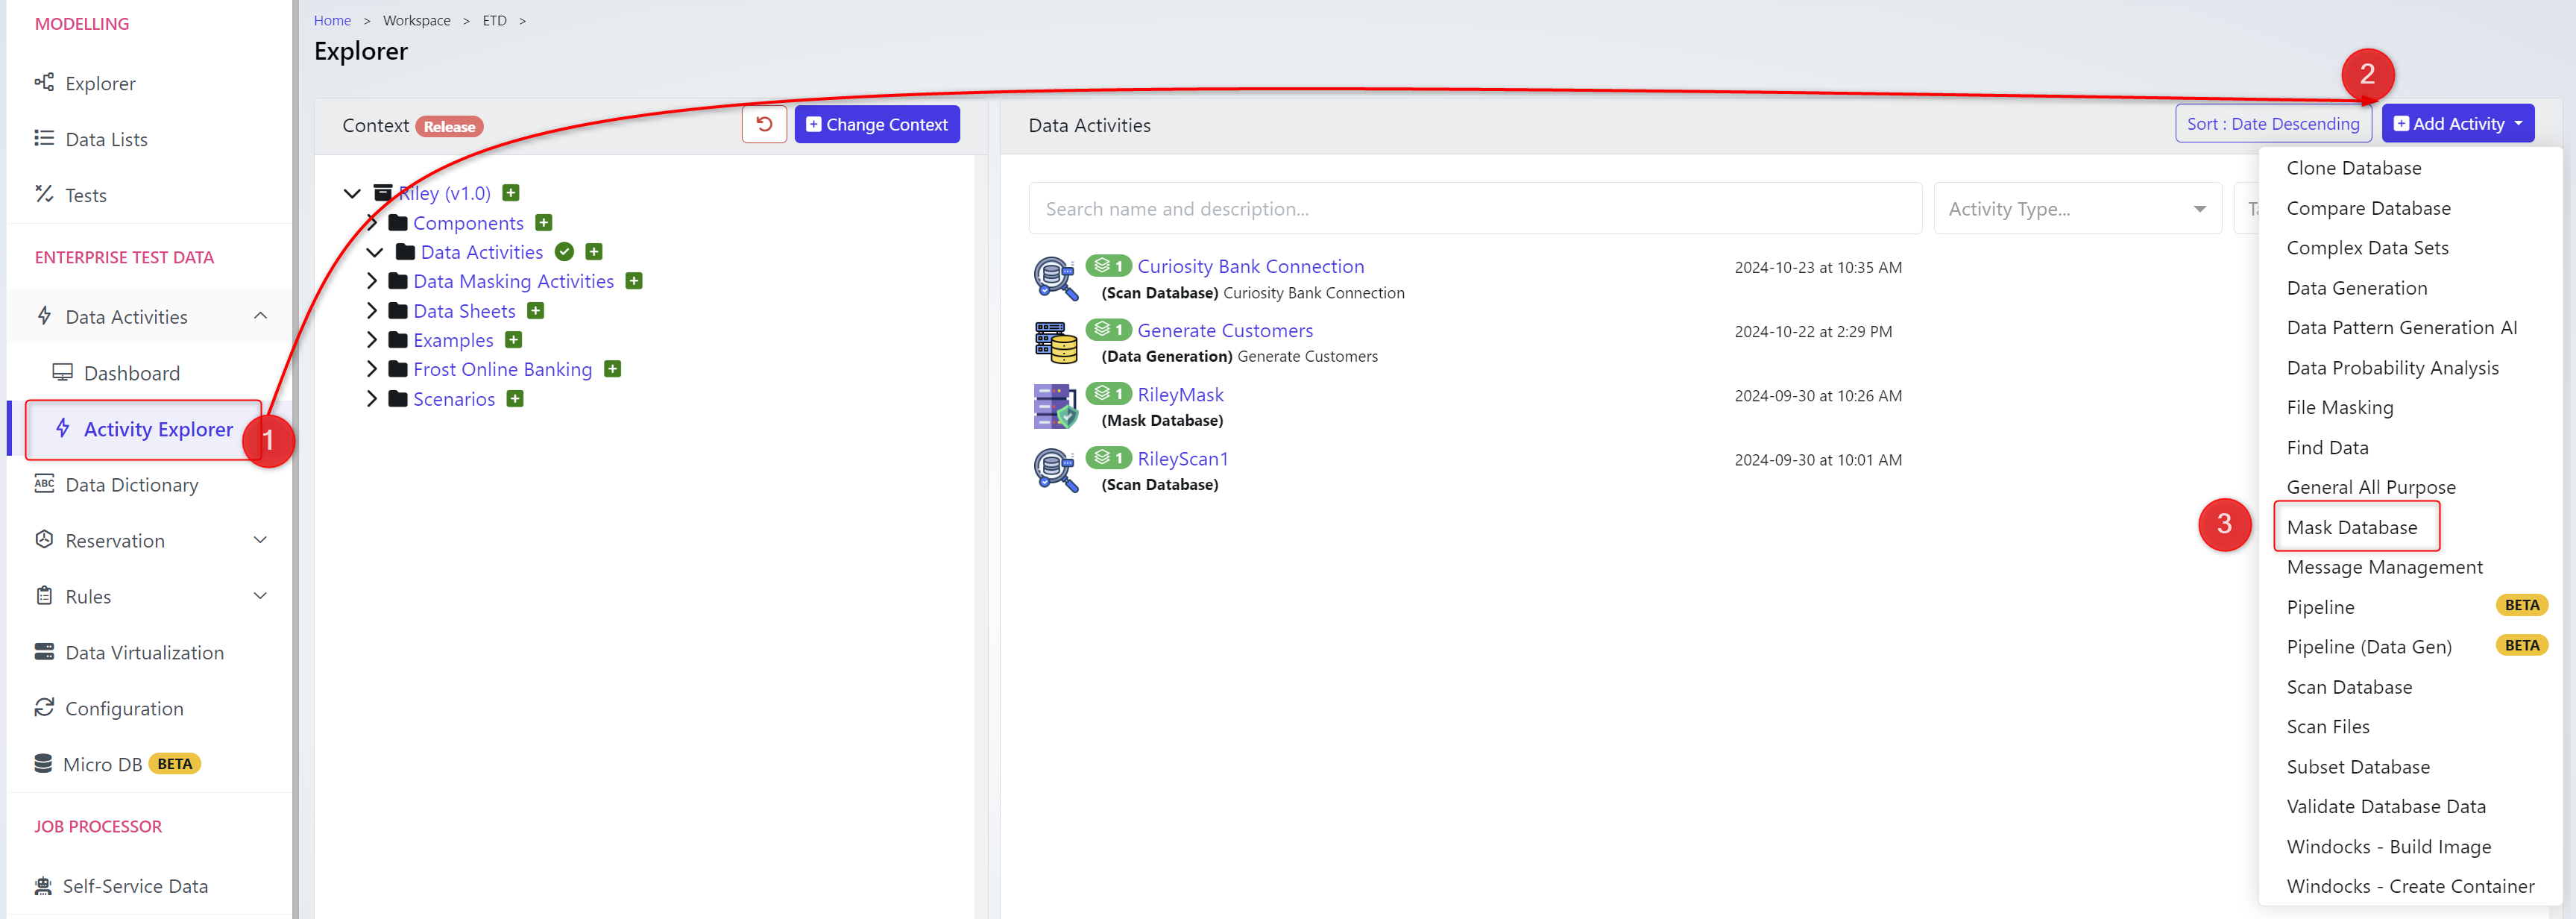
Navigate to the Data Actives → Activity Explorer. Choose to +Add Activity → Mask Database.
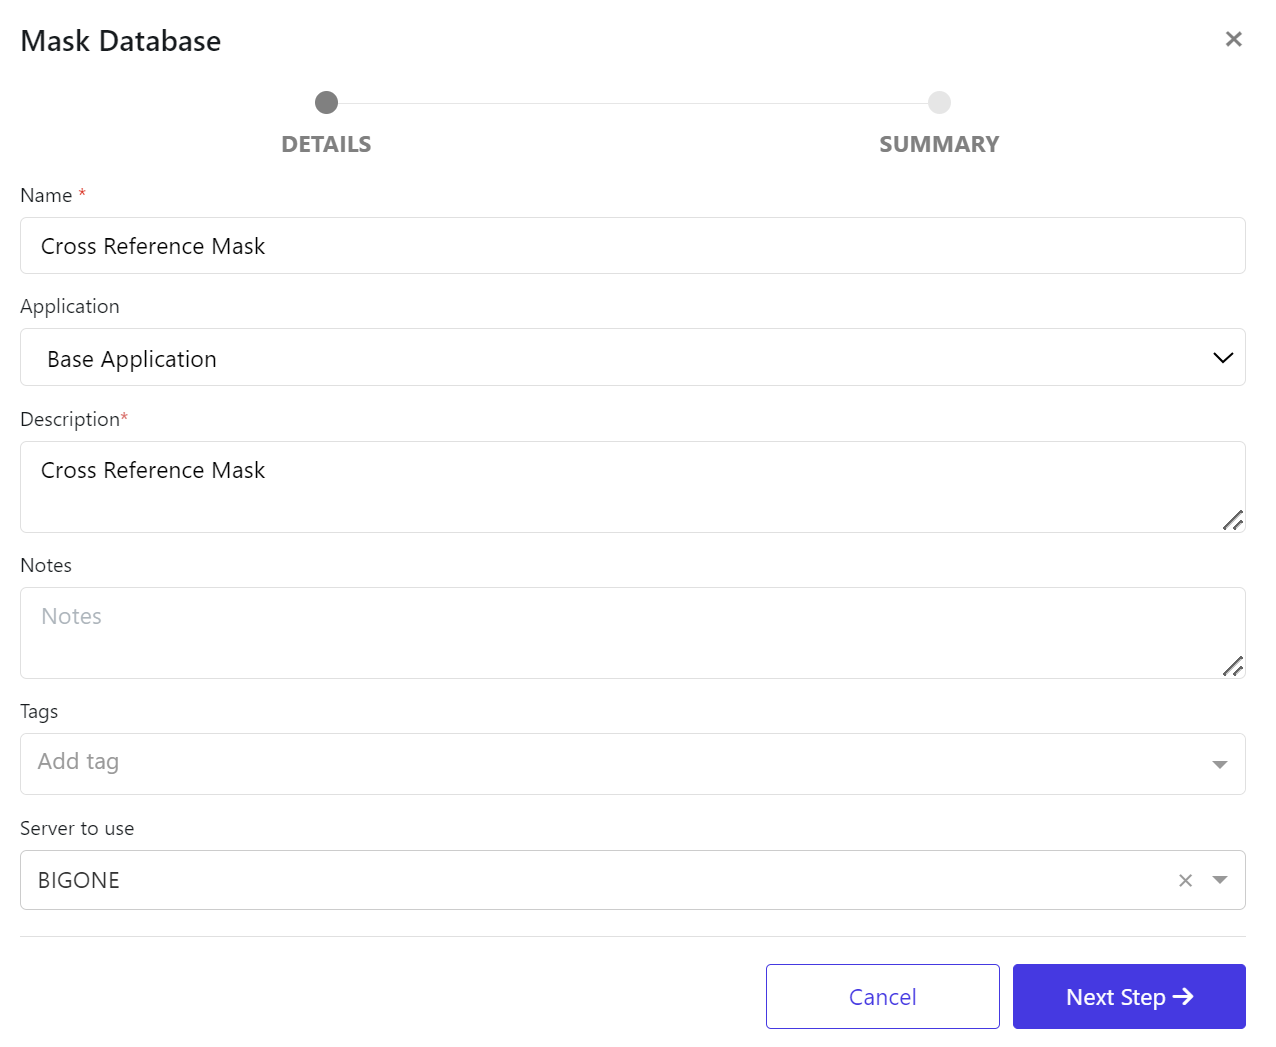
Provide a Name & Description then click Next Step when ready.
Click Go to Activity. When the job completes.
Attach the Default Database Connection & Attach Definition Version

Here we attached

The latest database Connection & Version #2 of a Definition version.
If you are unsure of these steps - Follow the Data Discovery documentation
We will now create a new Rule Set Version click on the Play icon.

On the Details tab provide a Name & Description
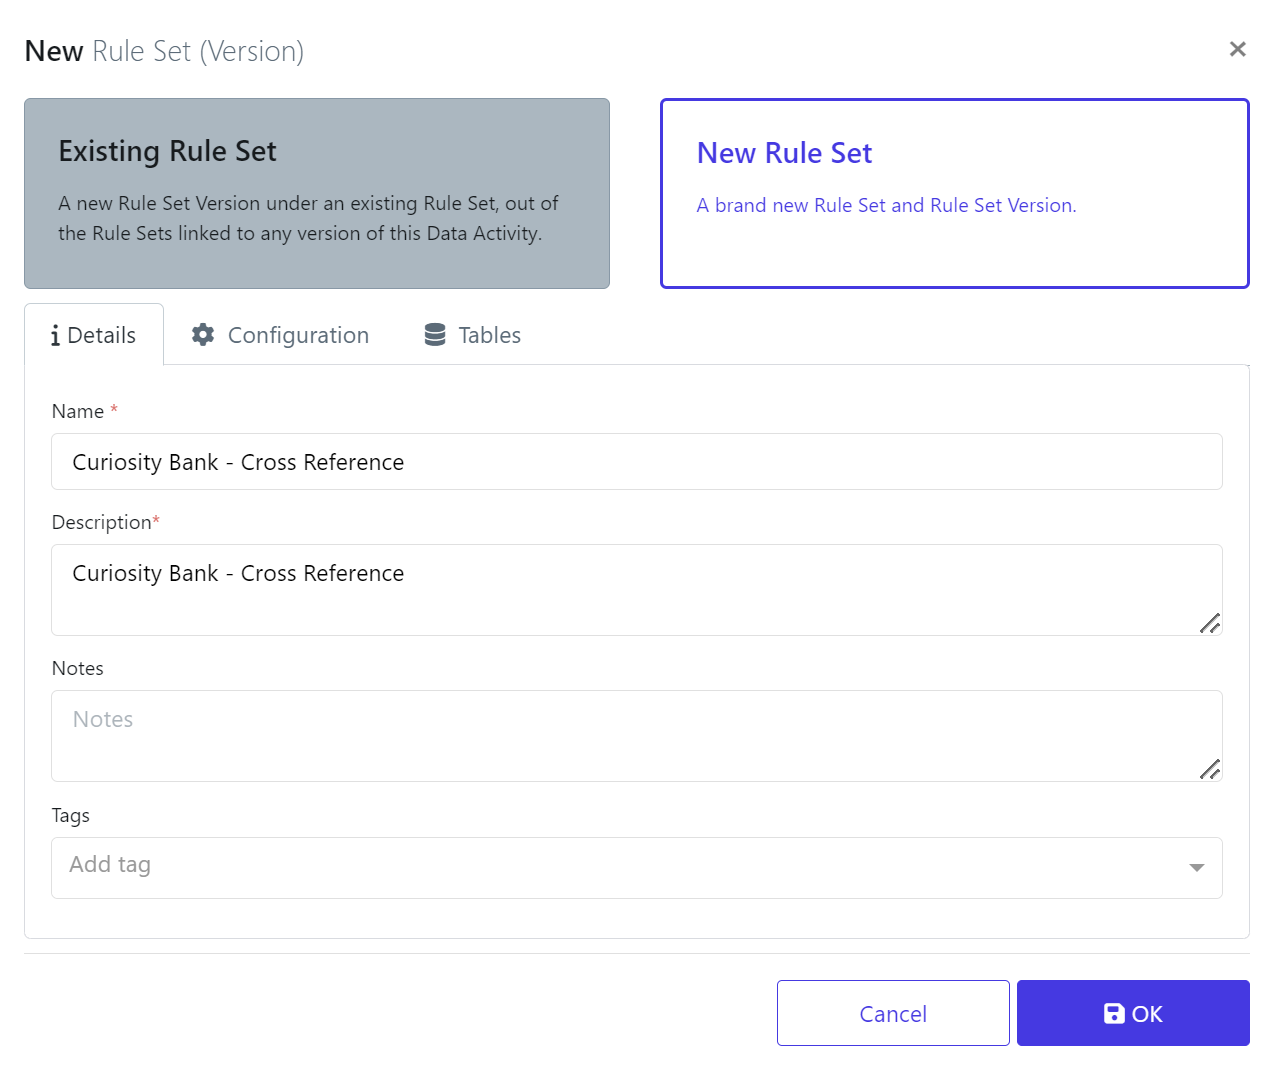
In this example, we don’t need to alter anything on the Configuration tab.
On the Tables choose the table you are masking and click Add tables.
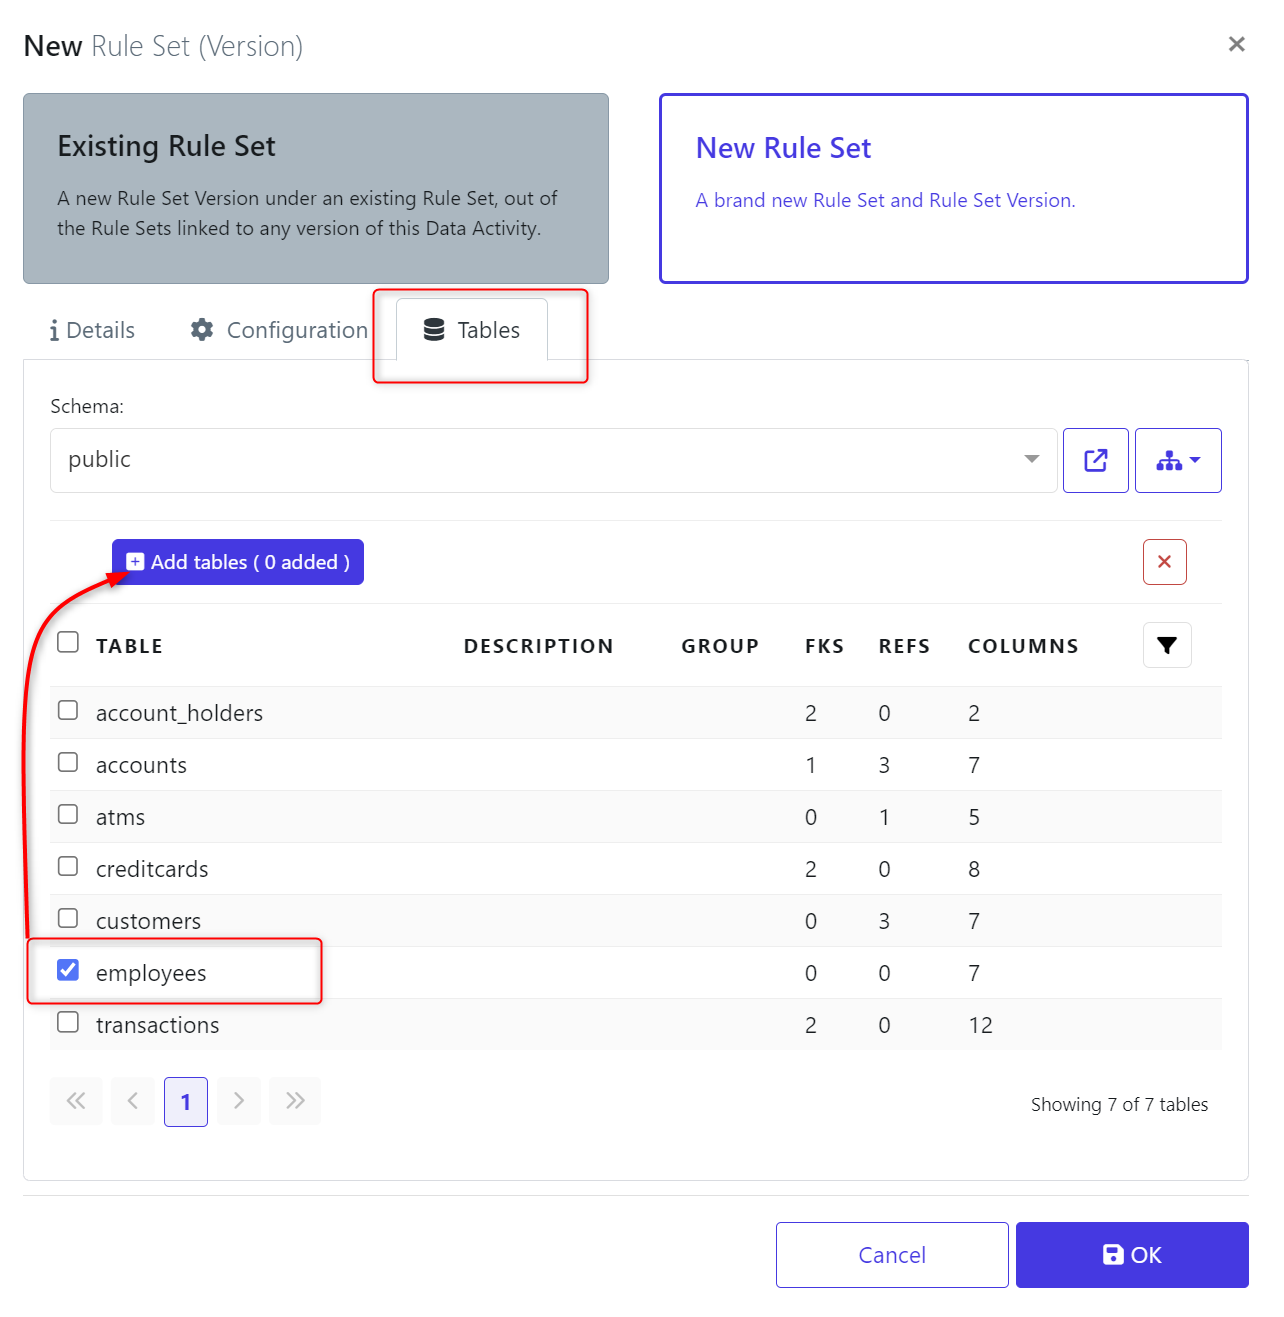
When finished click OK.
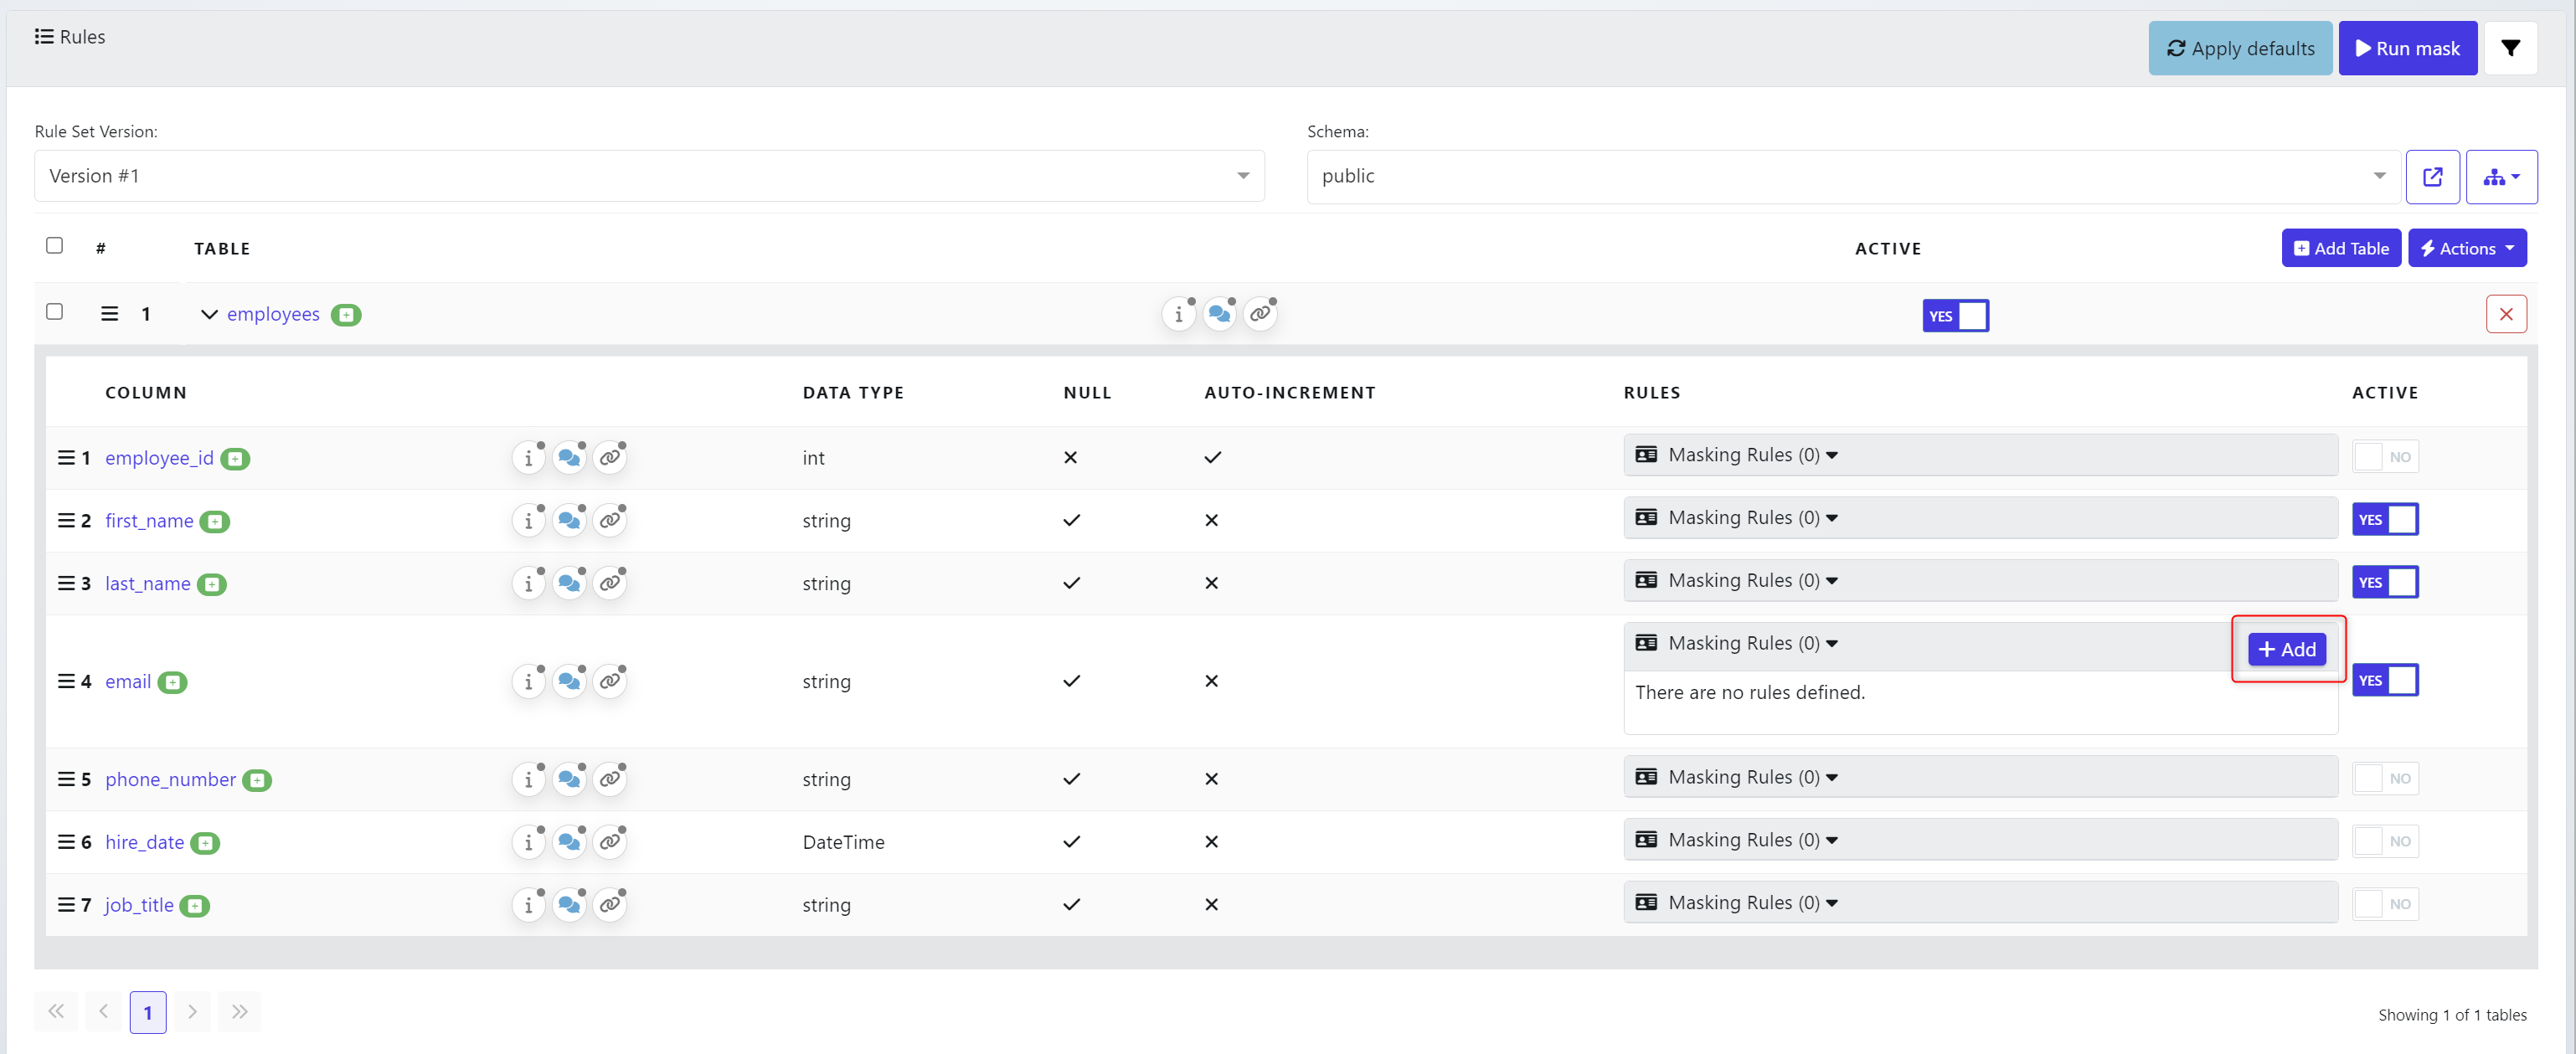
You can now navigate to the Masking Rule Set Version #1.

From the Rule Set, click add on email.
Provide the Type (for email, Internet) & select Function Masking.Email.
This will provide parameters you can now reference.
Toggle reference to Yes / No to provide a list of other columns you can choose from.
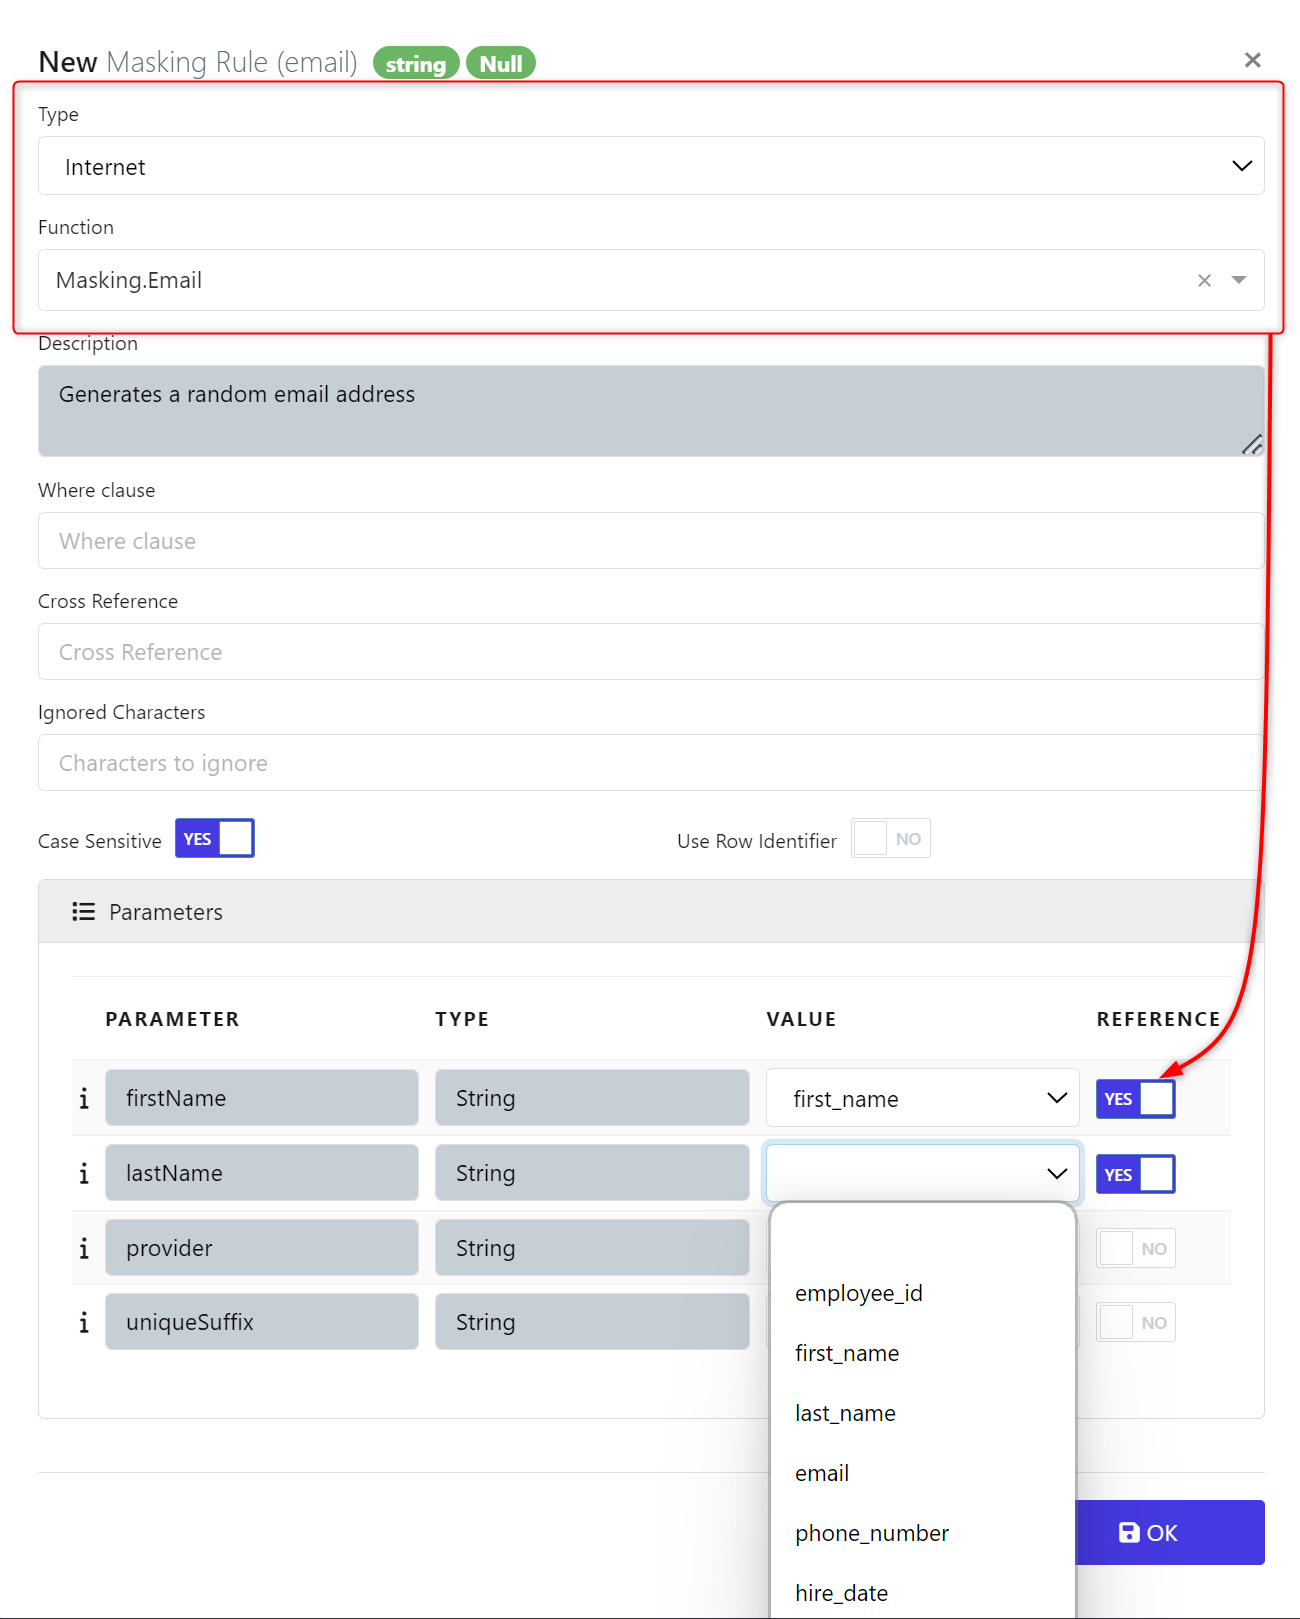
Choose the columns to reference. In this case FirstName & LastName.
The goal here is to have the firstName.LastName@provider.uniqueSuffix created for consistency in the data formatting
Click OK.
Return to the Data Activity.
We now need to create the Data Masking Submit Form. From the Data Activity, click Data Masking Submit Form.
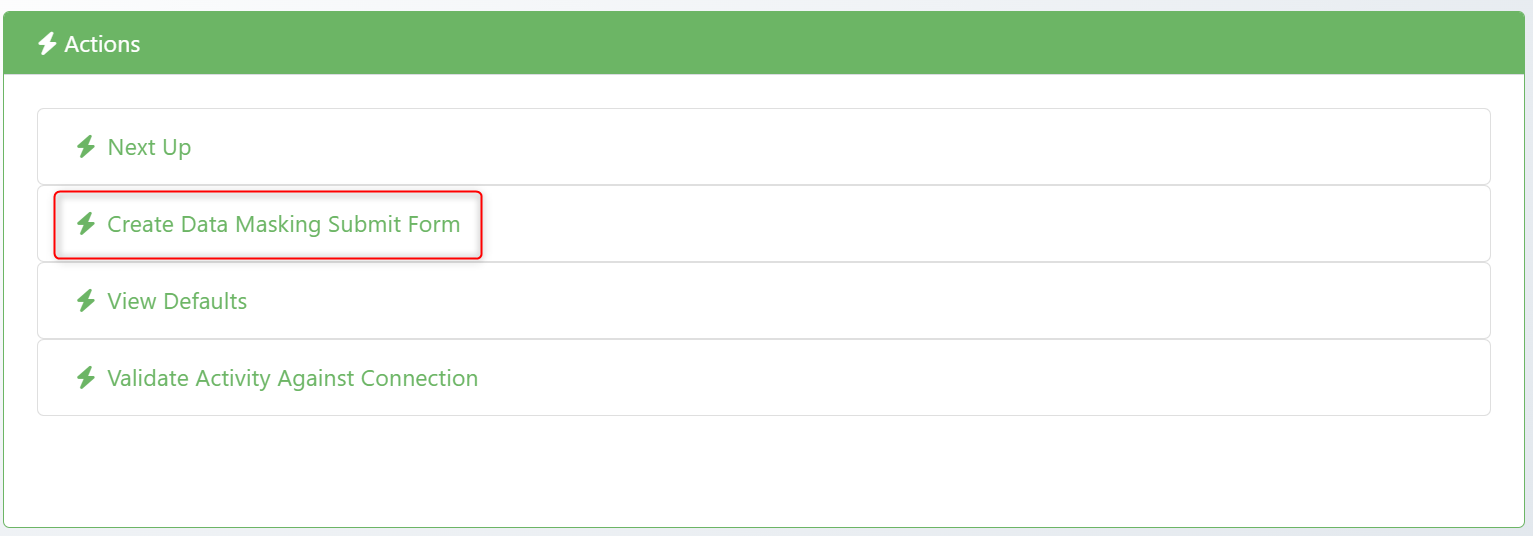
Provide the Name & Group to store the job.
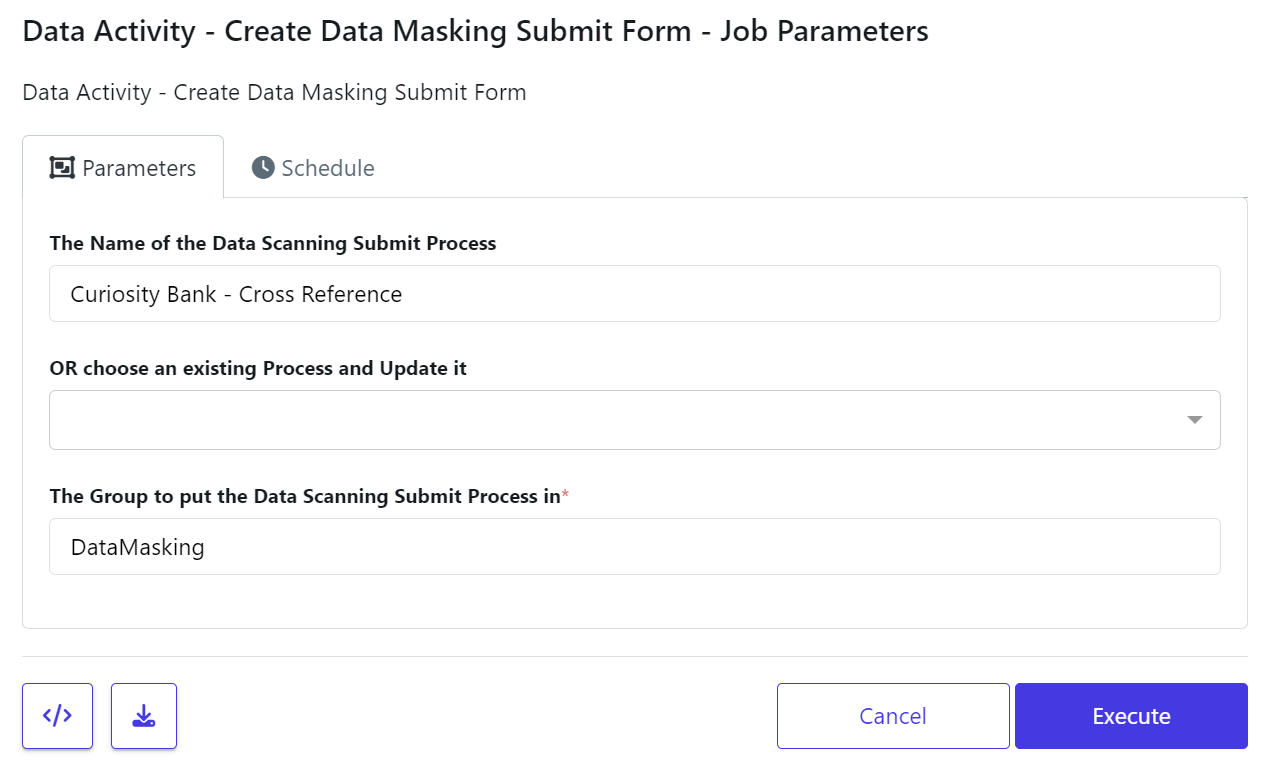
The Data Activity should now hold all the below details. When you are ready to run the mask, Click the Play icon.

If you had additional configurations such as a audit report request or just to validate the database, select those options. Otherwise, just click Execute.
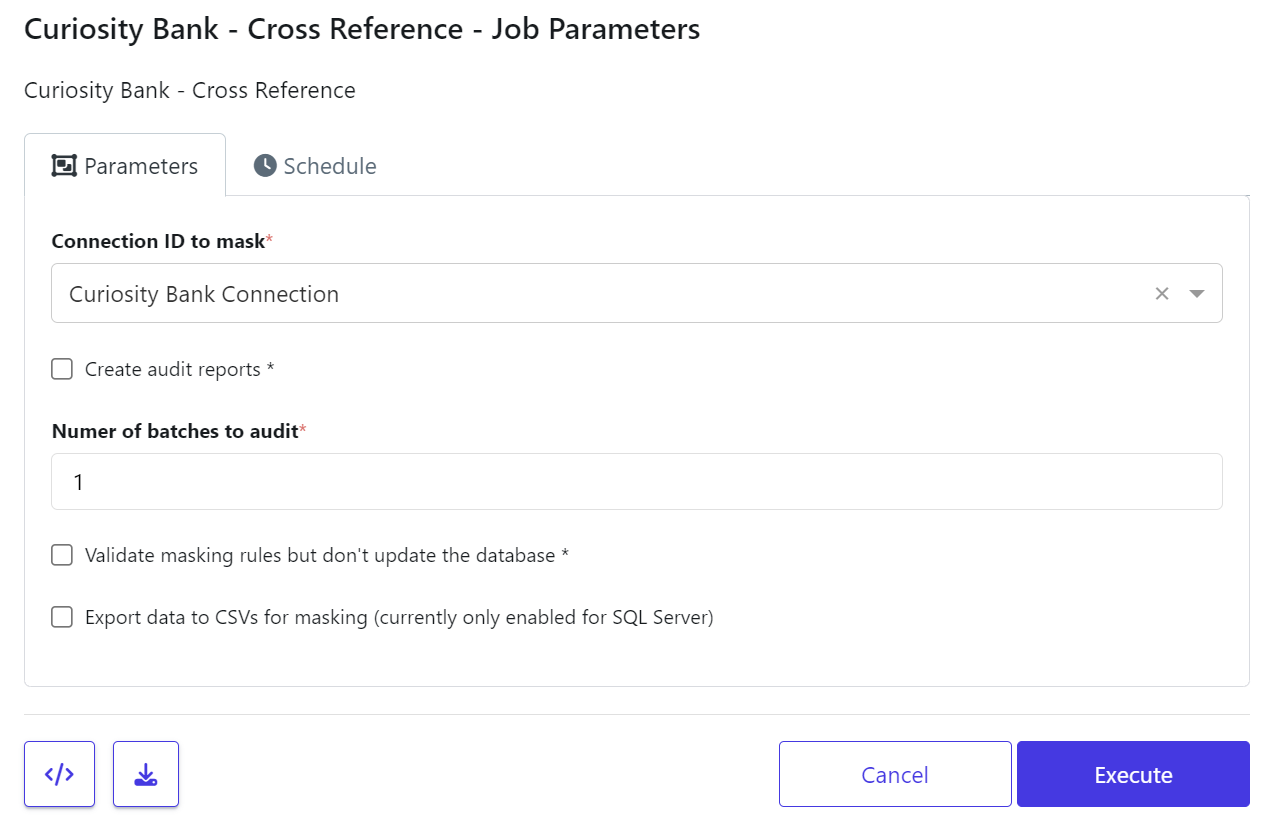
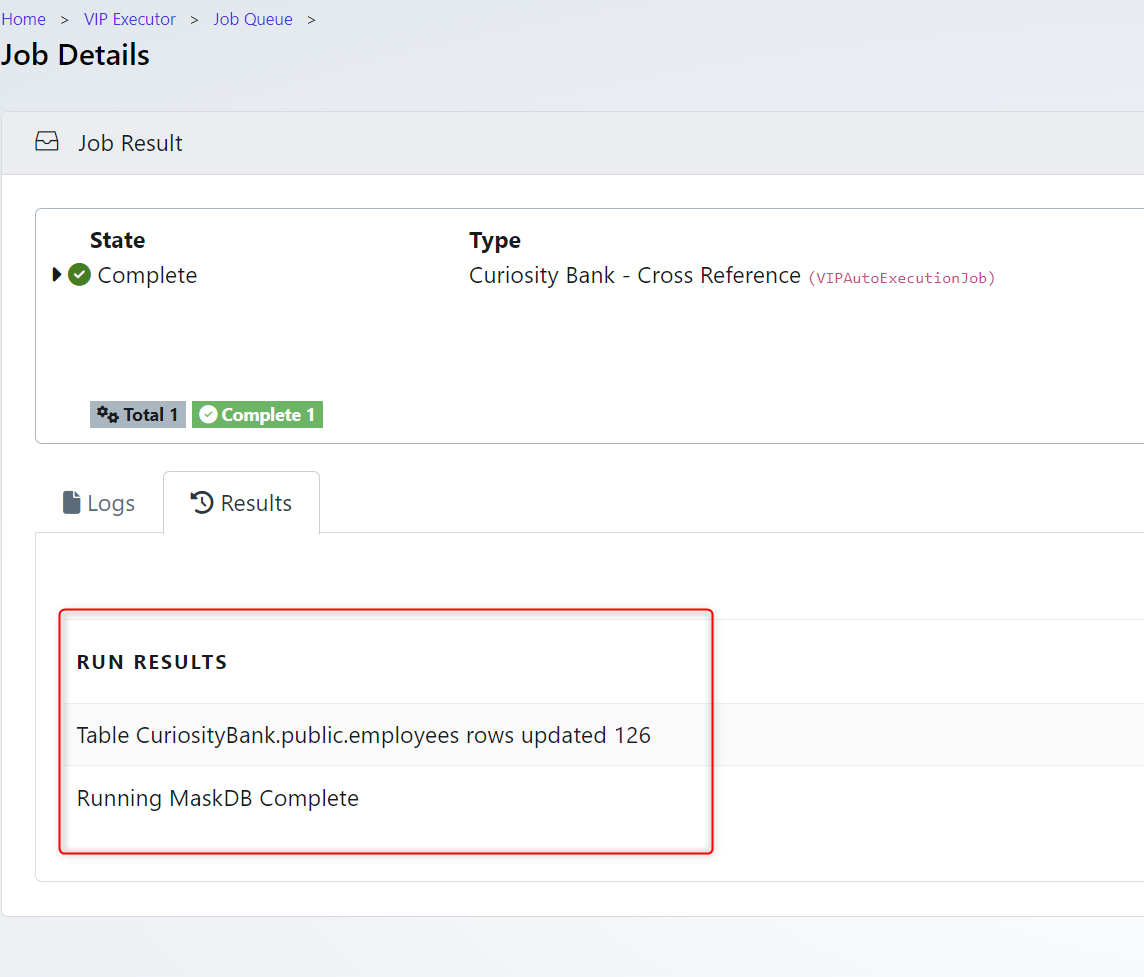
When the job runs you should see the records that have been masked.
