This page shows the Test Data Activity for Database Subsetting, a technique for reducing the size of test data sets, while retaining the data variations and relationships needed for rigorous and complete testing. In this tutorial, you'll learn how to set-up and configure the Subset Database activity.
About
Data subsetting is a process used in database management where a smaller, representative portion of the database is selected for specific tasks like testing or development, helping optimize system performance and resource utilization. This subset retains the intricacies of the original database, including data variations and relationships, ensuring that the testing or development activities performed on it remain comprehensive and accurate. By reducing the data volume without compromising the data's complexity, subsetting allows for faster, more efficient testing cycles and resource usage, while also reducing the risk of data exposure, making it a practical approach for data management in large-scale, complex database systems.
Tutorial
Following along with the below video walking you through the process of setting up a subset for the example OT database, which contains tables about customers, countries, suppliers, and orders, with accompanying step-by-step documentation.
In this tutorial, we'll walk you through step-by-step how to subset your own database.
Prerequisites for Database Subset
For this data activity, you will need a:
Step 1 - Create a Data Subset Activity
The first step to subsetting your data, is to create a new data subset activity. Firstly, navigate to the Data Activities dashboard, then select the 'Subset Database' activity.

This will launch the wizard for creating data activities. In this section, you are required to provide specific details about the activity, including a mandatory name and description. After filling out the necessary information, click on the 'Next' button to proceed.
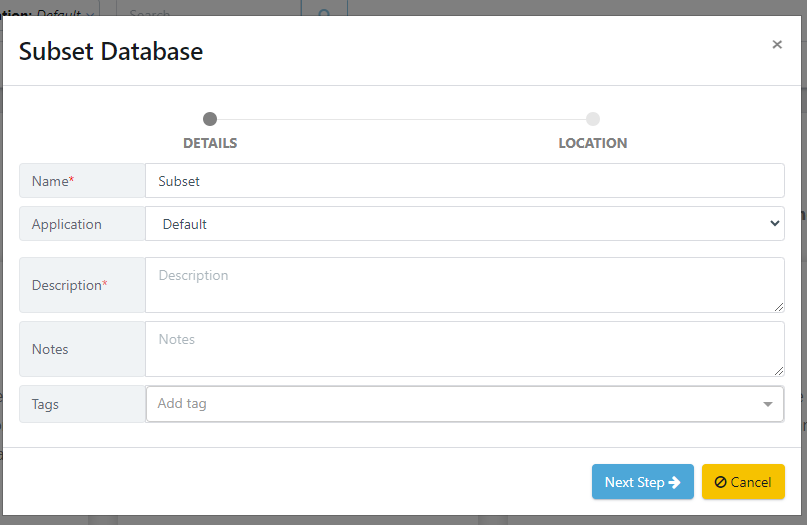
After entering the activity details, you must select a location to save the data activity. Once you have chosen a location, click the 'Finish' button to complete the wizard.
.png)
A new data activity will appear, ready for configuration.
Step 2 - Attach a Definition Version
First, you will attach a definition version for your target database to perform the subset on. Under the Add Components section, select Attach Definition Version.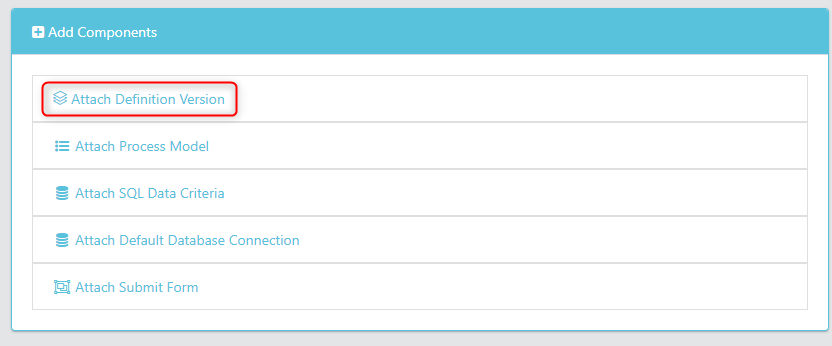
Now, select your database definition and version. If you haven't got a database definition, check out this guide to learn how.

Step 3 - Define Stored Queries
Stored queries define the criteria with which the subset job uses to find data to subset. Essentially, this is a parameterised query which selects the data to extract and clone.
Once you have added the definition version, open it and you will see the table information for the scanned database.
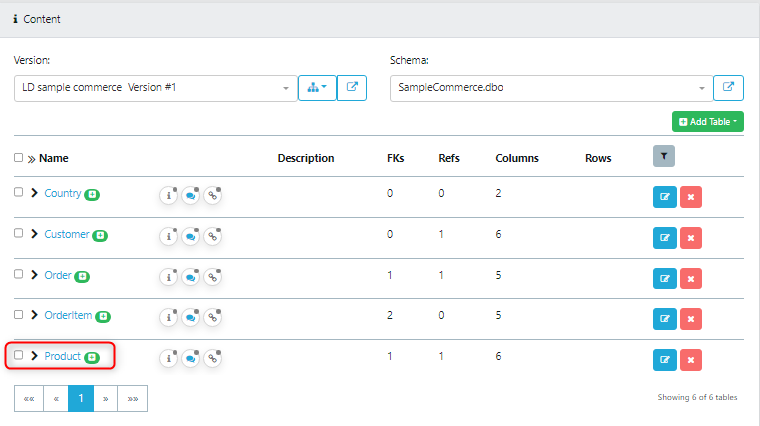 As highlighted above, open the target table that you want to use to define the Find Criteria for this subset. In this example, open the Supplier table.
Under the stored queries section, select to add a new query.

Here you can add your stored query by inputting a parameterised SQL query.
In our example, we will query on the CompanyName field.
- Type: Find Criteria
- Query: CompanyName ='%1' Or CompanyName = '%2'
Here, you are defining columns within the target table that you want the subset to consider.
The '%1' and '%2' exposes these as substitution variables that you can override in a later step (Step 4 - Edit the Configuration Settings).
Step 4 - Attach the Stored Criteria
In this step you will attach the stored criteria you have configured to the data activity.
Navigate back to your Data Activity and add the Data Criteria, highlighted below.
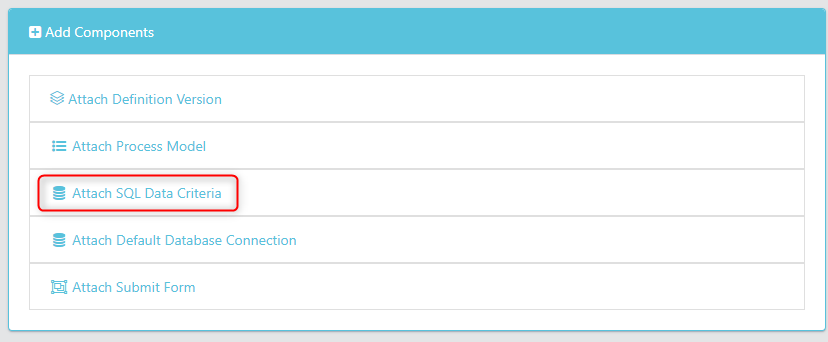
If you need to edit this, select the Modify SQL Data Criteria from the Actions dropdown.

You will be taken to the Stored Query menu, where you will be able to see all of the other Stored Queries in the project, in this screen you can edit the specified stored query.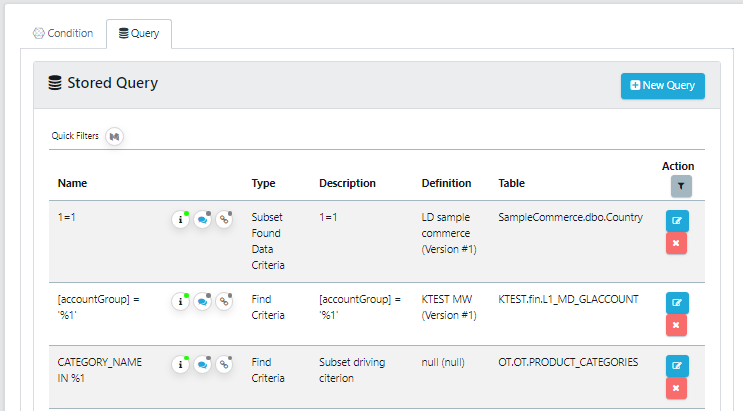
Step 5 - Edit Configuration Settings
When a Subset data activity is created, a default configuration will be set. These specify different settings within the data activity. You will want to edit these default configurations to suit your needs. To do this, click the edit button in the top right hand corner.

- Maximum number of rows to extract: 10000. This Defines the maximum number of rows in the database the subset will consider before ending the process.
- Maximum number of iterations to perform: 10. This defines how many times the subset will move up and down the available rows in the database, extracting data. This, along with maximum rows, enable you to end the subset at a reasonable point.
- Target database name: SampleCommerceSubset. This is the database name that the subset job will create data into. You must fill this out even if you just want to create data into a different schema within the same database, rather than creating data subset into a new database.
- Schema mappings: dbo,dbo. This is where you map the schema of the source database to the schema of the target database. The format of this is SourceSchema,TargetSchema i.e dbo,dbo
- Substitution variables: Cremin - Yost;Gulgowski and Sons. These override the values from the stored query you added to the subset in Step 3. The format of this is a list of colon seperated values (SubVar1;Subvar2) i.e Cremin - Yost;Gulgowski and Sons. SubVar1 in this instance replaces %1 from step 2.
- Source database name: SampleCommerce.This is the database in which the subset job will look for data.
Step 6 - Validate Against Connection
Next, you will run a validation process to ensure that the attached database definition matches the live database. Under the Actions tab, select the Validate Activity Against Connection option.
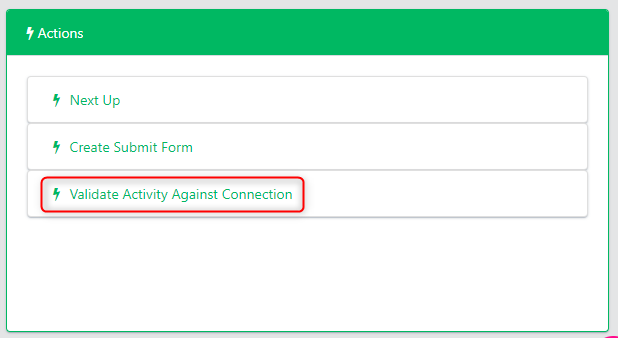
Select the server you are using and the Connection profile to the source database you are using for this subset job.
If you get an error at this point, please contact your Curiosity representative.
Step 7 - Create and Configure the Process Model
The process model is used to select which tables to traverse over and perform the subset on. This will crawl the relationships to subset the related data into the target database.
Once you have validated the connection, you will create and configure the process model that will drive the subset.
This is created by considering all of the previous configuration steps you have followed.
To do this, navigate to the component list in your data activity and in the Actions dropdown for your attached definition, select Create Process Model.

In this example, select all of the tables. Here is where you can filter out tables you don't care about in the subset.
This will now create the following data list and embeds it within the components of the data activity.
Step 8 - Create and Run the Subset Submit Form
In this step, you will configure the subset submission form that will detail the technical steps of the subset job.
Under the Actions tab, select Create Submit Form and fill out the following details:
- Name: Subset
- Group: Subset
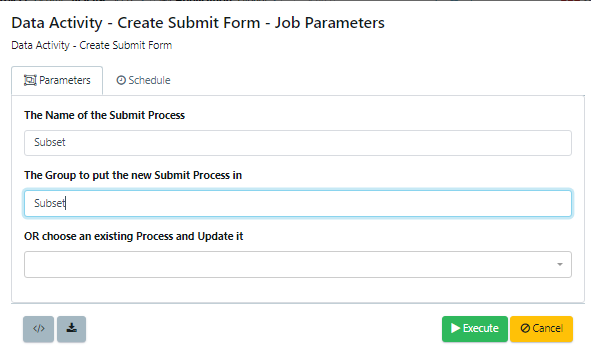
Next, we will edit the actions performed in the database when running the subset, this will include dropping foreign keys, truncating the database, and performing the subset.
Modify the submit form that has just been added to the component list.

Navigate through the first two screens without changing anything, until you see the Provide Process Parameters.
Under parActions, import the actions required when subsetting,
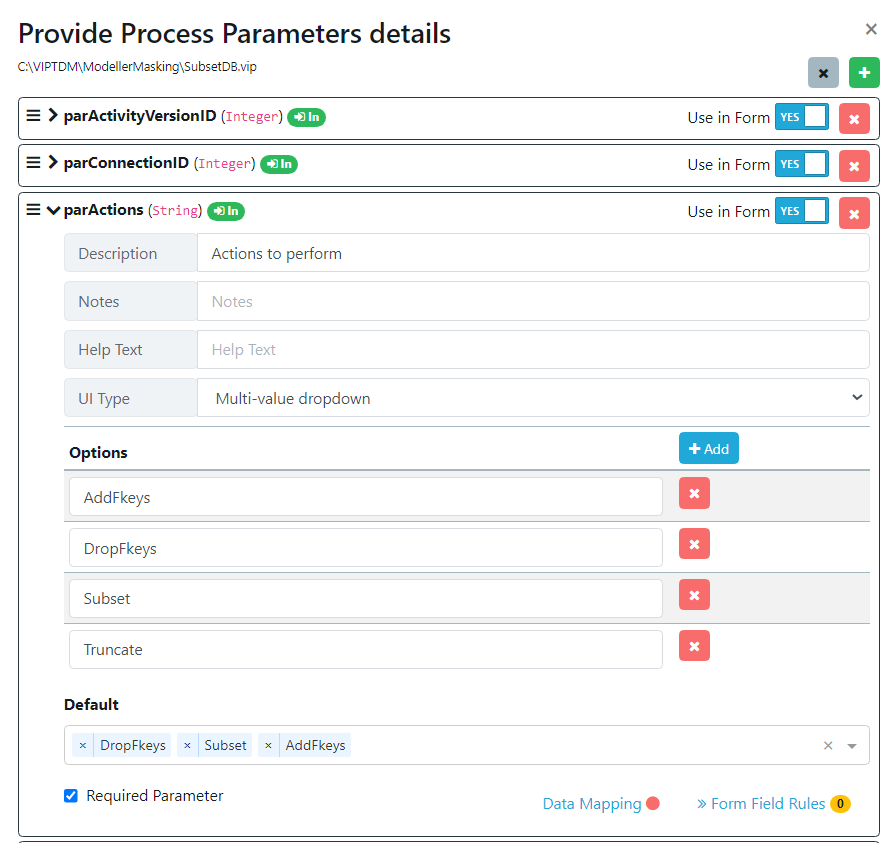
- DropFkeys: this removes the foreign keys from your database. When subsetting this should always be done to ensure you don't run into any errors.
- AddFkeys: this adds the foreign keys back into the database, this should be done after the subset has run. If the subset has run correctly then the referential integrity of the database should be retained and adding the foreign keys back in will work fine.
- Subset: this action runs the subset.
- Truncate: this will clear out any subsets that have been done before in the target database.
Press save, and now Execute the Subset component.

Step 9 - Analyse the Subset Results
You have now run a successful subset, open your target database and you will see the subset tables.