Welcome to the Quality Modeller QuickStart Mainframe Automation Tutorial series. In this series, we are going to take you through Getting started, Modelling out combinations, Generating & Running test cases and Publishing a test suite all for mainframe testing.
Watch the 4 tutorials to guide you in using QuickStart Mainframe Automation in Quality Modeller.
Objectives: By the end of the series, you'll be able to:
- Create and/or edit an Automation Model
- Navigate the Quality Modeller UI
- Understand the directory structure in Quality Modeller
- Name and Configure a Project
- Identify Components and Actions
- Overlay Logic onto a Model
- Identify Subflows (subprocesses) in a Master Model
- Link nodes on the model canvas
- Generate Test Cases
- Run, Execute and Review Pass and Fail Tests
- Publish a Regression pack
- Understand how this might be used in Git
- Identify the use of Quality Modeller's Test Plan feature
- See the use of Framework in the CI/CD Pipeline
3-Minute Mainframe Test Automation Example
Get Started with Mainframe Automation
In this tutorial we'll be setting up mainframe automation incredibly quickly with Quality Modeller. Initially we'll create a Project and for simplicity we are going to connect our mainframe to the project configuration.
We strongly recommend you validate connectivity to your mainframe instance before diving into the mainframe Quality Modeller tutorials.
Tutorial Steps
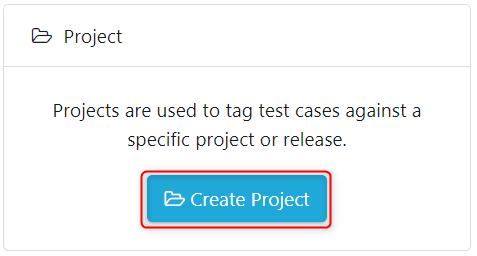
Step 1 - For Quality Modeller to build the automation library and initial assets you need to set up a Project. So in the main portal click Create Project.
Name the Project, give it a description, and select next.
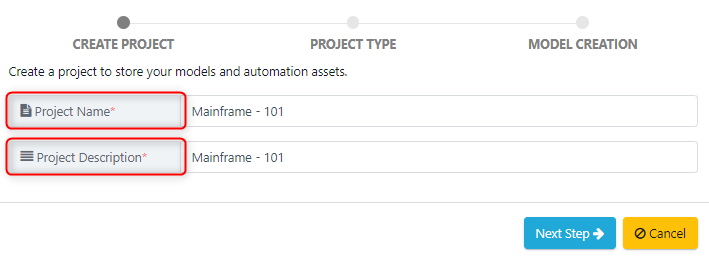
On the Next Step scroll and select the Mainframe Automation Framework.
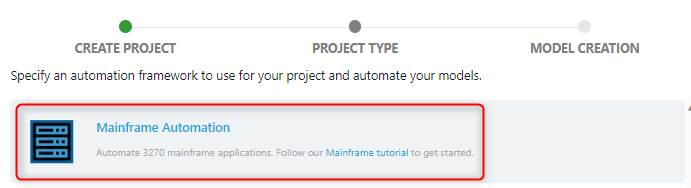
On confirming by clicking the green Create Project button the automation code with assets are built and a 'Project Type: Mainframe' is started.

Now you'll see Quality Modeller spin up a ready to use Mainframe Automation Project. Select the appropriate project from the context bar.

A folder labelled Components will be available which contains the Mainframe automation actions.
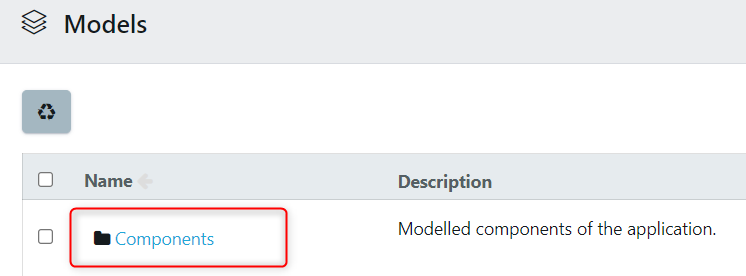
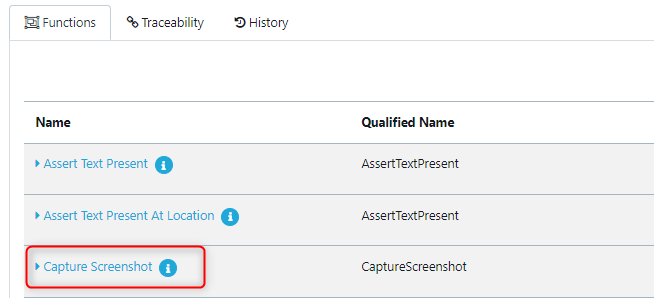
Step 2 - To see the underlying edit Functions, click on the Components folder > Actions.
.png)
Click on MainframeCommands > 'Capture Screenshot' as an example, and the underlying Edit properties include: Parameters, Return, Code.
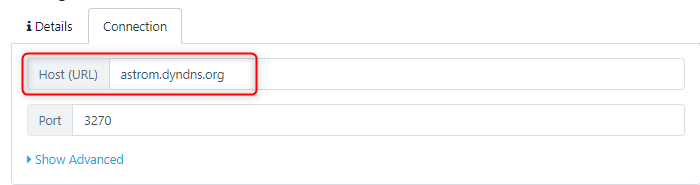
Step 3 - Set up a Connector to give the Host and Port for the Mainframe you want to test. In the main menu this is: under Profile. In our example we're connecting to the emulator Astrom

We specify the associated host URL and port number.
Step 4 - Next, we'll open a model and test connectivity. Open the Examples folder.
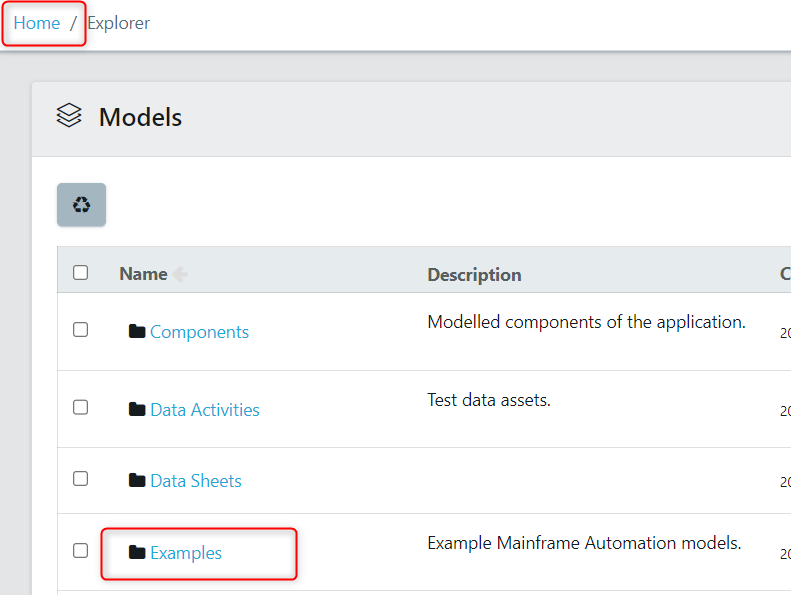
Select to open the First Mainframe Automation model.
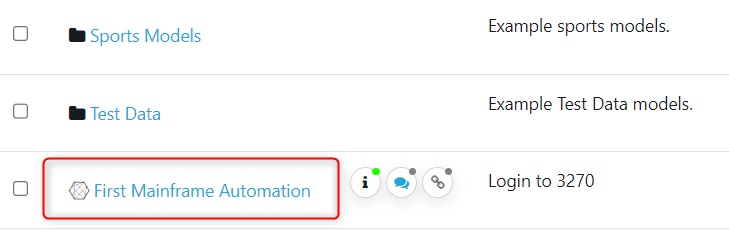
Here you'll see a happy path model.

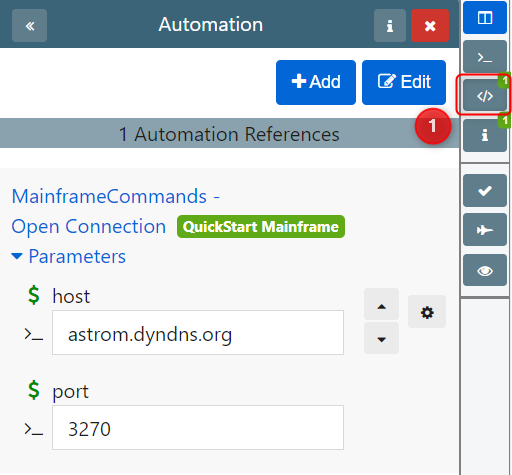
#1 This Pane shows a preview and edit of any Automation code from the library assets related to the model's Automation waypoint.
#2 Click the plane icon to Generate paths through the model.
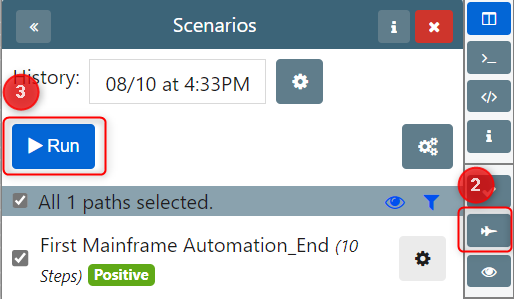
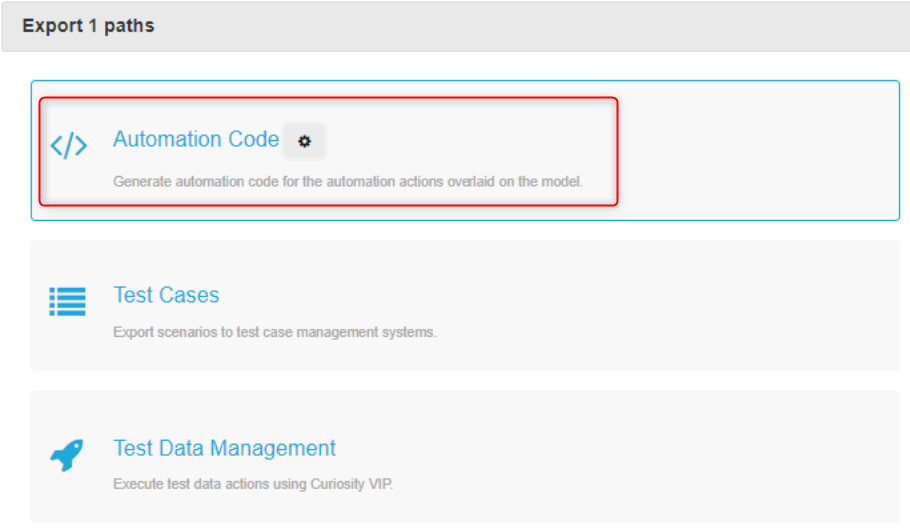
Click Run to trigger the wizard and select option: Automation Code. This triggers the automation to be executed.
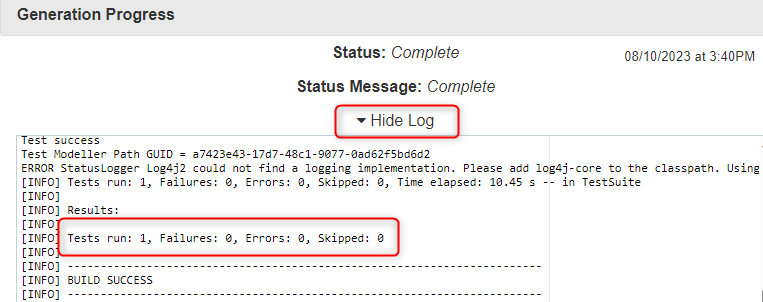
You'll be able to see the execution log as it goes through executing the automated tests.
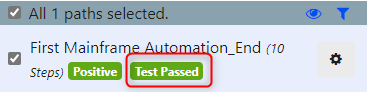
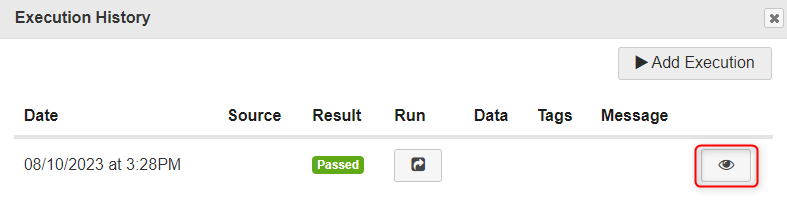
Step 5 - Click 'Test Passed' in the Scenarios pane to show the Execution History pane.
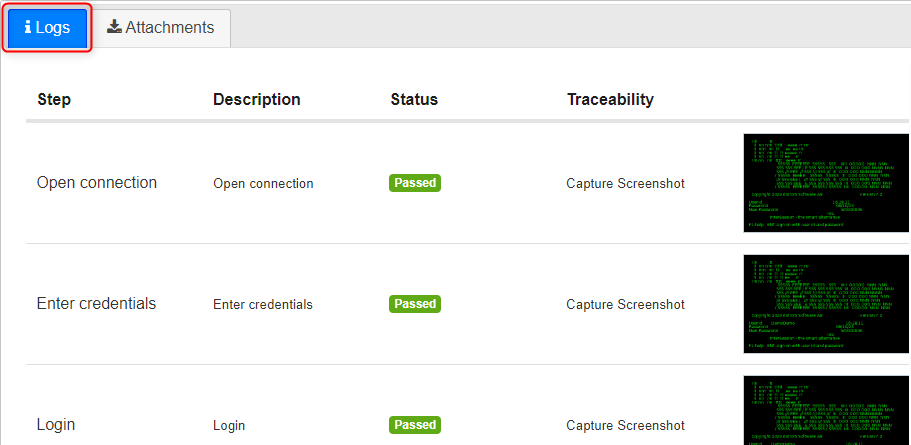
Clicking on the Eye to show the resulting visual Automation Logs.
Here you'll see all the test steps logged and any associated screenshots.
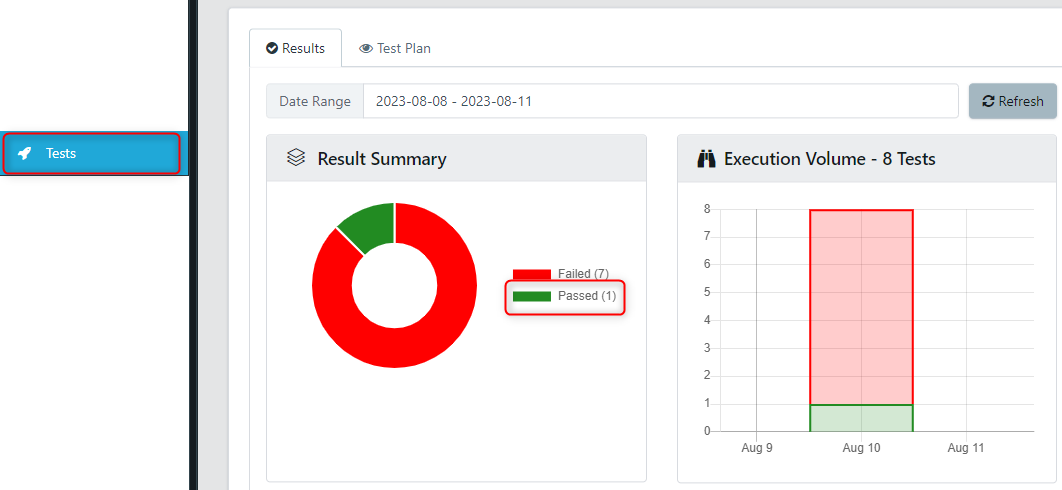
Step 6 - Navigate back to the main Explorer window to preview further Results Summary. Here you can see a summary of all the executed tests for the current project.
Using the Mainframe Connector type: in the example we’re using Astrom with the specific Port. Once set-up we get a folder of models, Components and Actions to quickly Run Mainframe Automation without delay. The components show Actions and Commands that we can Run against the Mainframe, capturing screenshots, different Assertions for immediate use.
As this is my first Mainframe Automation, it's a fairly linear model, to open up a connection, where those host details set up earlier appear. I've got it automated to capture screenshots, and we are good to go.
To get going, let’s Generate just one Test Case as one path through this straightforward model and Run. Choose Automation Code, and Execute. Essentially is going to pick up some Code Templates that sit in the background of Quality Modeller to automatically Generate and Run Tests, and as expected with a straightforward Test it has zero failures.
The results can be downloaded as a zip file if we want or sync that into a Git repository. Back in Quality Modeller there’s a Test Summary on which clicking a Run ID reveals the Steps and additional Log information. Next we’ll consider combinations to see how Quality Modeller can really accelerate Automated Testing.
Model Out Combinations
From a straightforward linear Model, let’s now use different Components in Quality Modeller to vary some details. So on the left-hand side of the model view we've got various Tasks and Conditions, ready for applying different Logic into this particular model. Use a Condition node for adding in a User Login and again capture a screenshot, and also a Password, before updating the Parameters.
Previously we had just one path or one Test Case and now with two we'll Run this Automation Code, again picking up the Code Template in the background which looks at specific Data Variables added to the demo.
Looking at our demo application, we'll see that we've actually logged into it as hoped. I would recommend you go through, make some modifications in terms of some of the Logic you to play with next. In the next video, we’ll test the Login process in more detail to quickly make testing even better. And also further explore the UI.
Generate and Run Tests
Previously we executed some simple Mainframe Automation, navigating through the UI, and now to add further Logic. In review, at the end of our process, we aim to achieve a Successful Login. Between the two states of either pass or fail, we use Conditions in order to test for instance of a Valid User, Valid Password or similar combinations, just as a start.
Getting the same results can always be modelled differently, along with different Scenario or testing combination, for instance Invalid User and Valid Password or Valid User and Invalid Password etc.
In this example, we’ll add in a fake user, but also know that Valid Users potentially may have Invalid Passwords. So let’s put this in as a fake class, knowing that the end point here is not necessarily going to be a failure. To highlight this possibility, I'm just going to leave the default node name of End. Additionally, we can set the Data Type with this as Invalid, and also for the Username to essentially say that this is not correct.
Let’s Re-Generate the Tests, giving us five paths, including three that are negative. Now go and Run this particular Automation Code and preview the Logs as they process. Again, we could commit to a Git repository.
Coming to the Test section it says 1135 tests have just ran, so let's locate one for the fake user, ie a fake user with a Valid Password. So when we get to try to enter in our fake credentials, this is actually as far as the path goes before hitting a fail. So we're happy that that's been inserted, and this test has been passed correctly because we haven't been able to actually log in.
Where in this tutorial we’ve looked at the various Mainframe screen, next we’ll overlay some Logic to one particular process. Also, to highlight different ways we can build out models using different screen clicks, tabs, enters, screenshots, that are slightly more complex.
Publish a Test Suite
The focus here is on Regression packs and changing some of these tests related to a Login process that allows us to test Valid and Invalid combinations. So here we've built out a few simple Models to demo functionality within our Mainframe, including a messaging system that allows the review of internal mails, emails, etc. This requires a profile screen, and in here we’re adding text Assertions to check valid access to the screen and see what results get returned.
We've also got the ability to just test our Mainframe Connection and make sure that that opens every time. So again, we're just checking some text that's present and its intersection. But rather than coming in and running these all individually, we are going to build a model, which I'm going to call My Mainframe end-to-end.
And just go and create that model using Subflows to essentially chain all of our different tests together, in whichever sequence. The MMS is the only Subflow which has further functionality in my Mainframe that I might want to model out, so I can go and view different screenshots. But for the moment we're going to Generate our tests, which in this case should just be three running through separate Scenarios.
But what I actually want to do is when I come in and click run is for my Automation code to Publish a Regression Suite. So, name this Regression, Save and Execute to Run the Automation, for it to test as pass or fail.
We can also store the Regression pack that we can Run any time from within Quality Modeller, through the Dashboard itself. So rather than having to come into models and Execute them individually, you can save them as part of a broader Regression strategy, or simply trigger it through individual models that you just want to go and Execute at any time.
Under Quality Modeller’s Test section we can see what we are running, for instance our Mainframe end-to-end automation, and we see all tests have passed. Additionally, there’s Test Plans for my Mainframe Regression tests. So if I click on that, the details of the tests that we're running will appear, including the Results from tests we've already Executed. But of course we can just come in and Run these tests again directly.
So I'll kick off a Job and Run those particular tests for you. That's just an API call that can be embedded into a CI/CD Pipeline in whatever Framework you want. In practice, it's really just about simplifying using a Model-based solution that’s able to wrap up lots of tests in Mainframes quickly and efficiently.