Welcome to the Quality Modeller QuickStart API Automation Tutorial series. In this series, we are going to take you through Getting started, Modelling out combinations, Generating & Running test cases and Publishing a test suite all for API testing.
Watch the 3 tutorials to guide you in using QuickStart API Automation in Quality Modeller.
Objectives: By the end of the series, you'll be able to:
- Create and/or edit an Automation Model
- Navigate the Quality Modeller UI
- Understand the directory structure in Quality Modeller
- Name and Configure a Project
- Identify Components and Actions
- Connect an API using Connectors in Quality Modeller
- Overlay Logic onto a Model
- Identify Subflows (subprocesses) in a Master Model
- Link nodes on the model canvas
- Generate Test Cases
- Run, Execute and Review Pass and Fail Tests
Create a Project
This clip, on API Automation introduces the basics of Quality Modeller’s default API Request modules, how to test them, then build them into a model ahead of generating and running tests through Quality Modeller’s API Automation QuickStart framework. Specifically, this API Automation clip focuses on how to create a project through the Quality Modeller interface.
Tutorial Steps
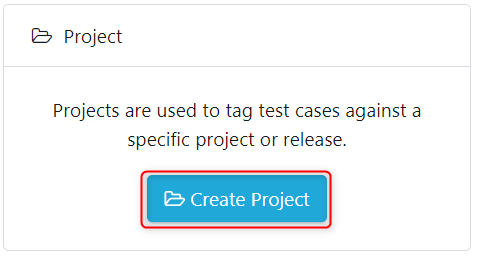
Step 1 - For Quality Modeller to build the automation library and initial assets you need to set up a Project. So in the main portal click Create Project.
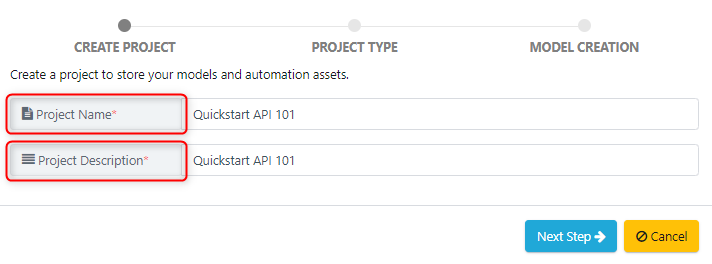
Name the Project, give it a description, and select Next.
On the Next Step scroll and select API Automation Framework.
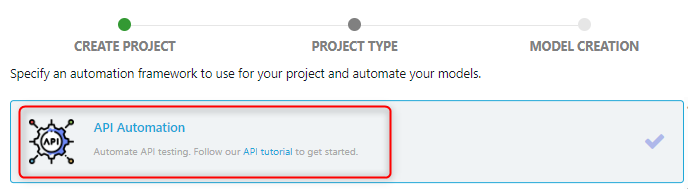
On confirming by clicking the green Create Project button the automation code with assets are built and a 'Project Type: API' is started.
 Now you'll see Quality Modeller spin up a ready to use API Automation Project. Select the appropriate project from the context bar.

A folder labelled Components will be available which contains the API automation actions.
.png)
Step 2 - To see the underlying edit Functions, click on the Components folder > Actions.
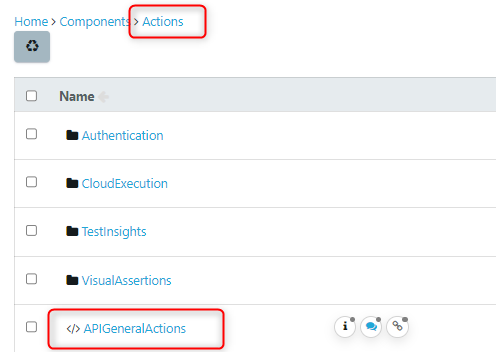
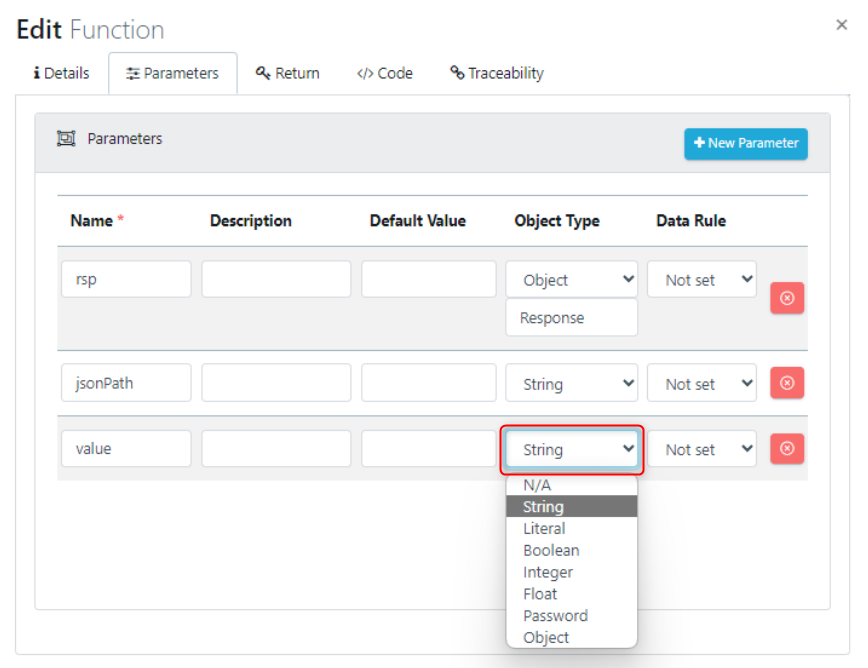
Click on APIGeneralActions > 'Assert JSON Path' as an example, and the underlying Edit properties include: Parameters, Return, Code.
.png)

View and Create Modules
Now with a Project set-up, API Automation shows how to test an API Request prior to using it as part of a Model. This is shown through use of an example API Automation Login action or function type that you’ll modify through a Parameters tab as part of a broader Module Collection.
For the Login function, type Parameters are taken from an example open API website which are email, password and responseCode. Additionally, the site’s URL is input as Post under the API Request tab through which Values can further be parameterised under the Body tab. And finally, for returning a specific Status Code, ie 200 or 400, this is added under the Assertions tab.
The next step is to ensure an API Token is pinged back to verify the API Request is working as expected. This is done by clicking Run in the Edit Function popup, and in the Name and Value popup, just add in the credentials described in the open API website and click Execute.
This API Request is now validated and can be built into models for the purpose of testing the API Requests more vigorously. Generally API Request functions can be created in Quality Modeller in a number of ways including of course manually, but also importing Swagger specifications, and also tools like Postman and API Fortress amongst others.
Create a Model and Run Tests
Now having verified the API Request is returning as expected. API Automation shows how to build out the API Request in a model to not only pull out the successful test cases but also the edge case, update specific Test Data, and then to Run and see test results.
To set up a Model, you’ll next open a folder called Scenarios in the Explorer and click New Model. Once named, the canvas gives a start and end block, and so click the start node and locate the Login API Request and you’ll see it expands on the canvas.
Knowing there are two scenarios to test, the first being a 200 successful response but also a 400 error response, you’ll see how these are set up using the end points and get connected to the Positive Login and Negative Login Waypoints accordingly.
With the blocks connected to Email and Password you can now parse in specific Test Data from the original website you are testing against. To do so you’ll click on each block, then copy the data from the example open API site, into the Variables field in the Test Data pane in Quality Modeller.
Ahead of running the automation, at this point you’ll set-up and generate the tests which will be in the Scenarios pane. In this example you’ll see 3 paths which are individual test cases used to test the API Request. So now you’ll click Run and select Automation Code from the wizard. Instantly you’ll see that 3 tests are executed.
Finally, to view the automation results in isolation, this is done by clicking the cog icon in the Scenarios pane on the path concerned and then choosing Results from the context menu.