This article will teach you how to install ChromeDriver for web UI testing.
What are Web Drivers?
A web driver is a software component that enables interaction between a web browser and a programming language. It allows you to automate the testing, scraping, or interaction with web applications. Web drivers provide a way for your code to control and manipulate a web browser, simulating user interactions.
ChromeDriver is a separate executable that WebDriver uses to control Google Chrome or Chromium browsers during web automation. It acts as a bridge between the WebDriver and the Chrome browser. By default, our frameworks will use ChromeDriver to execute web UI tests created from Modeller.
How to Install ChromeDriver
0 - Check which version of Chrome you have
First, we'll want to find out which version of Chrome you have installed. This will help us choose which version of ChromeDriver to install, as they must be compatible.
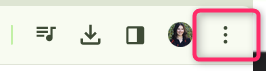
Click on the three dots in Chrome.
Then, navigate to your Settings.
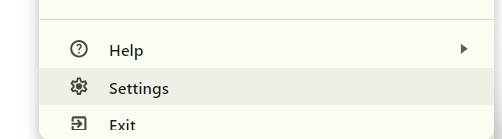
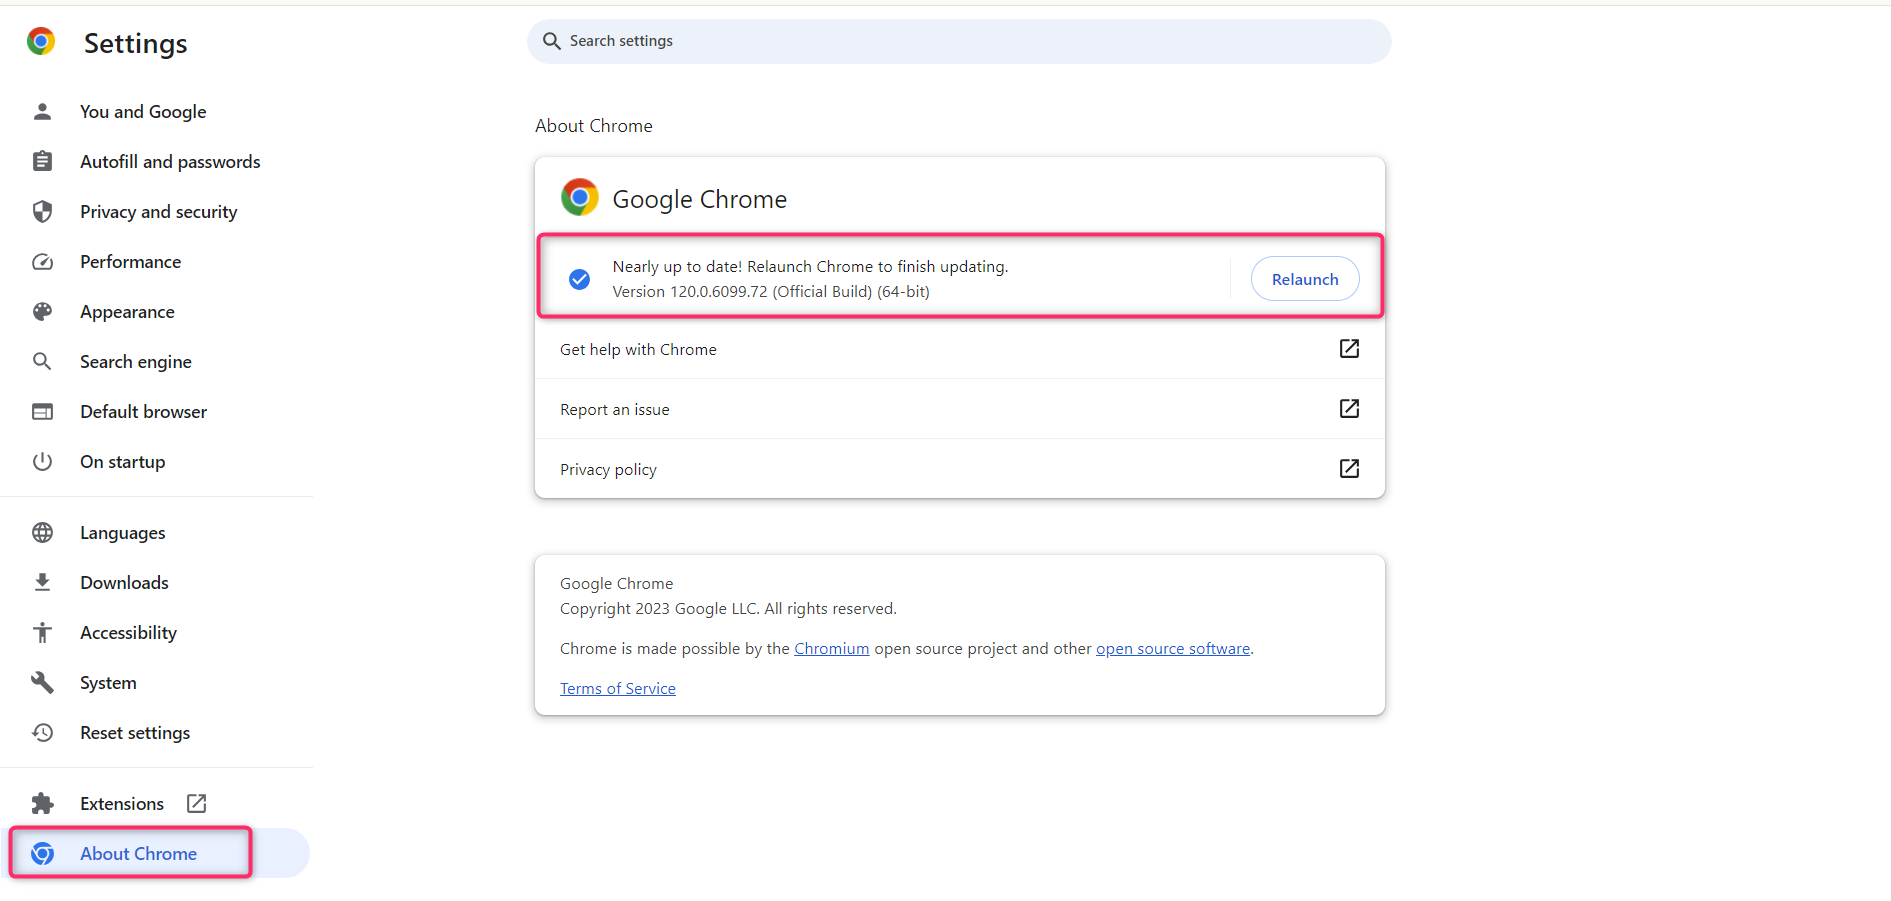
At the bottom, there is a tab called About Chrome. It will show what version of Chrome you have.
1 - Download ChromeDriver
ChromeDriver can be downloaded from the official ChromeDriver site. Depending on which version of Chrome you have, you may have to navigate to different links to access the version of ChromeDriver to download.
For this example (Version 120.0.6099.72), we'll need to navigate to the Testing Availability Dashboard. All older versions are available on the Downloads page.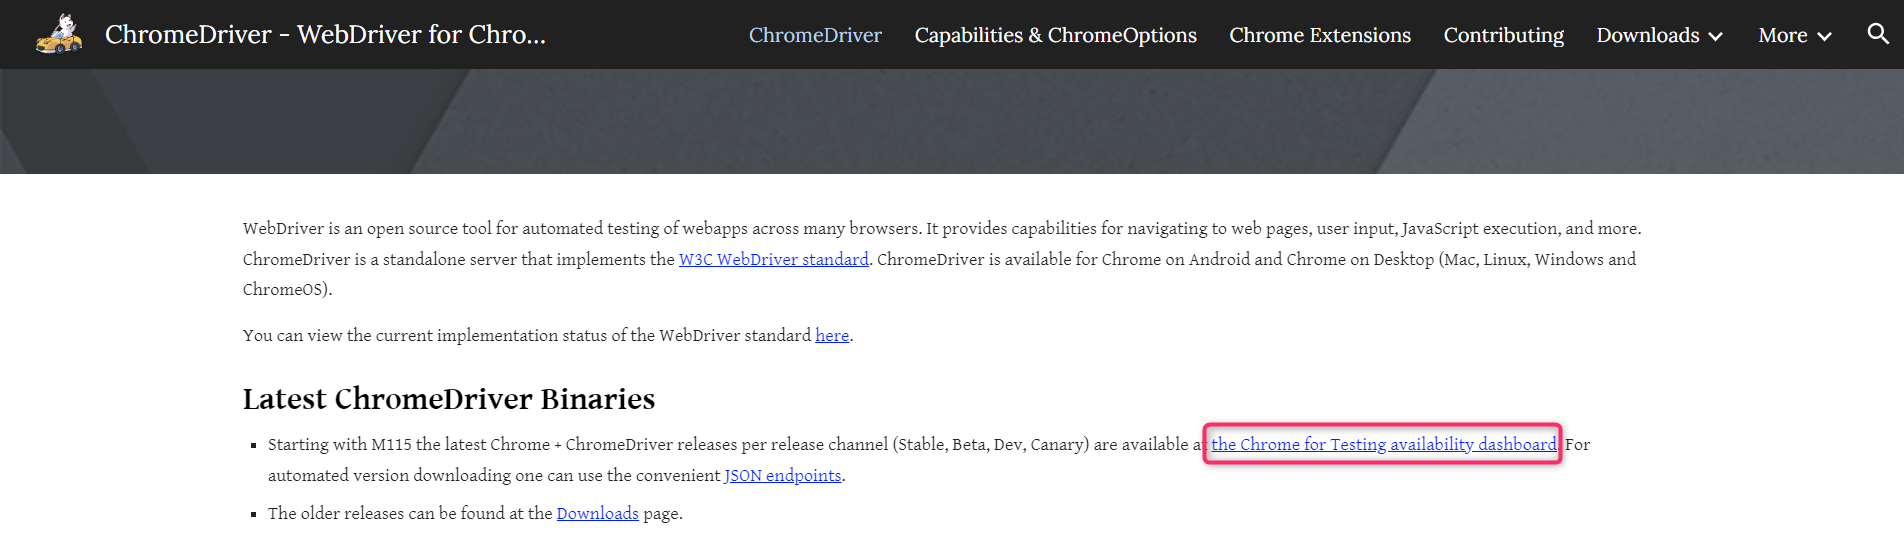
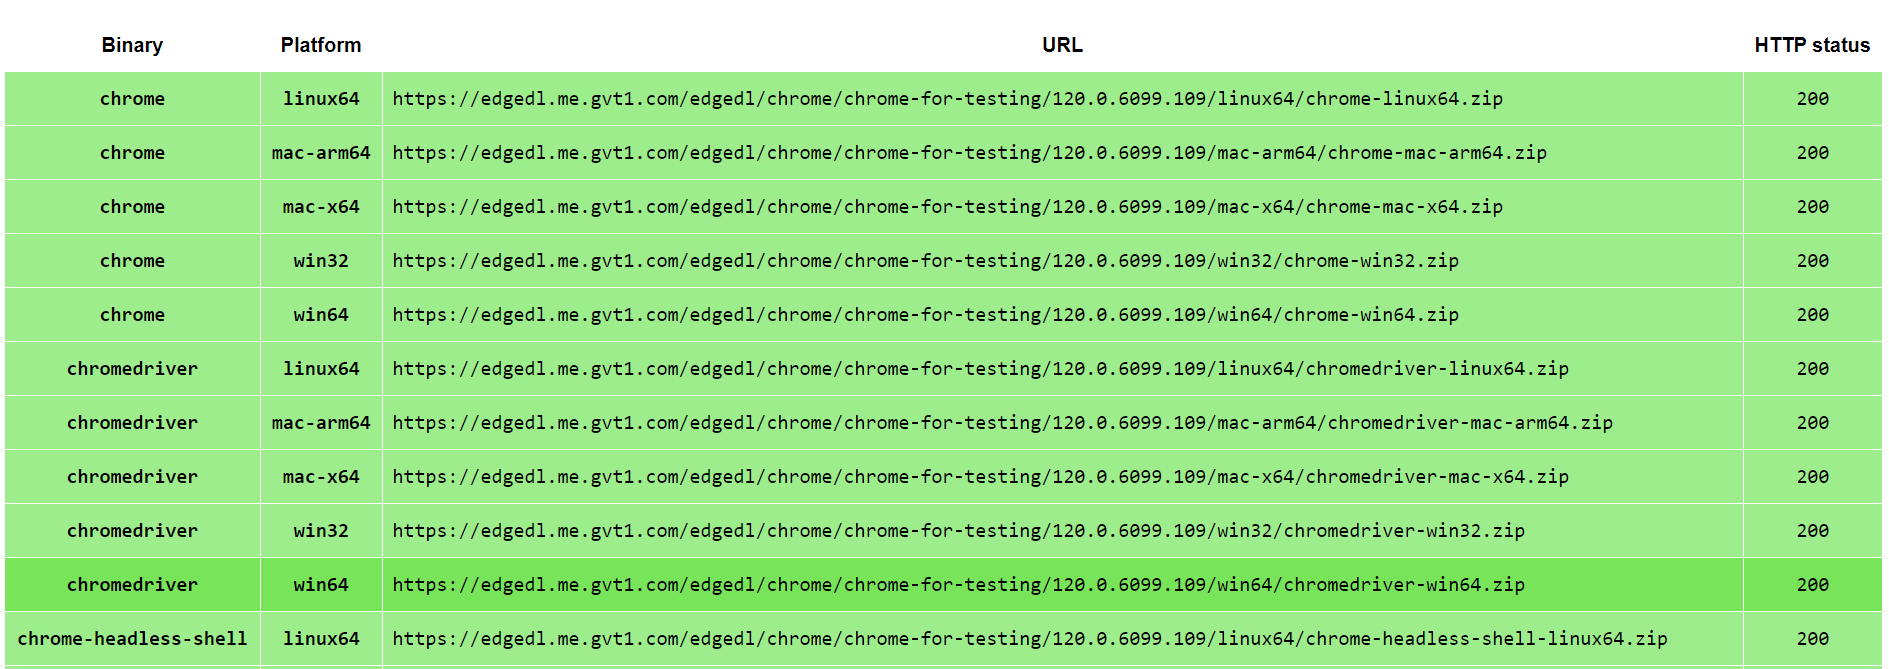
On the Dashboard, navigate to the version of Chrome you have installed. There is a matrix of available downloads depending on which platform you're operating. For this example, we'll download ChromeDriver for Win64. Click on the URL to download the file.
2 - Unzip Files
With our file now downloaded, we will want to Unzip the contents into a recognizable location, specifically a path.
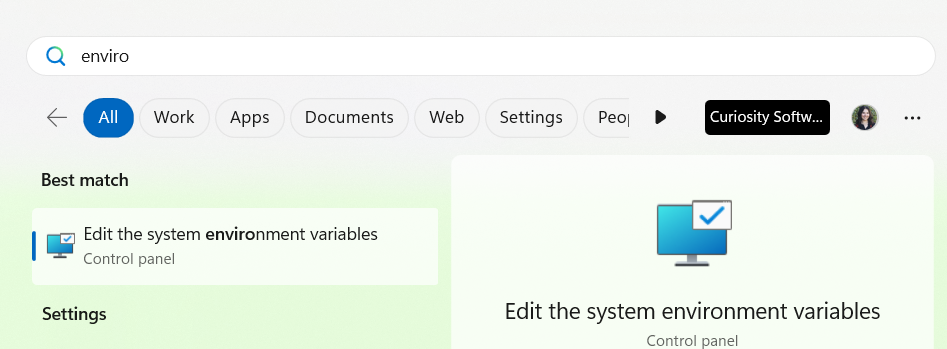
First, open the system environment variables option in the Control Panel.
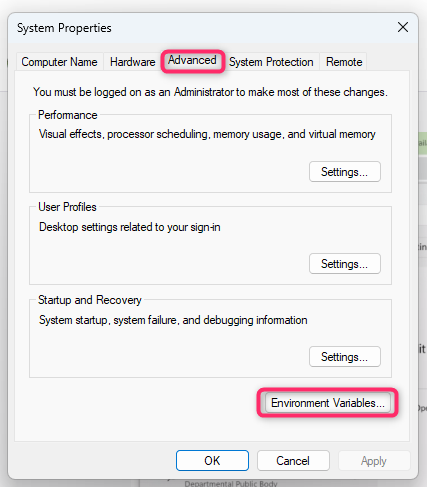
Under the Advanced tab, open Environment Variables.
We can then see which variables we have. Select the Path variable. You should now see variables underneath System Variables.
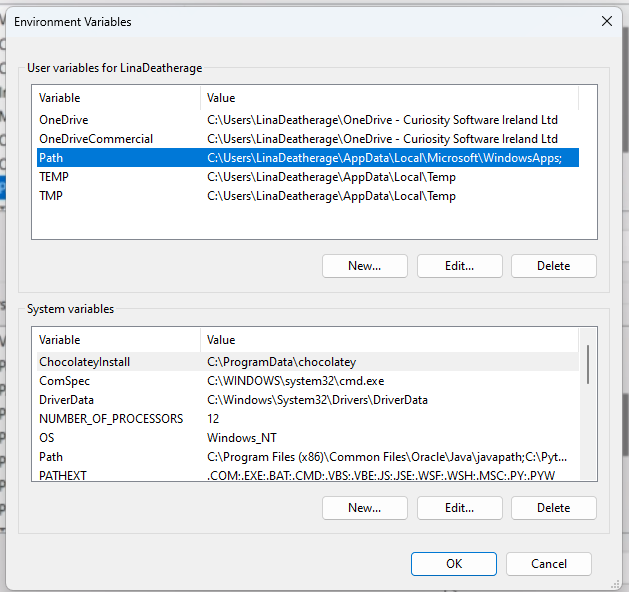 We will need to unzip our ChromeDriver file contents into one of the variables listed. We can also add a new location by clicking the New button.

You're now ready to execute web automation tests!