In this demo, learn how to validate the GitLab connection in Quality Modeller and browse files!
Within Quality Modeller, we have set up a GitLab automation server. Automation Servers can be found by navigating to the Management → Automation Servers section of Quality Modeller, which you can find on the left hand side menu.

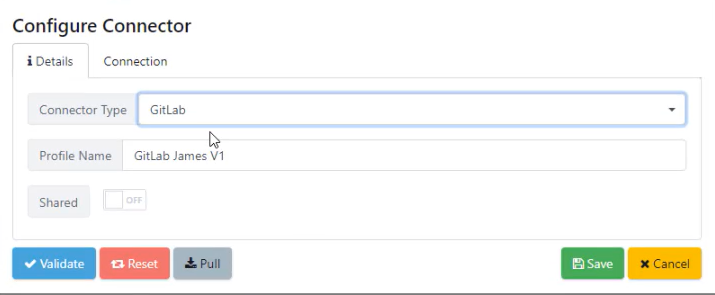
Within the GitLab Connector there is now a Validate button, to access it, hit the blue edit button, and then navigate to the Connection Tab in the opened menu, as shown below.

If you hit the Validate button, Quality Modeller will go ahead and validate the API credentials and a pop-up should appear in the top right corner to confirm.
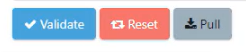
There are also Reset and Pull Buttons. If you hit the Reset button, this will remove any associated repositories with the Connector.
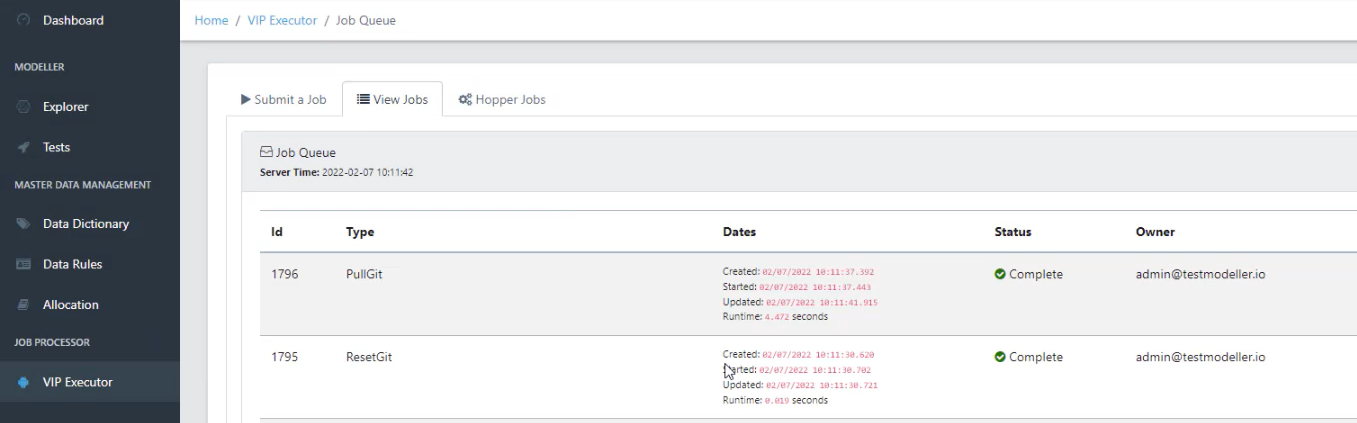
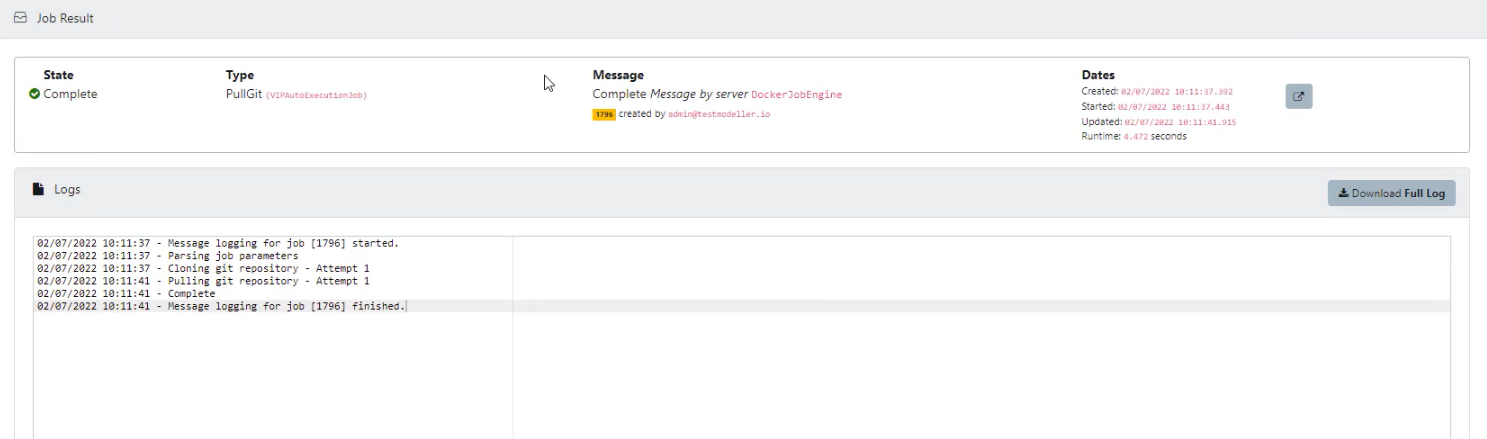
If you hit the Pull button, this will trigger a job, which will attempt to pull the Git Repository. You can view the job by navigating to the Job Queue in the VIP Executor menu and looking at the Job Details. In the Job Results screen, you will be able to see if the Job trigger was successful.
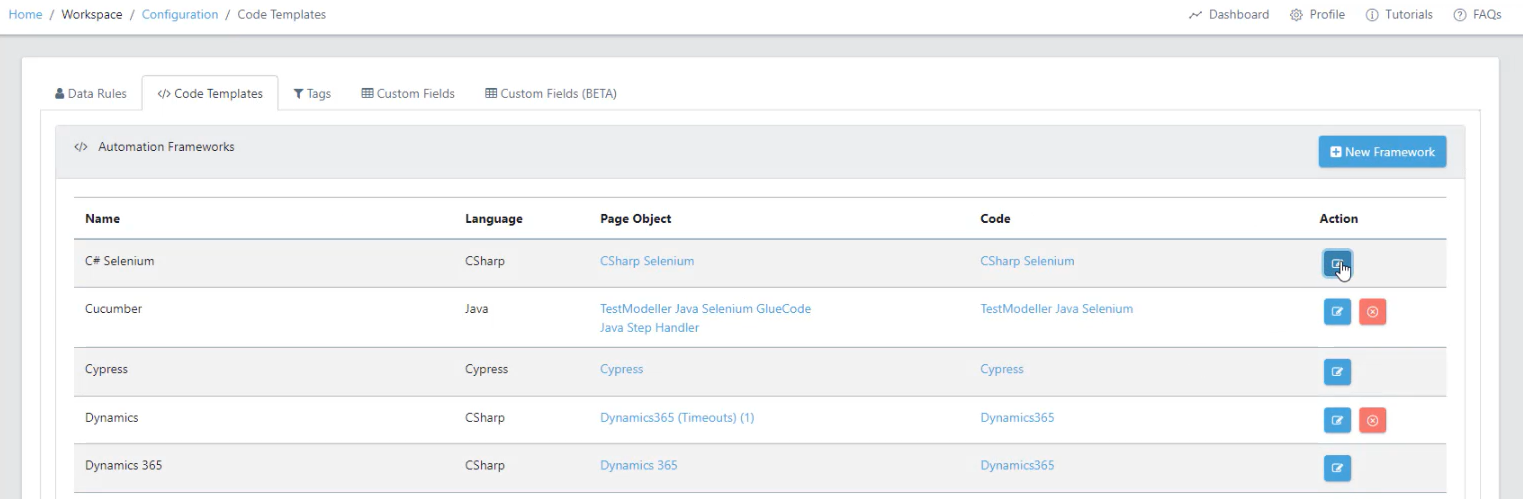
This is the first step of configuring your Quality Modeller project with GitLab. Now you must specify the file locations in your git repository that you want to commit generated files into from Quality Modeller. This is the other new featured highlighted in this demo, the File Browser. To access the File Browser head on over to the Workspace → Configuration → Code Templates menu and hit the Blue Action button FOR THE AUTOMATION FRAMEWORK THAT IS LINKED TO YOUR PROJECT.
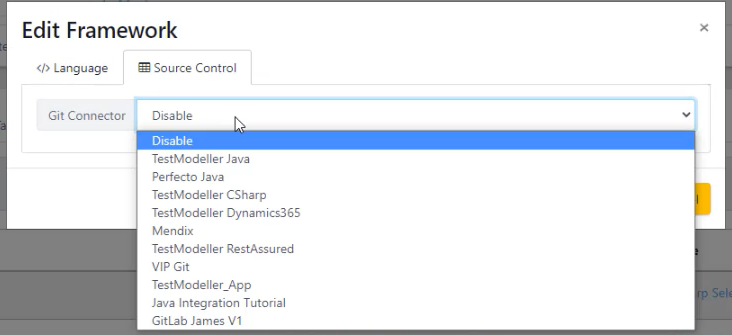
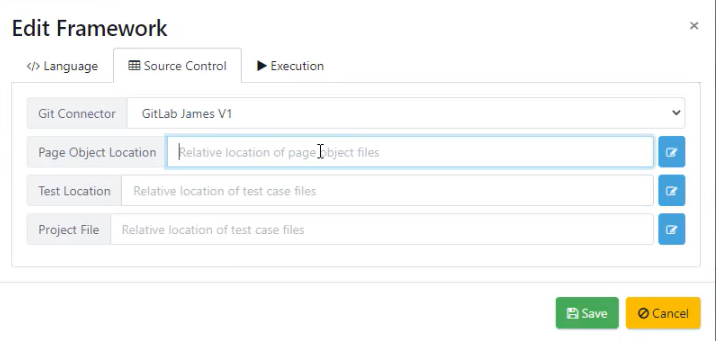
This will open the Edit Framework menu, here navigate to the Source Control menu. Here you will find the Git Connector option, where you can assign an automation framework, use the GitLab Connector as shown in the demo.
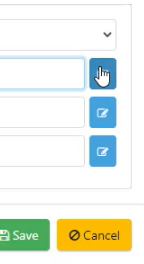
This will expand the options in the Source Control menu. Now you can specify the different locations of the folders in the framework by hitting the blue Edit button on the right.
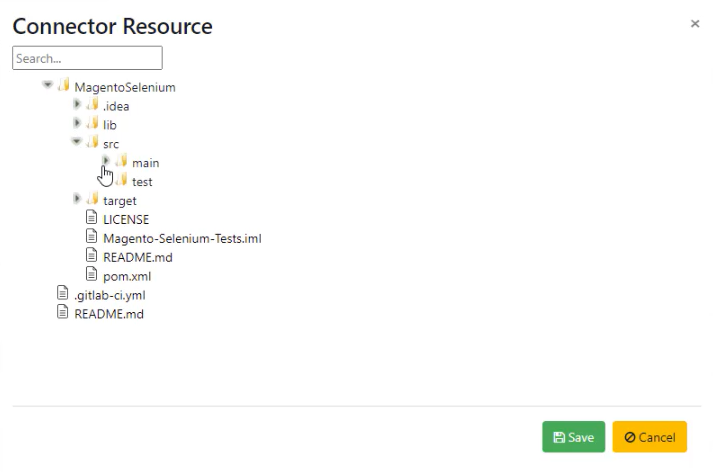
Once you hit the Edit button, the Connector Resource menu will open. Here you will find the File Browser, where you can go through your Repository in GitLab and browse the files, all within Quality Modeller.
After this, you need to select the file locations you want to commit your Quality Modeller assets into, then press save.
Now when you are in your model and you generate automation, code should be committed to your GitLab repository.