Introduction
There are two types of Xpaths: absolute and relative.
An absolute XPath is a complete XPath expression that starts with the root node of the HTML document.
It is the full path to an element on a webpage, starting from the HTML root node and including all the nested elements.
It is useful when the location of the element is not likely to change on the webpage. However, this also means that if any part of the path does change, the Xpath will also fail.
An example of an absolute Xpath:
/html/body/div[1]/div[2]/form/input[1]
A relative Xpath is a partial XPath expression that starts from a specific node in the HTML document.
It is a simplified path to an element on a webpage, starting from any node and including only the necessary nested elements.
It is useful when the location of the element is likely to change on the webpage.
An example of a relative Xpath:
//input[@id='email']Knowing the two types of Xpaths will help you in choosing the best format for your automation.
Pre-requisites
In order to follow along with the practice section of this article, you will need to know how to inspect a webpage to view the HTML. We'll be using Chrome DevTools throughout this series.
Please review the following links to get started with DevTools:
To open the inspector, right click on any element of a webpage and click "Inspect" or F12. For our purposes, we'll be interested in what is in the Elements pane. This pane will show the HTML structure of the page.
Practice
Let's practice writing Xpaths!
Right click on the button below and click "Inspect" to open it in DevTools.
You'll see the HTML for this page open with the Elements view. The selected line is the button we chose to inspect.

If we wanted to write an absolute Xpath, we could right click on our selected element in the Elements pane, click Copy -> Copy full Xpath.

If you now paste, you'll see the full path for your element.
/html/body/div[3]/div/div/div/div[2]/div[3]/div[3]/div/div[1]/div/div[4]/p[19]/buttonAs you may have noticed, this path is long because it has to navigate down all the previous nodes in the page get to our desired element. If even one of the elements leading to this path changes, this Xpath will no longer work. For that reason, creating a relative Xpath for this button would be a better choice.
Now we can use Quality Modeller's UI scanner to help us create a relative Xpath. Login into your scanner, and click on the button icon once more.
Stop the scan and click Review to see the Xpaths Quality Modeller has created for us.
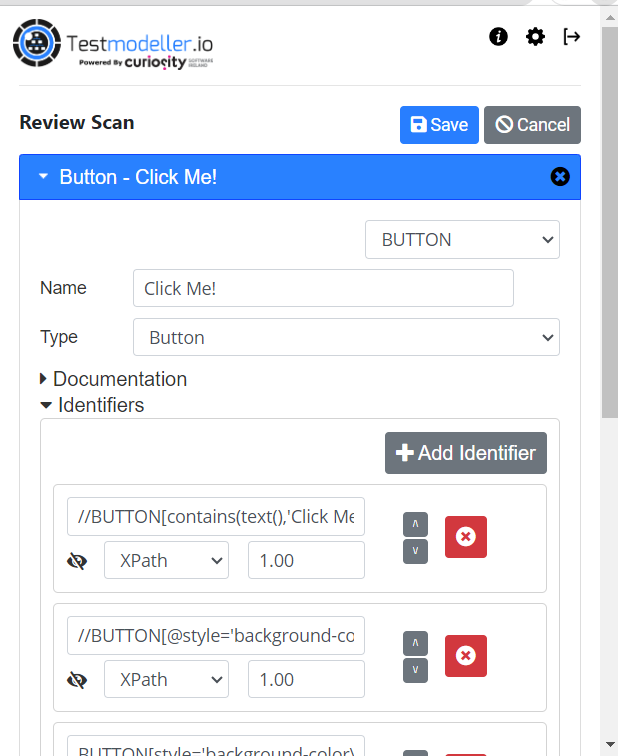
The recommended relative Xpath Quality Modeller created looks like the below:
//BUTTON[contains(text(),'Click Me!')]Using the UI Scanner is a fast and effective way of creating relative Xpaths to use in your automation.
In the next lesson, we'll cover Xpath Axes.
Additional Resources
What is the difference between relative and absolute xpaths