Learn how to configure Quality Modeller for an automation framework, in this case Java Selenium.
- Configure for creating automation
- Edit code templates for any automation generation
- Configurable code templates, editing them for the framework is essential
Over at https://github.com/orgs/CuriositySoftwareIreland/ we’re using one of the starter frameworks we support.
Here we’re downing Java Selenium Framework.


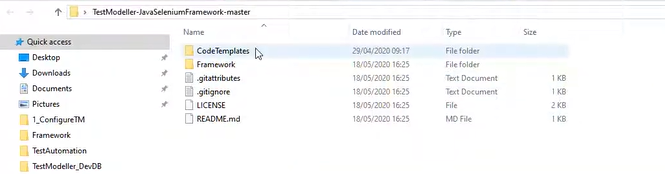
First download and unzip the Java Seleium Framework which has the underlying Java Framework and Code Templates.
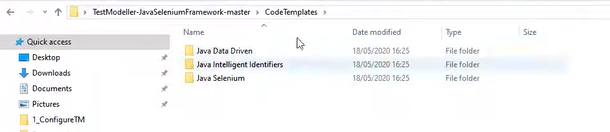
You’ll see the Framework folder contains scr and pom.xml. The json Code Templates we will use are located: Code Templates > Java Selenium.
Next, we’re ready to use a starter framework out-of-the-box to configure Quality Modeller for Automation.


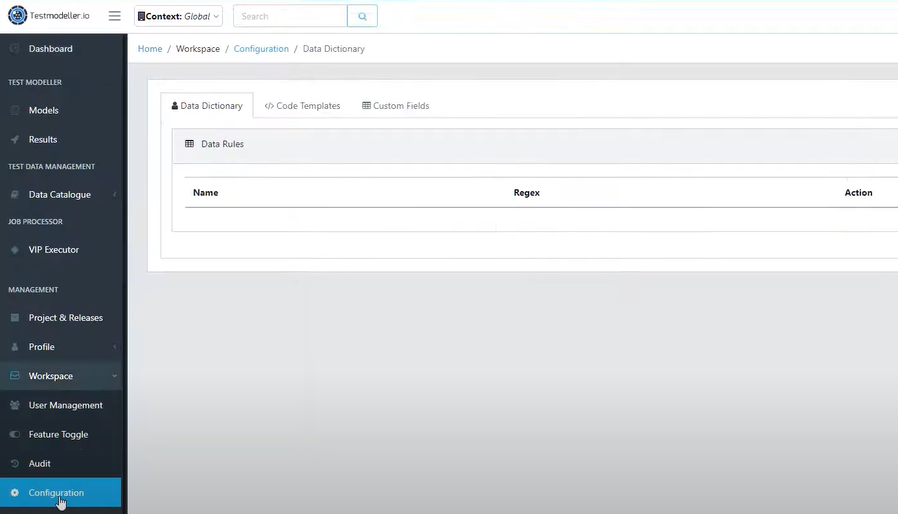
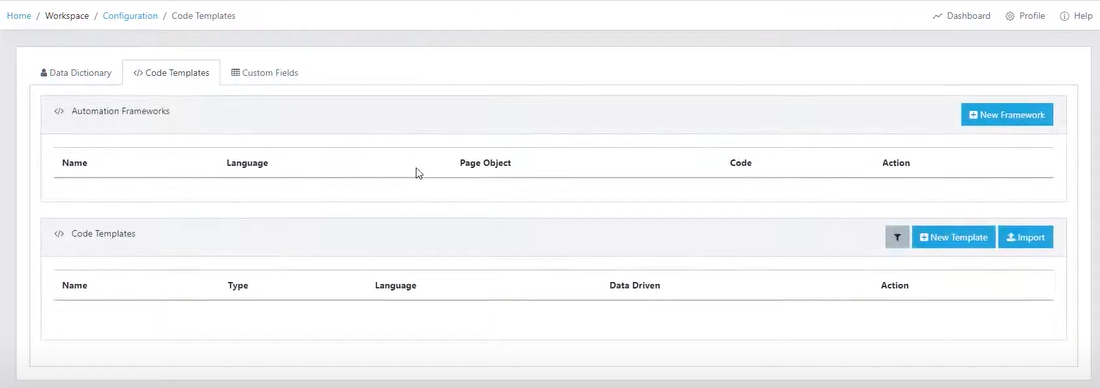
To register the 2 Code Templates (Java Selenium) Go to Workspace > Configuration > Select Code Template > (Update an existing one or Import).
The Code Templates window is divided into Automation Frameworks and Code Templates. You’ll be importing into Code Templates. Then creating a New Framework in order to register them.
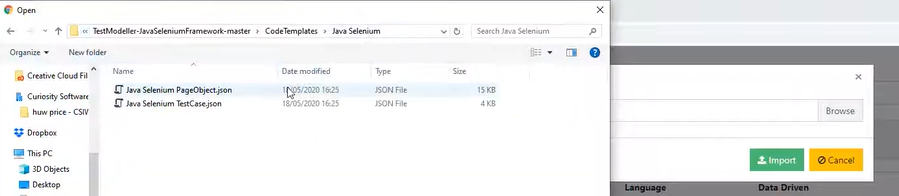
Click Import and Browse > PageObject.json. Hit green Import button to confirm. Then repeat for TestCase.json.
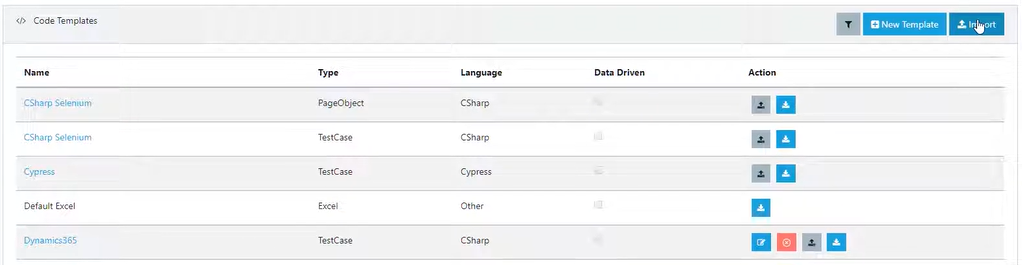
Now, both Code Templates appear in the Code Template Library.

Rename as required by hitting the blue pencil icon. Quality Modeller is now configured. Here we renamed them Java Selunium Tutorial.
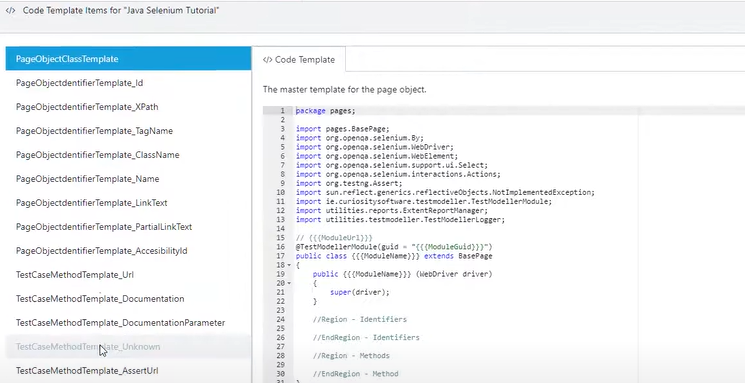
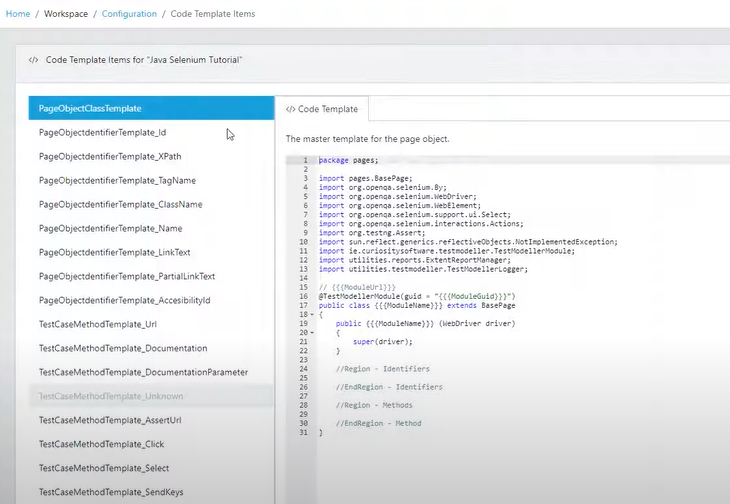
To see the undeylying Code Template click the name, and this reveals the Code Template Items: both Code and Functions. Included are Click, Select, Embed and SendKeys etc.

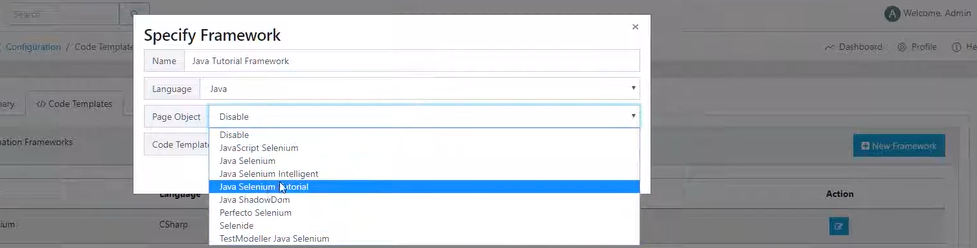
Now to actually register the framework in Quality Modeller. Click and specify a New Framework (ie, Java Tutorial Framework). Name the framework, verify the language, then select the currently imported Page Object and Code Template.
Then clip Next Step where Git Connector can be specified and also an Execution on Publish of code (not covered here). Hit Save and the Automation Framework is registered, ready to create a project.

Create a project: In the left context menu under Management > Project & Releases > New Project > (specify Name) > Select the Framework (just created) > Bind an Automation Server (the community server or one of your own). Hit Save.
Now the project is linked to the Automation Framework.

Now set-up, it’s at this point you can create Models or generate and upload Page Objects from the UI Scanner. Check out more documentation on the UI Scanner here. Whichever way, each will use the Code Templates just defined.
Edit Code Templates. To do so in the left context menu again under Management select Configuration. You can change any of the import statements or underlying code. Also add in Custom Actions. To do so, click +Add Item and use the Details, Parameters, Return and Code Template tab to modify it. Any associated Projects will be updated to use the new templates for any future Test Generation.
Note: Using your own Automation Framework, you can easily access modify a particular Code Template: Page Objects and Test Generation.